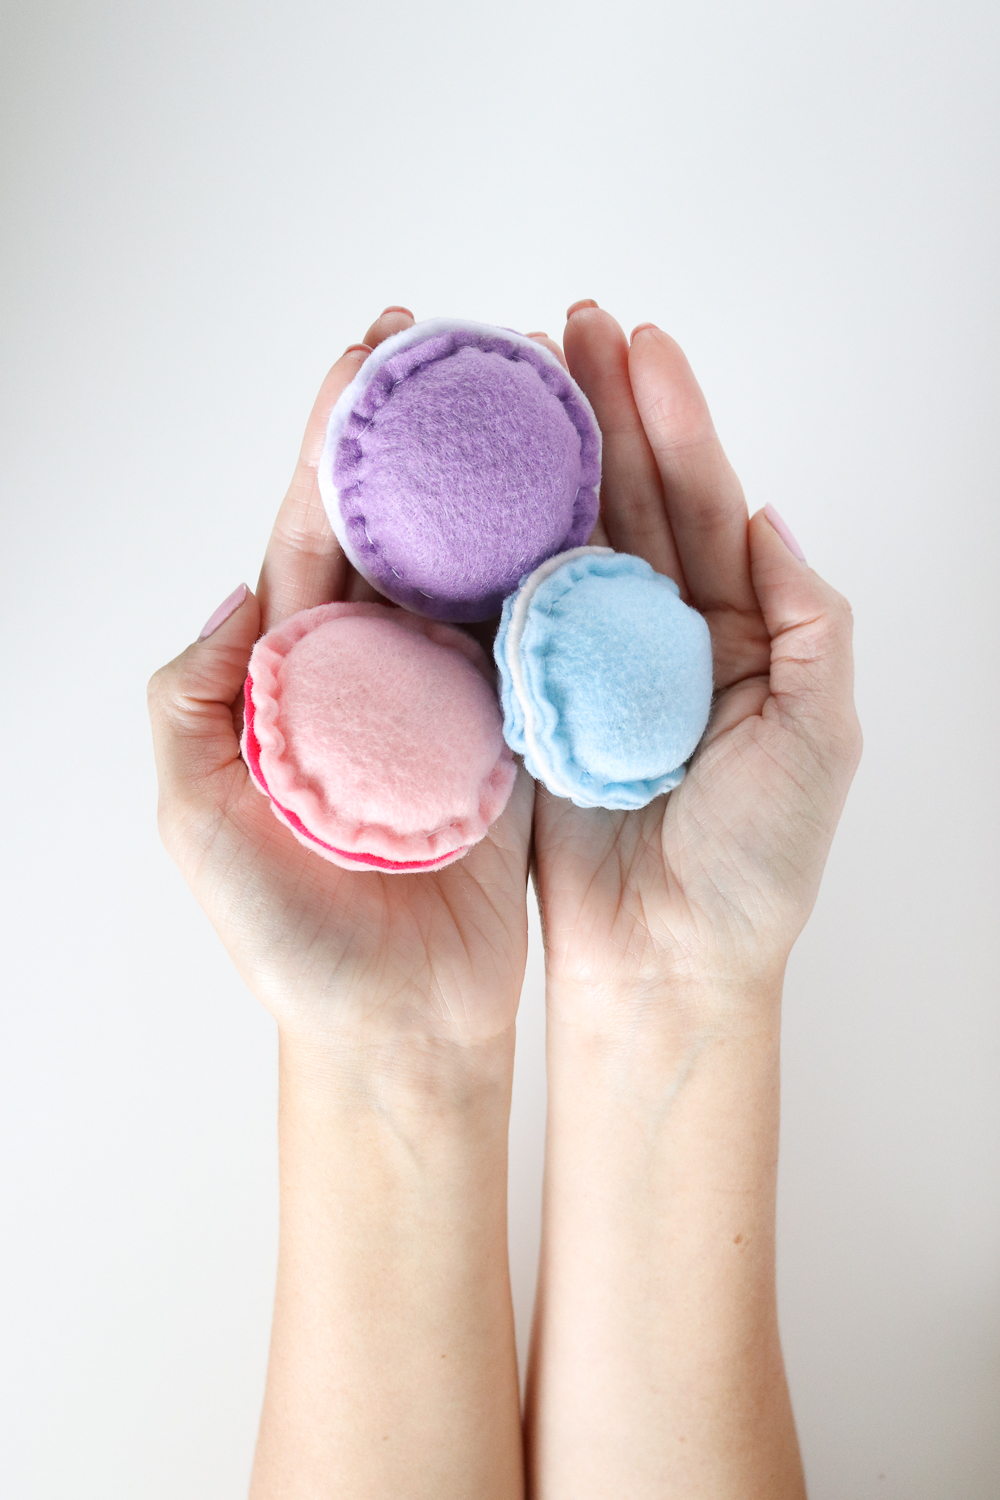
 It’s no secret that I LOVE macarons. Whenever we go somewhere that sells them, it’s an unspoken rule that I need to buy a few. I decided to let my (very spoiled) kitties in on one of my favorite treats by making them a set of colorful DIY macaron cat toys…as if these two needed any more toys!
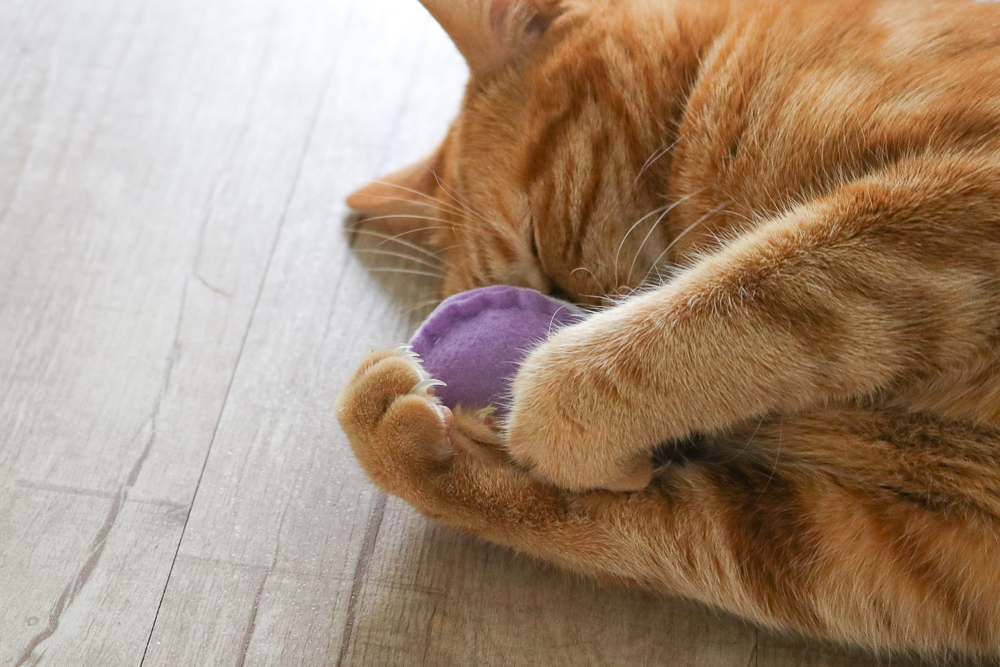
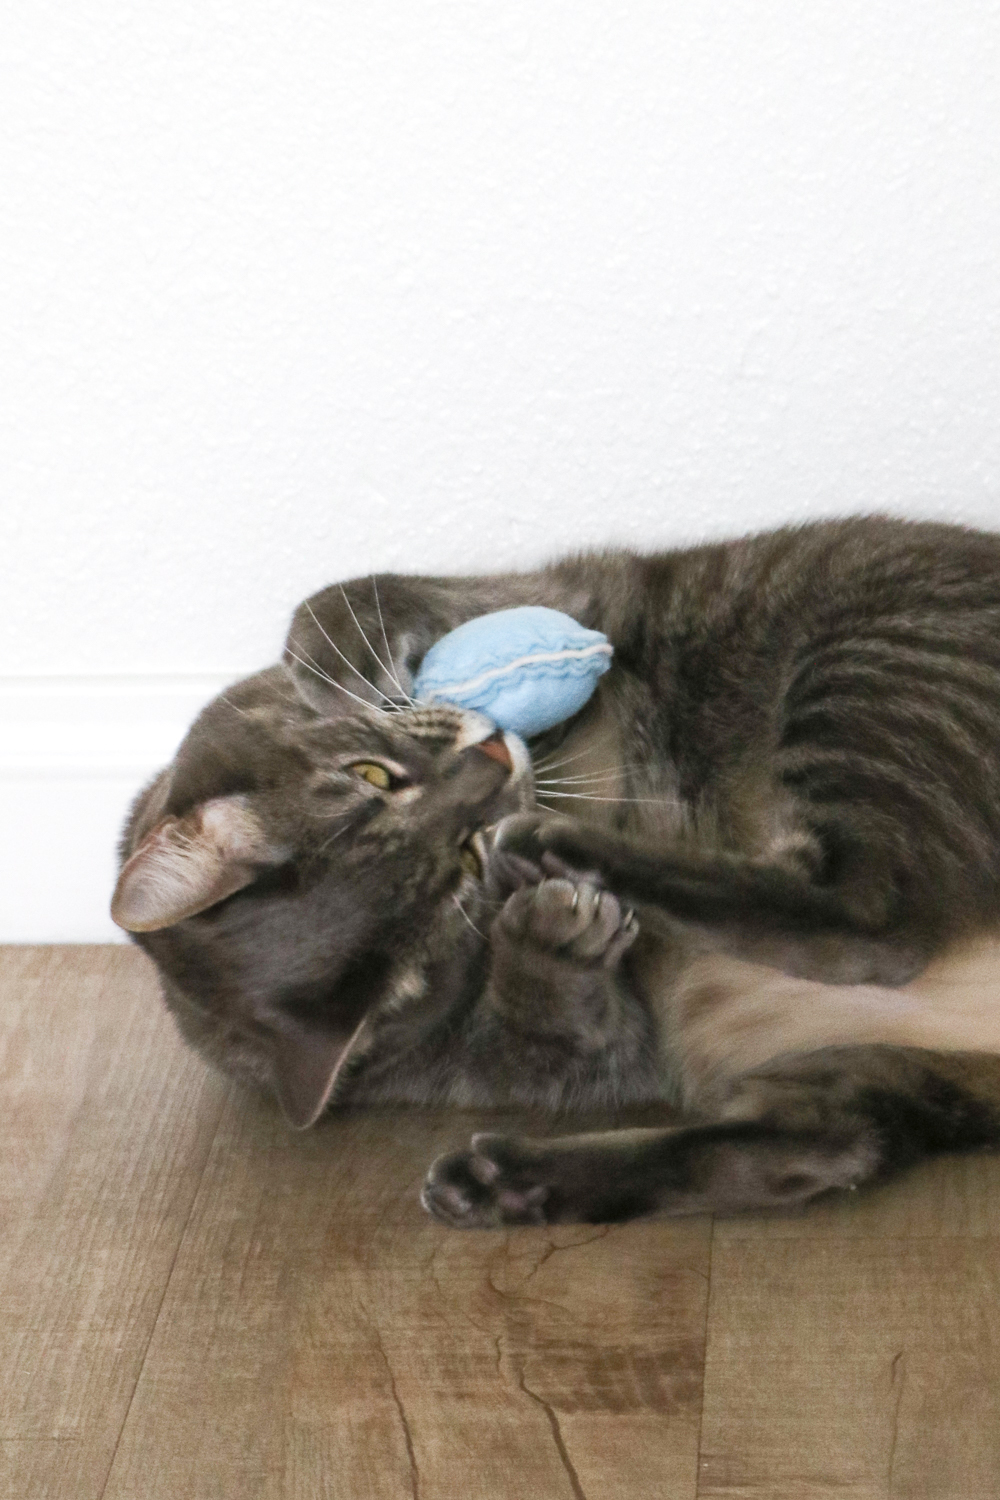
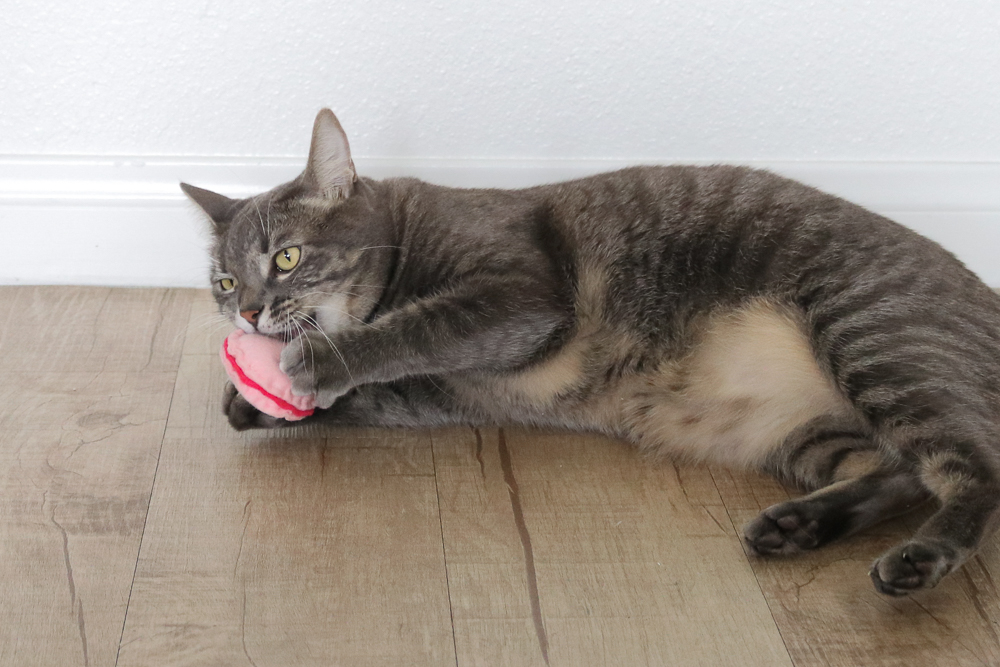
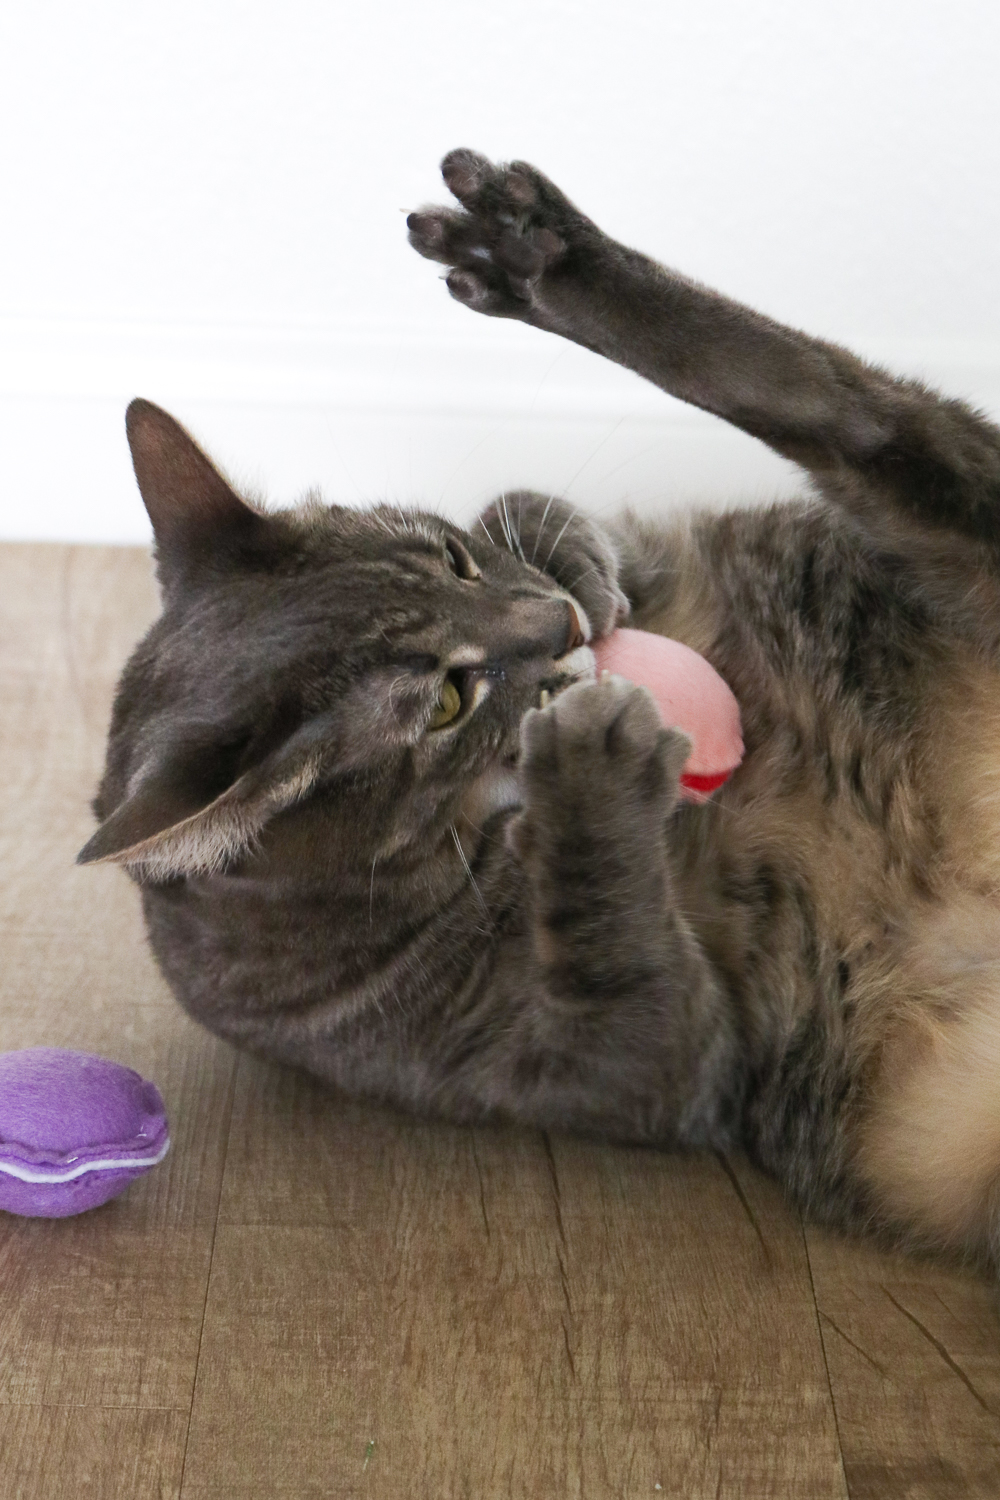
It definitely takes some time to make one, but I really enjoy this type of sewing because I can sit back and stitch while watching a movie or something, which I think makes this a perfect weekend project. I was happy to see that both of my cats really loved playing with the toys, especially Penny (our grey cat) because she’s never been as interested in catnip as Oliver (our orange cat), but attempting to photograph them playing was the tricky part. I wish I could share all of the goofy faces we photographed of them! Instead, you can check out a few of the more tame shots below, including my favorite of Penny getting REALLY into playing with them.
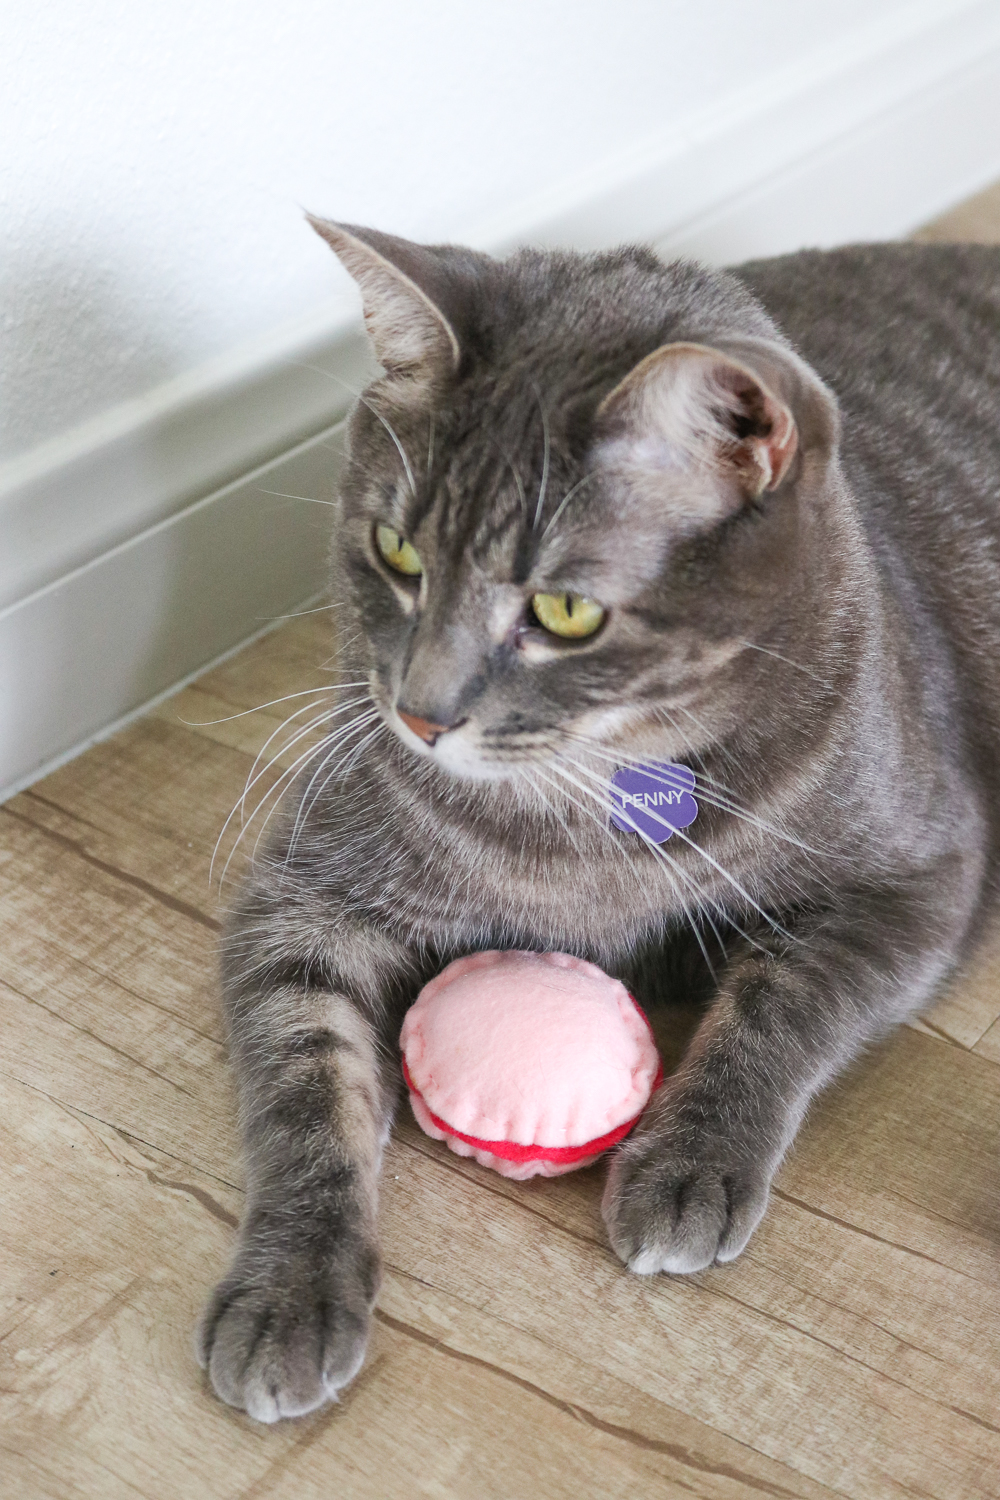
 Since macarons are generally somewhat colorful, I picked pastel colored felt for the “shells” and a contrasting colors for the “filling.” In order to make it appear like the macarons had their defining “feet” I pulled the thread tightly as I stitch around the edges to gather the fabric and give it a ruffled appearance. Because there are three layers and three different levels of stitching, these toys will hold up very well to even the most vicious of cats. You wouldn’t believe the rate my cats go through toys! When they like them, they tear them apart, but I expect these will hold up pretty well.
Like I said above, stitching these can be time consuming, especially if you’re not used to hand stitching. Just take it slow and stitch while you watch TV or listen to a podcast, and you’ll find that it doesn’t feel difficult.
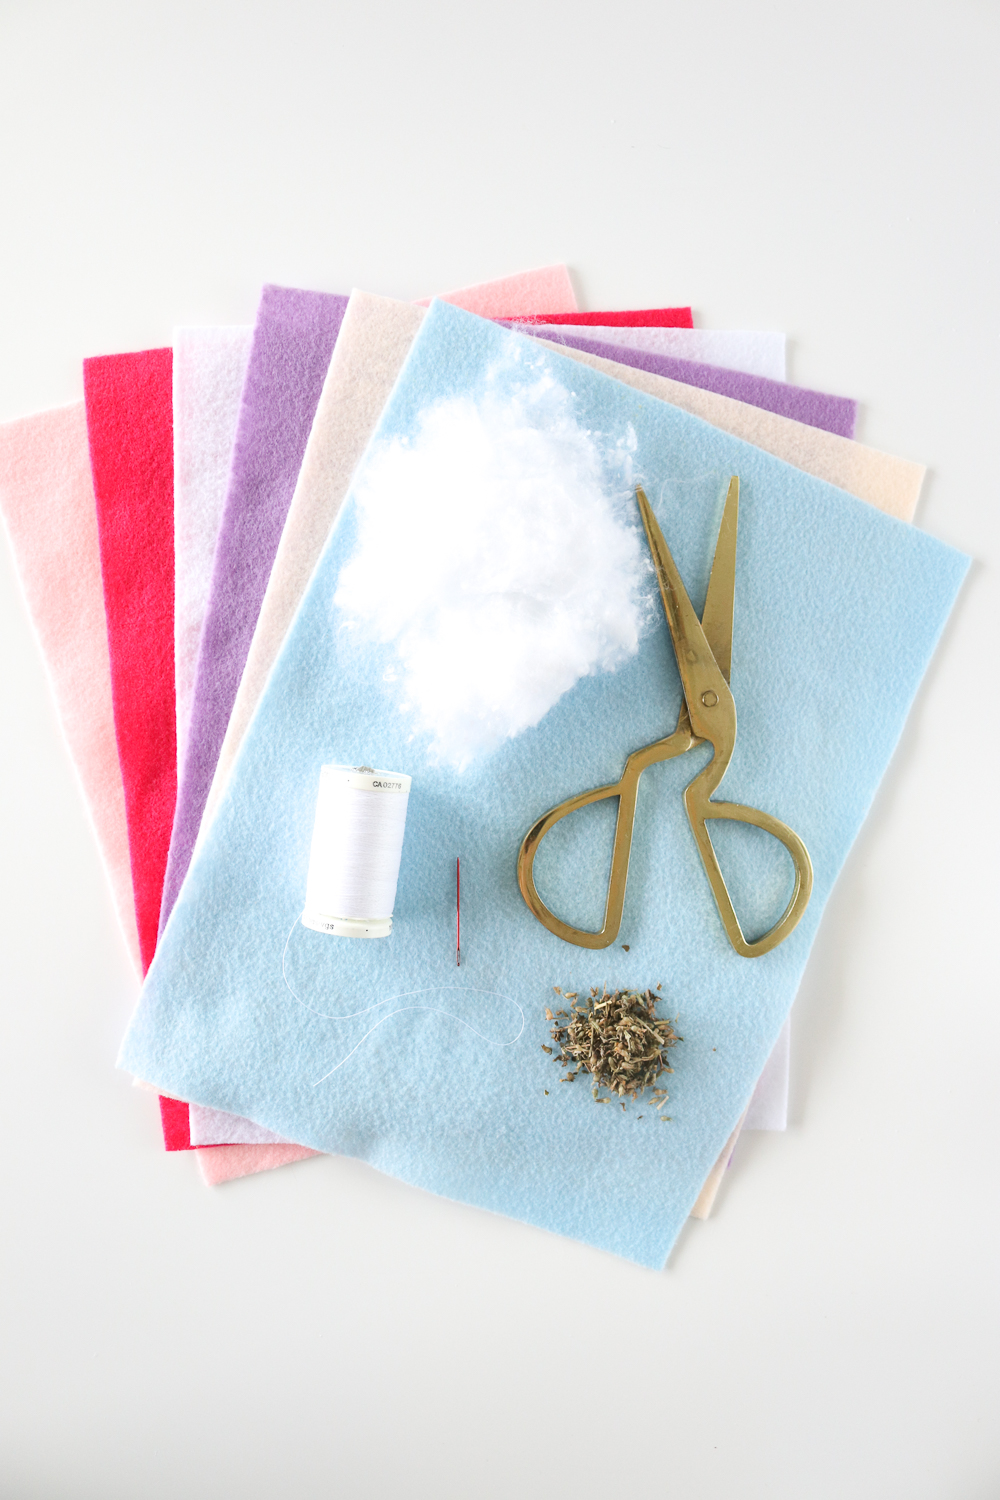
Supplies:
- Pastel felt
- Contrasting felt
- Scissors
- Thread
- Hand stitching needle
- Pillow stuffing
- Catnip
- Pencil/pen
Step 1: Use an object to outline 4 equal-sized circles on a piece of pastel colored felt, about 3 inches wide. For example, I used the bottom of a wine bottle. Then cut each one out so that you do not see any pen marks.
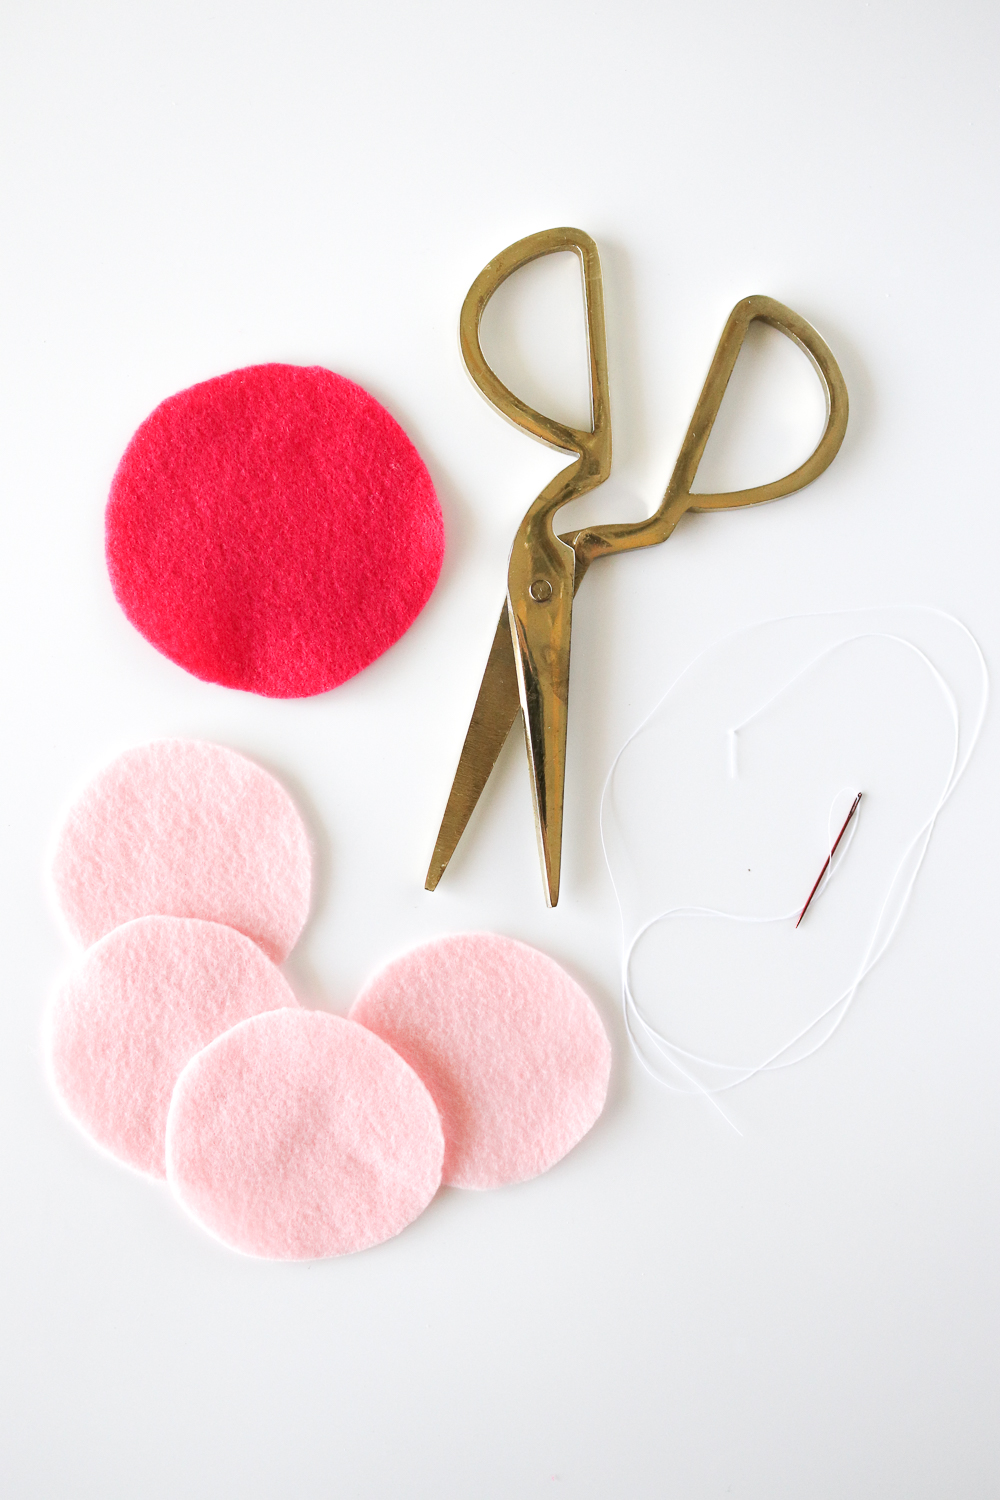 Step 2: Cut one circle out of a contrasting piece of felt that is about 1/2 inch or so larger. Note, it does not need to be perfect because it will be trimmed later.
Step 3: Layer two pieces of pastel felt and thread a needle with a long piece of thread (does not necessarily need to be matching thread) and knot the end multiple times.
Step 4: Poke through the top layer only, about 2 centimeters from the edge. Pull the thread through so that the knot catches in between the two layers.
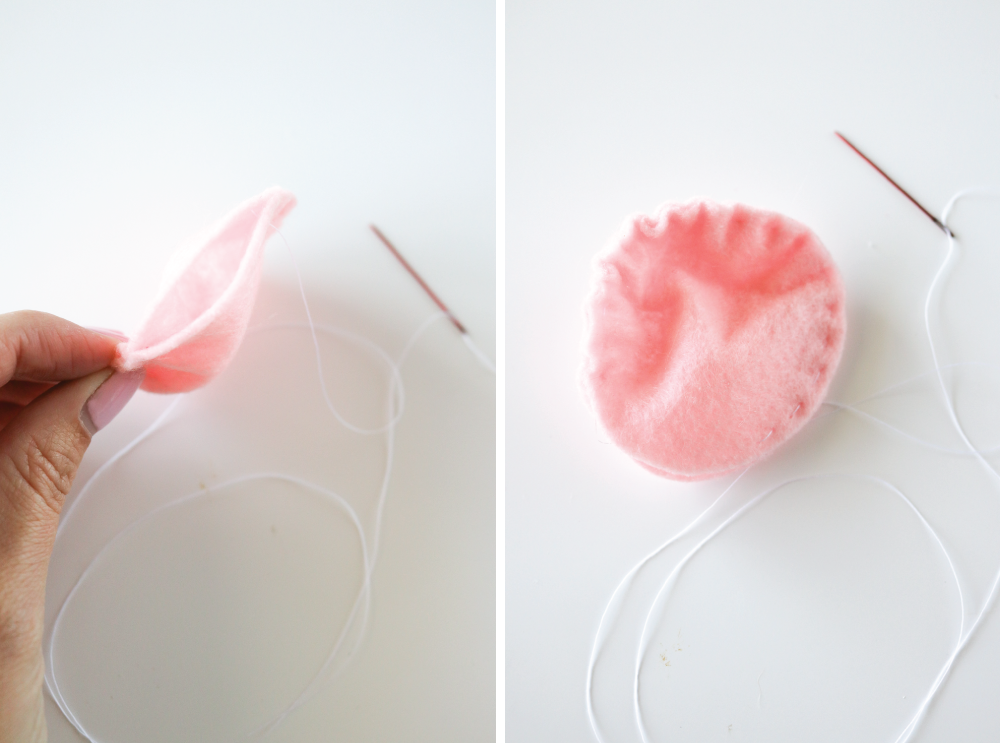 Step 5: Make small stitches around the edges of the felt, keeping a 2 centimeter distance from the edge and securing the two layers together. Occasionally, pull tightly on the thread to gather it and keep it appearing ruffled as you go. Note, you do not need to pull hard and you do not want to pull hard enough to risk breaking the thread.
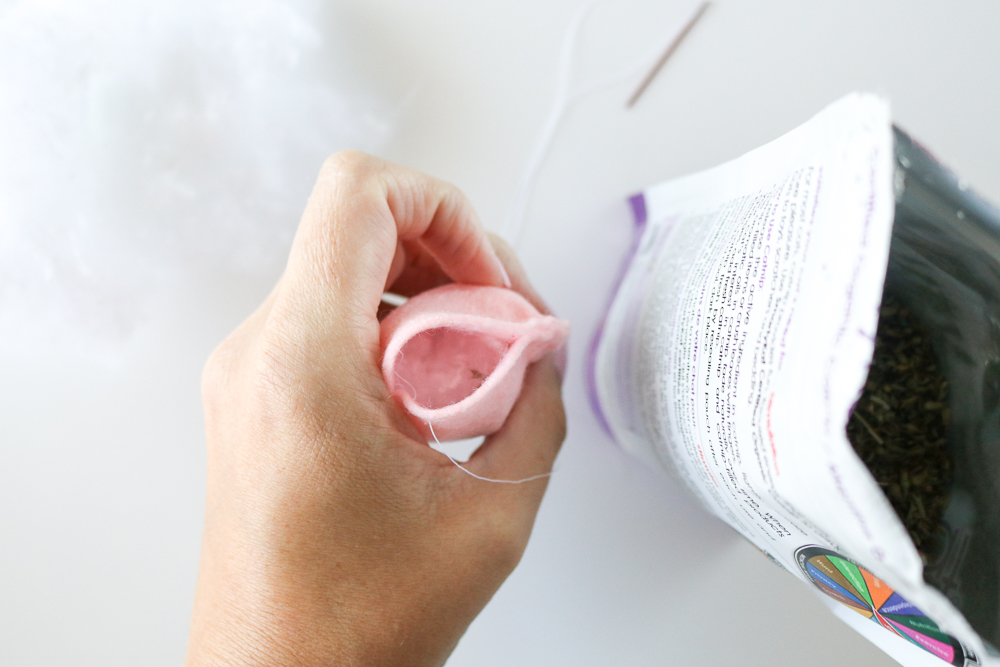 Step 6: Keep stitching until you have about 1 inch left. You’ll notice that pulling the thread may make the piece appear misshapen, but ignore this and keep stitching so that the edges of the circles are together. When you have 1 inch left to stitch, add about 1 tablespoon of catnip (if desired), followed by stuffing. Then keep stitching and add more stuffing as needed to fill completely.
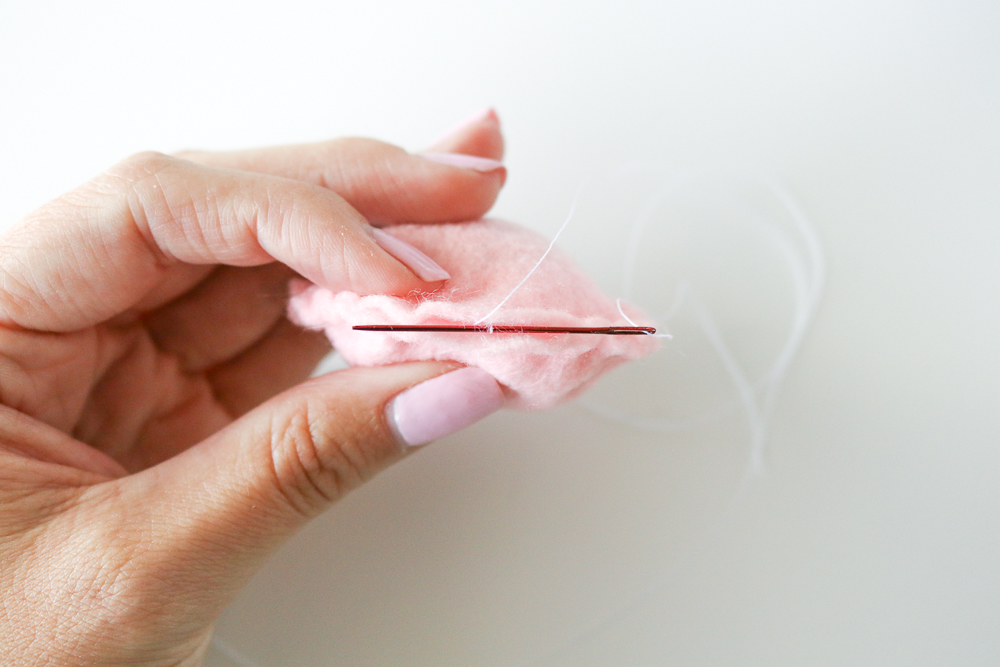 Step 7: Stitch until you reach the end, and lastly poke through only one layer and then thread the needle through an existing stitch, loop the thread and pull through to create a knot. Repeat at least twice to secure. You should now have a plush macaron shell. Repeat with the remaining two pieces of pastel felt so that you have to equal sized plush shells.
Step 8: Sandwich the piece of contrasting felt between the two shells. Thread the needle with a very long piece of thread and double it up to make it stronger. Knot the two ends together.
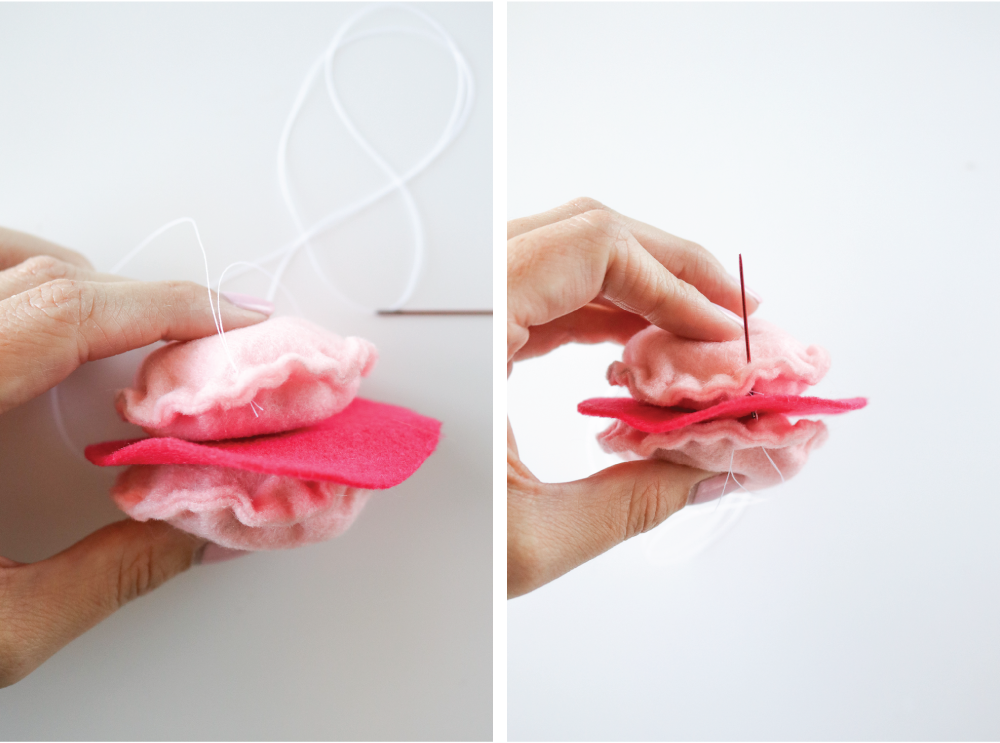 Step 9: Poke through only the top shell so that the knot is hidden on the underside. Stitch all layers together the same way you stitched the shells, pulling them all together tightly. If possible try to retrace the stitches you made on the shells originally (as this will look best but is more time consuming).
Step 10: Stitch until you reach the end and pull all layers together tightly before pressing the needle through only one layer and knotting the thread with a double or triple knot the same way you did before.
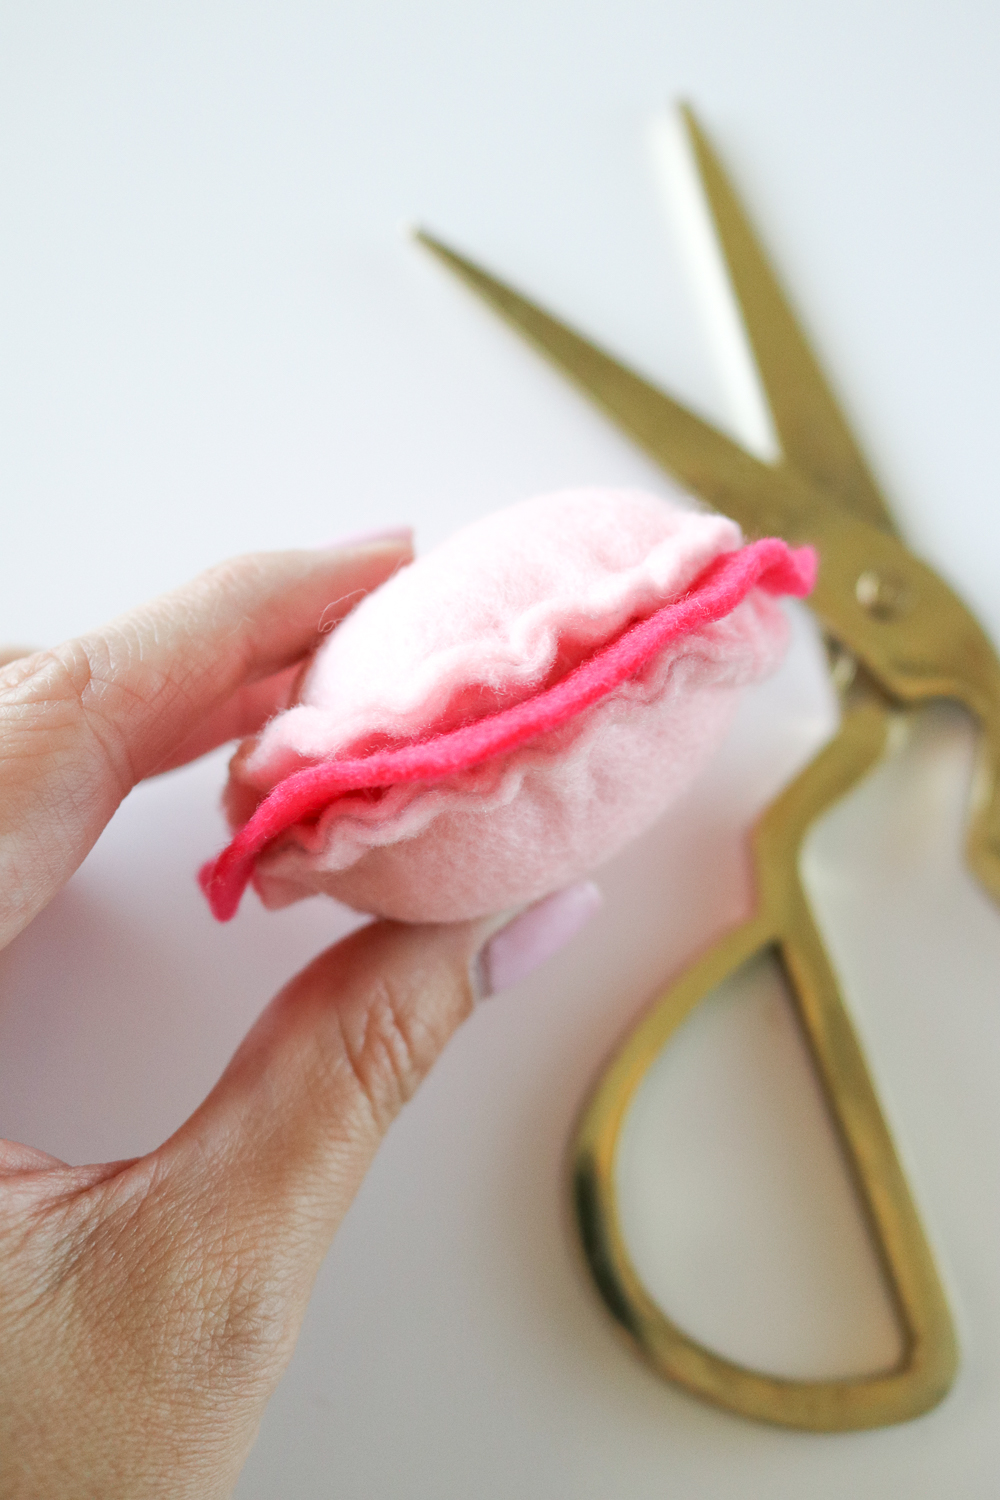 Step 11: Lastly, trim the excess “filling” so that it fits close to the shells, taking precaution so that you don’t trim the ruffles. Then your macaron is all done!
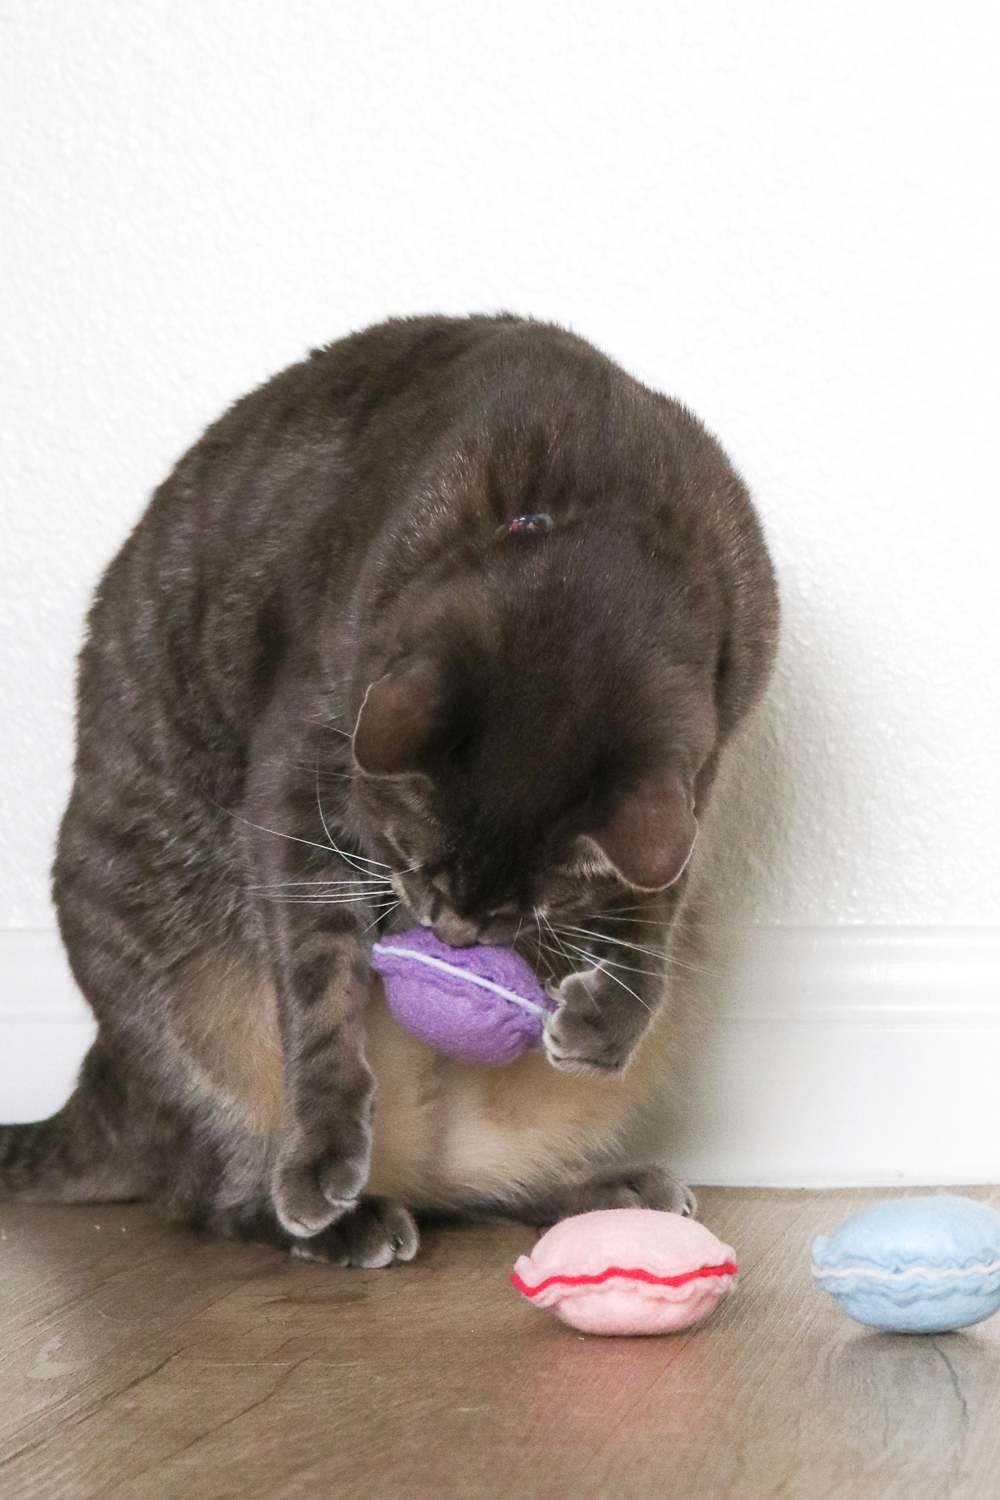 Give them to your cats and let them go crazy! If your cats are anything like mine, they’ll go crazy for the catnip and the soft, plush feeling of the toys. Penny and Oliver chased them around the apartment, and Oliver snuggled with it to enjoy the catnip. Happy crafting!

WinterWolf99
Awesome! Even if my even my cat tire it up in the first five seconds! I came back to check on her and I found shreds of fabric and stuffing.
Holly Wade
WinterWolf99Oh boy! I have a cat like that too. He’ll always find a way to tear something apart!