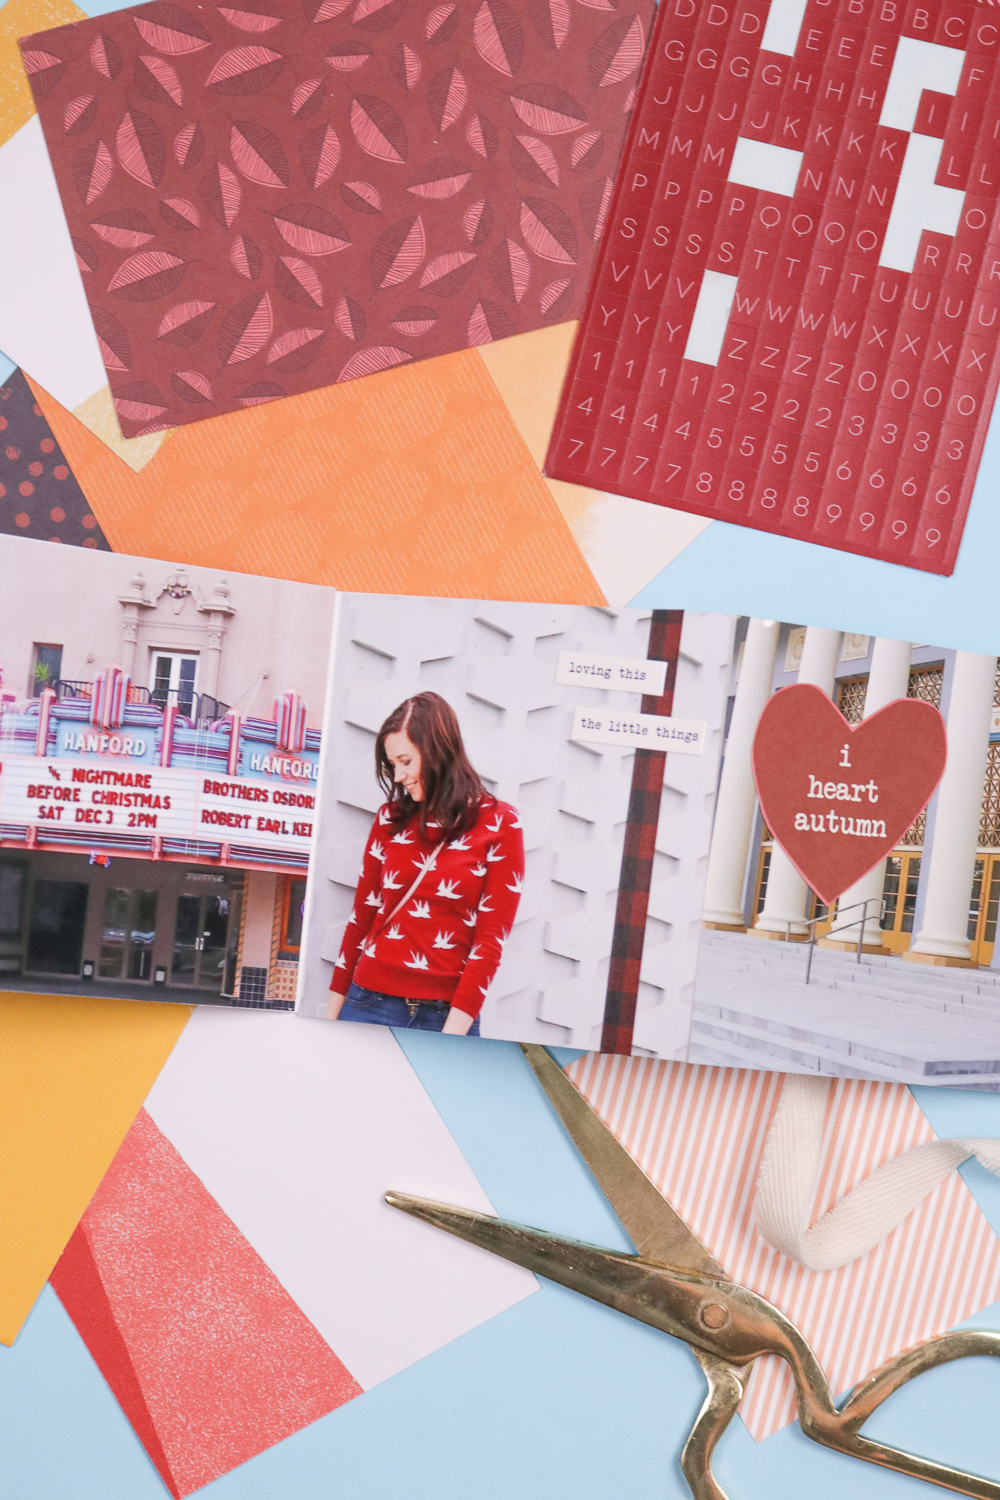
 My introduction to crafting was scrapbooking with mom when I was about 12. I’d always loved making things with paper – costumes, toys, you name it – so my mom and I started scrapbooking together. Scrapbooking has come a long way since then. Like anything, trends have changed and now I primarily scrapbook with A Beautiful Mess Messy Box products in small books instead of full 12×12 pages. Today, I’m taking it back to my roots with a DIY mini accordion scrapbook that’s perfect for scrapbooking your fav Instagram photos.
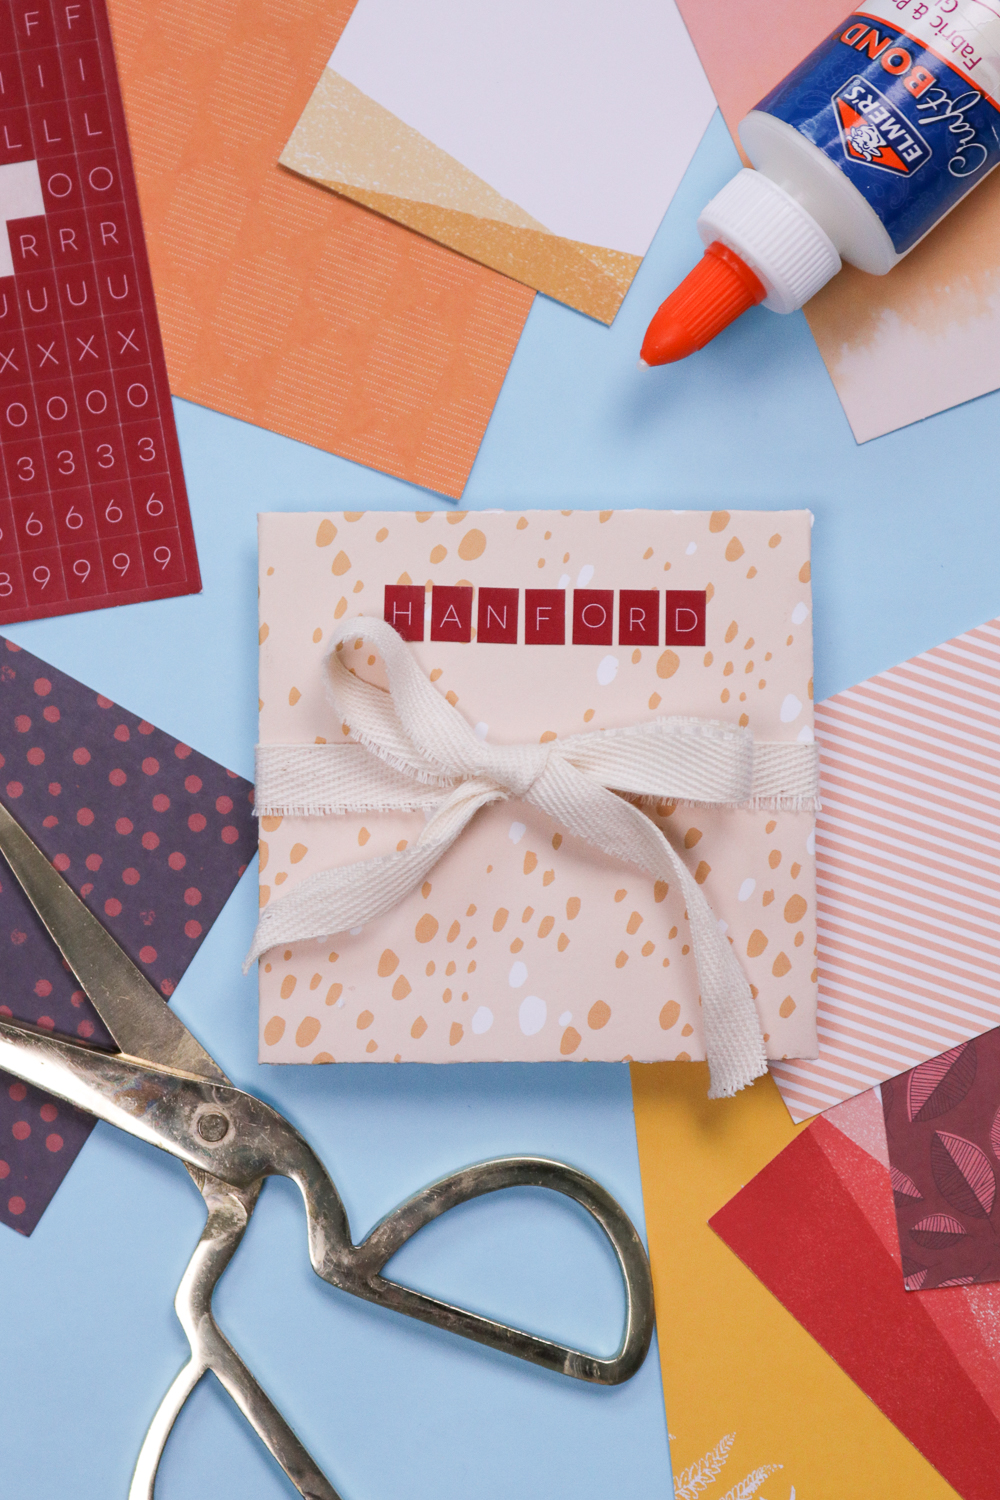
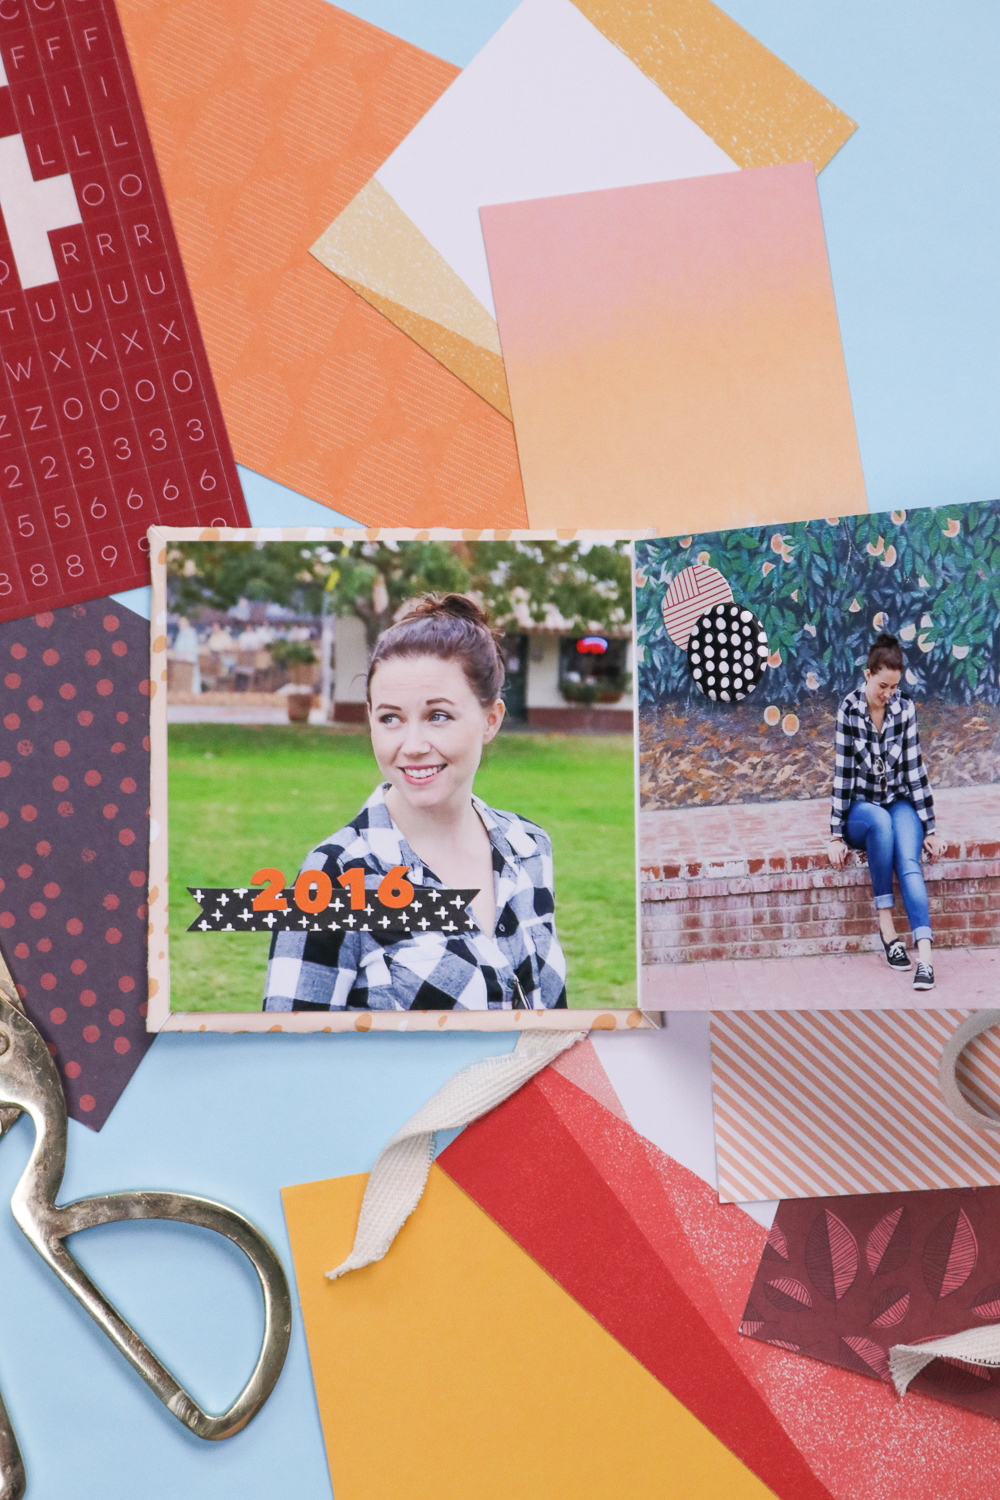
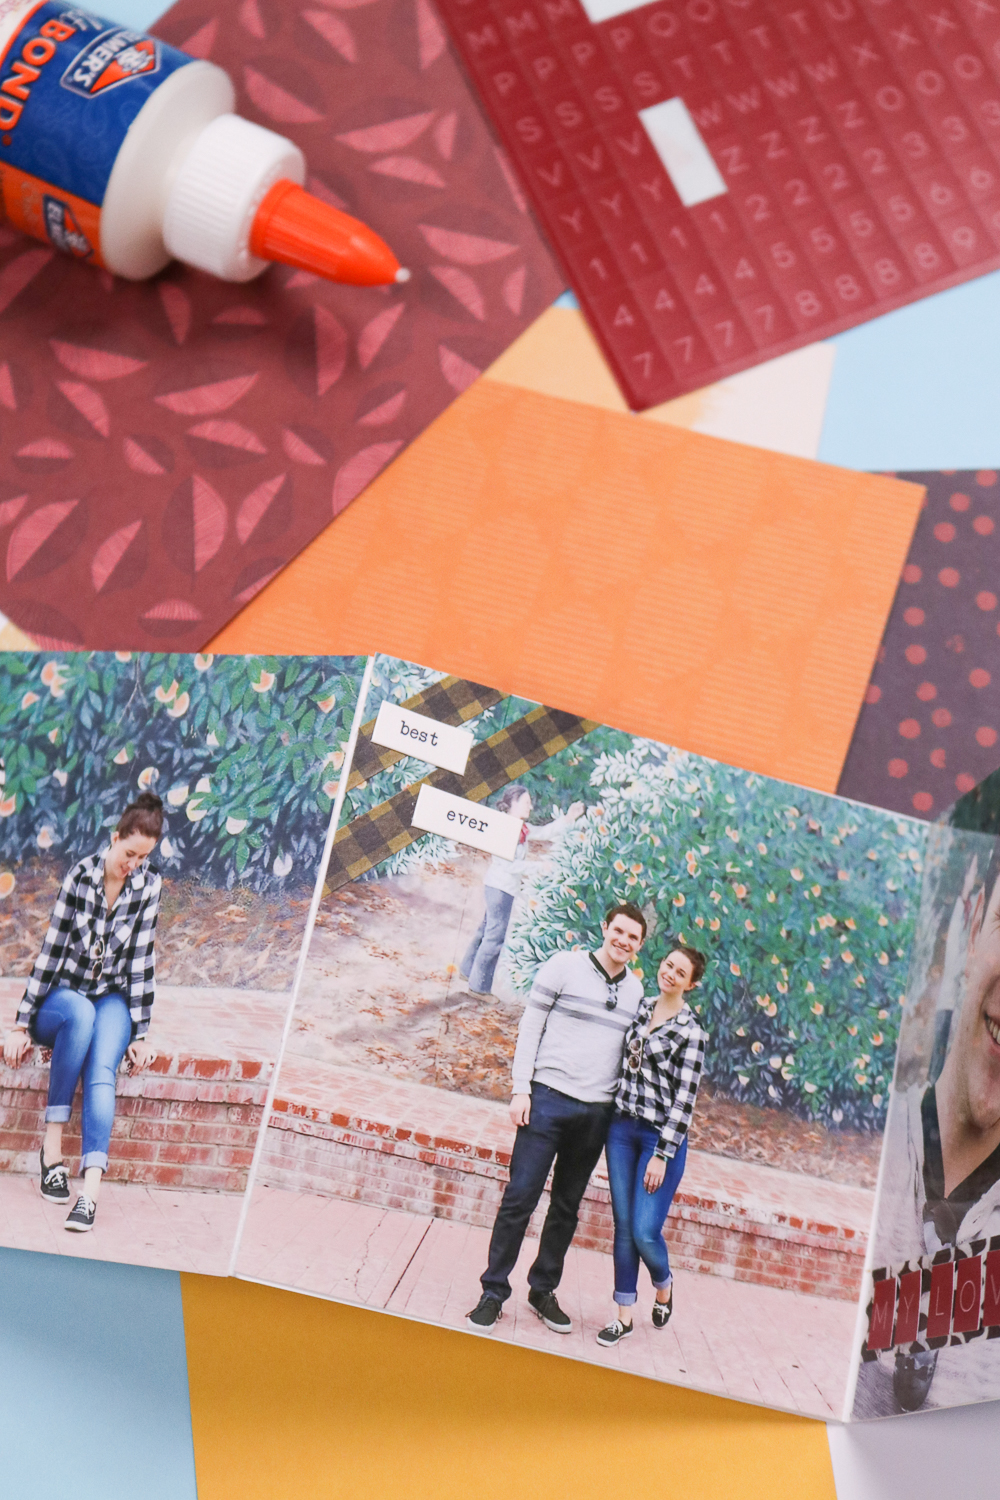 I made one of these for a friend several years ago, and I’ve wanted to make another one ever since. Because I haven’t scrapbooked for a while, this was the perfect excuse to get back to it. It’s simply a small book with accordion pages intended for 4×4 inch photos, held together by cardboard pieces and string. They’re perfect for gifting or scrapbooking small trips. In my case, I used a few photos from our Thanksgiving trip to Andrew’s mom’s house along with my favorite Messy Box supplies I’ve been collecting for a while.
- Solid cardstock, about 3 12×12 inch pieces
- Paper cutter
- 4×4 inch photos
- Thin cardboard
- Patterned paper
- Scrapbook embellishments
- Ribbon (to match patterned paper)
- Hot glue gun
- Glue stick, squares, double sided tape or similar
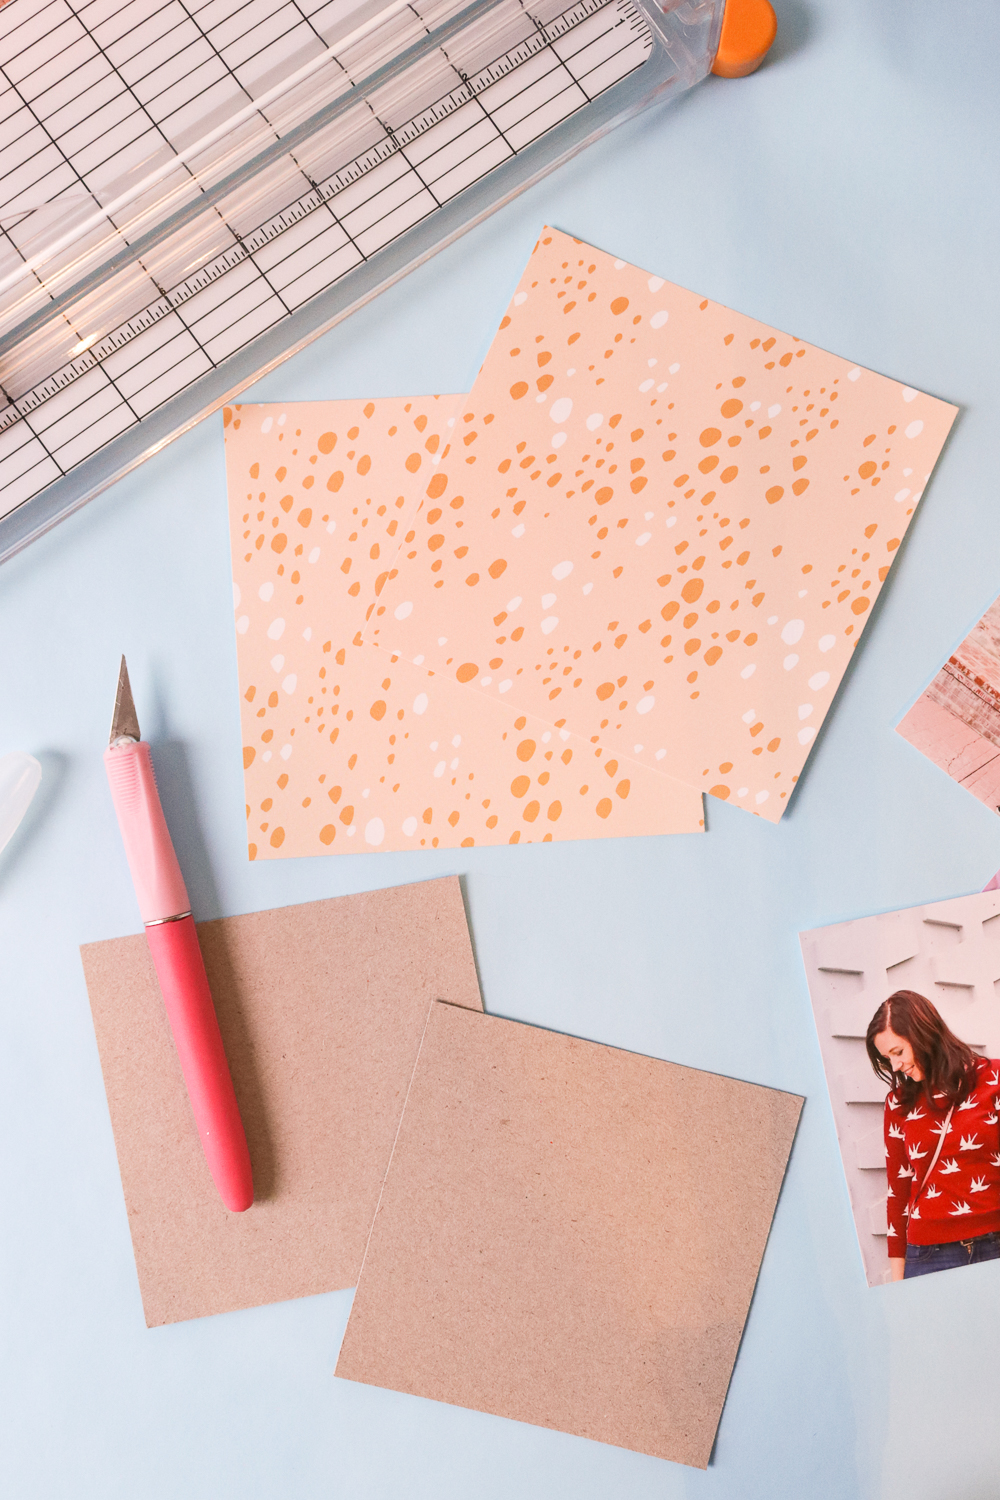 Step 1: Cut two pieces of cardboard to about 4.5 x 4.5 inches (if using 4×4 in photos).
Step 2: Cut two pieces of patterned paper about 5×5 inches
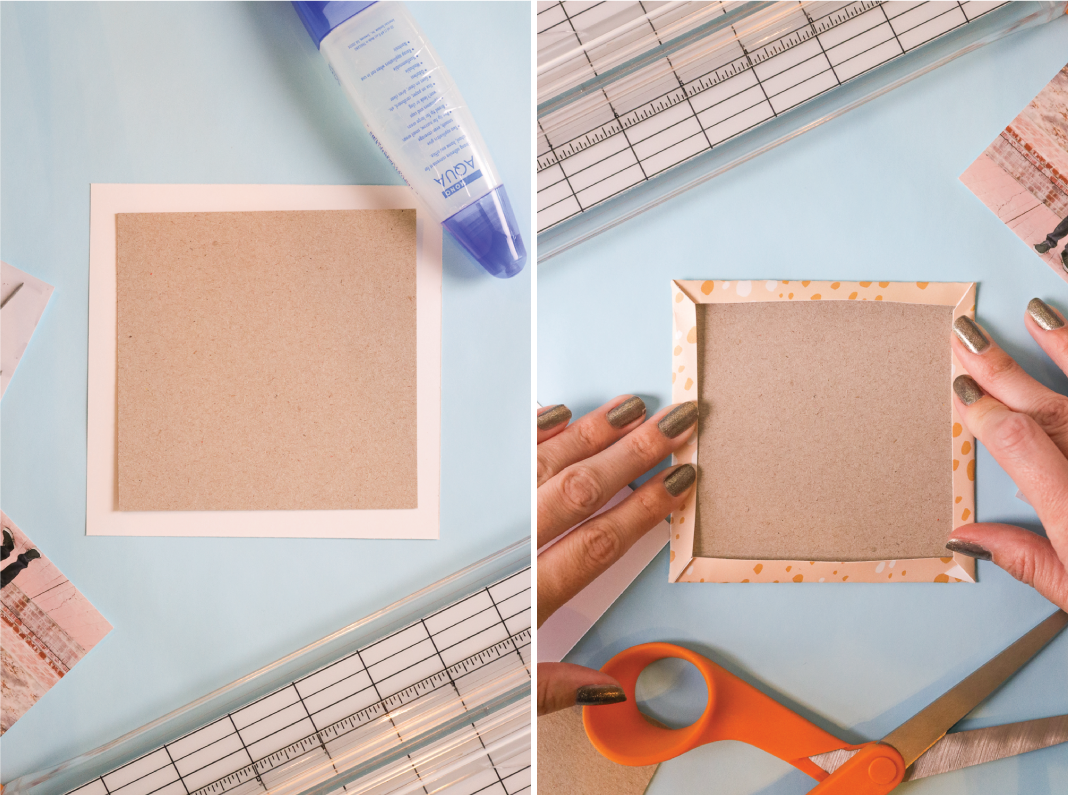 Step 3: Use a glue stick or a heavier liquid glue to stick the cardboard to the middle back of the patterned paper. Fold over the edges and glue down to the cardboard. Set aside.
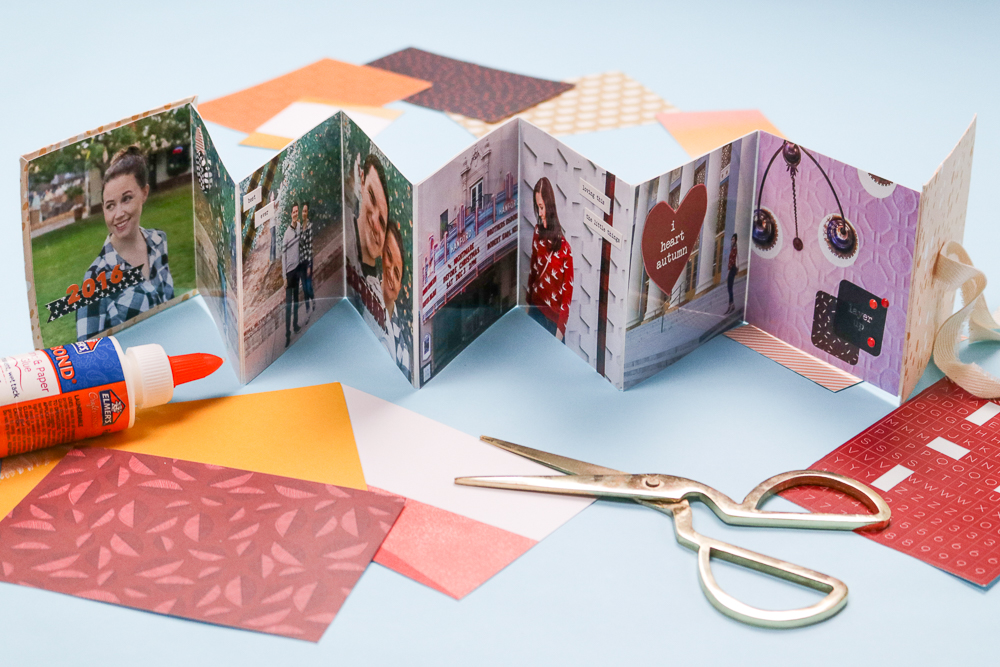
Step 4: Cut the solid paper into three 12 x 4 inch pieces. Fold every 4 inches of paper, alternating directions to create accordion folded pieces. That means you should have three folded sections per piece of paper.
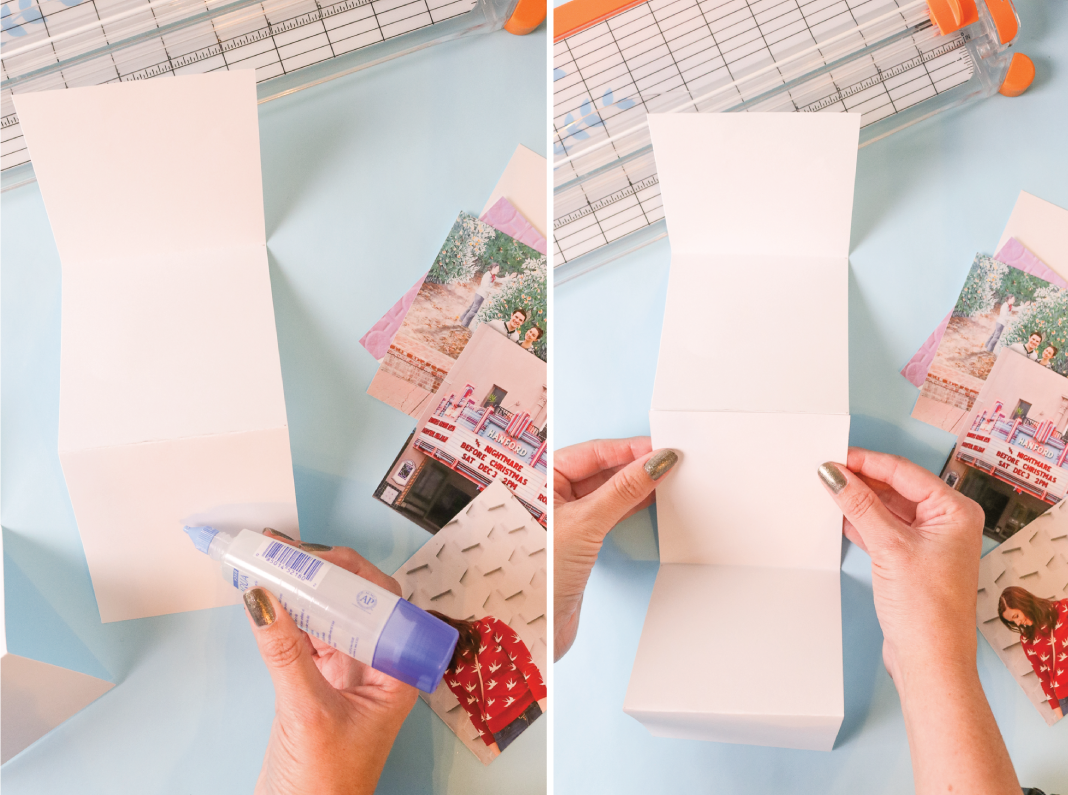 Step 5: Once you’ve folded all of the paper, you need to combine them into one long piece. Glue one square on top of another from a separate piece. This should make it appear seamless and all of the folds should still alternate correctly. Repeat again so you have 7 distinct squares.
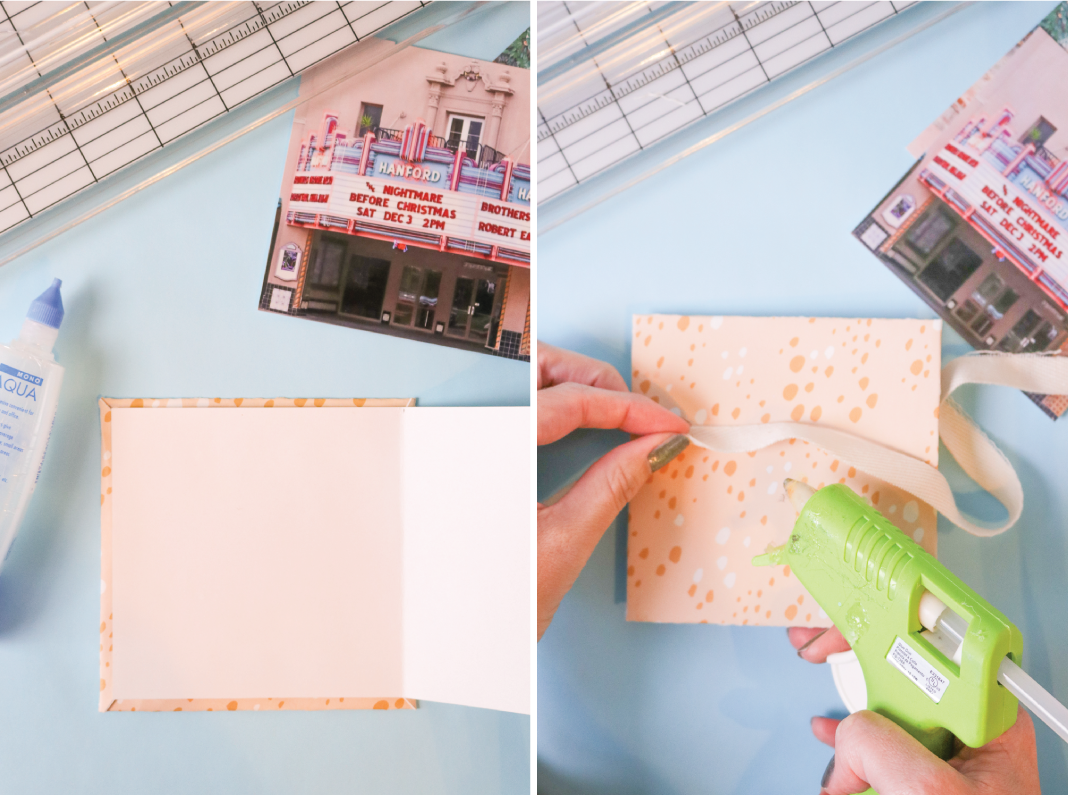 Step 6: Glue the first square to the back of one piece of covered cardboard, positioning it so that it covers the exposed middle of the cardboard. Repeat with the last square and second piece of covered cardboard.
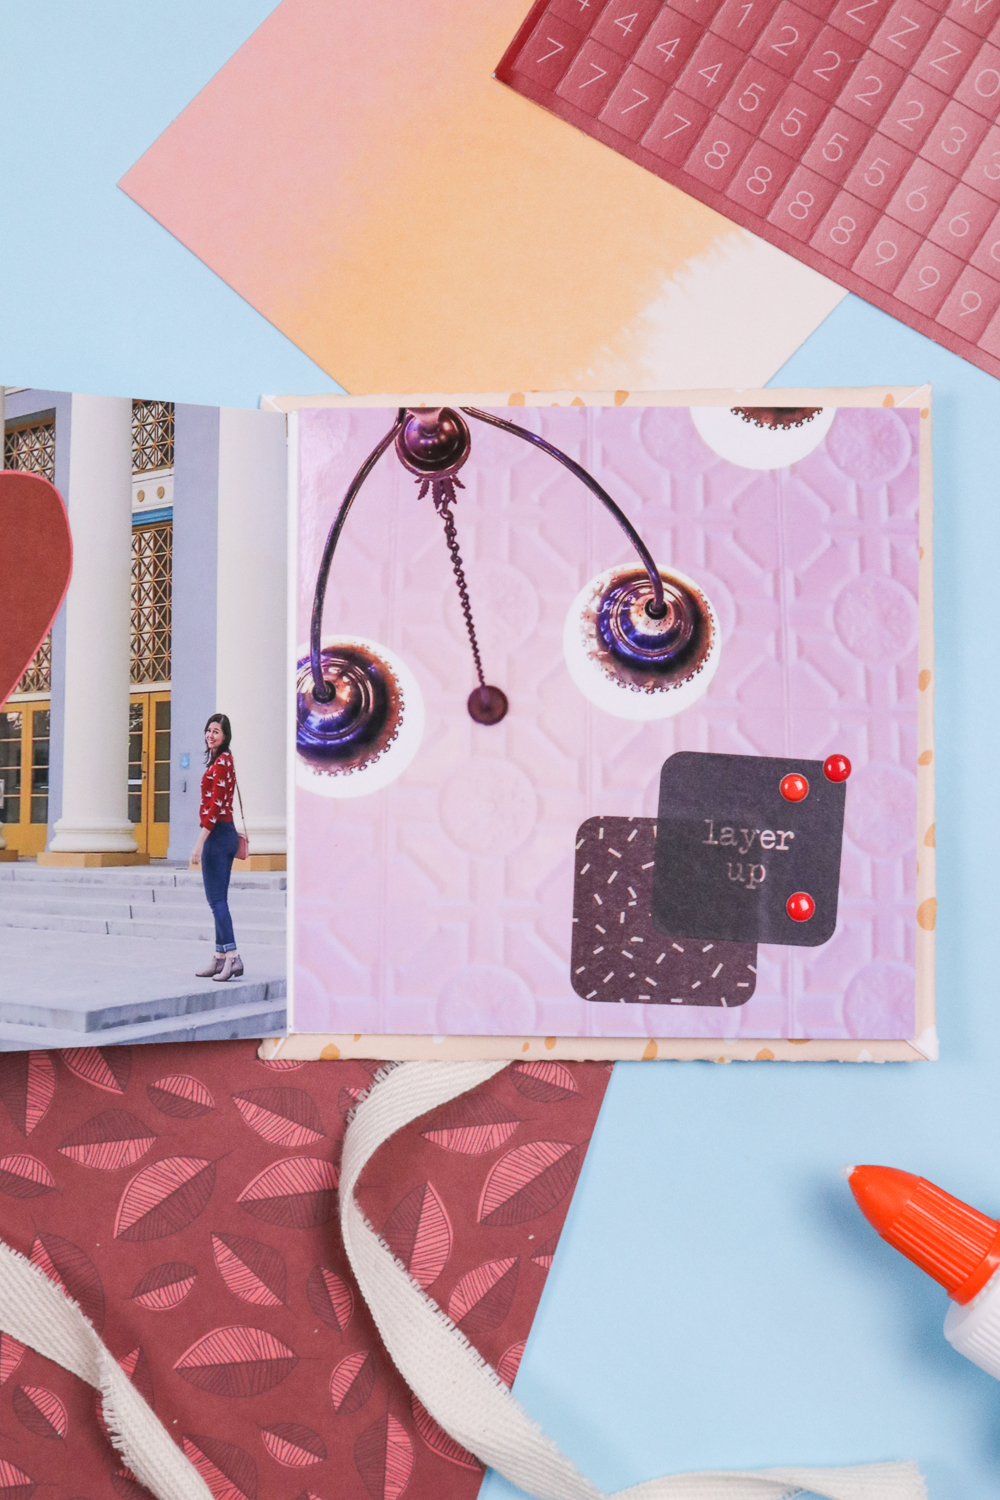
Step 7: Once this dries, you should have one long piece of accordion pages connected by the covered cardstock. Cut a piece of ribbon or string about 10 inches long. On the back cover of the scrapbook, glue the ribbon horizontally in the middle of the cardboard. Turn the book over, and use the ribbon to tie it together.
Step 8: At this point, glue one photo on each accordion square, or you can leave some blank for journaling or other uses. Add scrapbook embellishments to each page as desired.
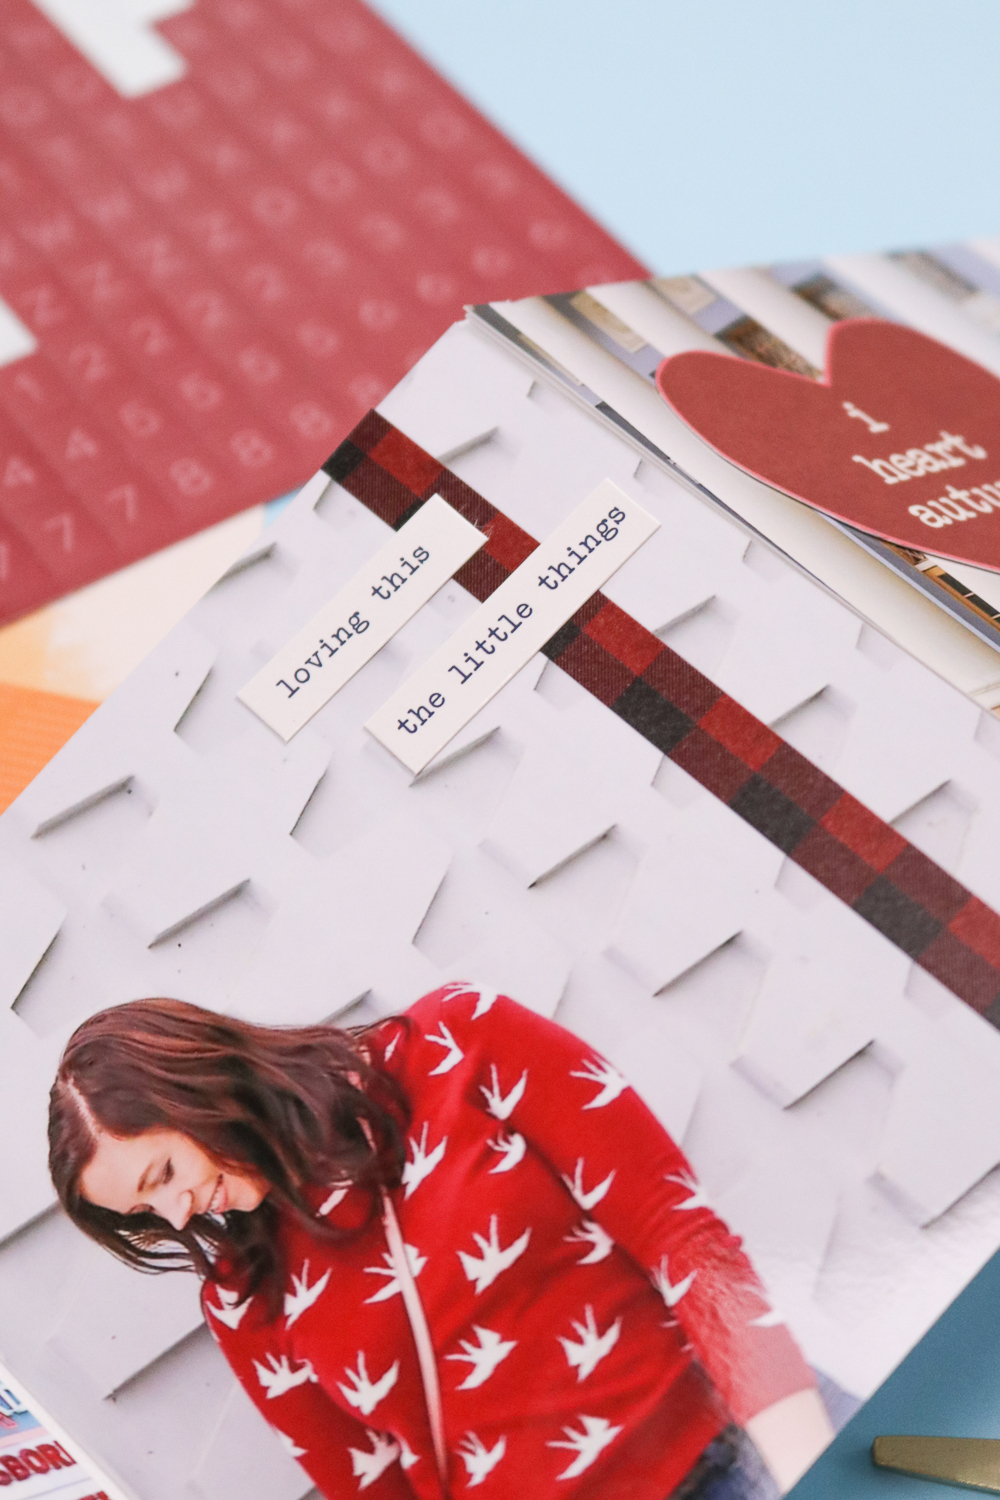
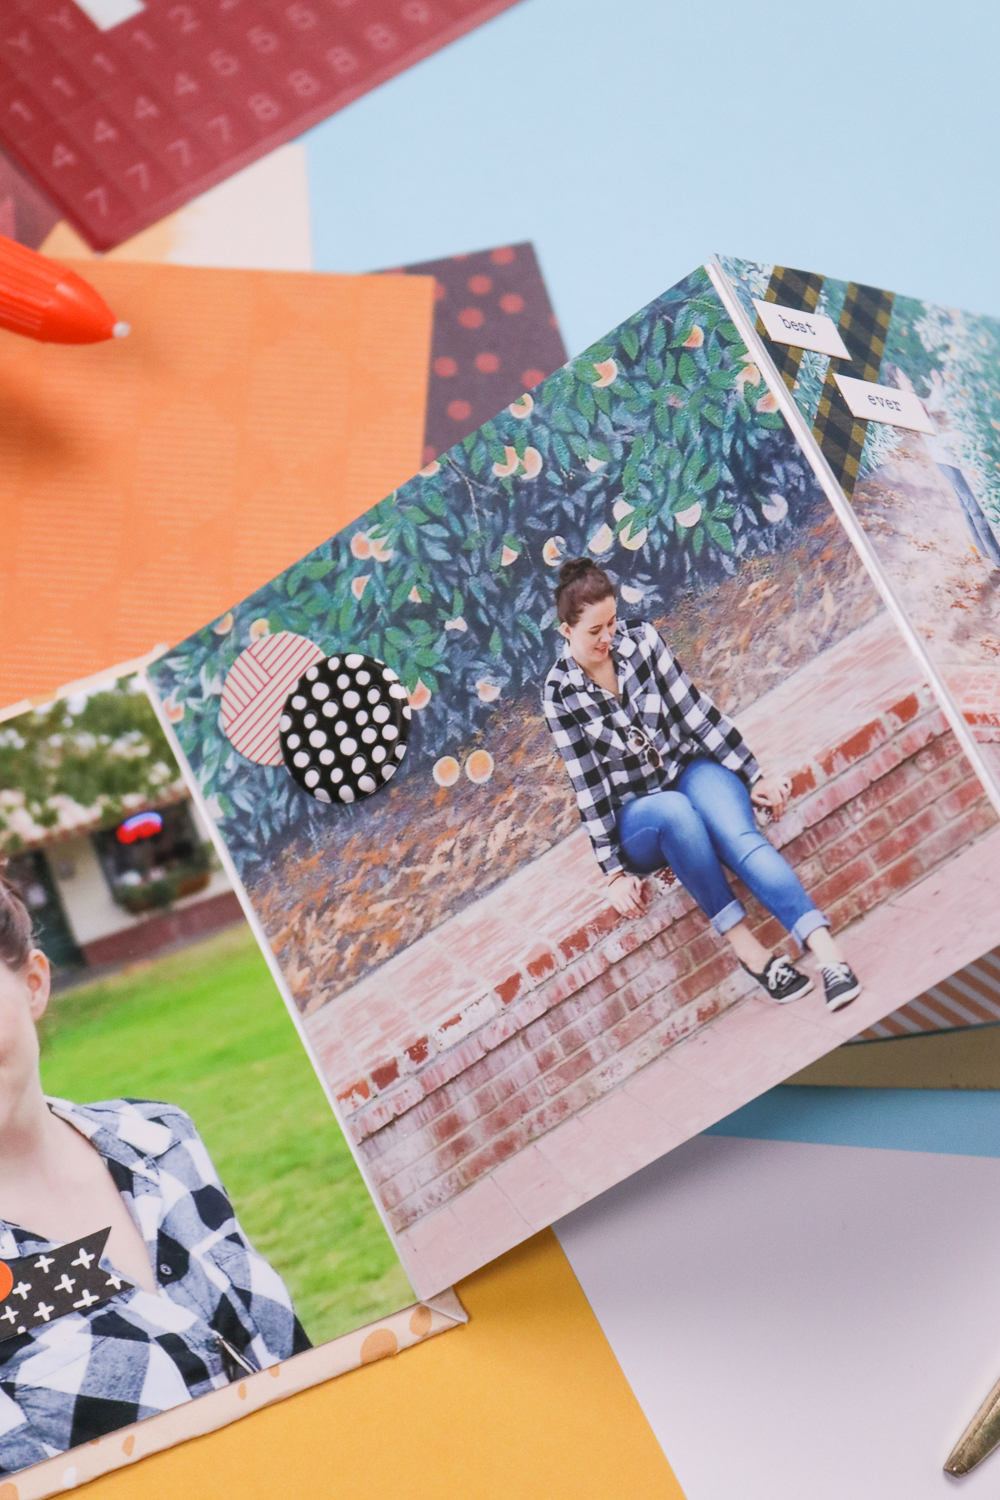 And there you have it! An accordion scrapbook was the perfect way to memorialize our short trip, and you can certainly make this with more pages if you wish. Customize it with your favorite stickers, stamps and papers, and you have a truly unique book that you’ll cherish. Happy crafting!

Mom
I love this scrapbook but I love the pictures the most. Especially the one with your hair up in a bun and of course the picture of you and Andrew. Great job as always!! Mom