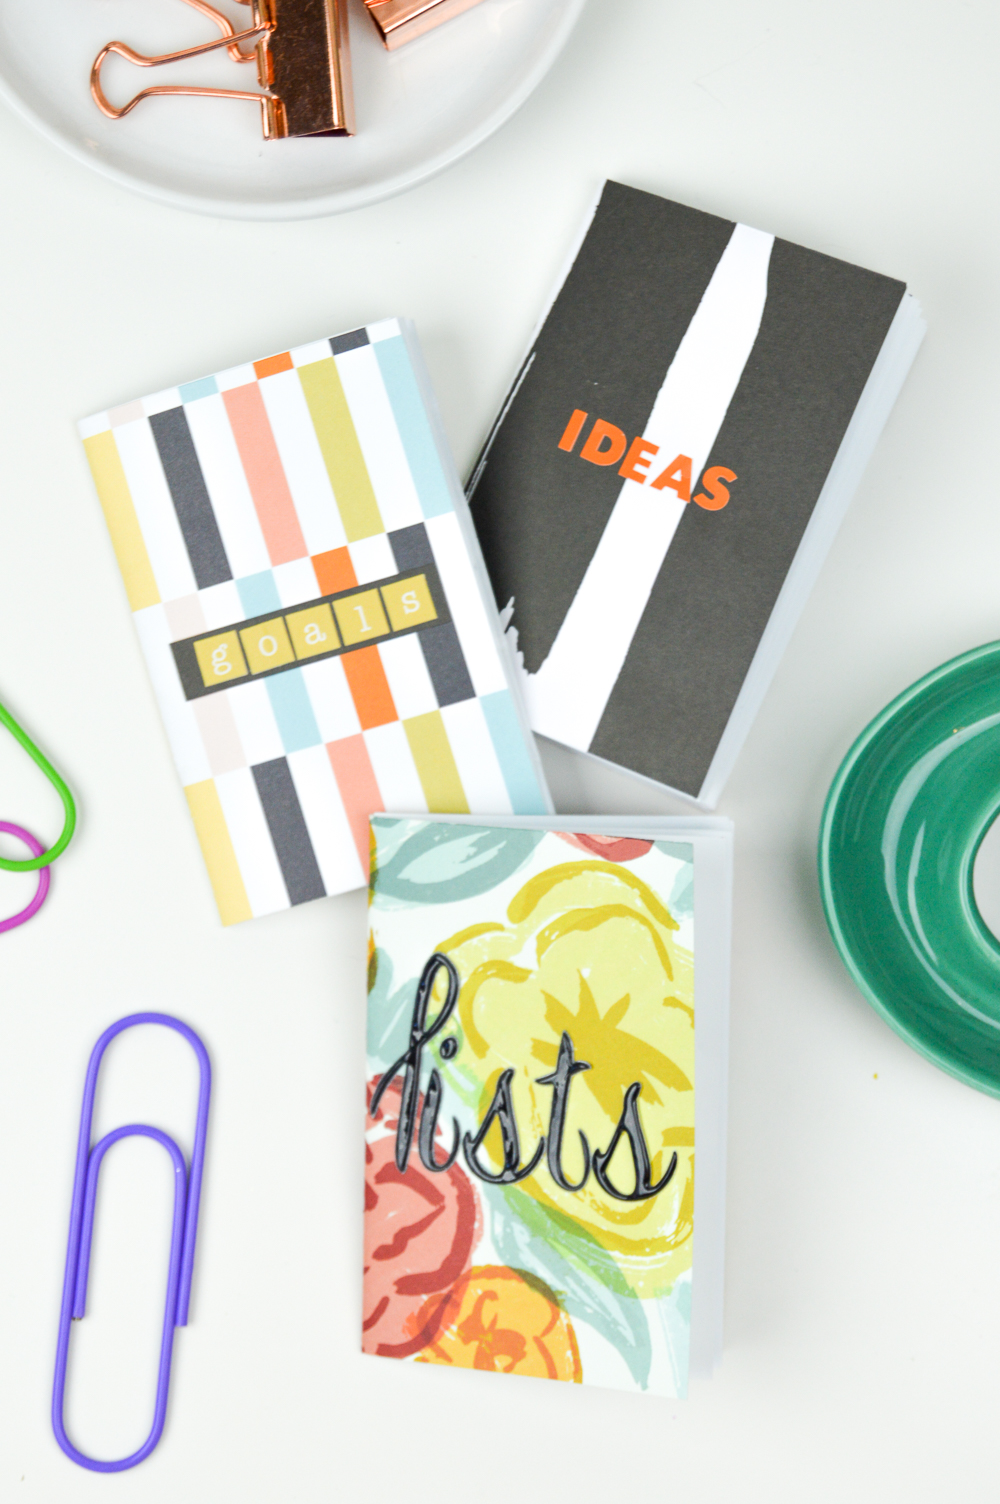
Despite my severe attachment to my phone, I actually prefer to handwrite pretty much all of my lists – to-dos, groceries, etc. This usually leaves me with hundreds of post-its and paper scraps scattered over my desk and kitchen counter and filling my purse. I guess I’m what you would call a “list person,” but I prefer to just think of myself as organized…when the papers aren’t scattered everywhere.
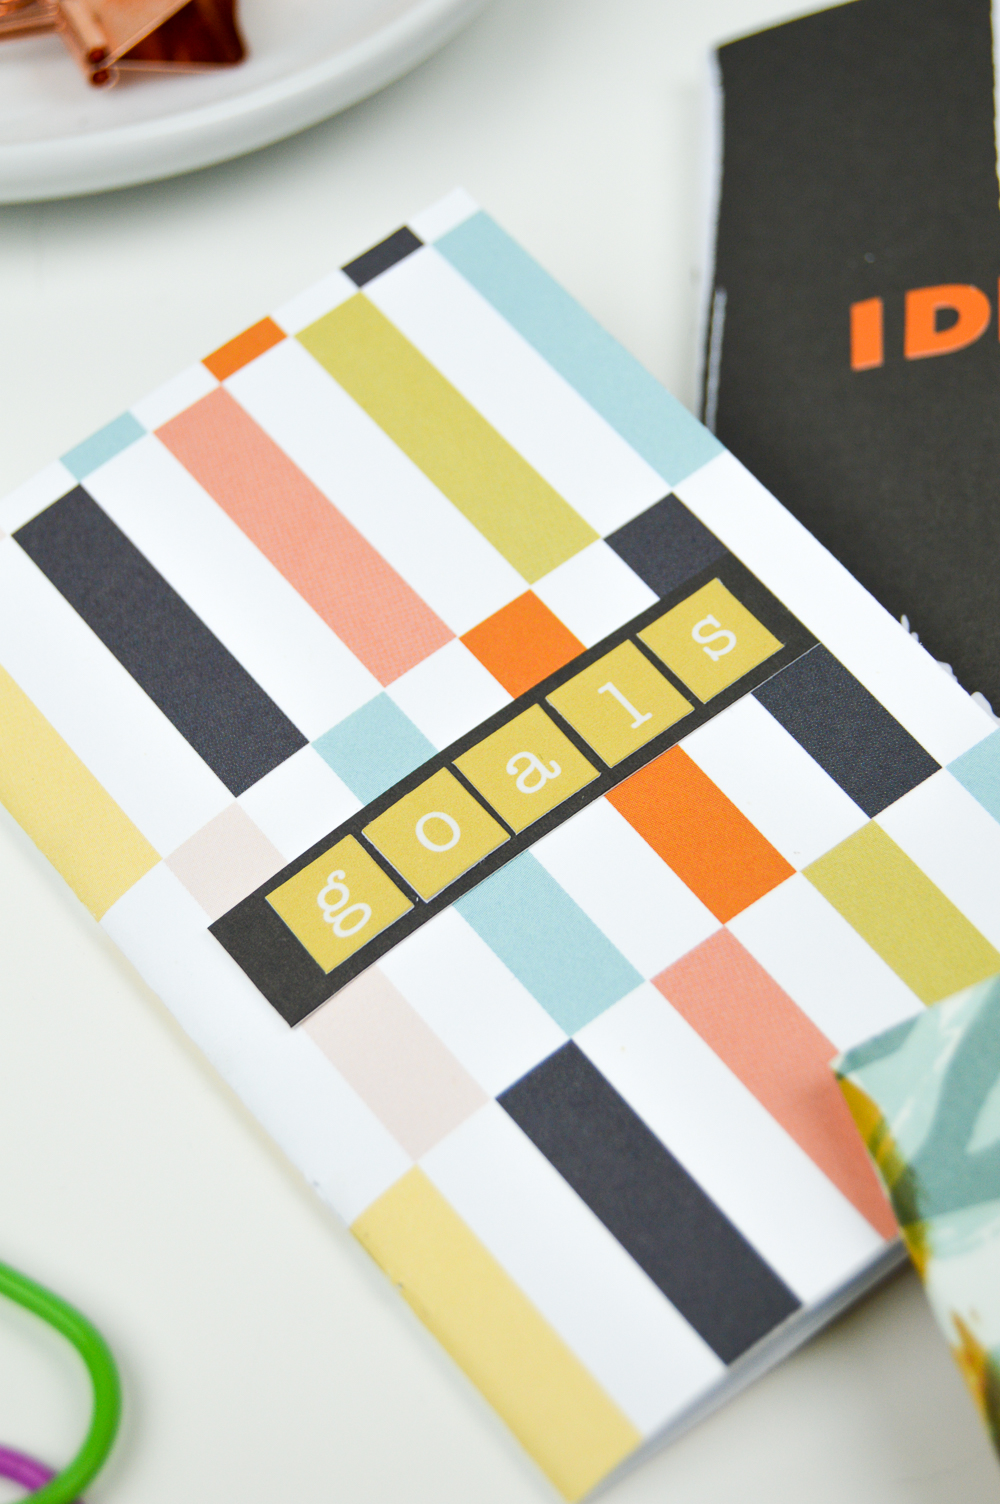
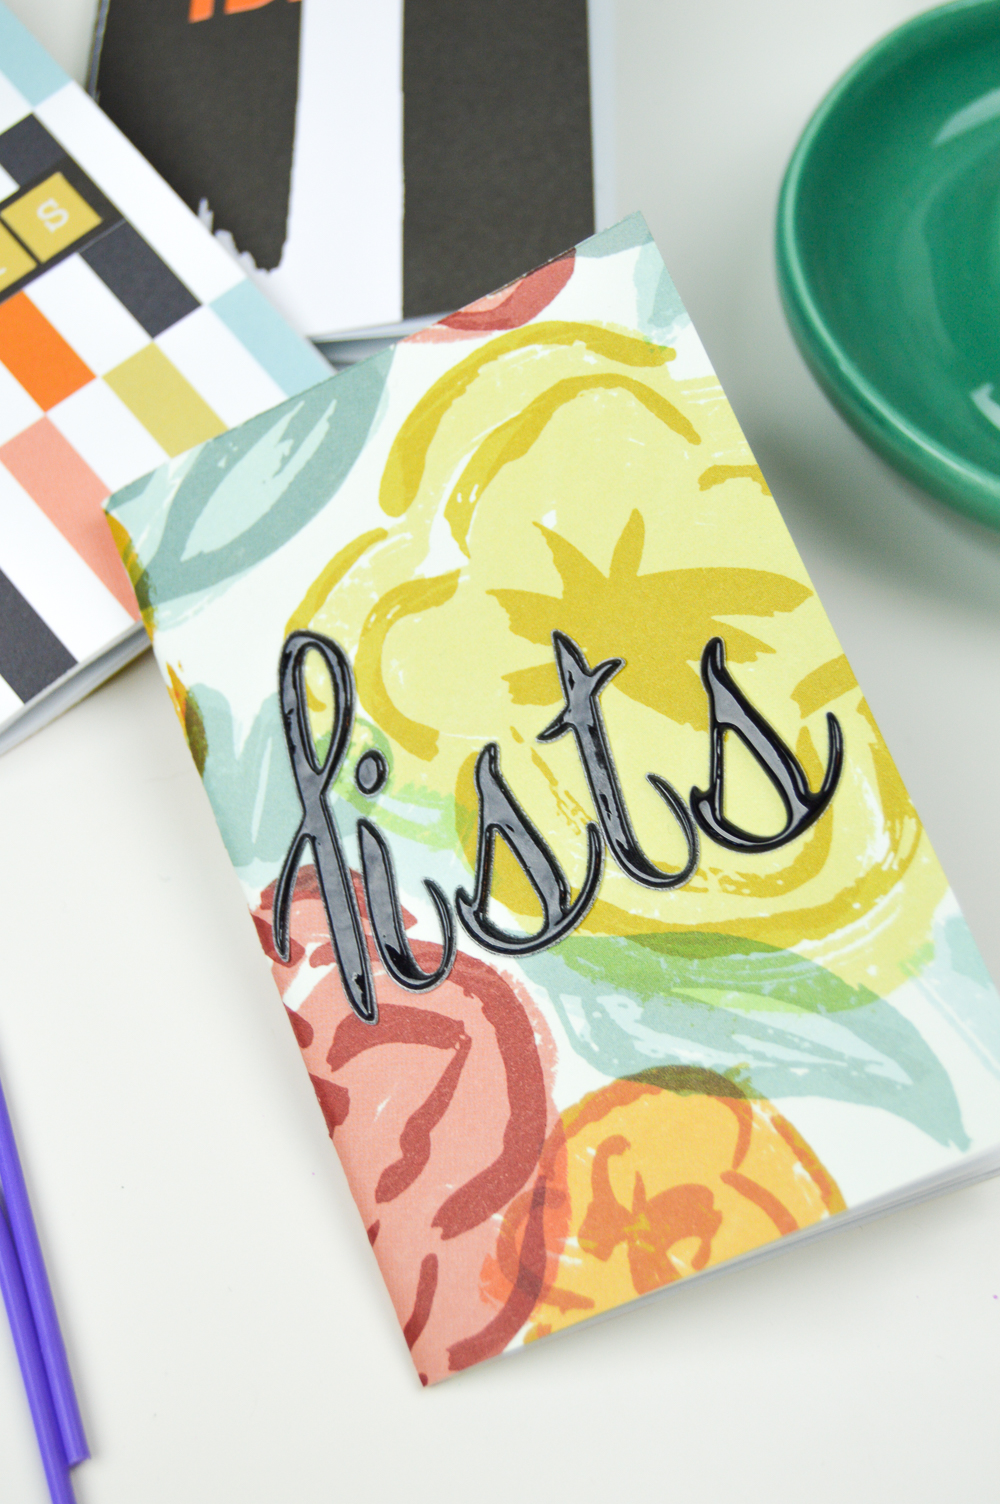
Anyway, I try to invest in actual notebooks so that I don’t lose or hoard loose papers. That’s why I wanted to make myself a few DIY mini notebooks to carry around with me and documents my various lists! I subscribe to A Beautiful Mess‘s Messy Box, so I’ve been hoarding all of this cute patterned cardstock and I was so excited to use a few of my favorites to make these notebooks and cover them with stickers. They’re incredibly easy to make and don’t require any special materials to make, which is always a plus! Customize them with your fav patterns and stickers!
Supplies:
- Patterned cardstock
- White printer paper
- Stapler
- Alphabet stickers
- Paper cutter
How to:
- Use a paper cutter to cut 6 x 4.5 inch pieces of patterned cardstock to become the notebook covers (this is the largest size that can still be stapled with an average stapler)
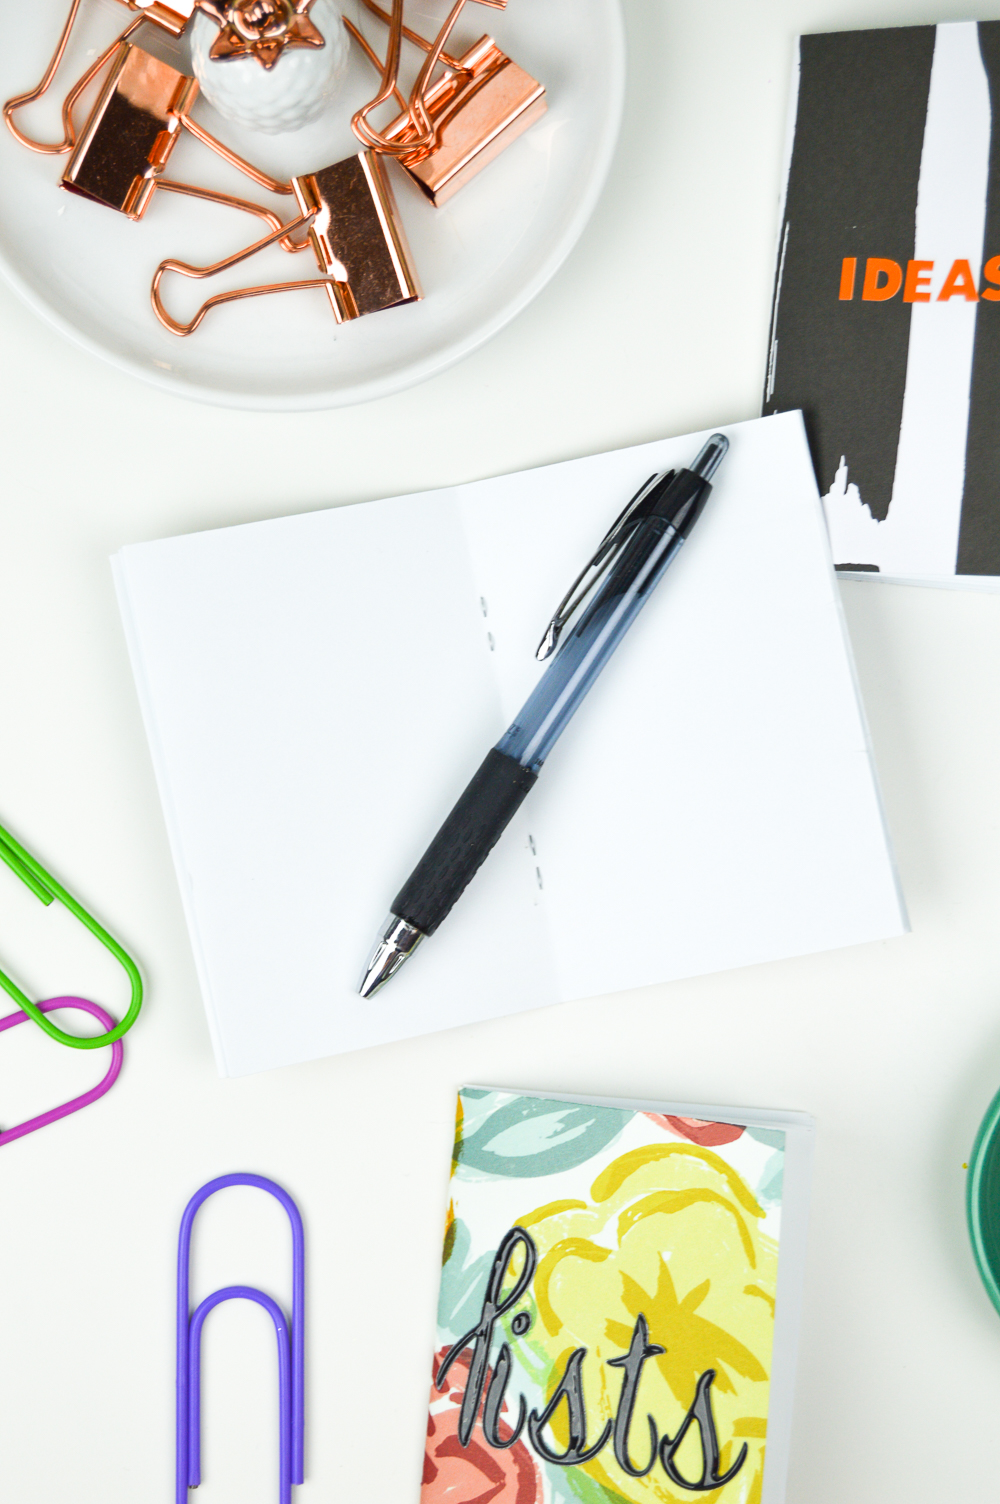
- Cut 6-8 pieces of printer paper 6 x 4.5 inch
- Line up all papers with the patterned cardstock on the top and fold in half to make a booklet. Open and insert into the stapler with the white paper facing up. Staple two evenly spaced staples along the fold
- Add stickers and other embellishments to the front of the notebook
I fill these little things up SO quickly, so luckily it’s really easy to make more. If you really like one of the covers you create, you could also carefully detach it and re-staple it with new papers. Write away!


Sam Baker
love this notebook idea, thanks lovely 🙂
towana
Thanks! As a senior citizen I can even do this!!