The following post is sponsored by Excel Blades
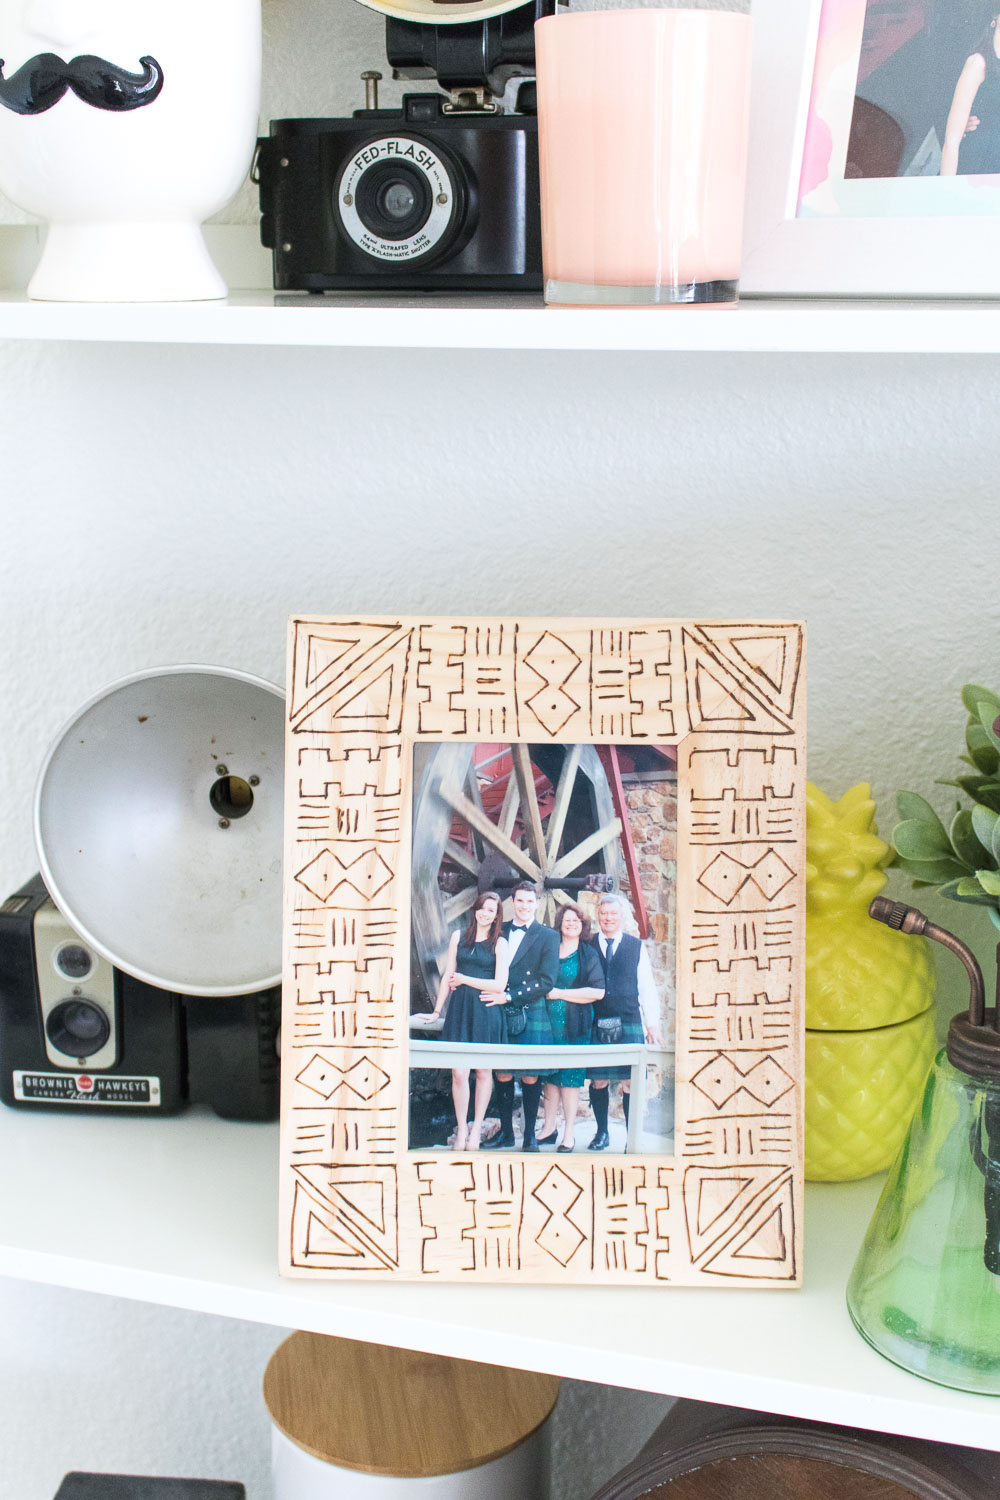
 Lately, I’ve been really interested in natural wood. Though almost everything in our main living area is a walnut finish, I’m incorporating more light, natural wood features into our bedroom. In order to update one of my natural wood frames, I used my Excel Blades wood burner to create this mud cloth wood burned frame inspired by the traditional African cloth. Mud cloth is traditionally on fabrics (hence the name) and is characterized by a light pattern on a dark background, but for this project, I reversed the traditional color scheme and based the pattern on those traditionally seen on mud cloth.

 First of all, I recommend checking out this post on the history of mud cloth if you’re interested in learning more about how it’s traditionally made and its cultural significance. It’s an interesting read!
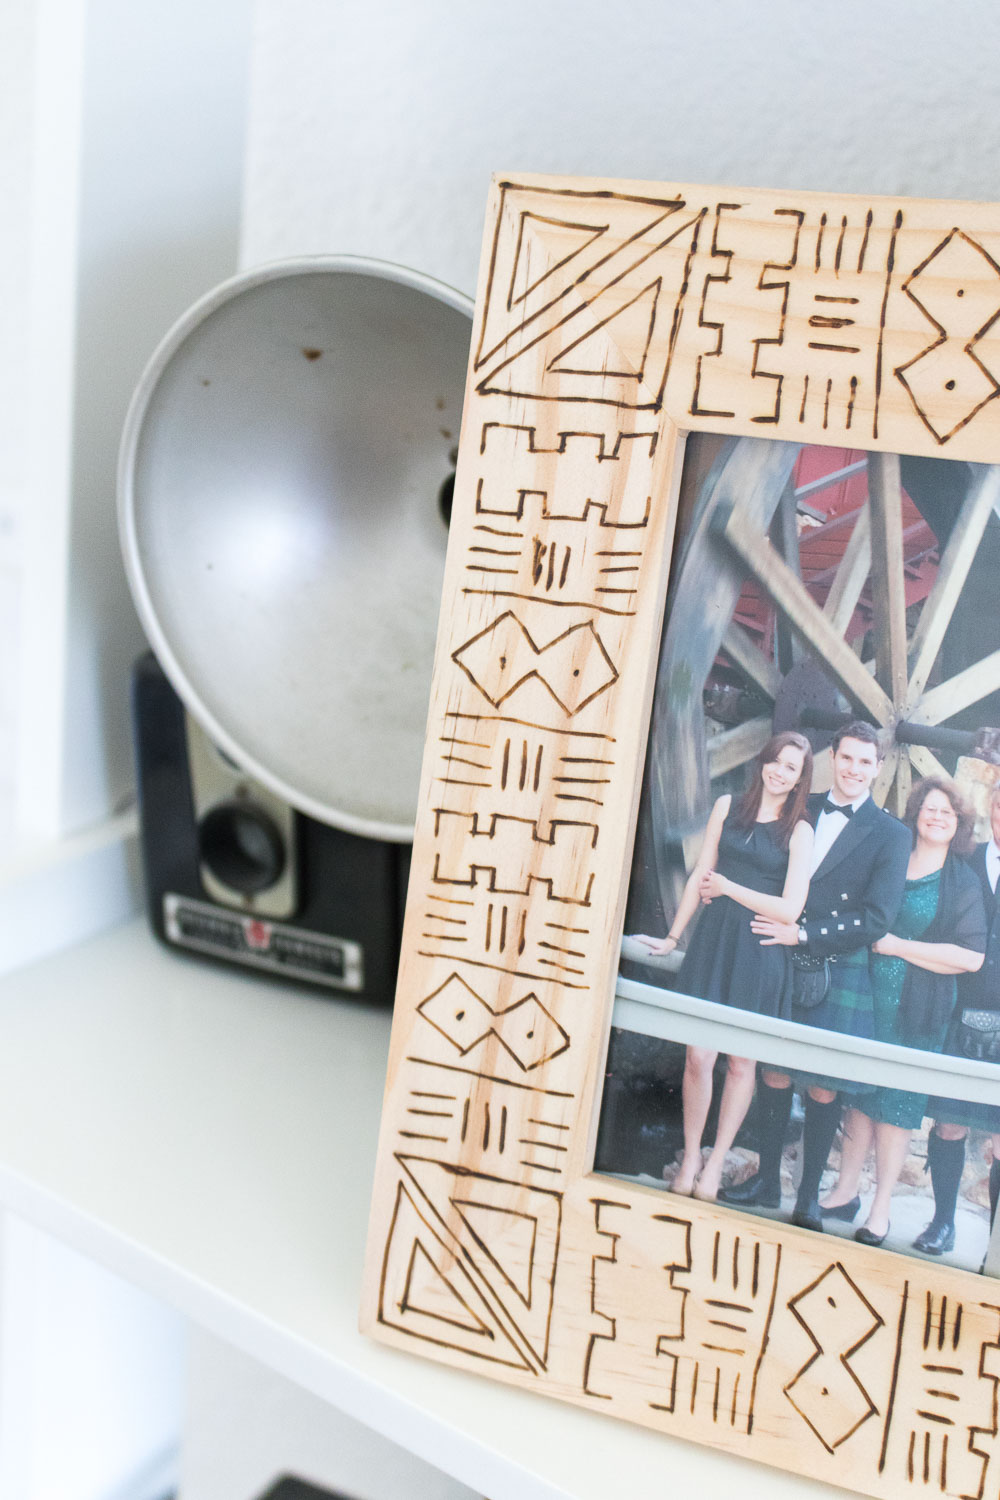
My Excel Blades wood burner was the perfect tool for this project to achieve the dark patterns I wanted because I felt that paint would not achieve the same look. Because I have shaky hands, painting intricate designs is not for me, but my shaky hands didn’t impact how the burning appeared because of how slowly I worked. In the end, it came out really cool and I think it’s clear what the design is inspired by. Plus, I didn’t feel as much pressure to achieve perfection with mud cloth patterns.
If you’ve never used a wood burner before, I recommend practicing on a piece of scrap wood just to get the hang of it. Although they are not difficult to use, practicing will help you learn how to control the pressure to achieve the look you want. They key is to work slowly and trace a template, and I think you’ll LOVE how it comes out. Wood burning makes things look so unique, and this mud cloth pattern adds interest to any plain frame.
You can choose a variety of patterns to create a unique mud cloth pattern. Feel free to follow mine, which contains a variety of lines, triangles and other symbols, or use your own. In the link I posted above about the history of mud cloth, you can read more about what specific symbols mean.
Supplies:
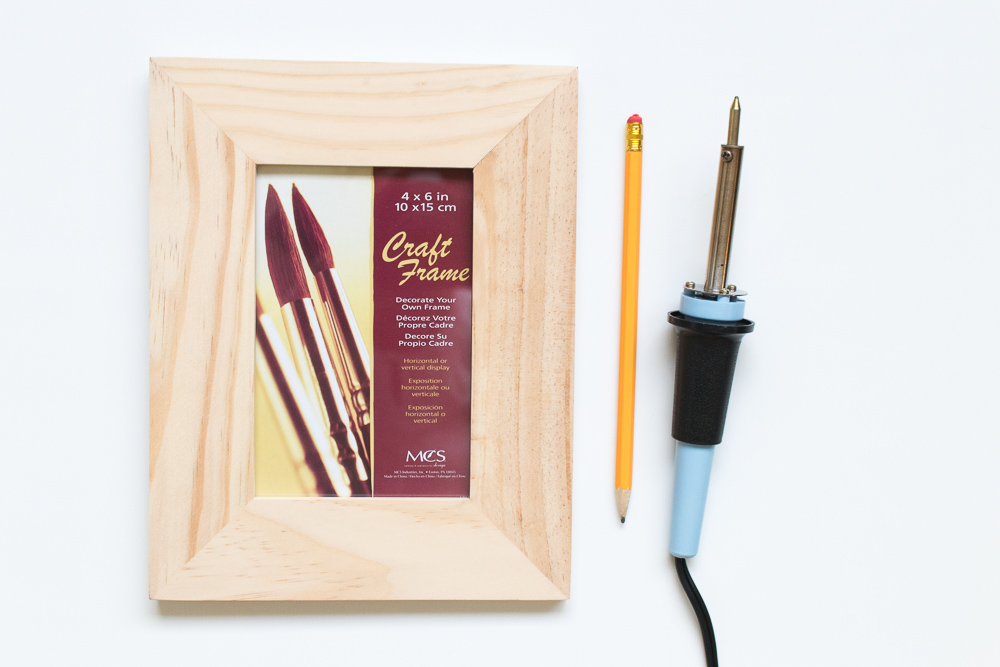
- Wood frame (be sure it’s real wood)
- Excel Blades wood burner
- Pencil
Step 1: Plug in the wood burner and allow it to heat up. Be sure to use it on a safe surface. Remove the glass so that you’re working with an empty frame.
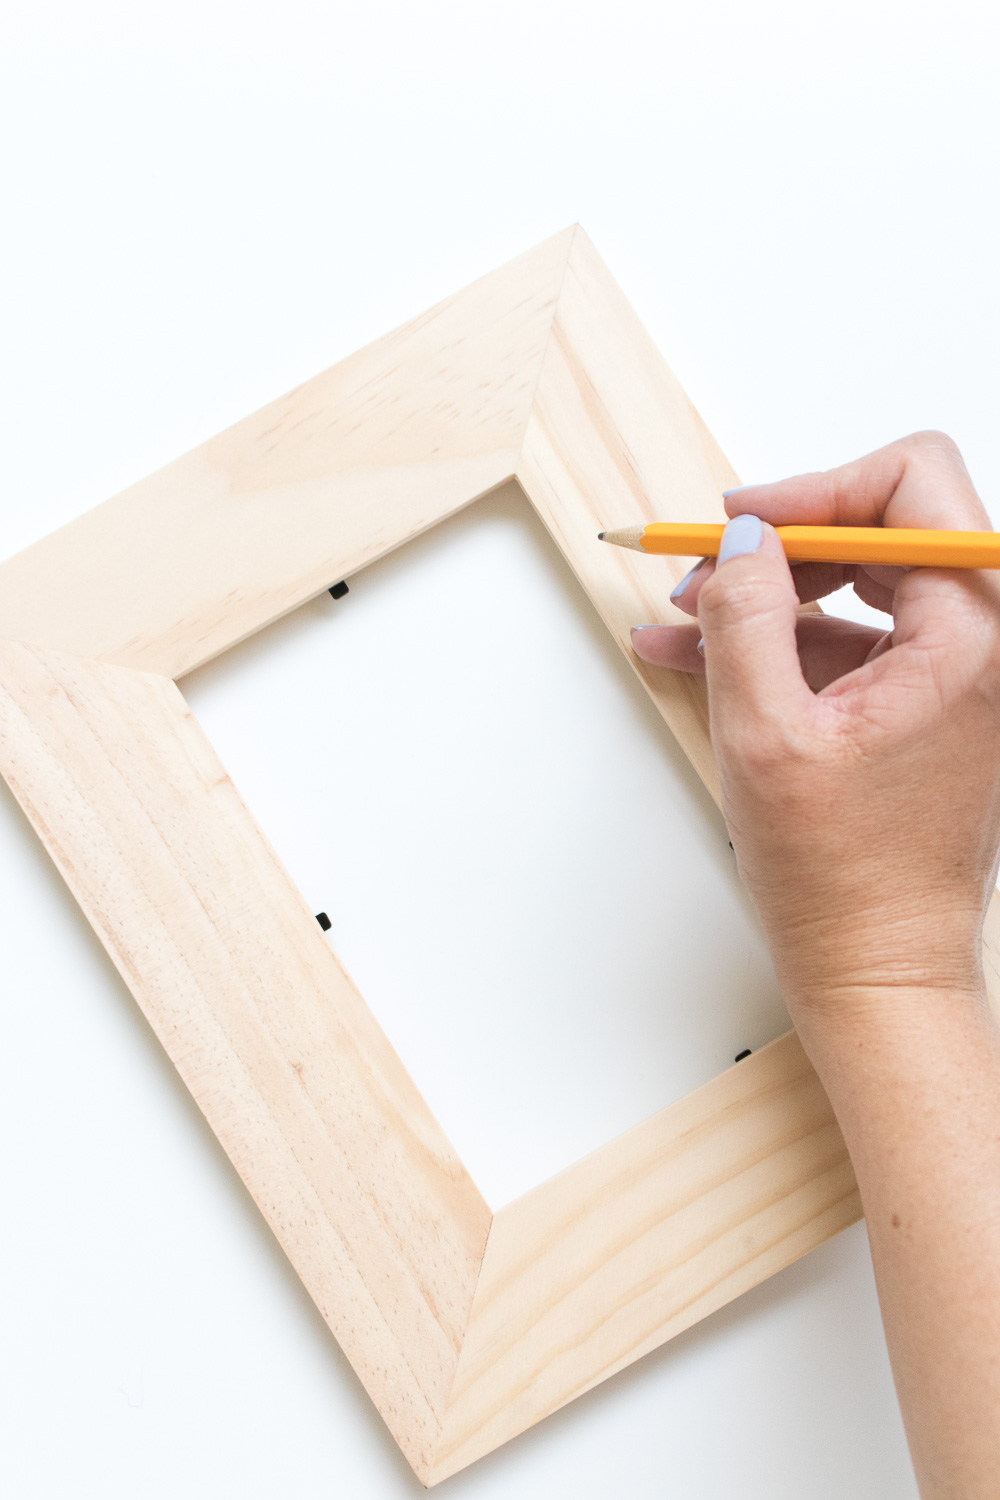 Step 2: Start by planning your mud cloth design by drawing it in pencil around the frame. I recommend following a type of repetitious pattern around the frame, but since this tutorial isn’t about practicing traditional mud cloth, you can customize the patterns as you please.
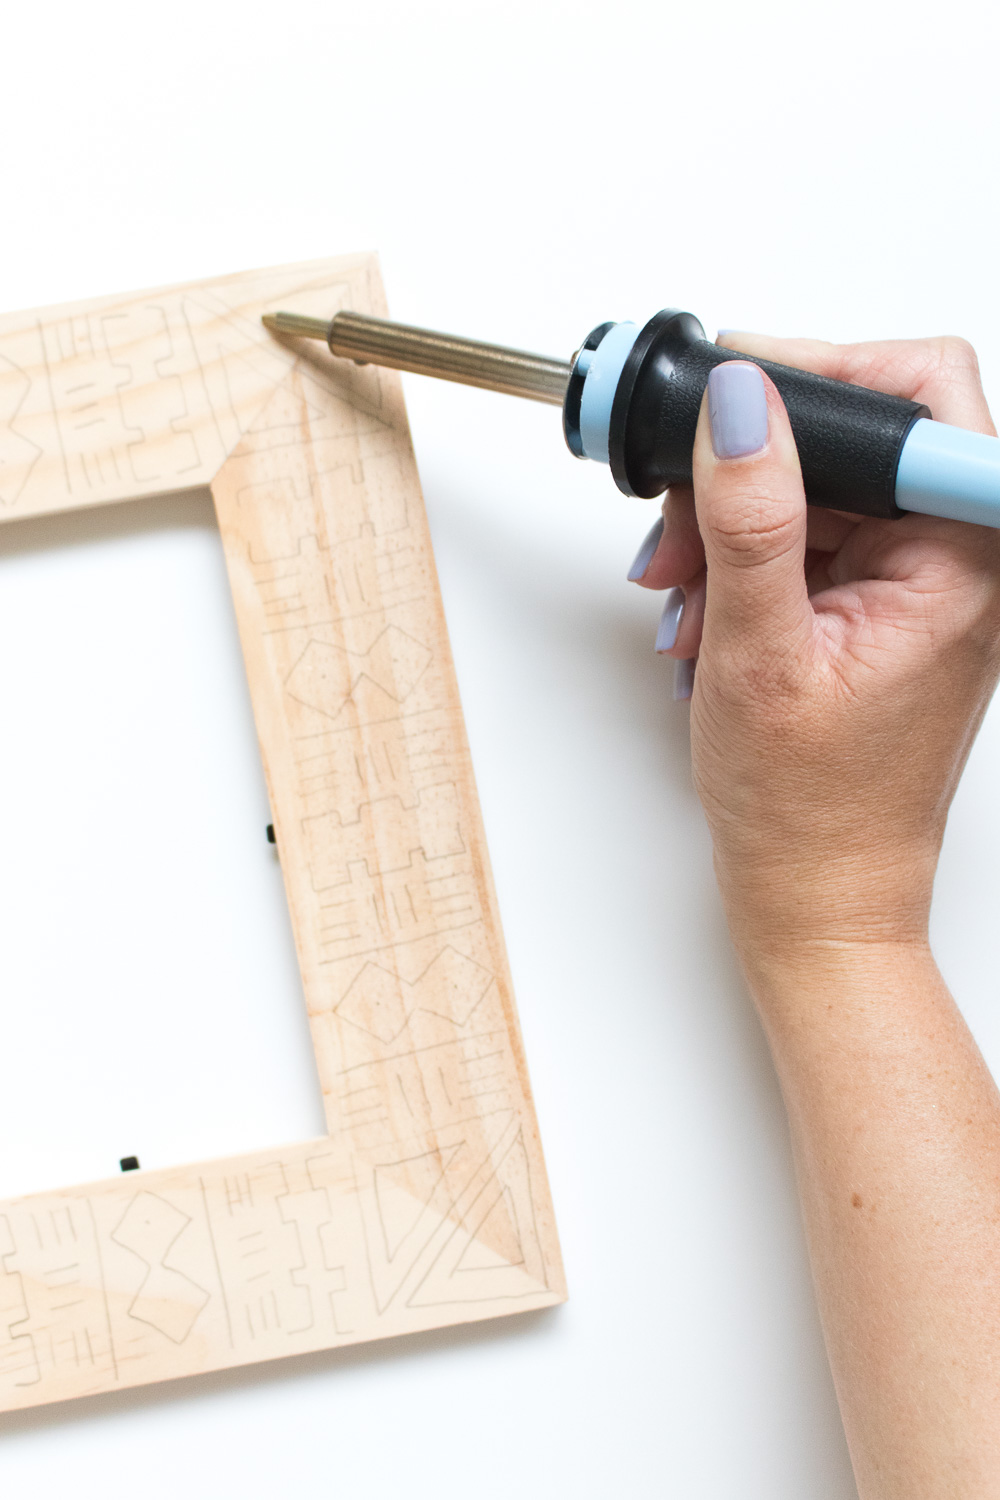 Step 3: When you’re satisfied with the pattern, begin burning. Start at a corner, go slowly and burn even lines all the way around the frame, tracing over your pencil marks.
Step 4: Once you’ve completed all of the burning, use an eraser to remove any remaining unwanted pencil marks.
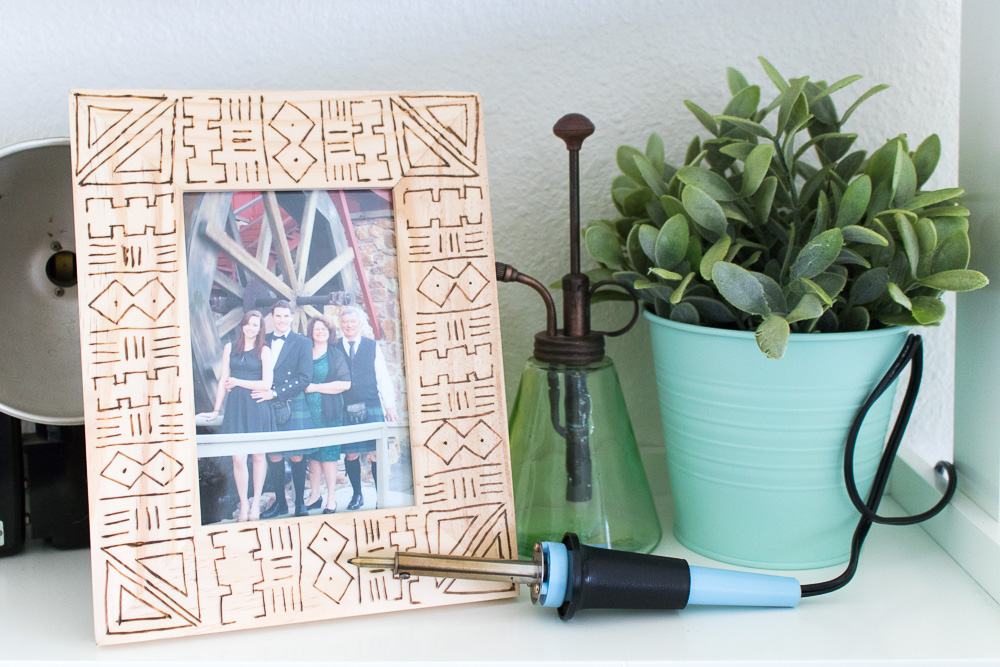
 That’s it! Once you’ve burned the entire pattern, place your desired photo inside and display for a unique wood burned frame that’s as beautiful and the photo inside it! Remember that the pattern doesn’t have to be perfect – mine certainly isn’t. That’s part of the character of the frame!
PS, check out my last post about wood burning for this DIY honeycomb wood cutting board!
Thank you to Excel Blades for sponsoring this post. All opinions are my own. Thanks for supporting the brands that keep Club Crafted posting!

