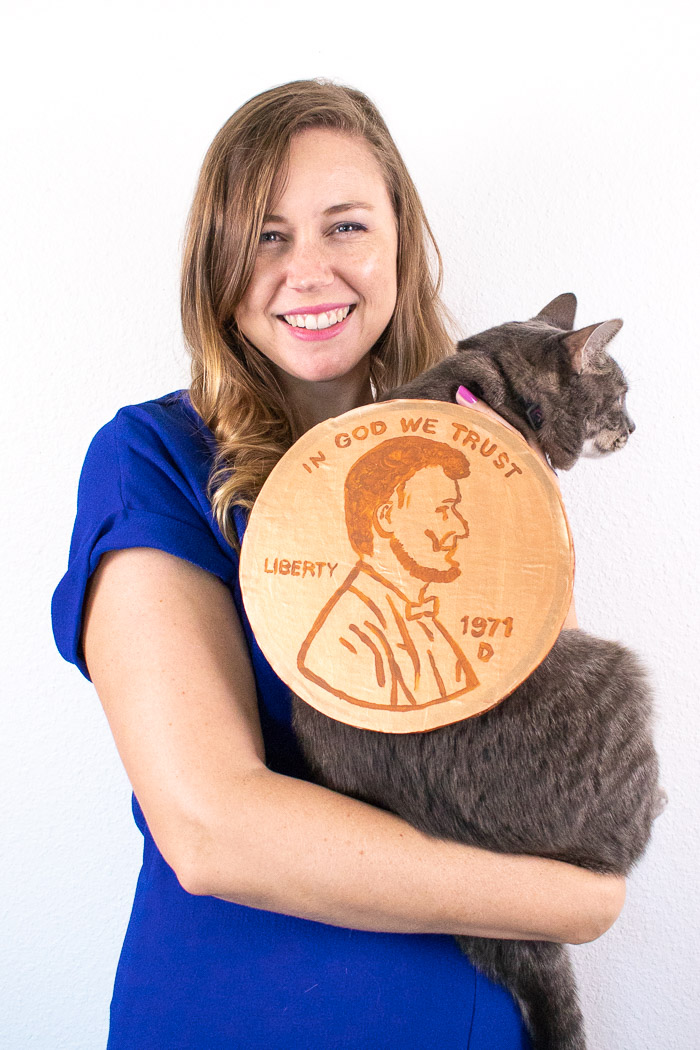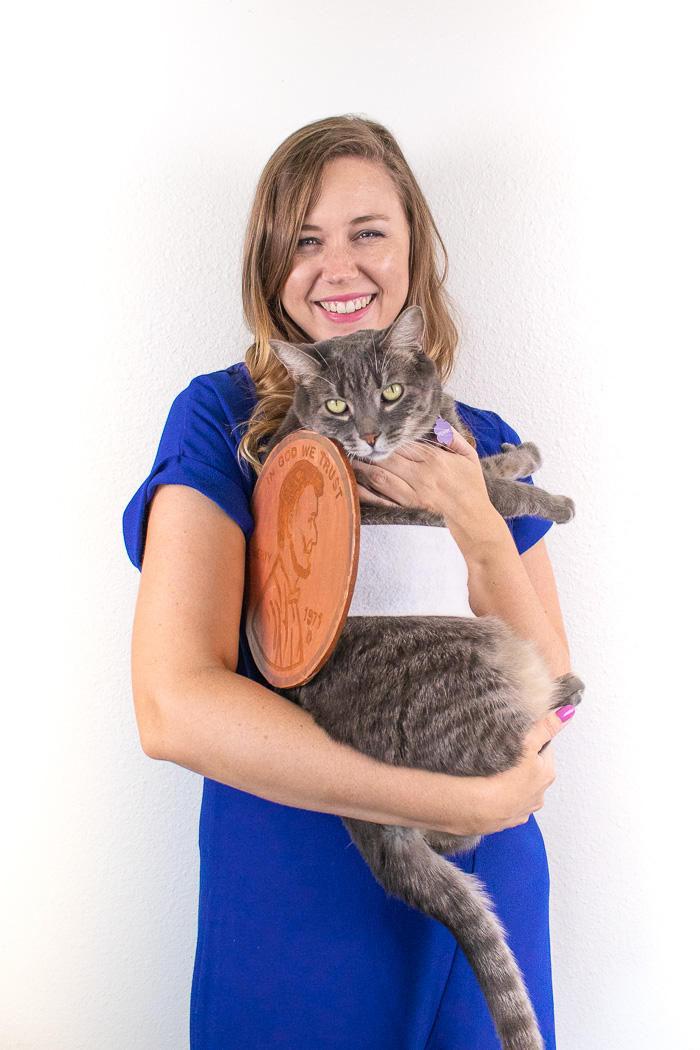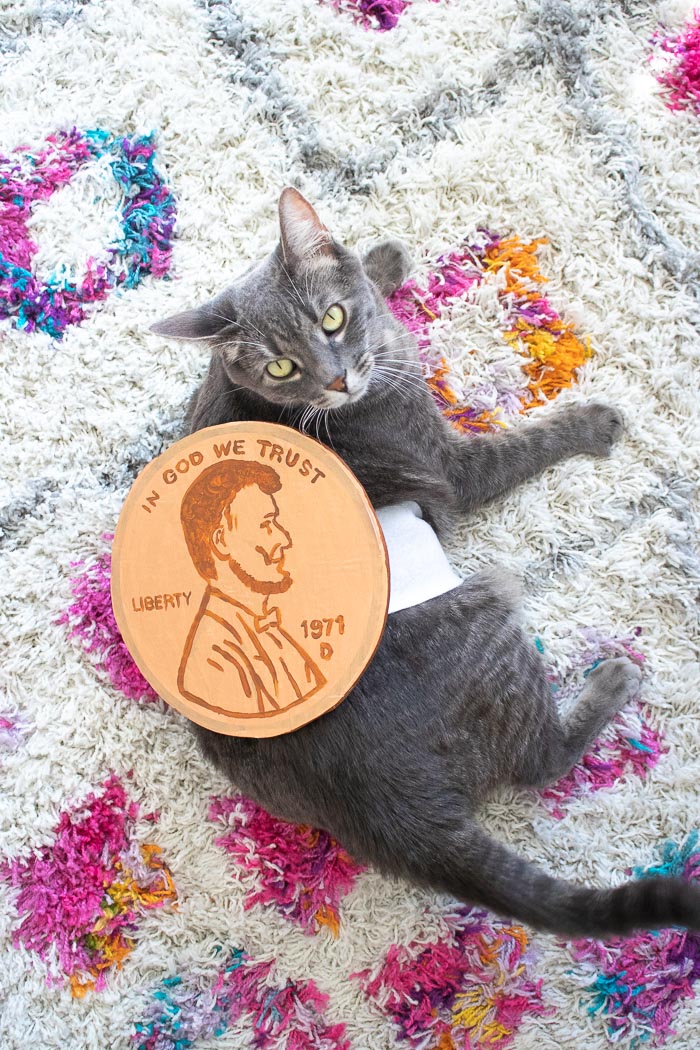
The time has finally come. I just couldn’t resist finally making this costume, you guys. Two years ago, I made Oliver a lion mane costume and it’s one of my most popular posts, so I put poor Penny through the same misery of wearing a costume this year. How could I resist making Penny an ACTUAL penny pet costume though?!
Penny enjoys being picked up (mostly just by me) so that she can nuzzle at my shoulder and drool all over my hair – it’s cute, I promise – and I like sing “find a Penny, pick her up and then all day, you’ll have good luck.” Basically, she was just begging for this penny costume!! Although she didn’t enjoy wearing it, I did mange to keep it on her long enough to get a couple photos of her as a real life penny. I can’t image a more perfect costume for a cat named Penny!
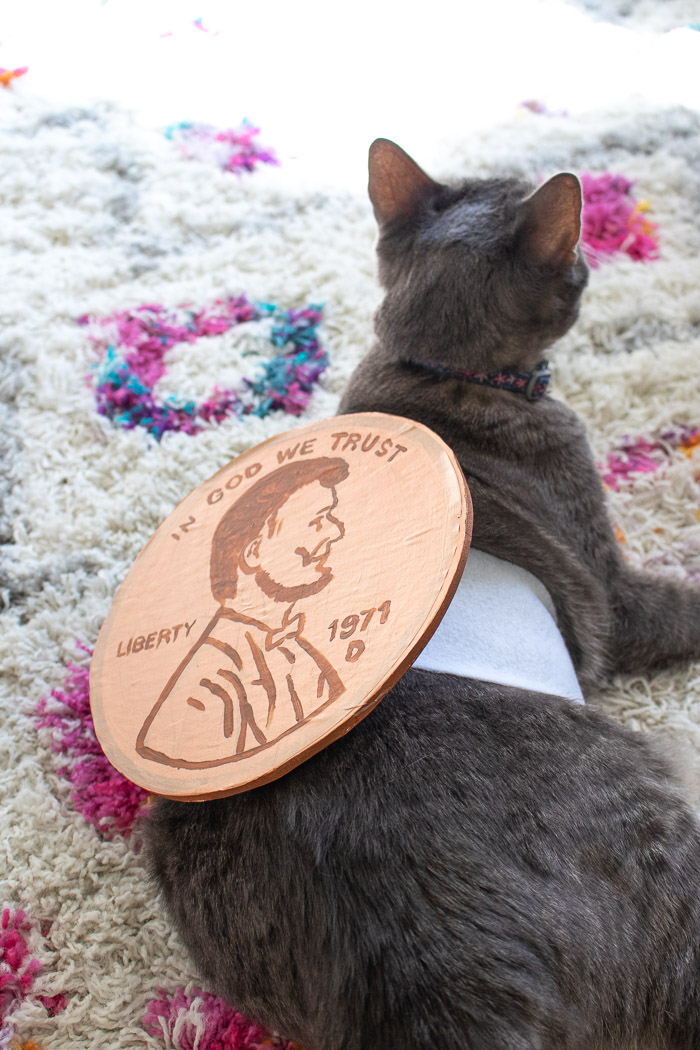
This penny pet costume is really easy to make your small dog or cat for Halloween with a few craft supplies, and it’s easy to put on! I learned the hard way that my cats were not fans of wearing costumes, so I’m only willing to try easy pet costumes that easily slide on and off so that they aren’t overly distressed and I’m not torn to pieces. Thanks to a simple felt band and a bit of velcro, it was easy to wrap around Penny’s midsection and stick the ends together without her overreacting. The foamboard is lightweight so it’s easy for them to wear too! After about 10 minutes, Penny realized that she could shimmy out of the band and get the costume off, but at least I got a few photos of my lucky Penny before she gave up.
Here’s how to make a simple penny costume for your pet this Halloween!
Time: 30 minutes
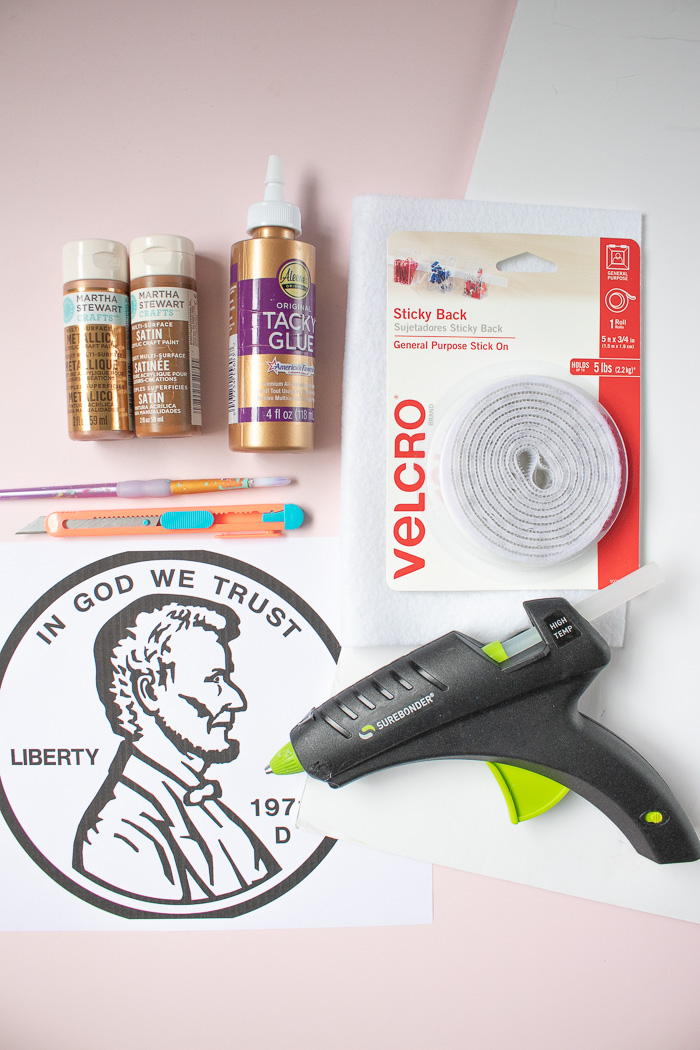
Supplies:
- Foamboard
- Penny printout (8.5 x 11 in paper)
- Craft knife
- Glue
- Metallic copper paint
- Brown paint
- Paintbrushes
- Felt
- No-sew velcro
- Hot glue fun
- Scissors
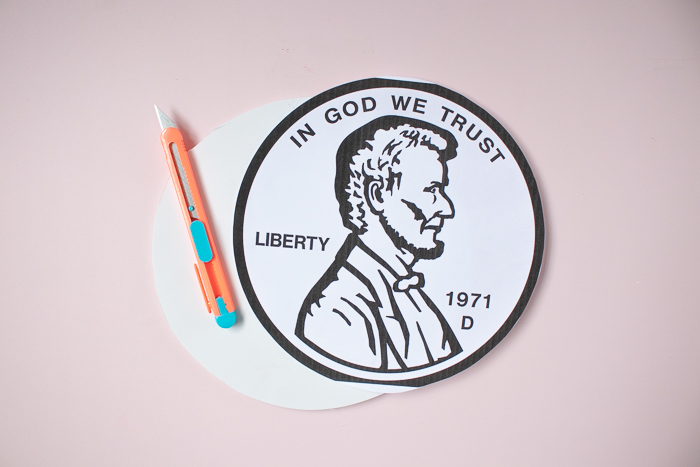
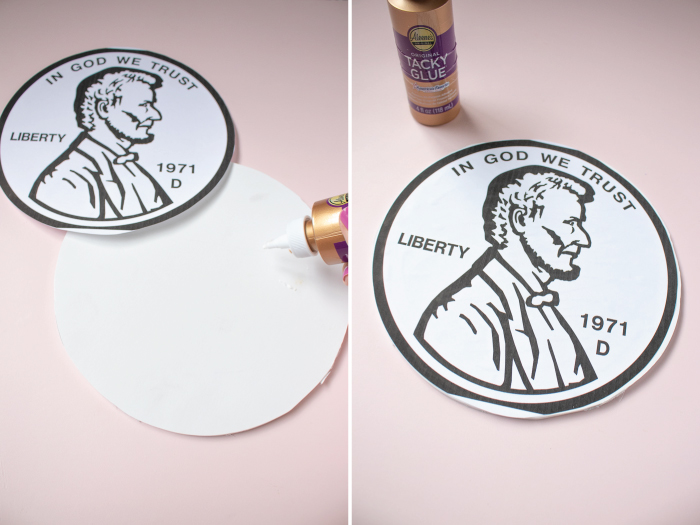
Step 1: Cut out the penny. I printed a black and white penny image as large as possible on 8.5 x 11-inch paper. You should be able to find one with a Google image search.
Step 2: Use the cut printout as the template to cut a circle out of the foamboard.
Step 3: Glue the printout to the top of the foamboard and smooth it out. Let dry.
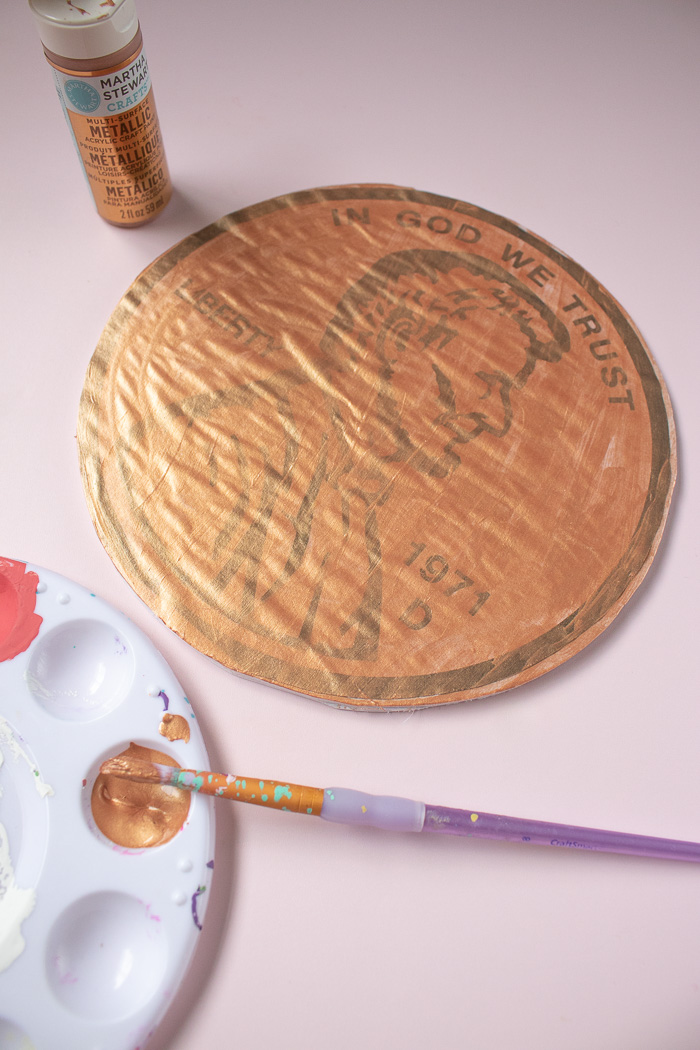
Step 4: Generously paint over the top of the printout with copper paint. Paint additional coats until the image is just barely still visible beneath the copper. Also paint the sides of the foamboard.
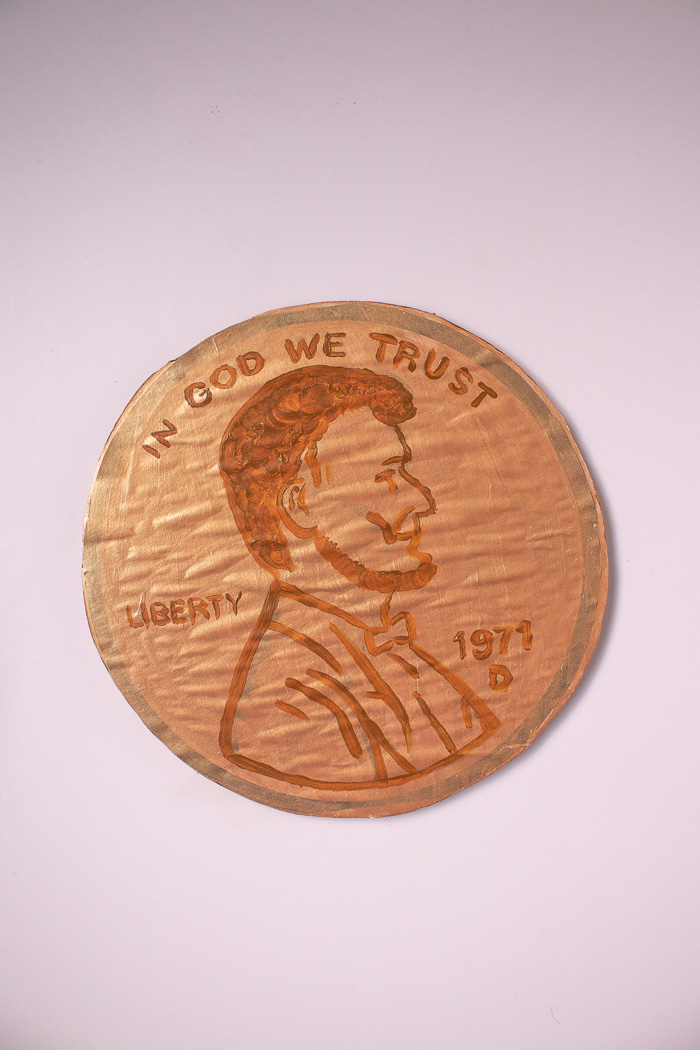
Step 5: Trace the image in brown paint so that it pops against the copper background while still looking natural. Let dry.
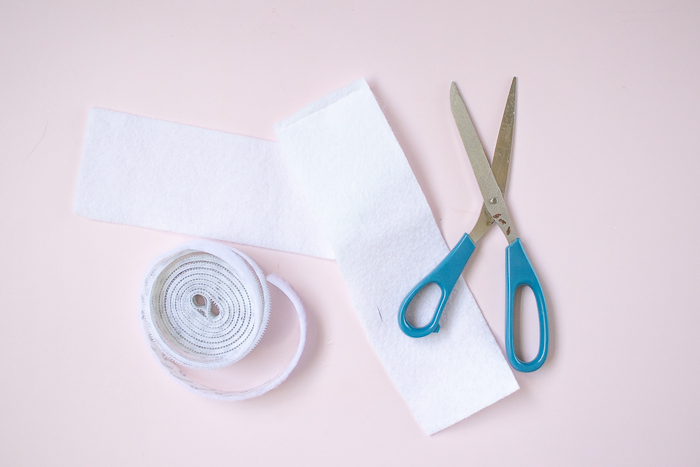
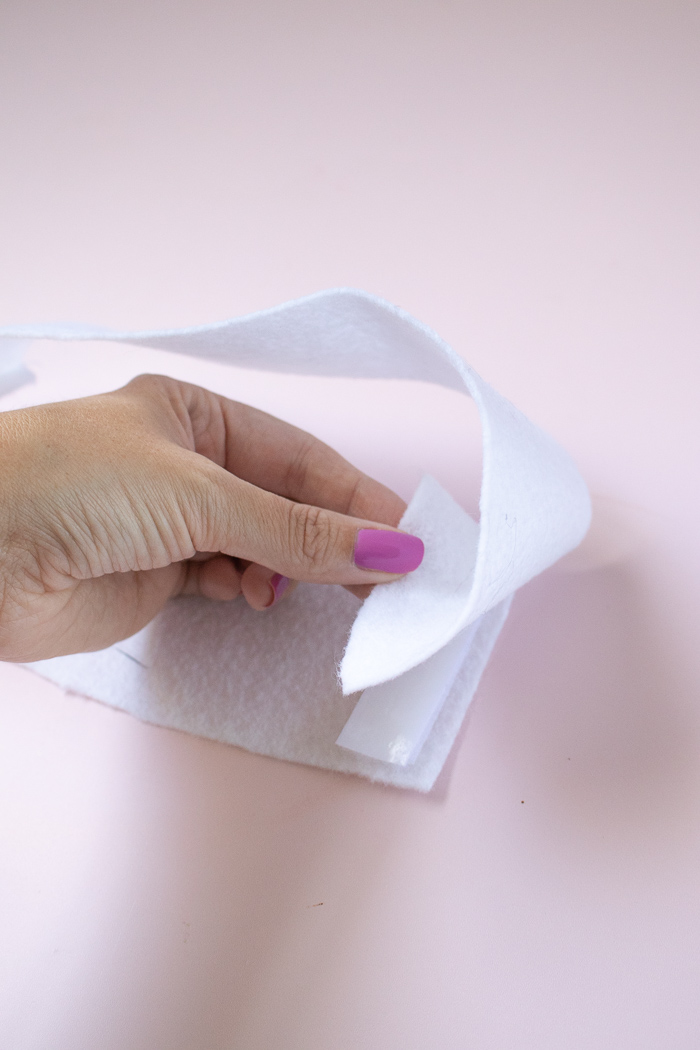
Step 6: Measure around your pet’s midsection. Penny is not the skinniest of cats, so I cut two pieces of felt about 2.5 inches wide and sewed the ends together to make one long piece to wrap around her tummy. Be sure to include a little extra wiggle room for the fabric to overlap.
Note, the reason I use felt is because the velcro will stick to it easily, making it easy to wrap around pets who don’t necessarily want to tummy touched or want to wear a costume.
Step 7: Cut a piece of stick-on velcro to the width of the felt strip and stick to the ends. Now the pieces will stick together underneath your pet’s tummy or the rough side of the velcro will stick to the felt on its own, so it’s easily adjustable.
Step 8: Lastly, generously hot glue the back of the copper penny to the top middle of the felt band so that it will sit on your pet’s back when worn.
Once the glue has set, you can *carefully* wrap the felt piece around your pet’s midsection and stick the velcro to the felt, positioning the lightweight foam penny on their back. Needless to say, Penny wasn’t a big fan of it, but it was cute for a little while before she started trying to bite the foamboard. I’m sure your pet will make the cutest coin in this penny pet costume!

