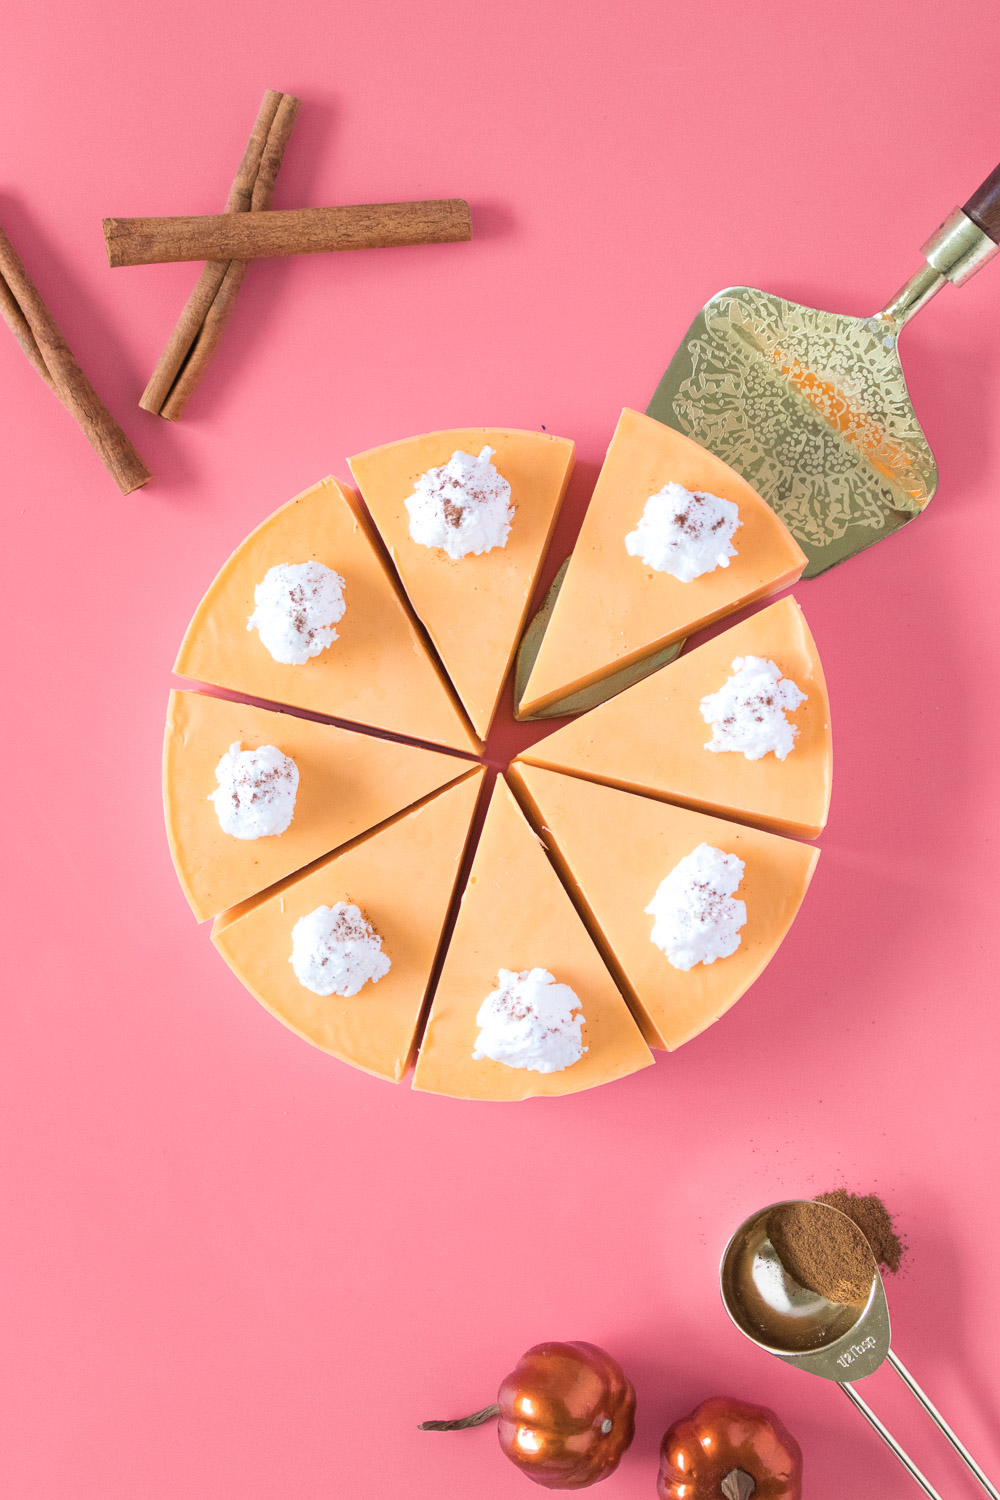
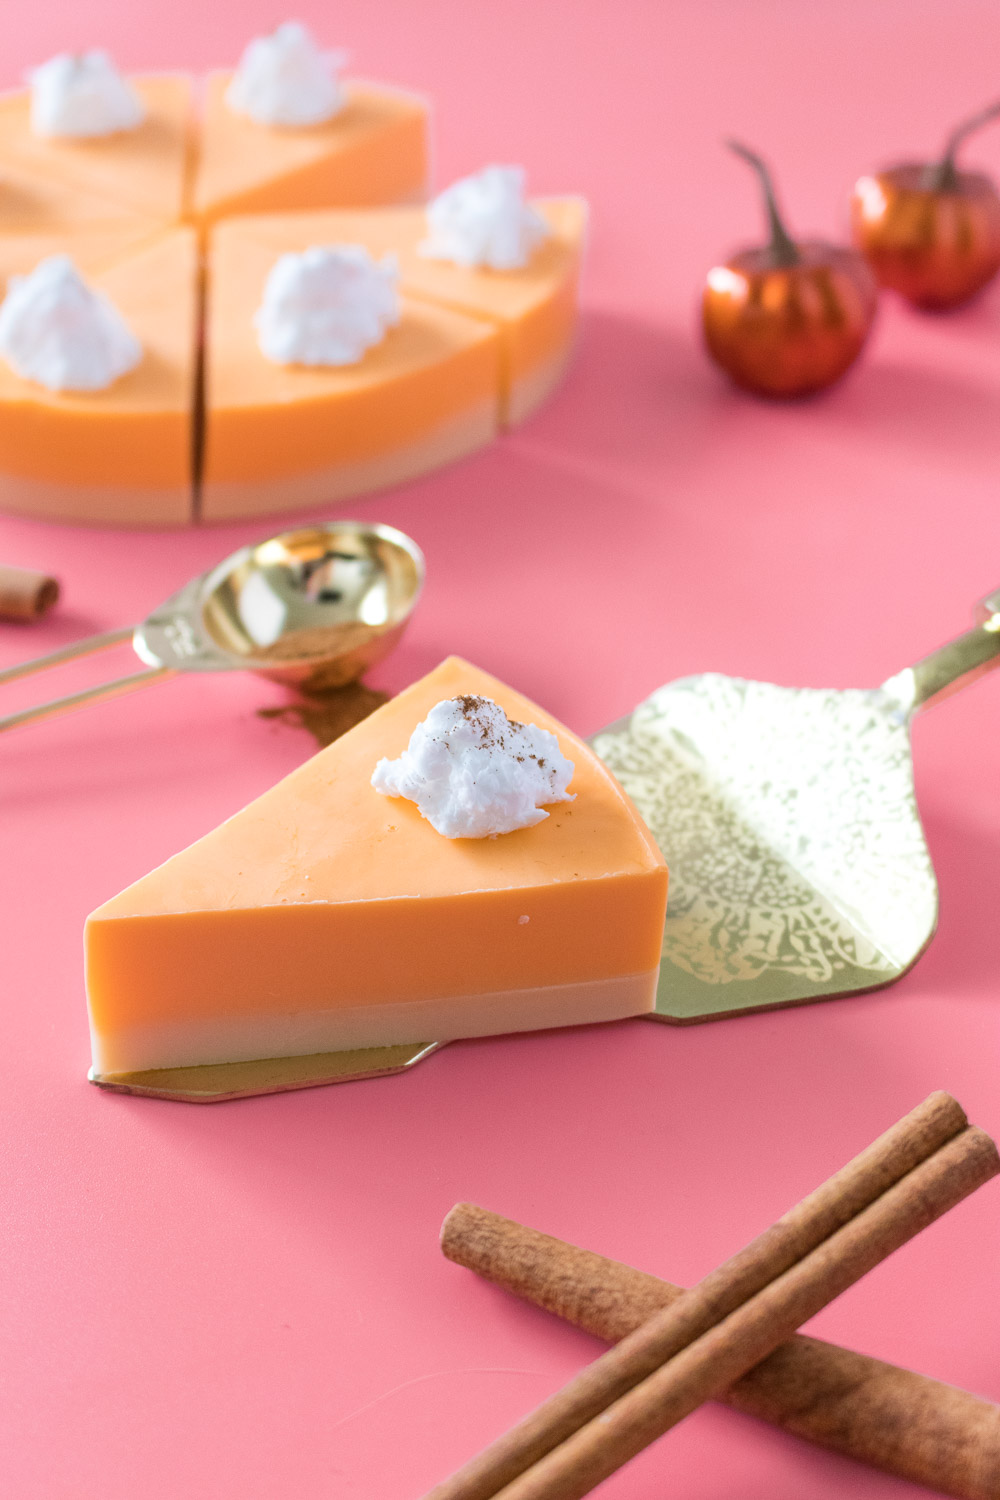
 ‘Tis the season for all things pumpkin, so if you’re all aboard the pumpkin spice train, you’re going to love this season DIY. Not only does this DIY pumpkin pie soap smell good enough to eat (please don’t though) it actually looks like a slice of pumpkin pie, complete with a dollop of whipped cream on top and a sprinkle of soap. It will make you smell like fall, and with a shea butter soap base, it leaves you skin feeling incredibly soft. Plus, soap – especially soap this cute – makes a great gift for any occasion this season!
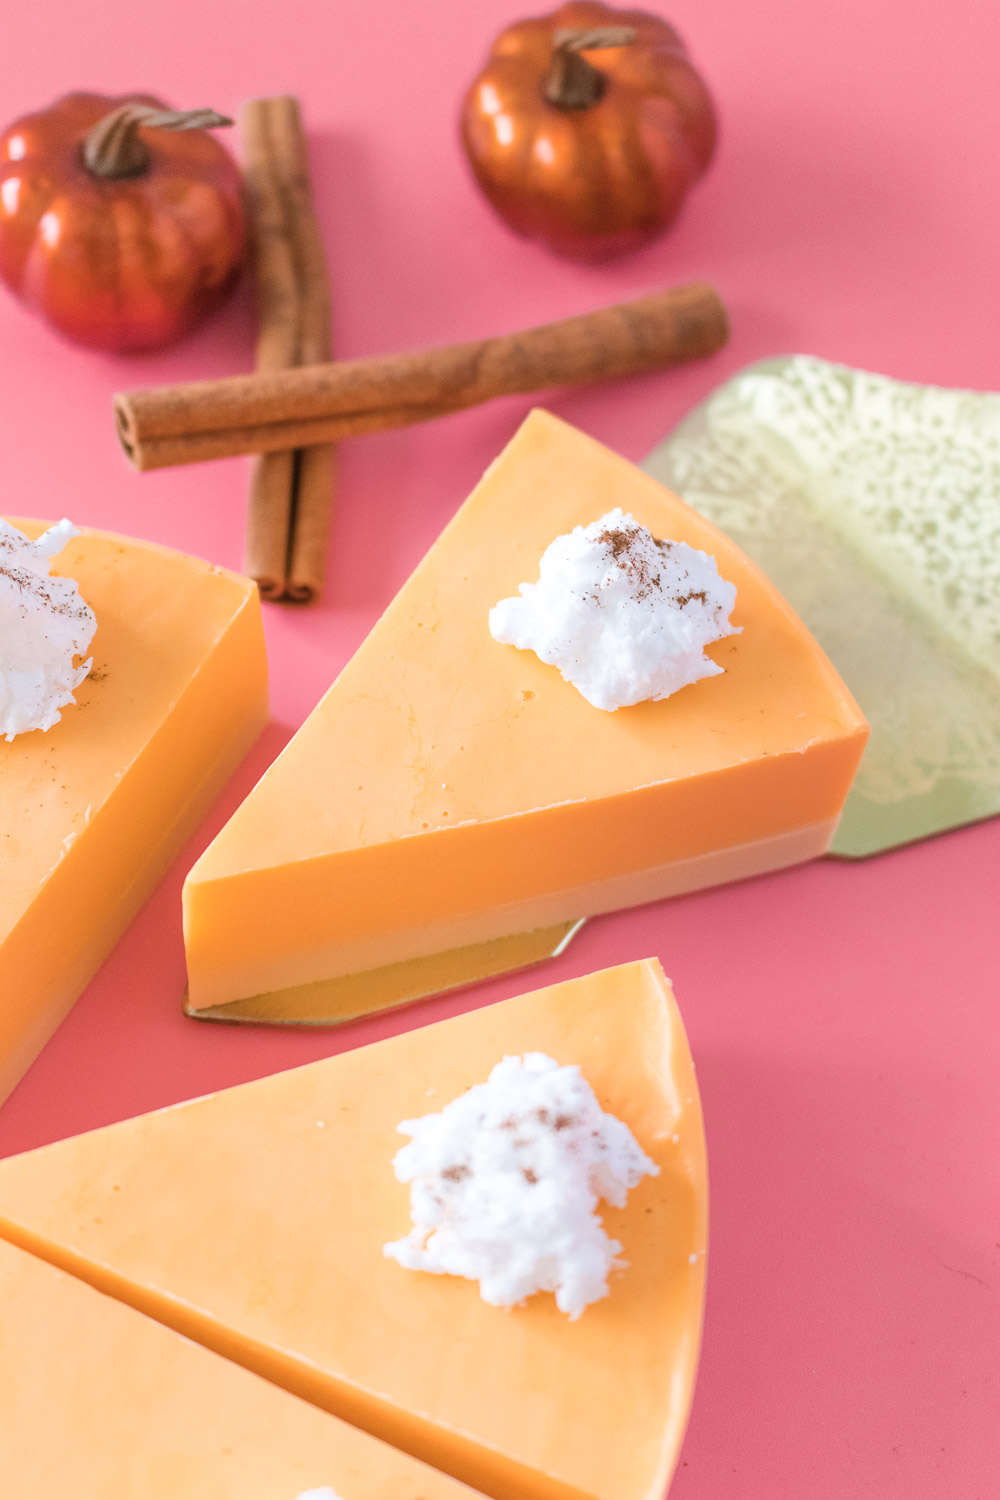
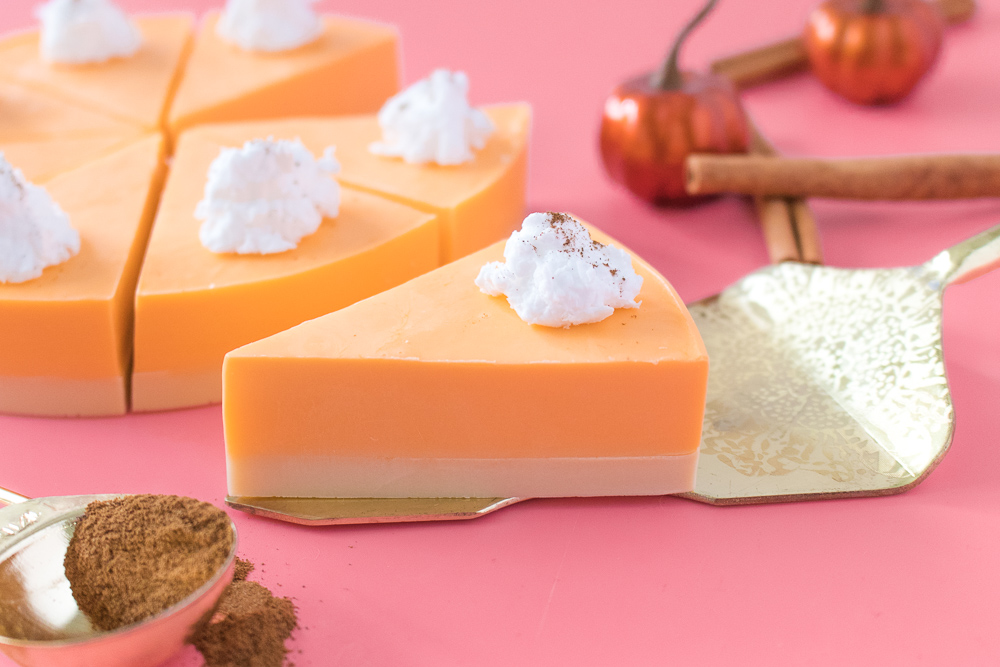 Do you ever have cute soaps that are so cute that you don’t want to use them? I kind of felt like that about these pumpkin pie slice soaps, but why waste it by not using it, right?! Put a slice on a soap dish for a cute bar to wash your hands with this season. Otherwise, wrap a piece in a clear gift wrap bag for a fun gift! I think it would make a cute hostess gift for Thanksgiving!
Speaking of…can you believe how fast this month is going by?! I can’t believe how close we are to Thanksgiving already.
I also learned some new soap making tips while researching for this project. For example, spraying alcohol can help remove air bubbles, so I decided to try using hairspray since I didn’t have anything pure alcohol in the house and IT WORKED. The more you know! ?
OK, let’s make soap!
Supplies:
- 2 lbs white soap base
- Yellow, orange and brown soap colorant
- Pumpkin pie soap fragrance
- Round silicone cake mold (6 0r 8 inch)
- Hairspray
- Electric mixer
- Ground cinnamon
Note, I recommend a pre-scored soap base for easy measuring. However, measurements do not have to be exact for this DIY.
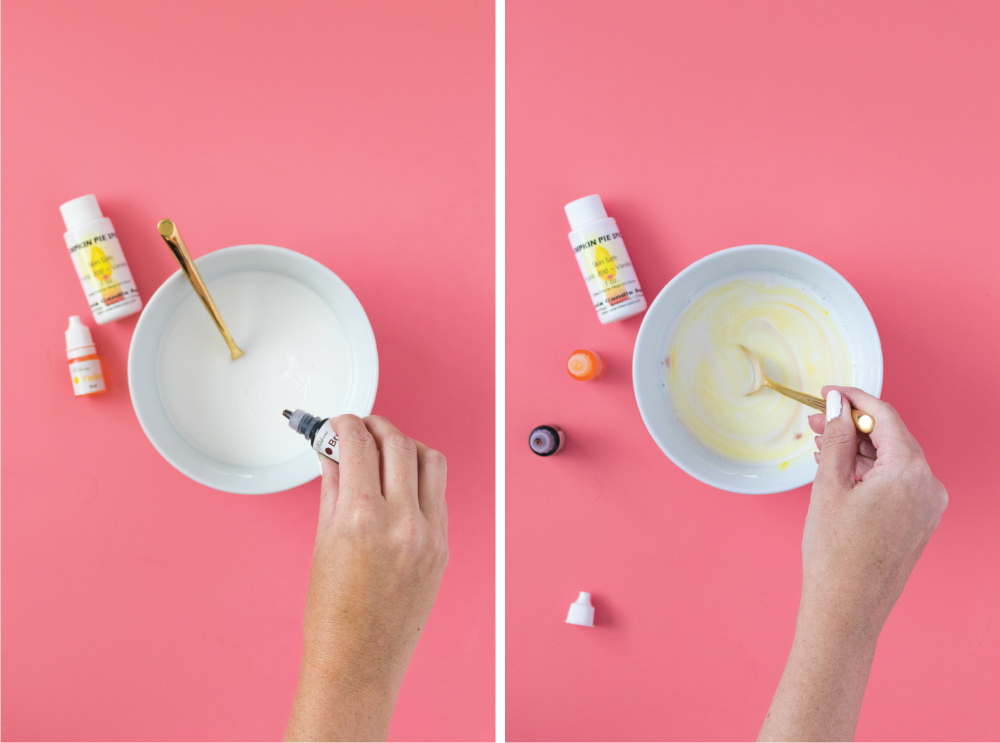 Step 1: Melt about 8 oz. of soap base in a bowl in the microwave for 30 seconds. Stir and replace if needed for 10 seconds until the soap is melted. Stir in yellow and brown colorant until a tan color is reached. Stir in about 1/2 tsp pumpkin pie fragrance.
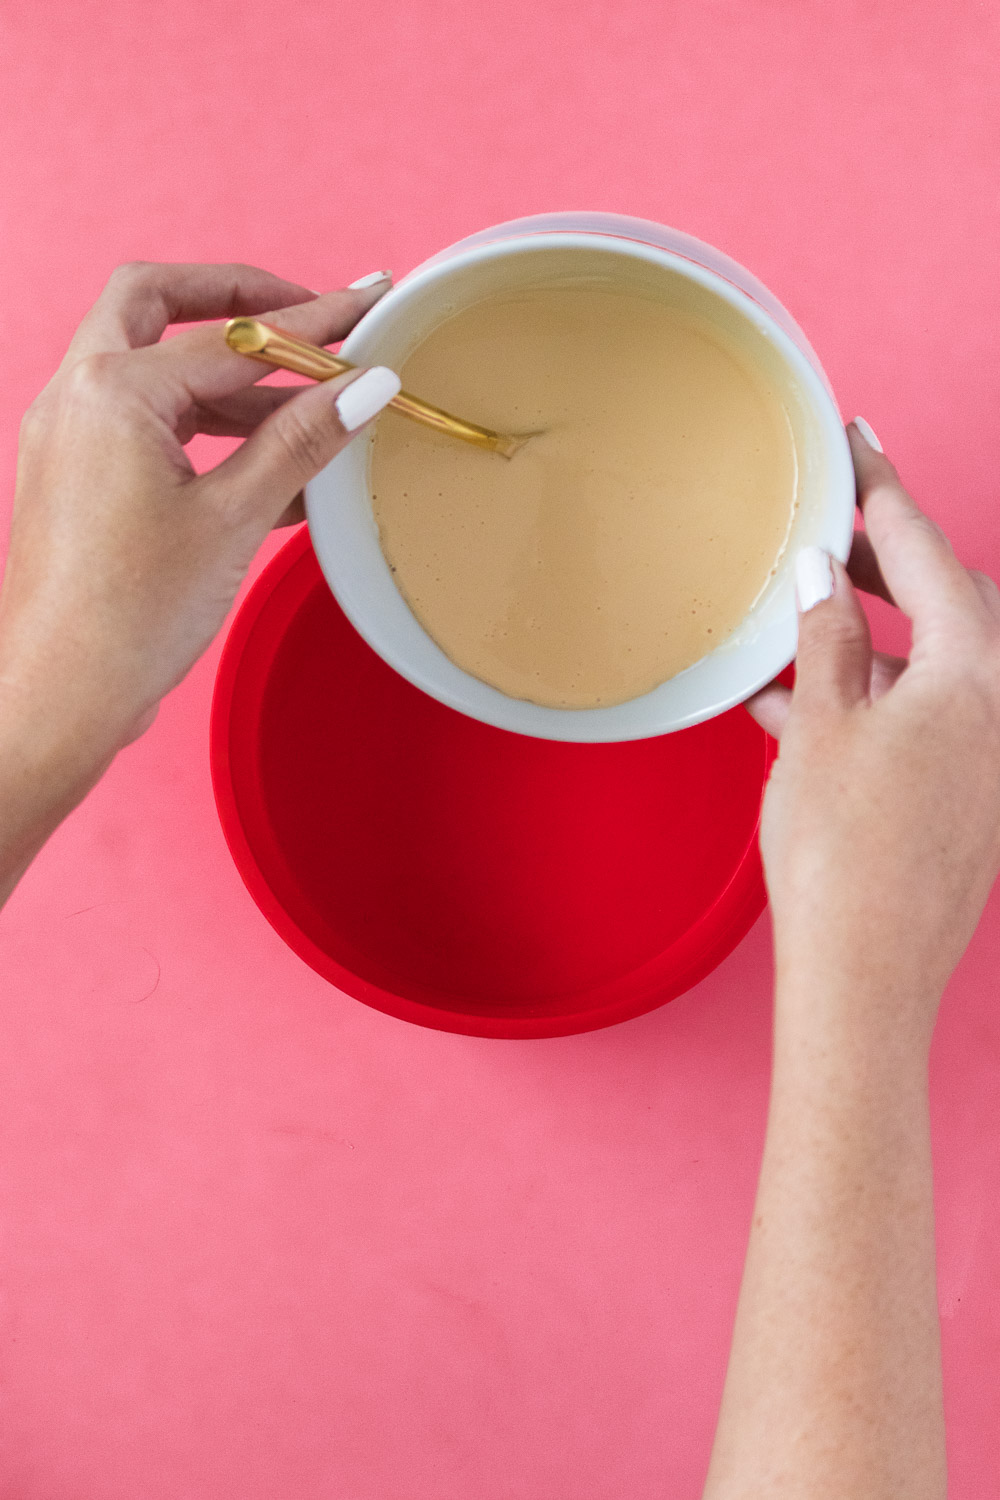 Step 2: Pour the colored soap into the silicone mold. Avoid splashing. Immediately spray the hairspray over the top as this will remove any air bubbles. Set aside to harden completely.
Note, final product will be thinner if using 8-inch mold, so increase amount if desired.
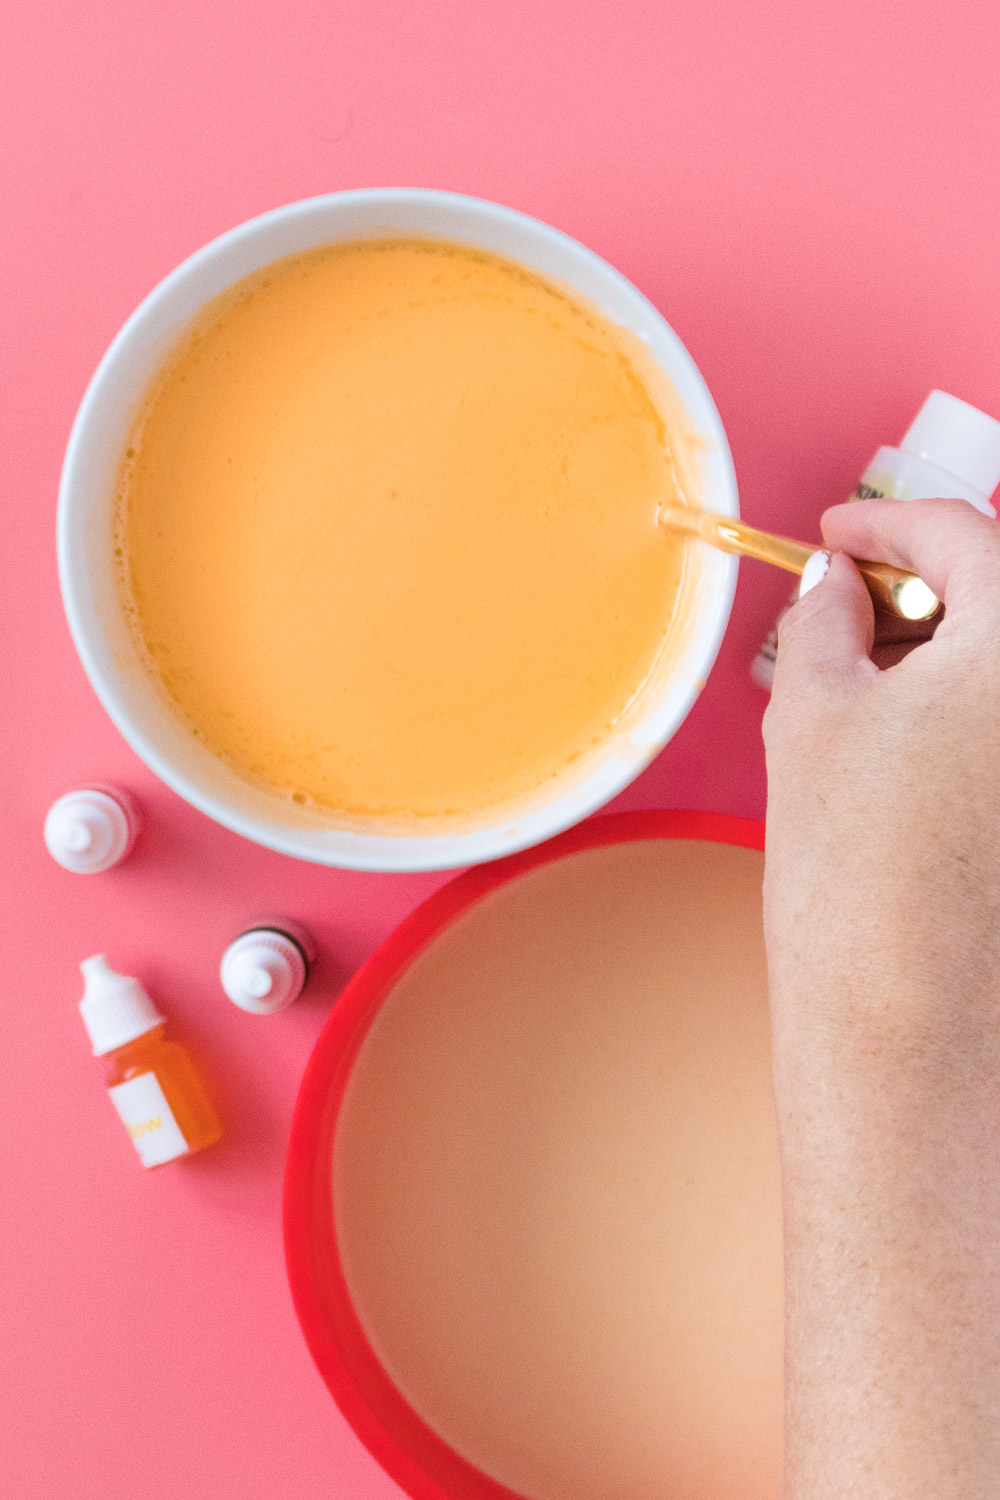 Step 3: Once the first layer of soap is set, melt an additional 25 oz. of soap base in a separate bowl. Add orange, yellow and brown colorants until you reach a deep orange color. Add about 1/2 tsp fragrance and stir to combine.
Step 4: Pour the orange layer of soap on top of the tan layer and spray the top with hairspray to remove bubbles. Set aside to set completely before removing from the mold.
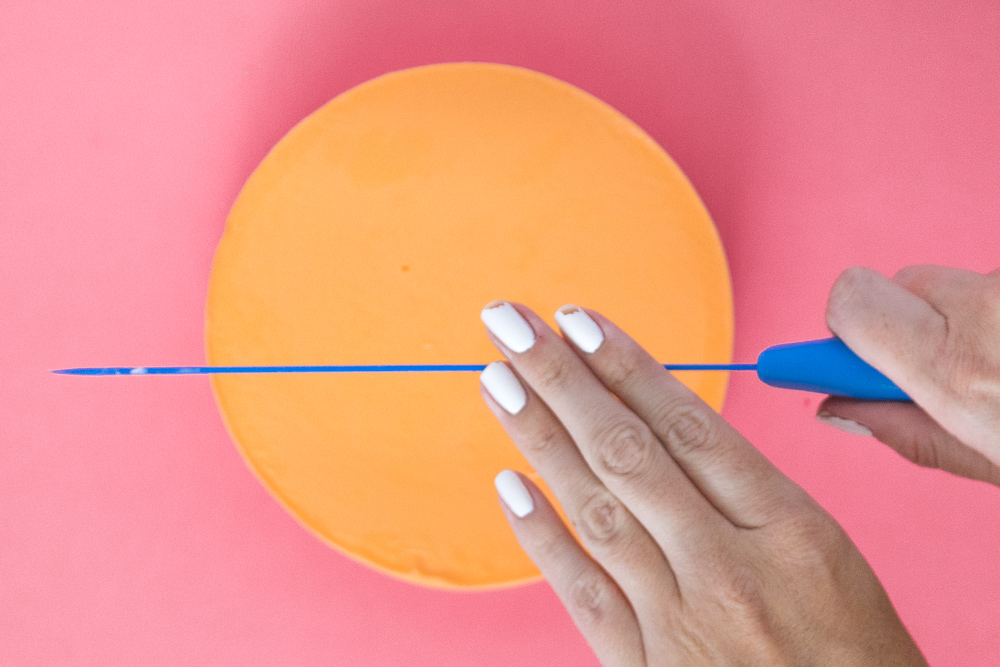 Step 5: Once hardened, carefully remove from the mold and set on a cutting-safe surface. Using a sharp knife to cut into 8 equal sized slices.
Step 6: Melt another 6 oz. of soap base in a separate bowl. Once melted and slightly cooled, use an electric mixer to whip the soap until thick and fluffy.
Note, at this point, you must work quickly as whipped soap will harden quickly.
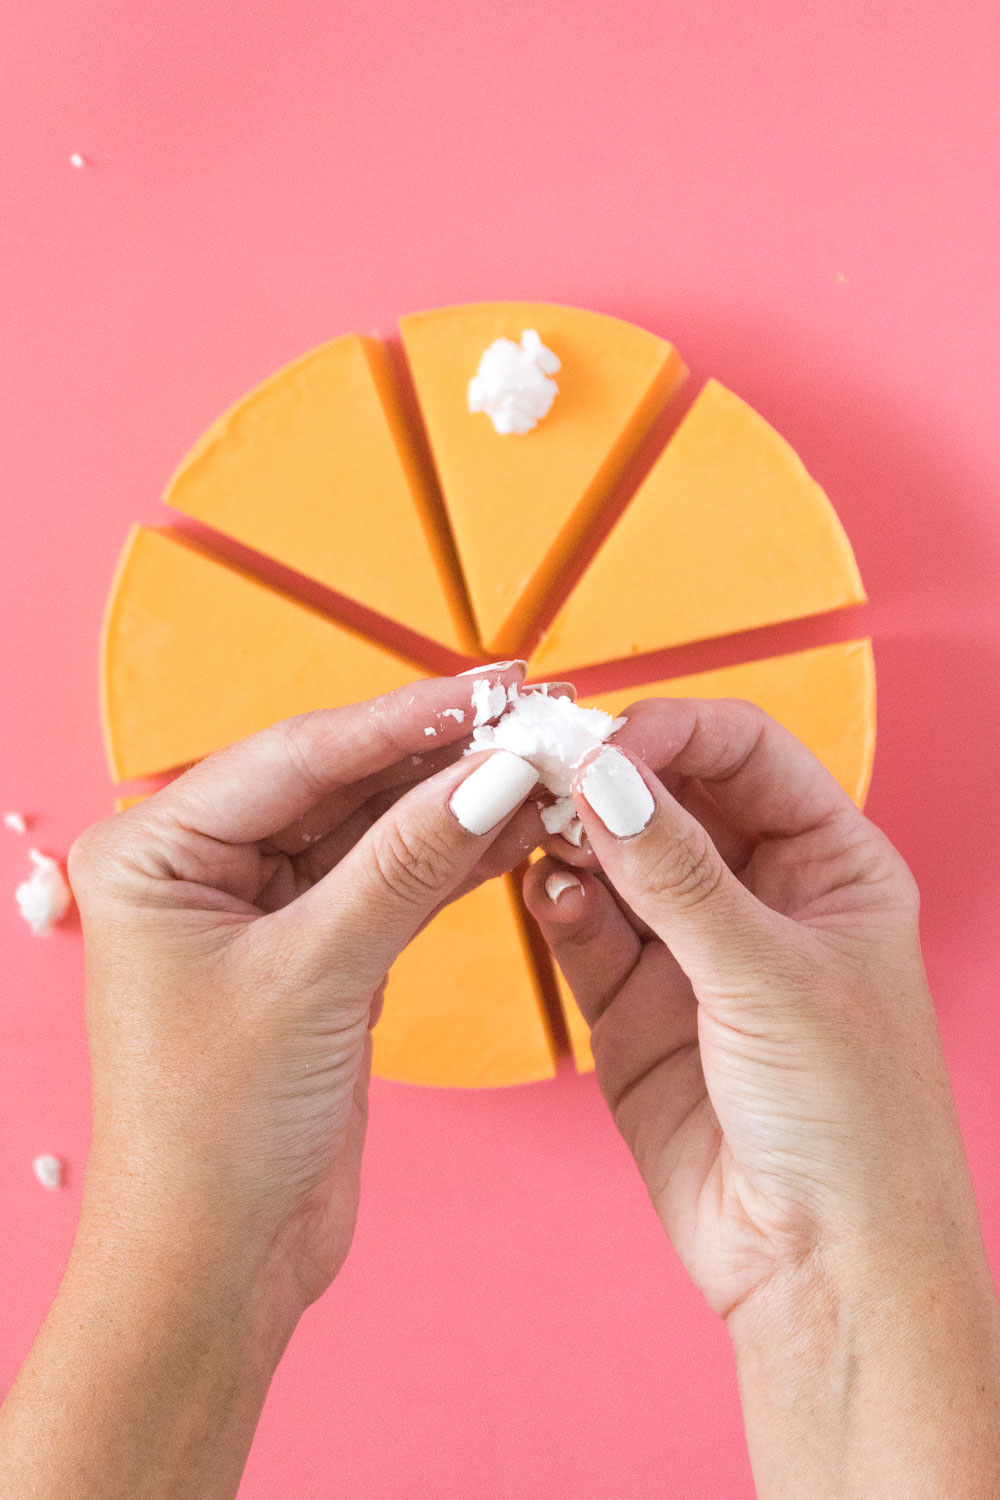 Step 7: Mold the whipped soap into “frosting dollops” with your fingers and press to the thick end of the slices of soap. It should stick on it’s own, and remember, it doesn’t have to be perfect! Sprinkle with a little ground cinnamon and set aside for whipped soap to set.
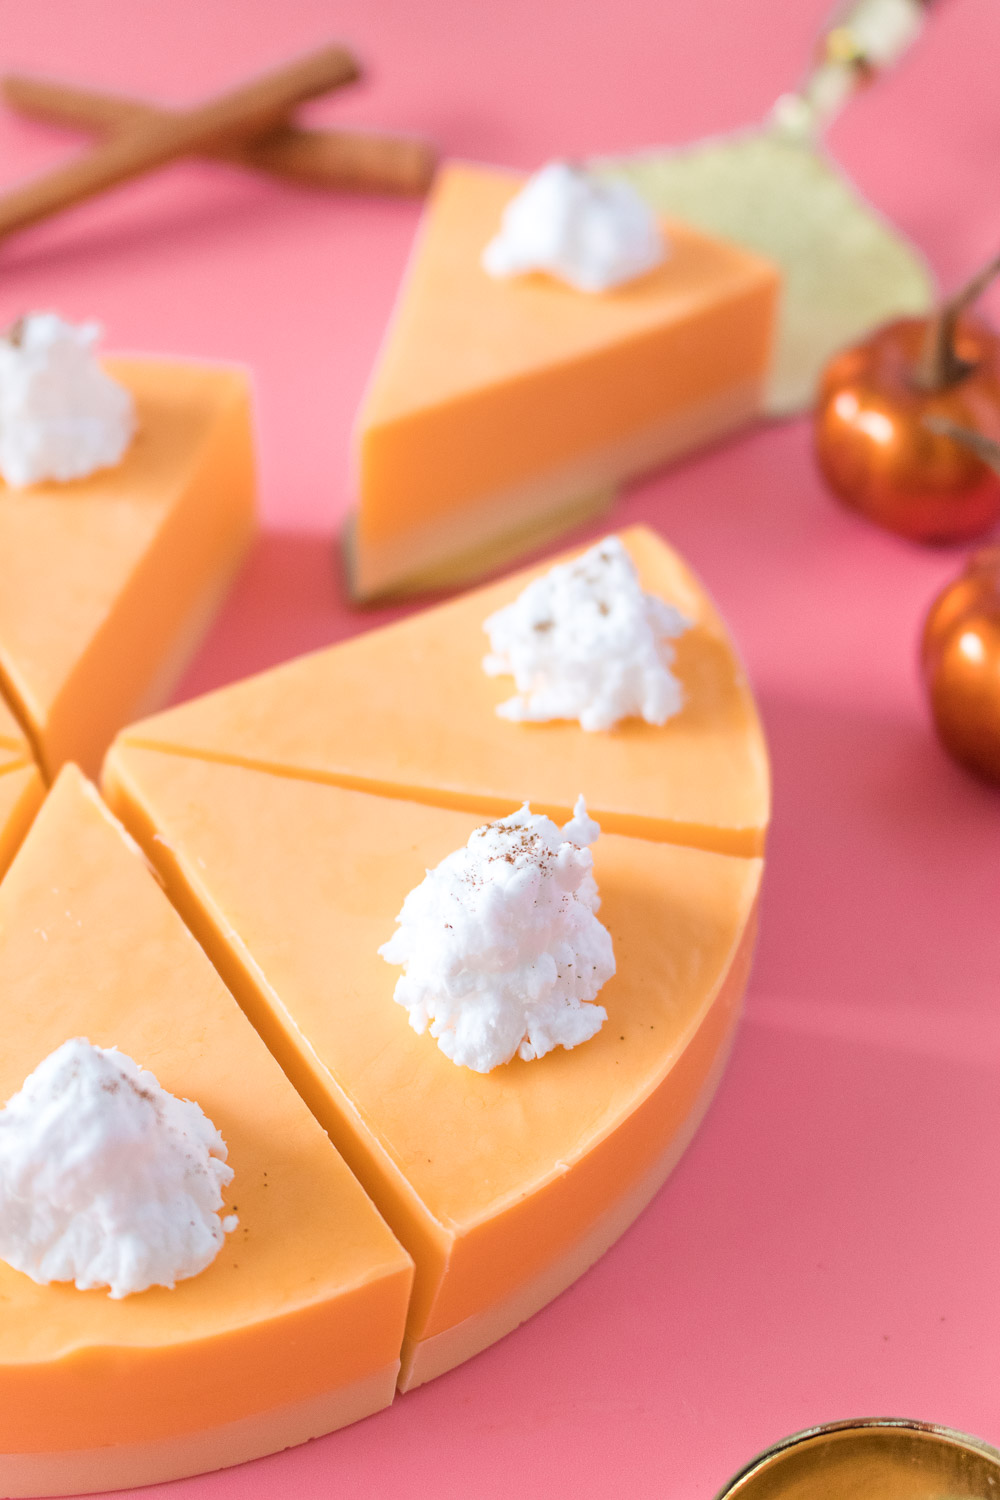 Now it’s ready to use! I don’t know what to do with all this soap, so I think it will make a great gift for friends this year. Otherwise, I guess I’ll save leftovers for next year. Either way, I just LOVE the scent of pumpkin pie and spices!
Please note this post contains affiliate links from which I may collect a small profit should you choose to make a purchase. I only link to products I personally use or recommend. In this post, I have linked to the exact products I used to produce my pumpkin pie soap.

Cynthia
Great Idea. Hope to try it soon
Shea
It says the whipped soap hardens quickly, but how quickly?
Holly Wade
SheaHi Shea, it can harden within a minute depending on the soap used and the thickness. For best results, work quickly and keep it warm.
Yvonne
These are super cute!!!! Making them this fall.