The following post is sponsored by JOANN
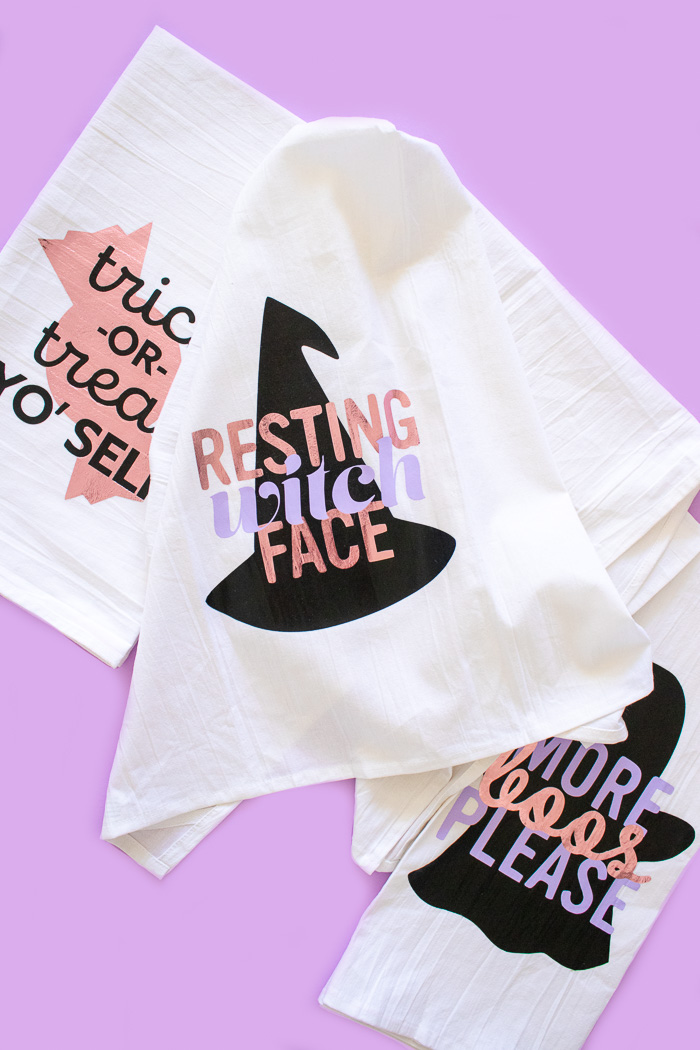
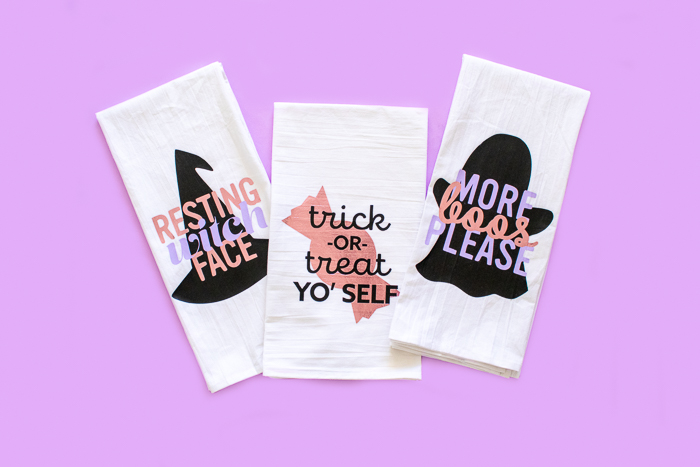
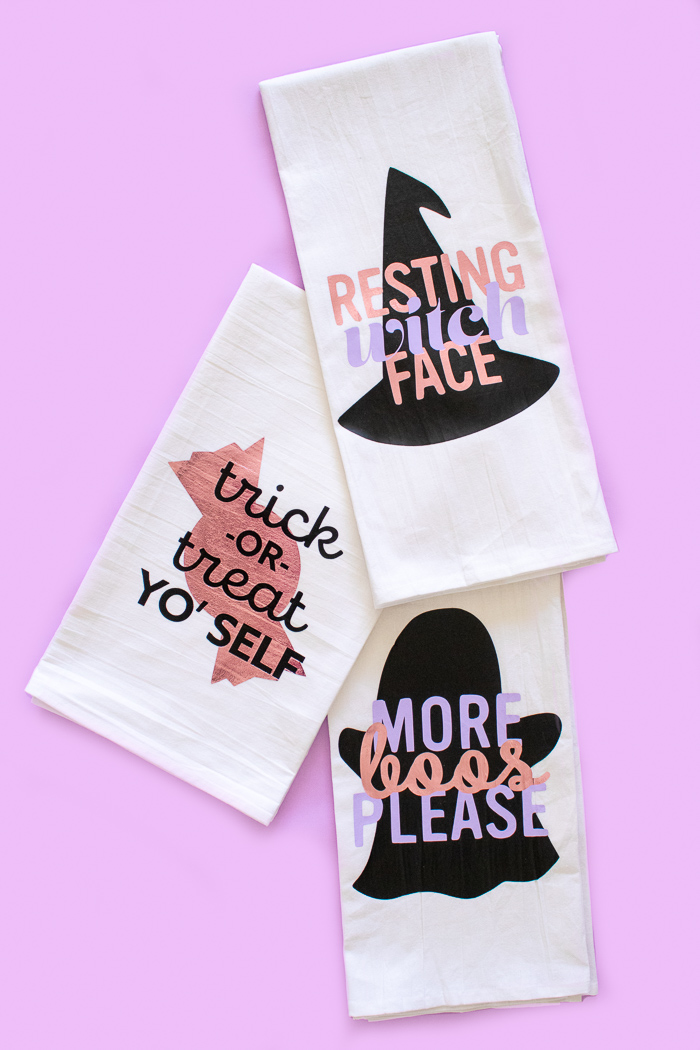
This month is flying by, but I wanted to squeeze in another Halloween DIY before I have to start thinking about Thanksgiving and Christmas! (I’m not ready for it.) My favorite part of Halloween might just be the PUNS, so I’m sharing a set of punny Halloween dish towels with three downloadable SVG templates so you can add a little Halloween touch to your kitchen. After all, this is probably the most overlooked area for holiday decorations! With my Cricut machine, all three Halloween dish towels took less than 30 minutes to make!
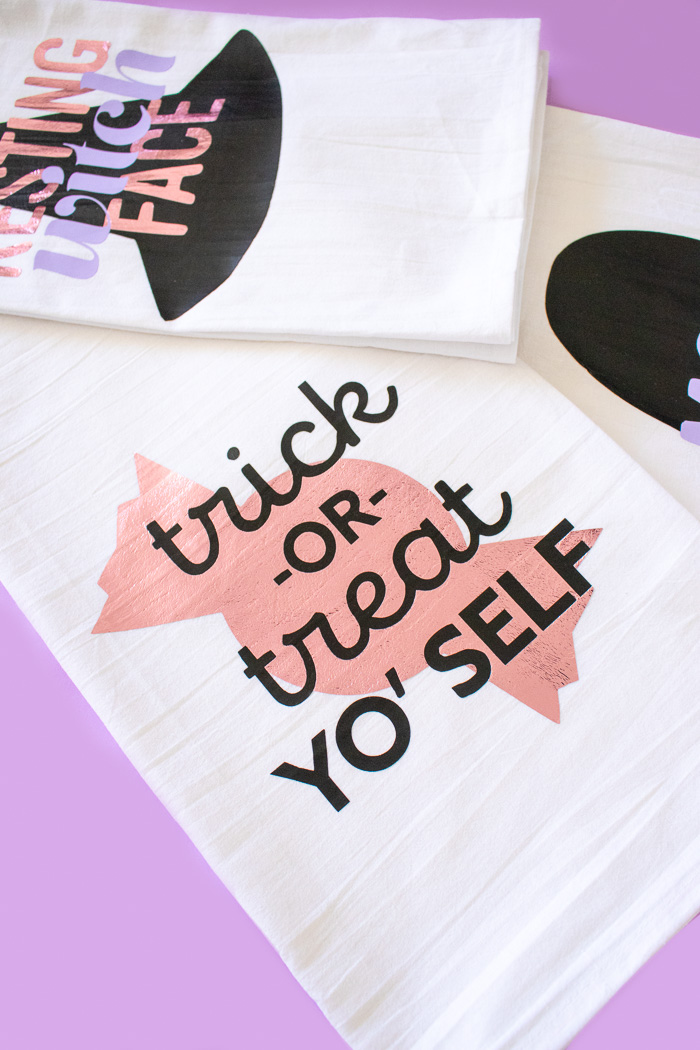
The Cricut selection at JOANN is growing every time I visit – which is at least twice a week these days – and I’m loving every second of it! I still think my Cricut Explore Air is probably the best gift Andrew has ever given me (beside his love, of course 😉). My collection of Cricut supplies is getting a little out of hand. I particularly love this metallic rose gold iron-on vinyl that pops against these Halloween dish towels!
Combine your favorite iron-on vinyl colors to make a set of colorful, punny Halloween towels that match the decor in your kitchen! I’m not one for traditional Halloween colors, so I went with lavender and metallic rose gold to contrast with the black.
Time: 30 minutes
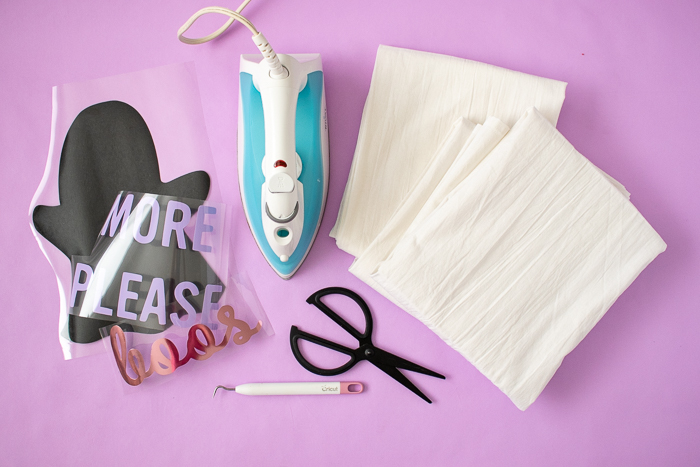
Supplies:
- 3 dish towels
- Halloween .PNG stencils (click to download)
- Iron-on vinyl, 3 colors (I used Black, Metallic Rose Gold and Purple)
- Cricut StandardGrip mat
- Weeding tool
- Scissors
- Iron
- Cricut machine
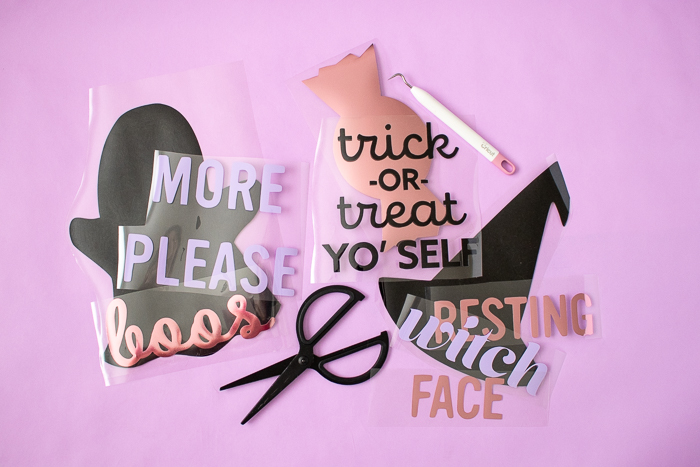
Step 1: Upload the above .PNG stencils to the Cricut Design Center and adjust colors as desired.
Step 2: Load the first color of iron-on vinyl shiny side down on the mat so that the iron-on side is facing UP. Click the mirror ON slider on each design.
Step 3: Cut out the shapes from all three colors, using the weeding tool to remove the negative material around each pattern.
Note, you can use existing spaces between some text breaks or cut into two separate pieces to adjust yourself.
Step 4: Before beginning, iron dish towels to remove wrinkles. Then fold them how they will hang to determine where to place your design.
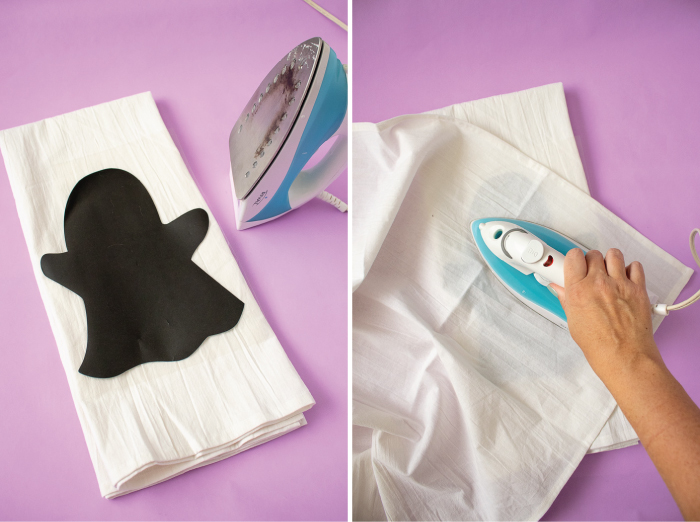
Step 5: Place the background image down first – shiny plastic side up. Place another towel on top and iron on NO steam until completely adhered to the fabric.
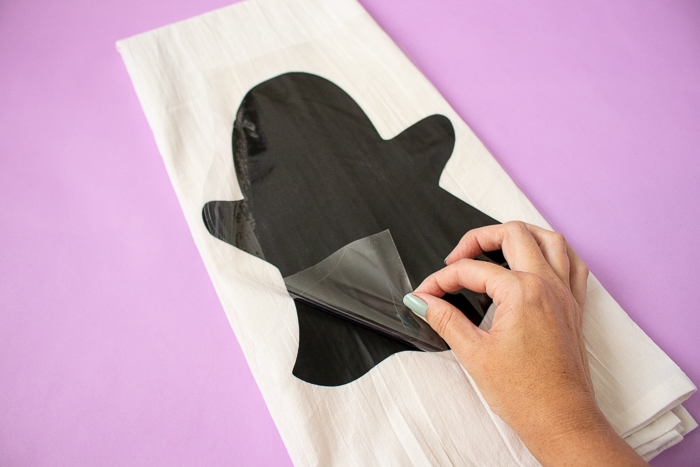
Step 6: Let cool for a moment and peel away the plastic to reveal the design.
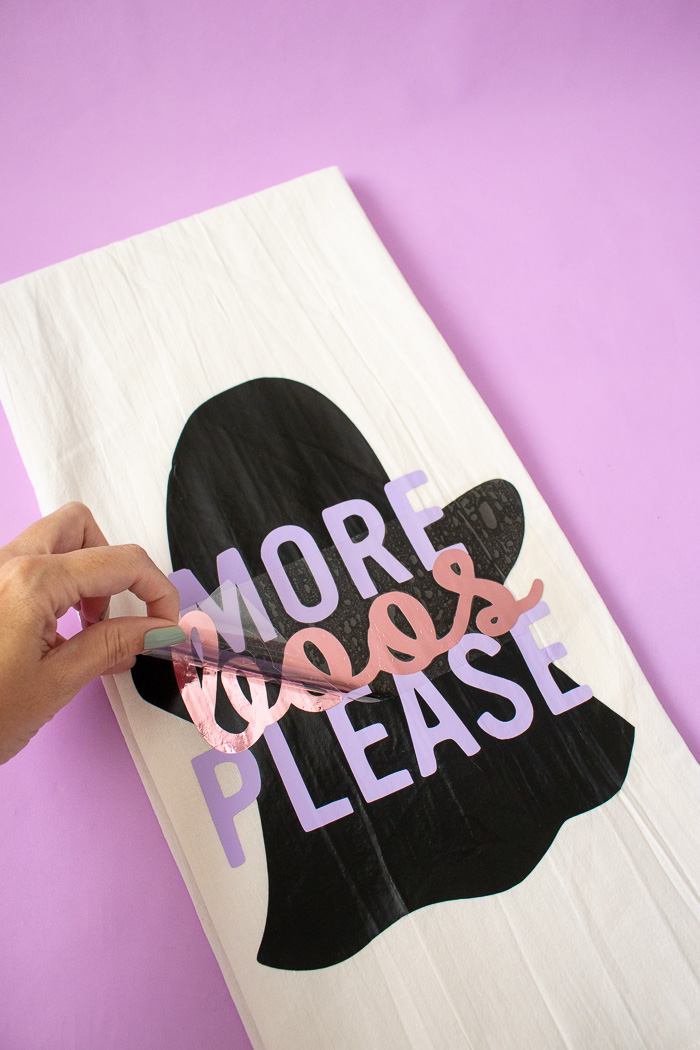 Step 7: Place the next layer of text on top (2 of 3 layers in this case) and iron with a towel over the design. Remove and repeat with the third layer of text.
Repeat the process with all three towels! Hang them on your oven door or on a hook for easy access in your kitchen! Wash as needed on the gentle cycle with cold water for best results.
Thank you to JOANN for generously sponsoring this post. All opinions are my own. Please note that this post contains affiliate links from which I may collect a small profit should you choose to make a purchase. I only link to products I personally use or recommend.

