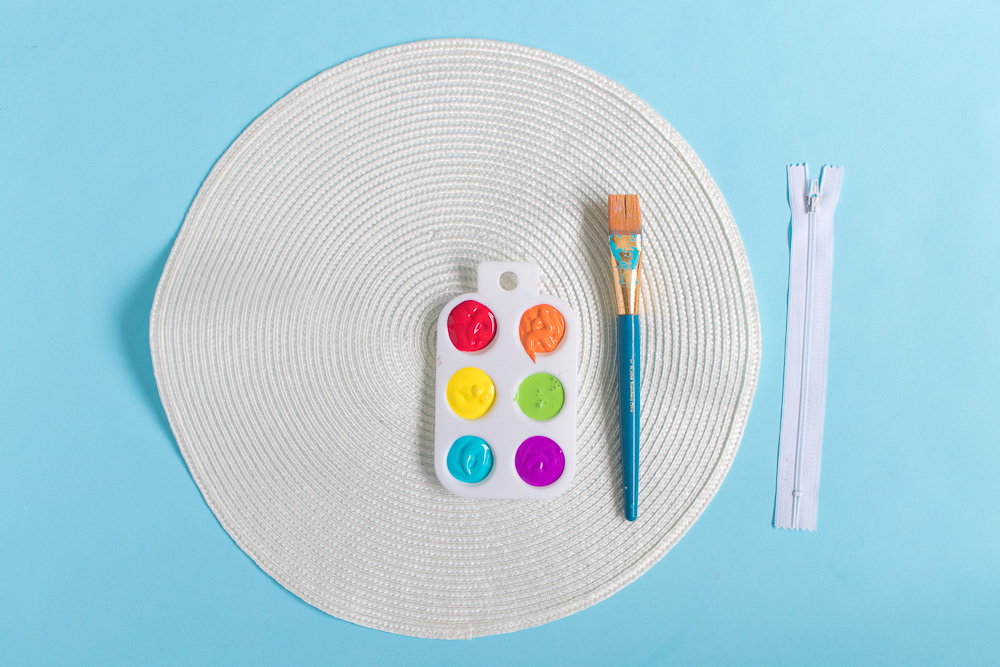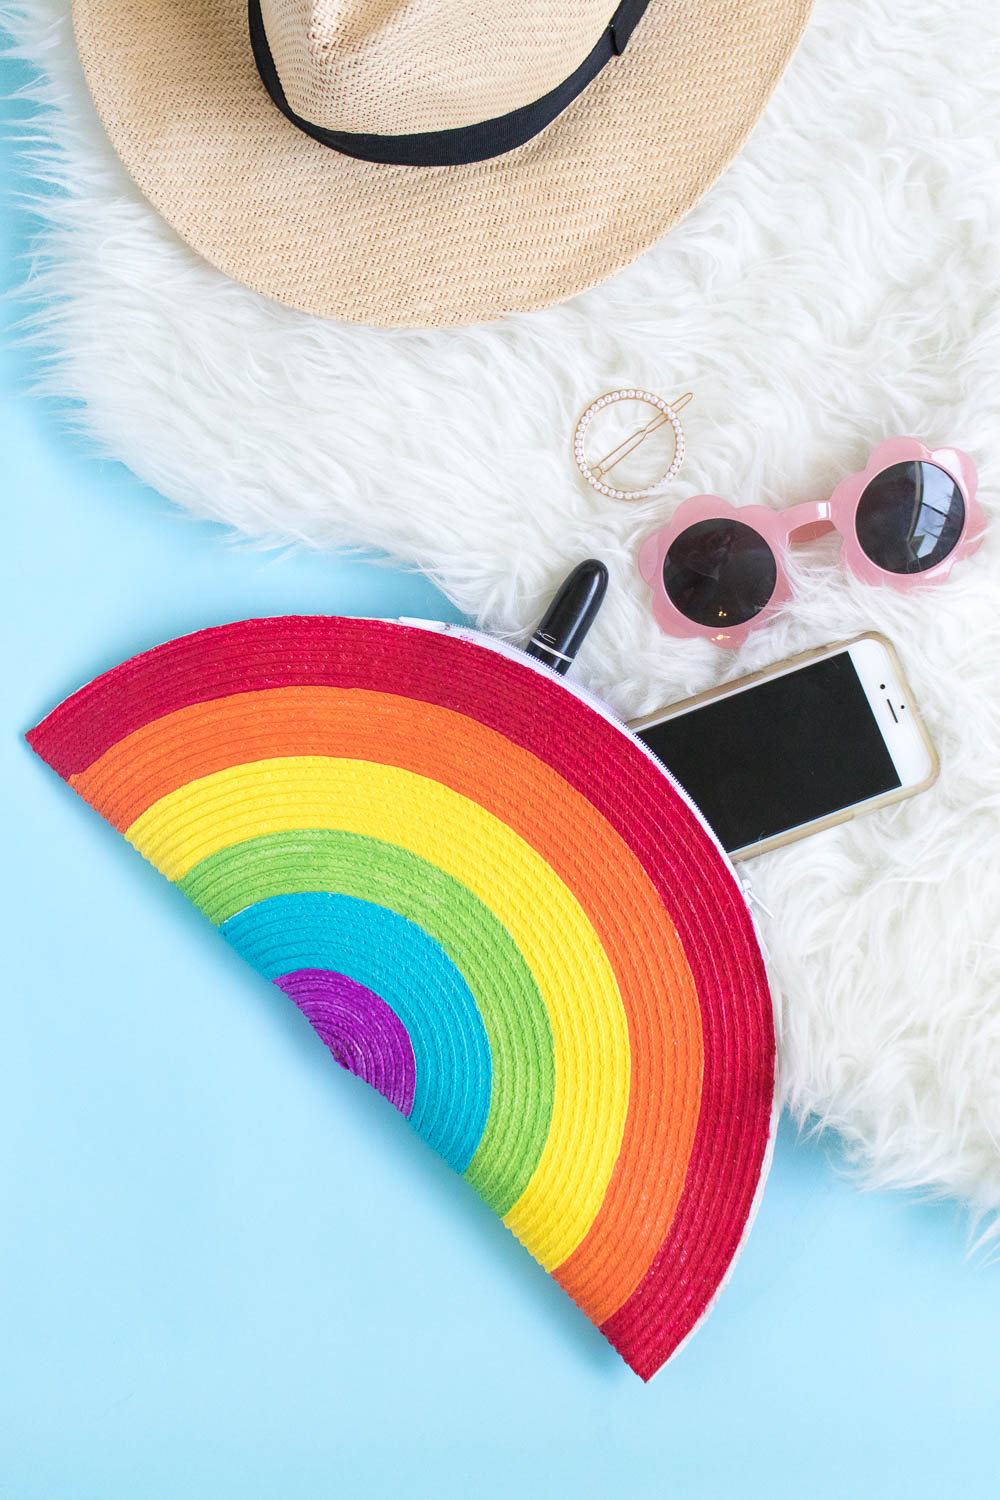
 I have a bad habit of grabbing supplies from the Michaels clearance section without knowing what to do with them. That’s how they get you! Over the summer, I picked up several round woven placemats, assuming I’d use them for something summery, but I never got around to it. Instead, I decided to use one of those placemats to make a simple DIY rainbow clutch because it required such minimal sewing!
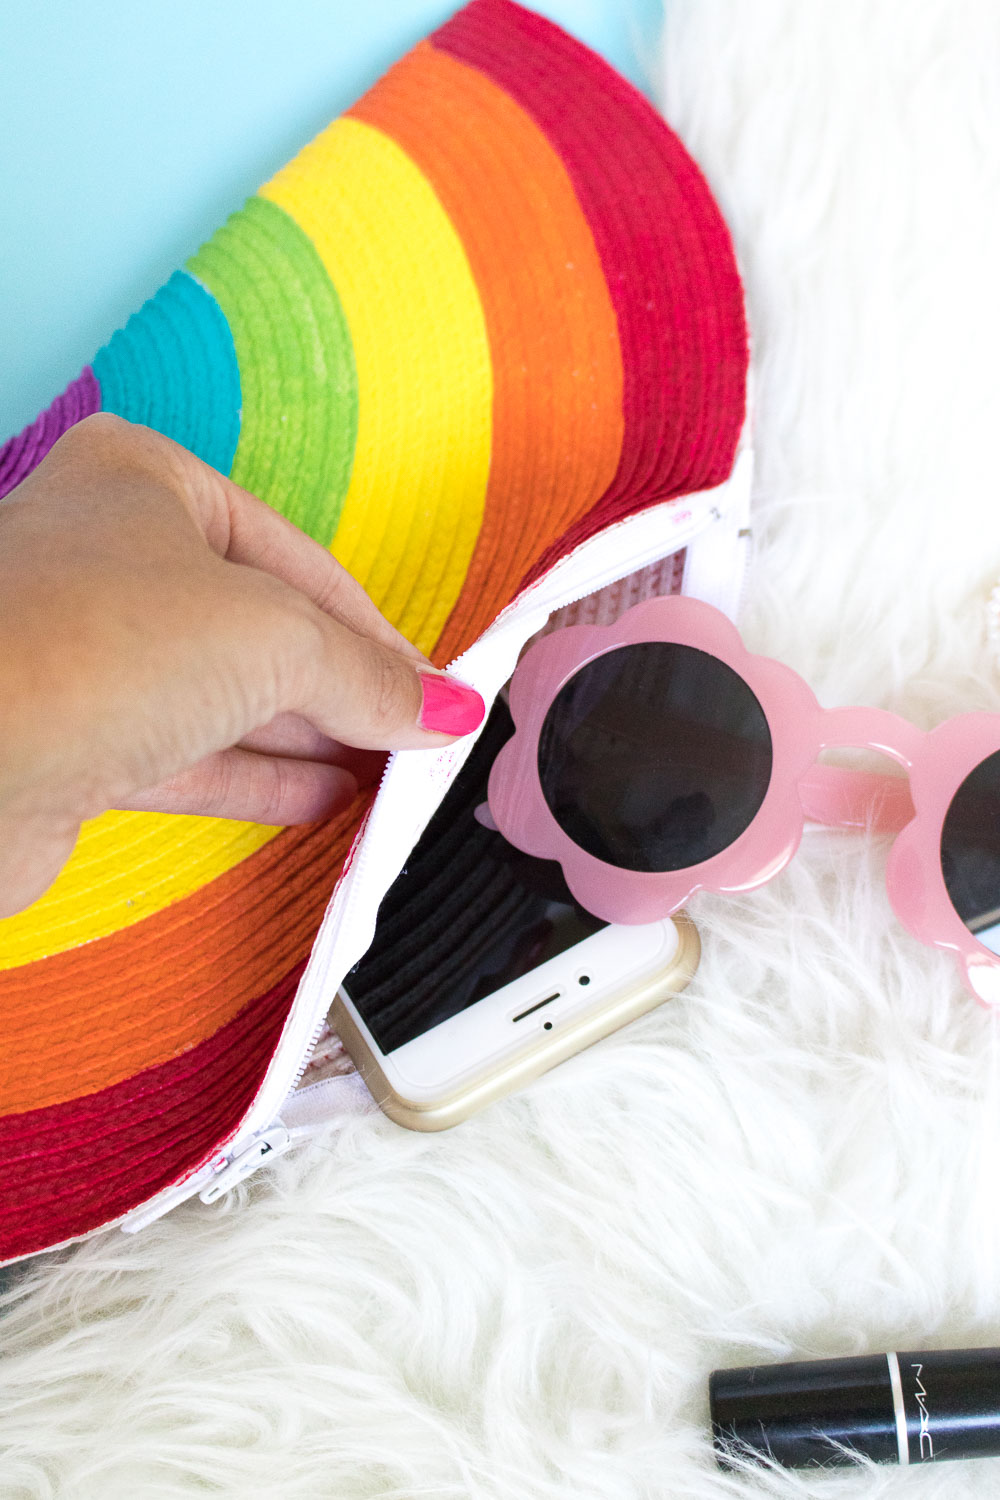
 The round woven placemat made for the perfect template to start a rainbow shape. I simply folded it in half, sewed a zipper and secured the sides together, and then I painted it like a rainbow on both sides. The painted was actually more work than the sewing, so that’s how you know it’s simple!
It’s the perfect size for holding the basics, and no additional fabric is needed. You can certainly use a regular piece of fabric to create this same clutch as opposed to using a round woven placemat, but they are readily available at stores like Target and Amazon, and the woven look adds some interesting texture to the clutch.
Supplies:
- Round woven placemat (or round piece of fabric)
- 7-inch zipper (white)
- White thread
- Sewing machine (or hand sewing needle)
- Pins
- Rainbow colors of acrylic fabric-safe paint
- Paint brushes
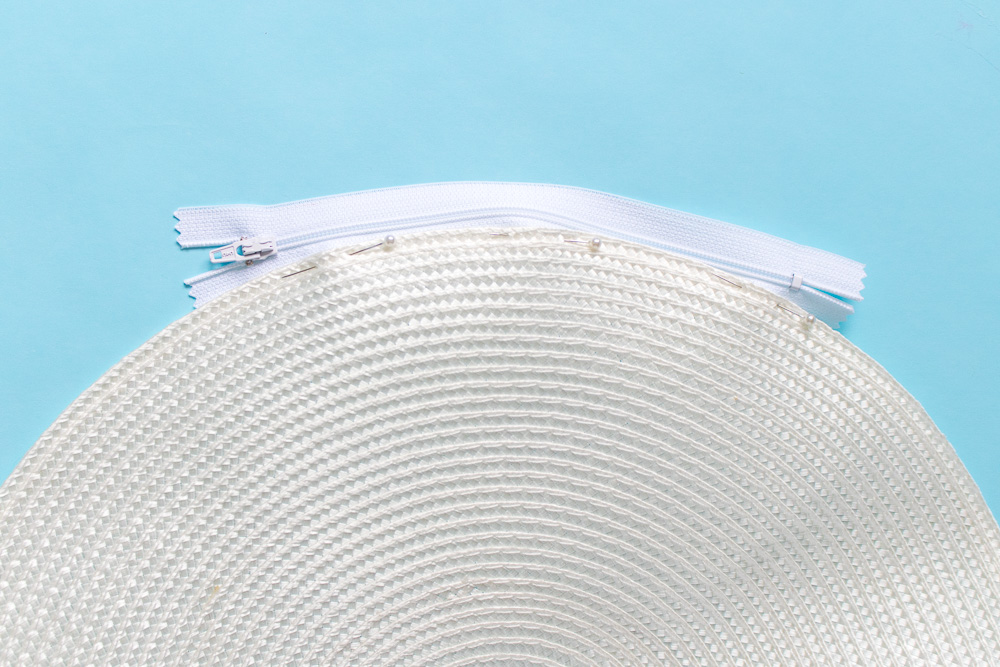 Step 1: Pin the zipper to the right side of the placemat (pinning the right side first will make sewing easier). It does not matter where because it will be folded over.
Step 2: Sew the zipper in place, back stitching at each end to secure. Trim excess thread.
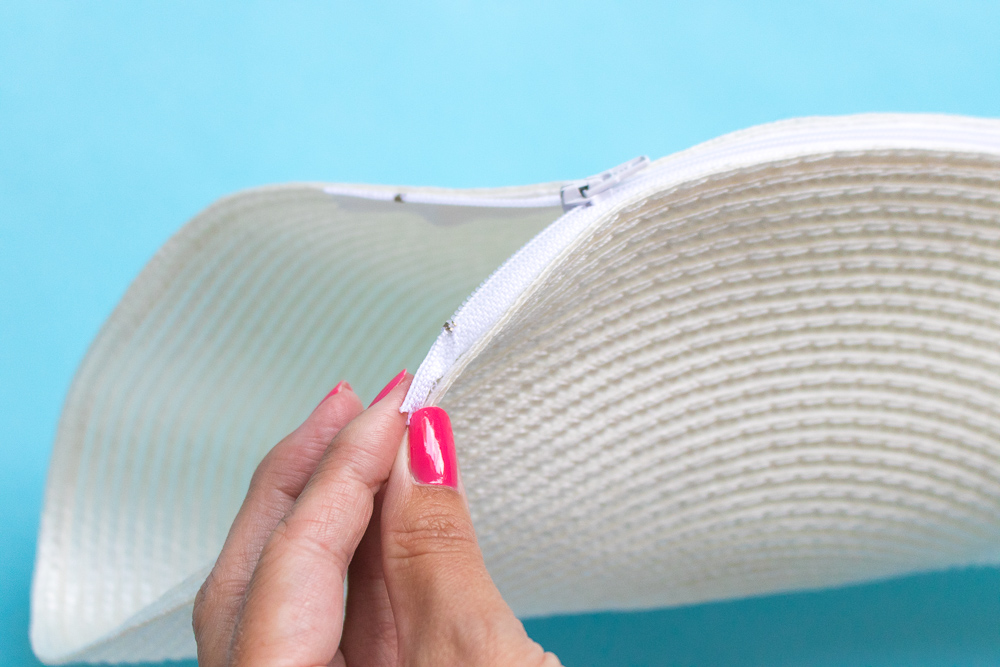 Step 3: Fold the placemat in half so that the zipper is positioned in the middle of the rainbow curve. Pin the opposite side of the zipper to the opposite side of the placemat and sew in place. If the angles are difficult to sew, use a hand sewing needle to secure it in place. Trim excess threads.
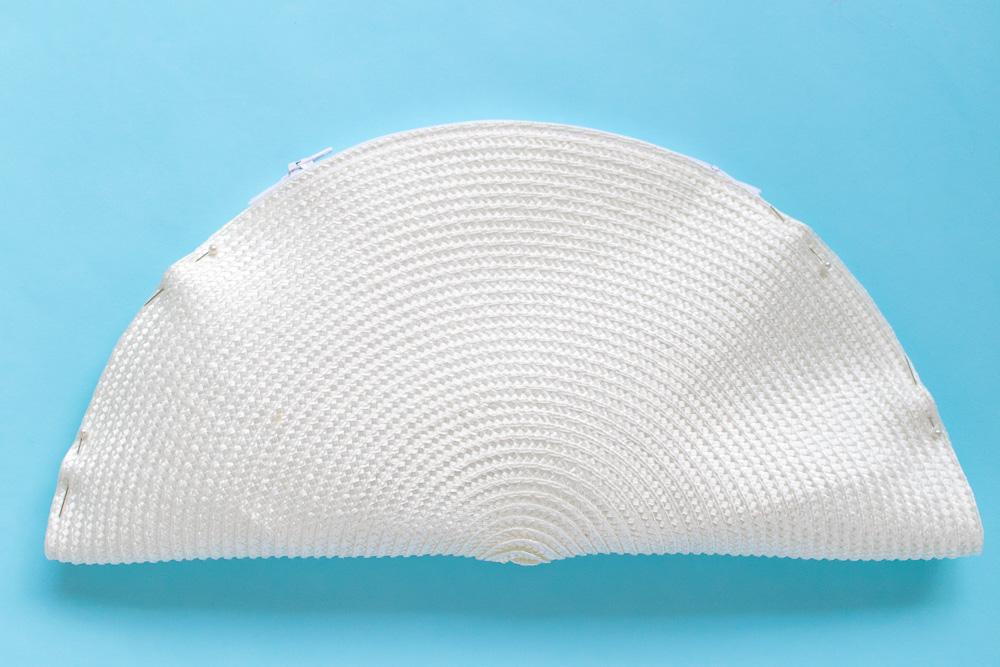 Step 4: Pin the sides of the placemat together and sew from the bottom fold up to the zipper on each side. Trim excess threads. Now you should have a clear clutch shape with all sides secured.
Step 5: Measure the size needed for 6 equal-sized lines of color on the clutch. In the case of the woven placemat, I counted the lines so that each line of the rainbow was 5-6 lines thick. Mark with a pencil if needed.
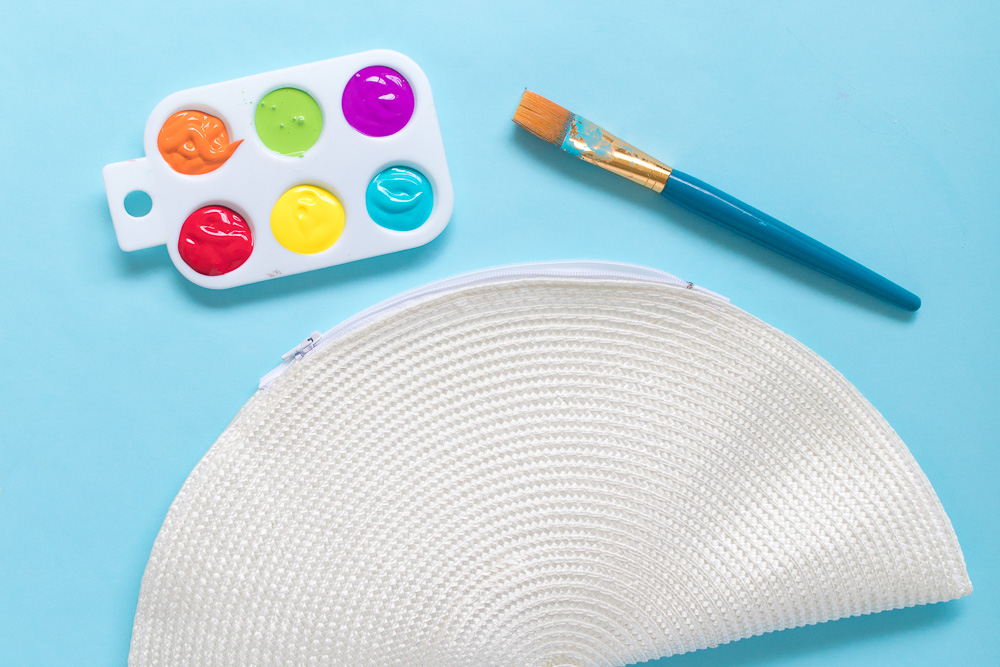 Step 6: Paint each section of the rainbow in the order of purple, blue, green, yellow, orange and red, leaving the zipper white.
Once one side is completely dry, turn it over and paint the other side with the same measurements so that the sides are identical.
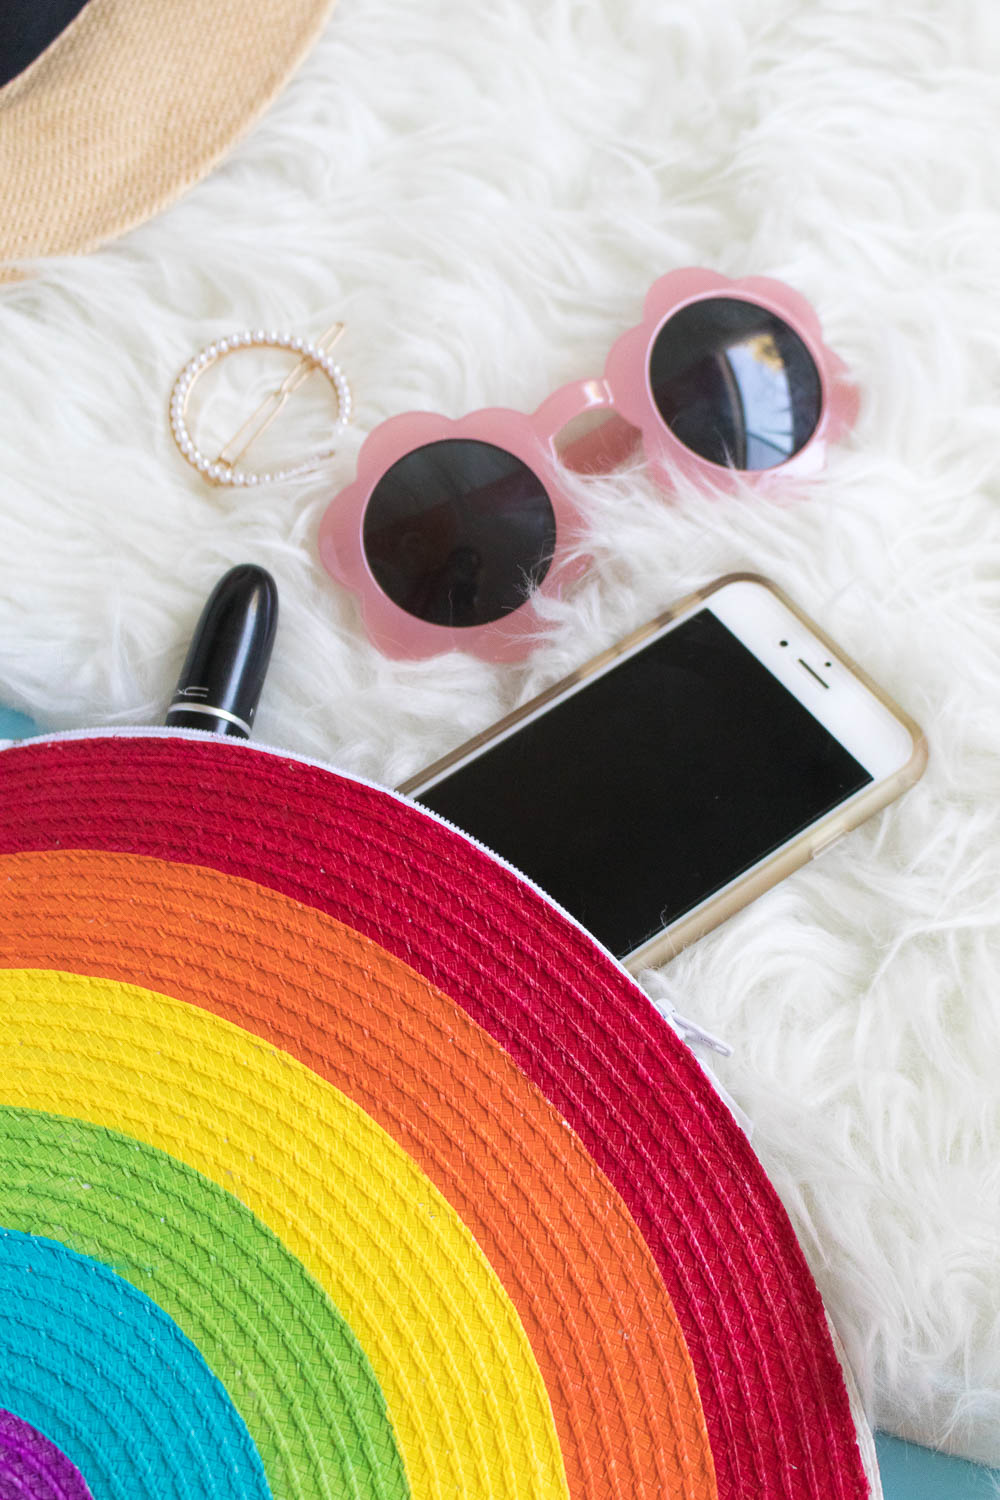
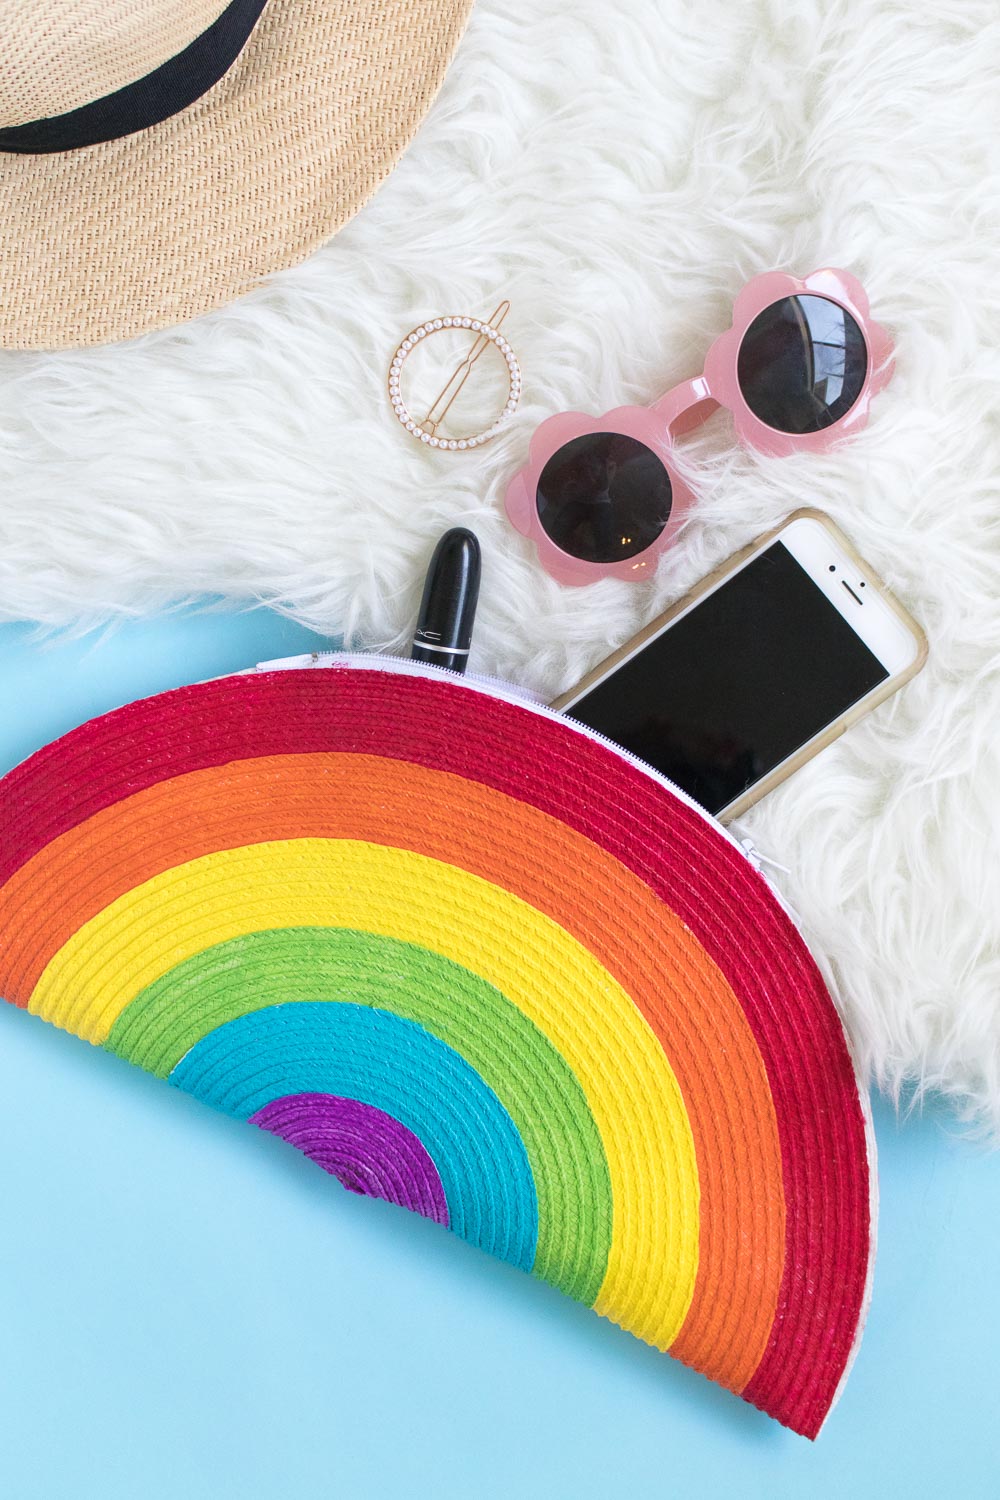 Then fill it up when the paint dries! It’ll be the perfect accessory to carry with you for the rest of summer and beyond, and its rainbow pattern means it will go with just about anything!

