 Now that we finally have a dedicated office/studio space, the real struggle is trying to keep it clean. It’s so easy to allow the extra room to become a dumping ground for everything we don’t want to deal with or find a place for. I’m trying really hard to keep it an organized and useful space, but honestly, I usually end up doing most of my work at the dining room table, except for sewing and using my Cricut machine.
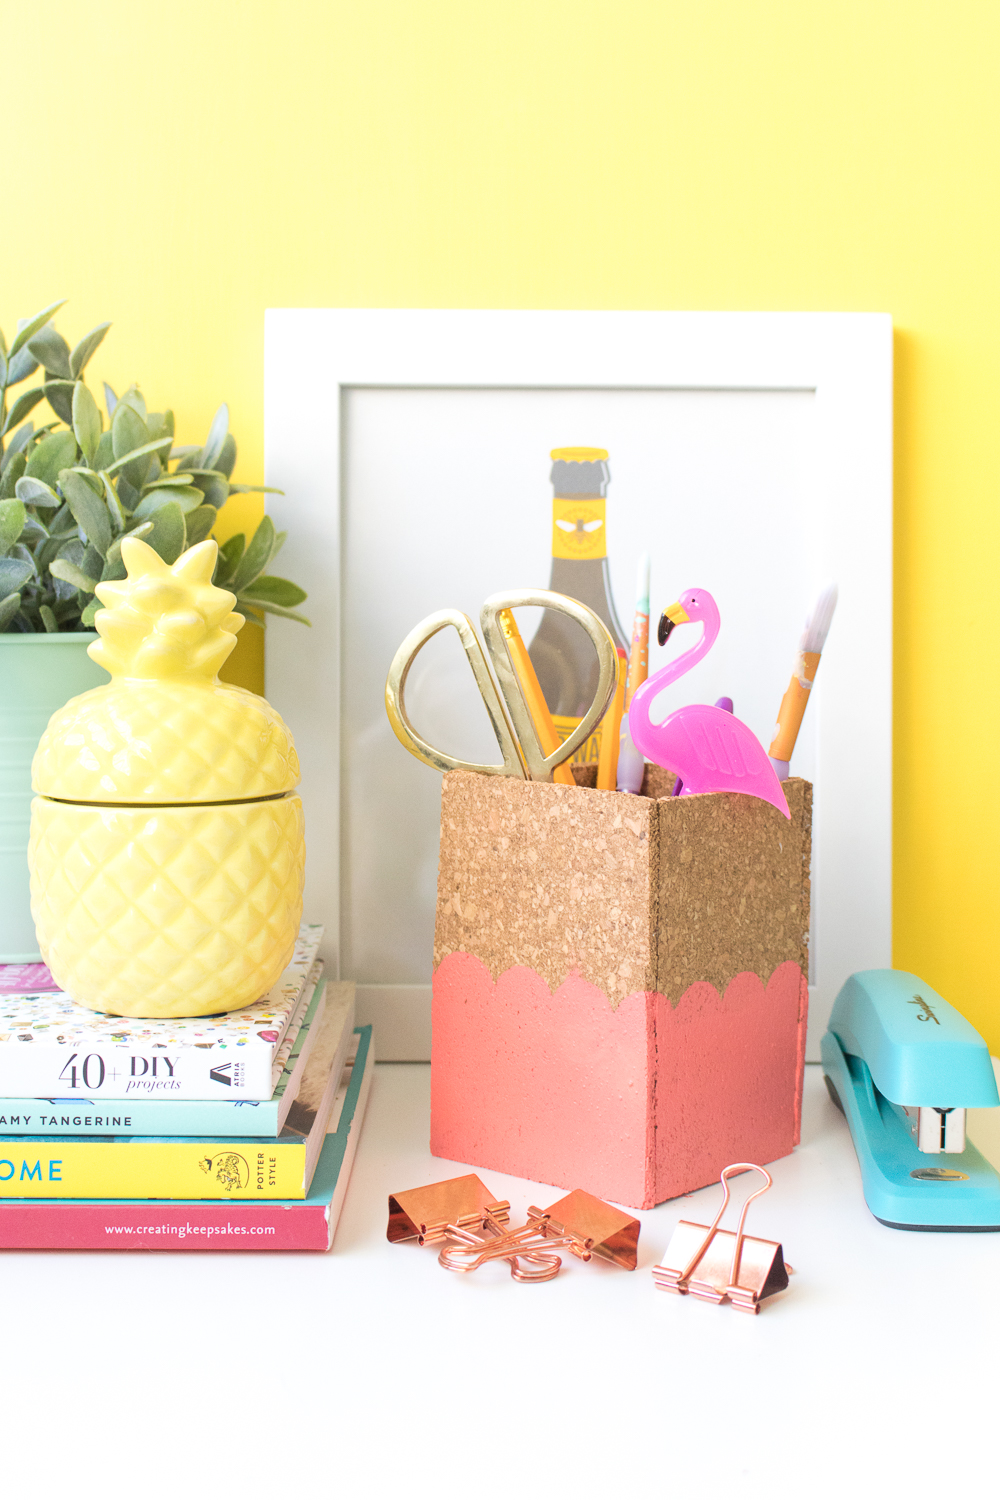
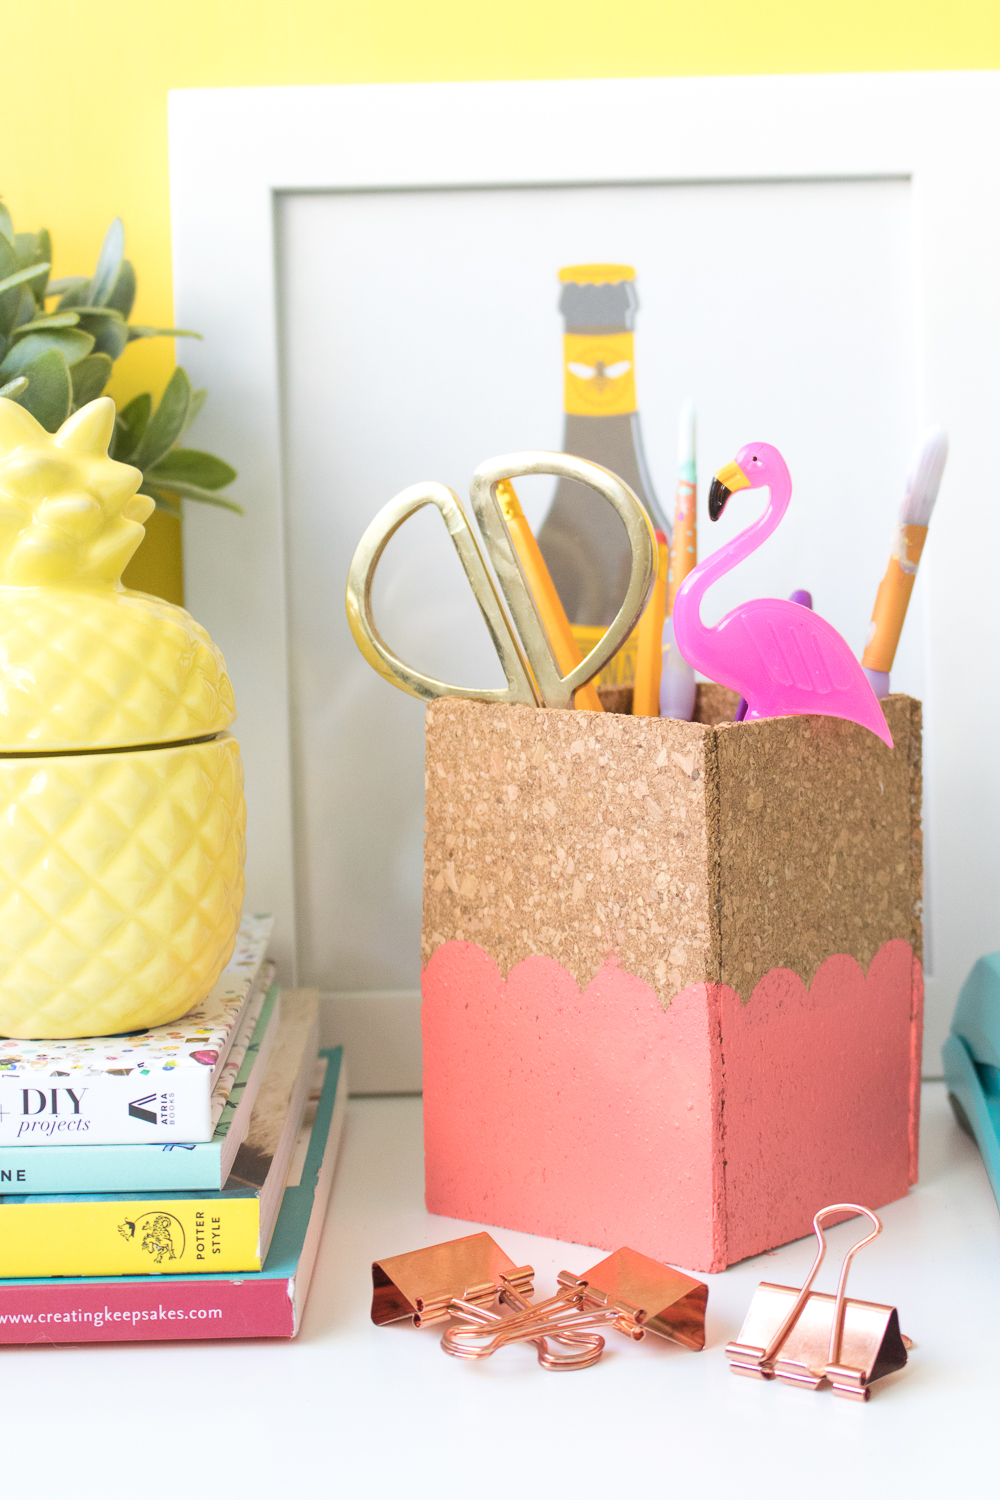
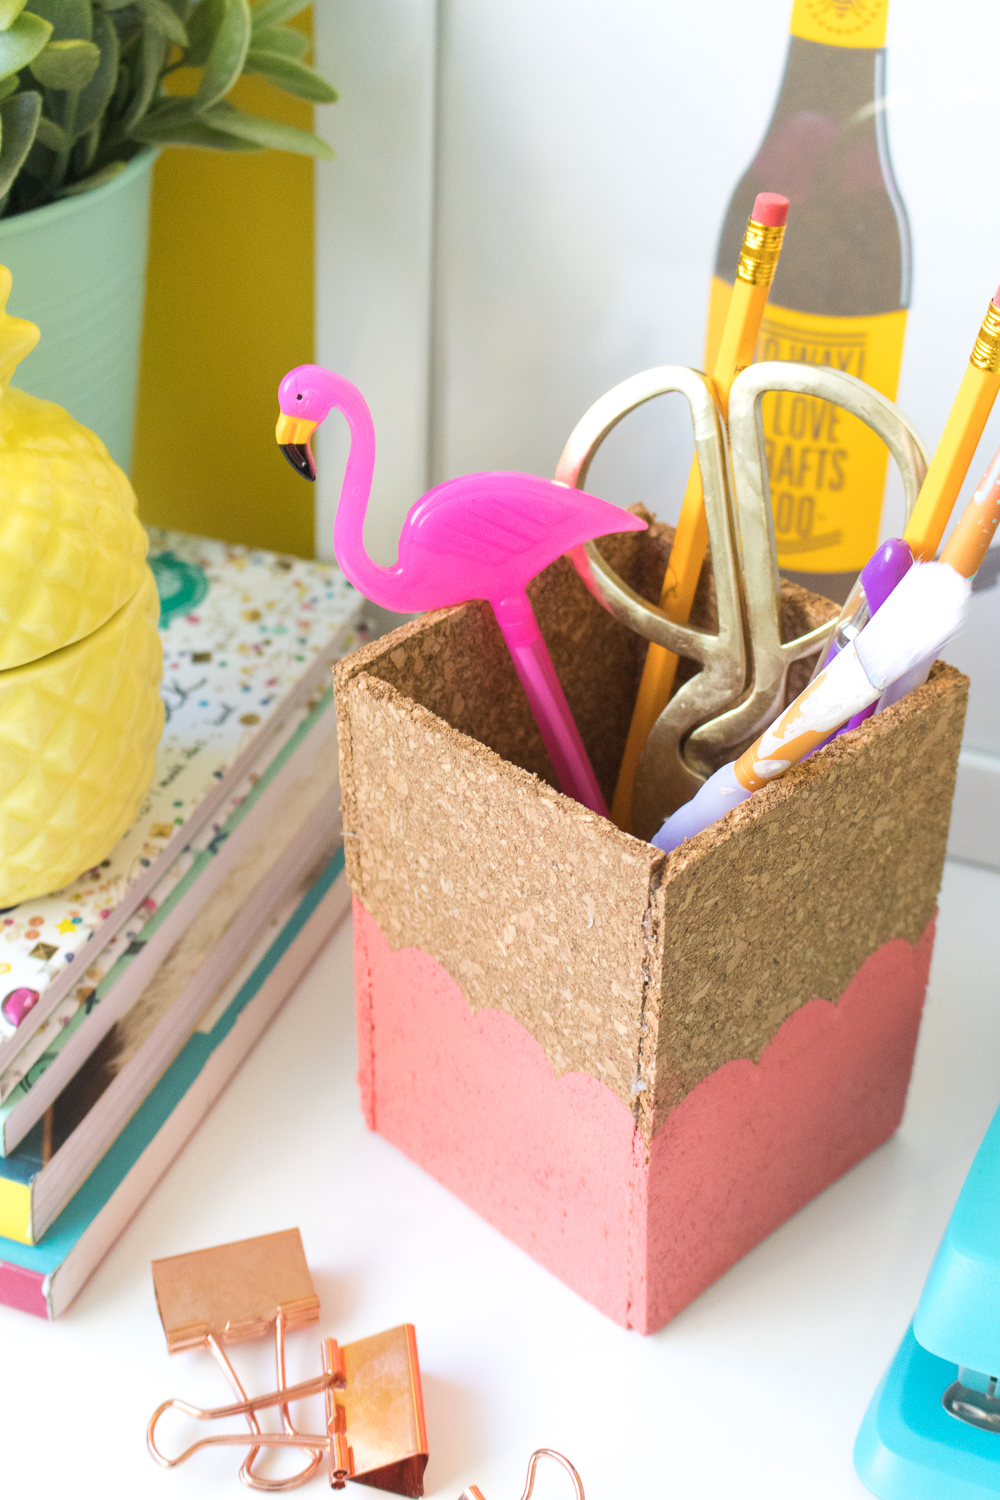
One of the items I’ve used to keep my office space feeling organized is this DIY scalloped cork pencil cup I whipped up one day when I wanted to make a quick project. It quickly replaced my original wire pencil cup, and I love the scalloped paint because it stands out on my desk. Plus, if I ever want it to do double-duty, I can simply put a pin in the cork to hold notes.
 A couple weekends ago, I stumbled on a rare occasion where I ran out of projects to work on until I purchased new supplies. Not wanting to make a trip to the craft store, I rummaged around my black hole of a closet trying to find a new project idea that I could make with items I already had in the house. I had a ton of unused cork board, so it quickly turned into this simple pencil cup project. Sometimes, the best projects are the ones you don’t overthink!
With a few simple supplies, I whipped this thing up in about 15 minutes and used a new salmon-colored paint I had just received from DecoArt. You can also see my bright yellow background in this photo, which I’ll be sharing a DIY for in a couple weeks! Anyway, this is a quickie to whip up on a weeknight or a weekend and you’ll have a very useful project for storing your office supplies.
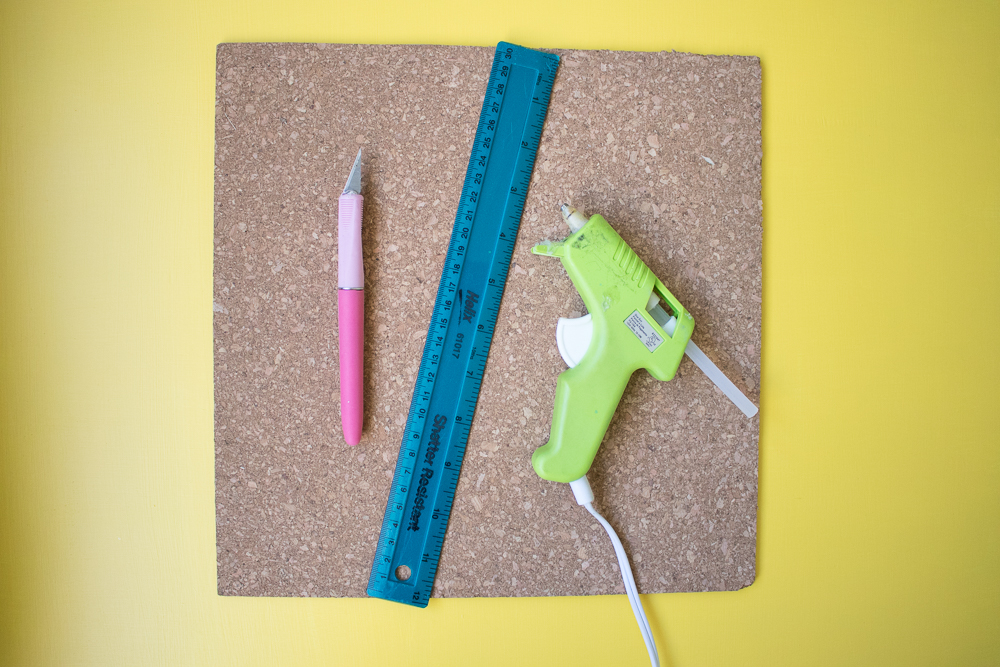
Supplies:
- Cork board (about 1/4 inch thick)
- Craft knife (do not use scissors)
- Ruler
- Glue gun
- Acrylic paint
- Painters tape
- Paint brush and round sponge brush
Step 1: Cut five pieces of cork board, using the ruler to both measure and keep your cuts straight. If it’s easier, use a pen to mark the cork before cutting. Cut one 3in x 3in piece, two 3in x 5in pieces and two 3in x 5.5in pieces.
Note, the extra .5 inches is important to the last two pieces in order for all sides to line up.
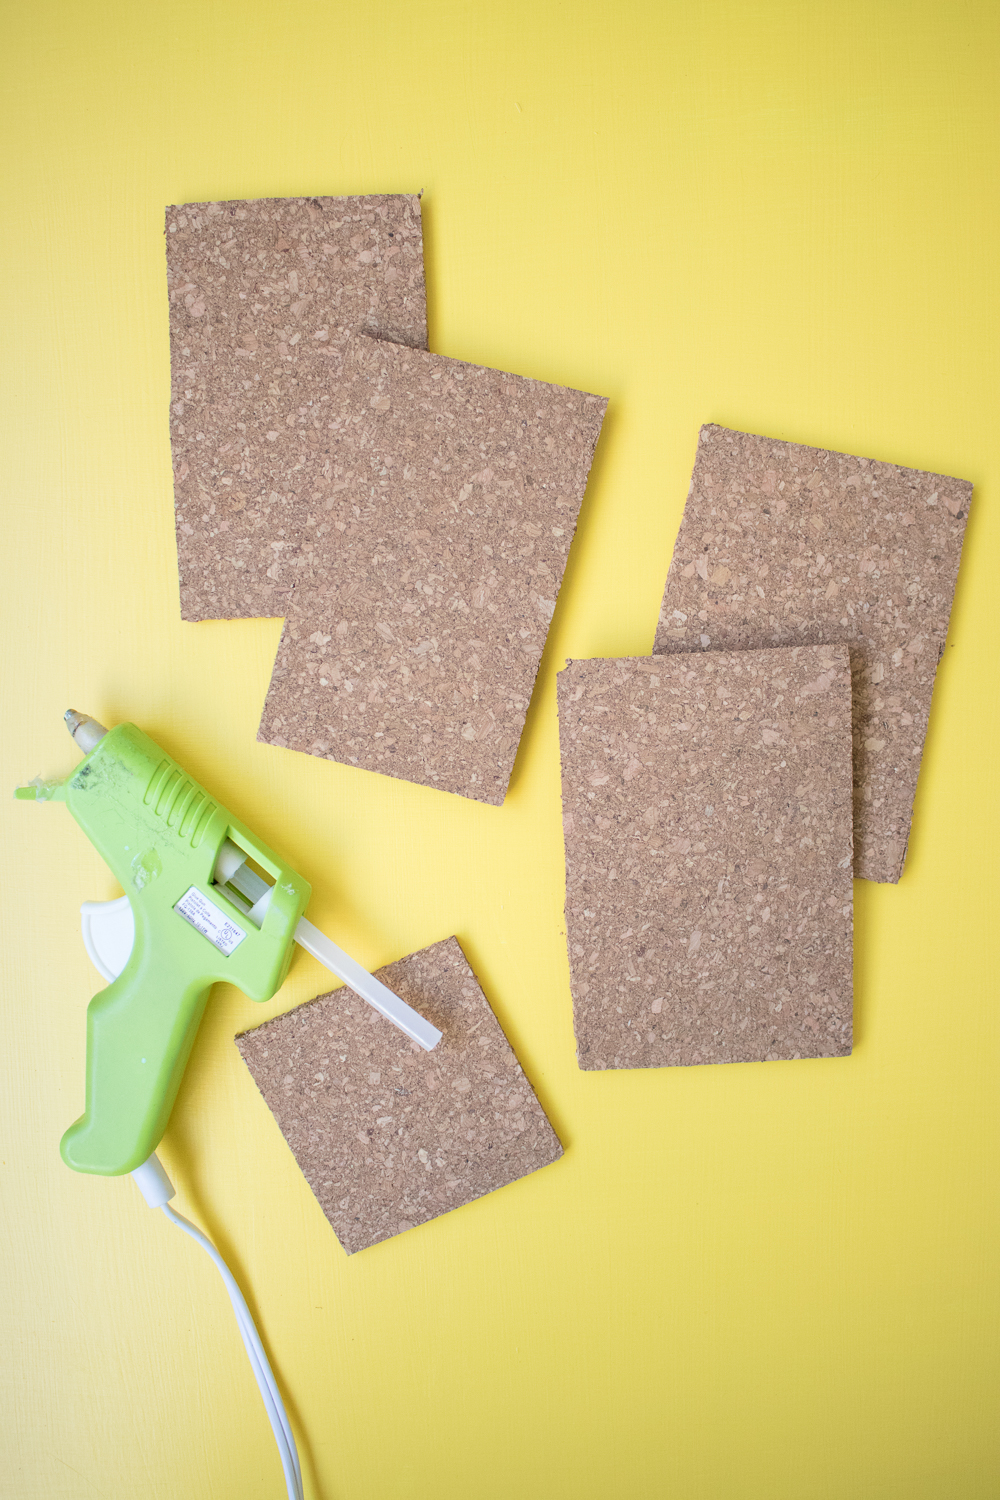 Step 2: Heat up the glue gun and glue the 3in x 5 in pieces on opposite sides of the 3 in square base. Be mindful of which side of the cork will be on the outside as they may look different. Hold straight until the glue dries.
Step 3: Then glue the 3in x 5.5in pieces on the remaining sides, gluing along the bottom and sides, and hold in place until the glue dries. You should now have a square cup that stands up straight.
Step 4: Once the glue is dry, remove any glue strings and place the tape about halfway down the pencil cup. Spread one long piece all the way around the cup so that the end meets the same place it began. This should help it appear straight.
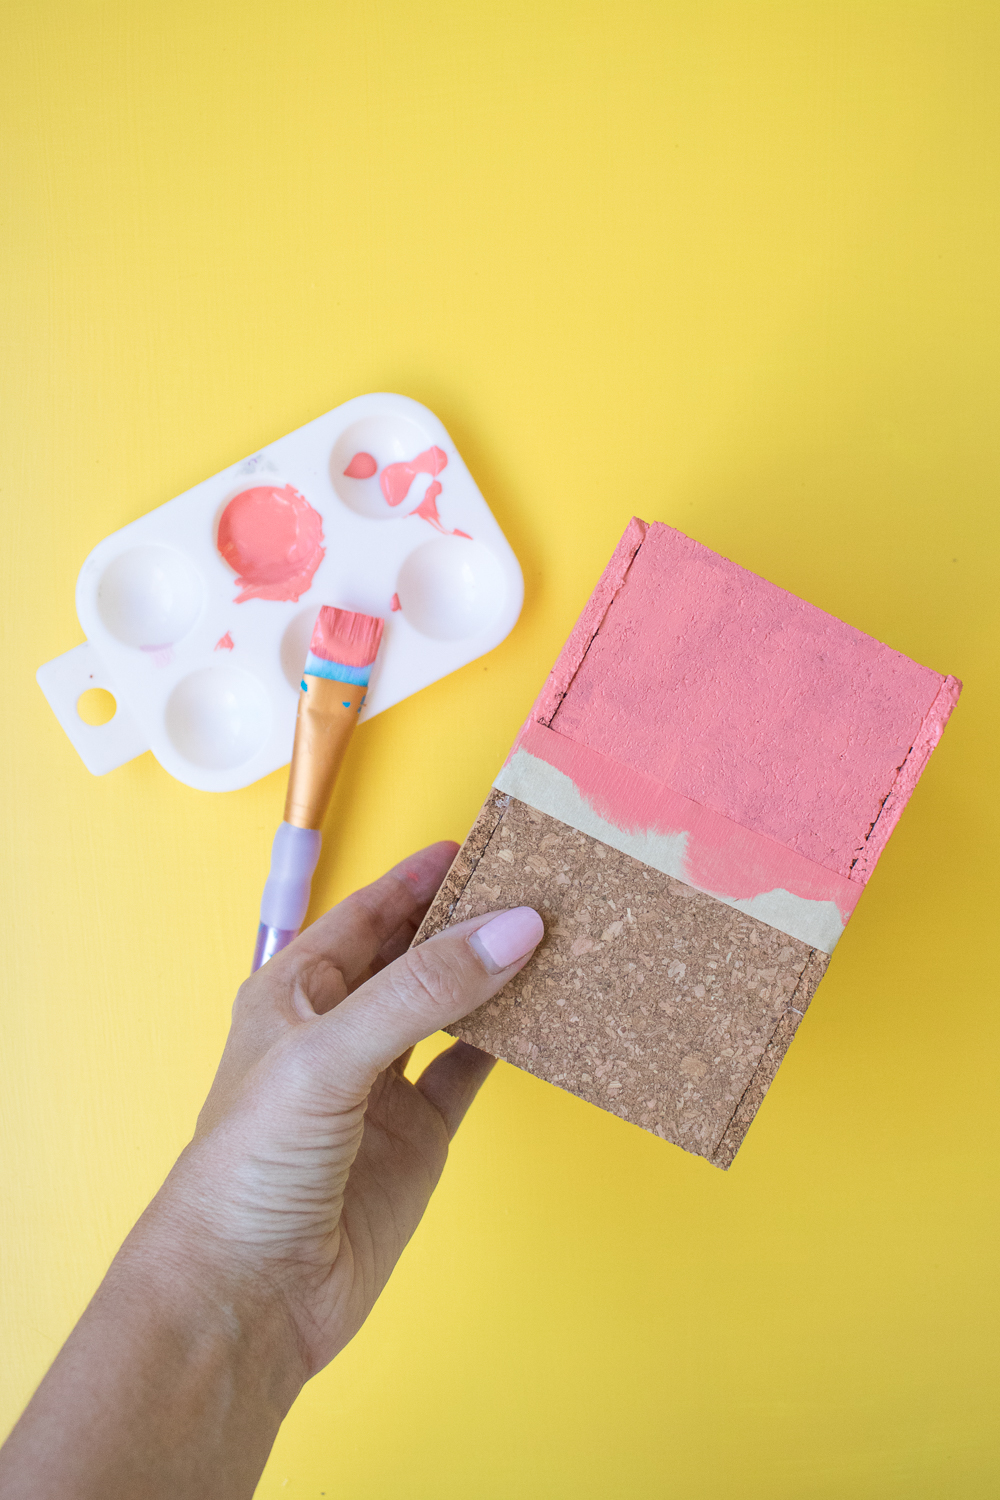 Step 5: Paint the bottom with a brush or round sponge, painting a second coat if needed. Remove the tape while the paint is still wet and set upside down to dry.
Step 6: To create the scalloped edge, use the round sponge brush to press circle on top of the paint line. Continue all the way around the cup, ensuring the edge remains level and circles are right next to each other, equal distances apart. This will result in a scalloped edge. Fill in any other paint with the sponge as needed so that it appears cohesive.
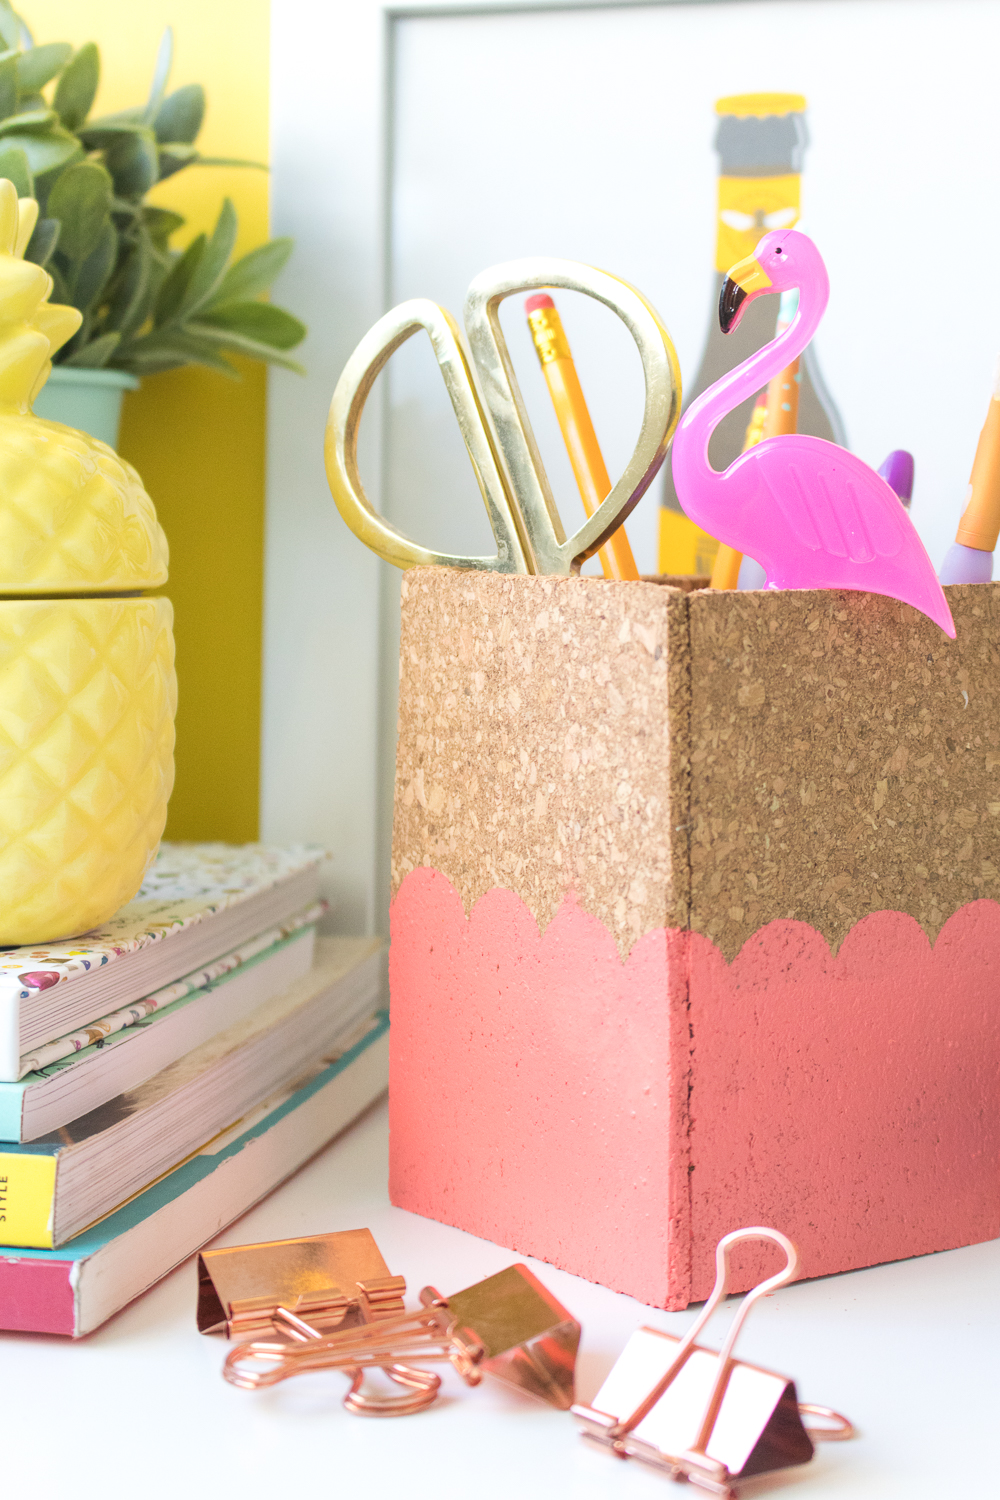
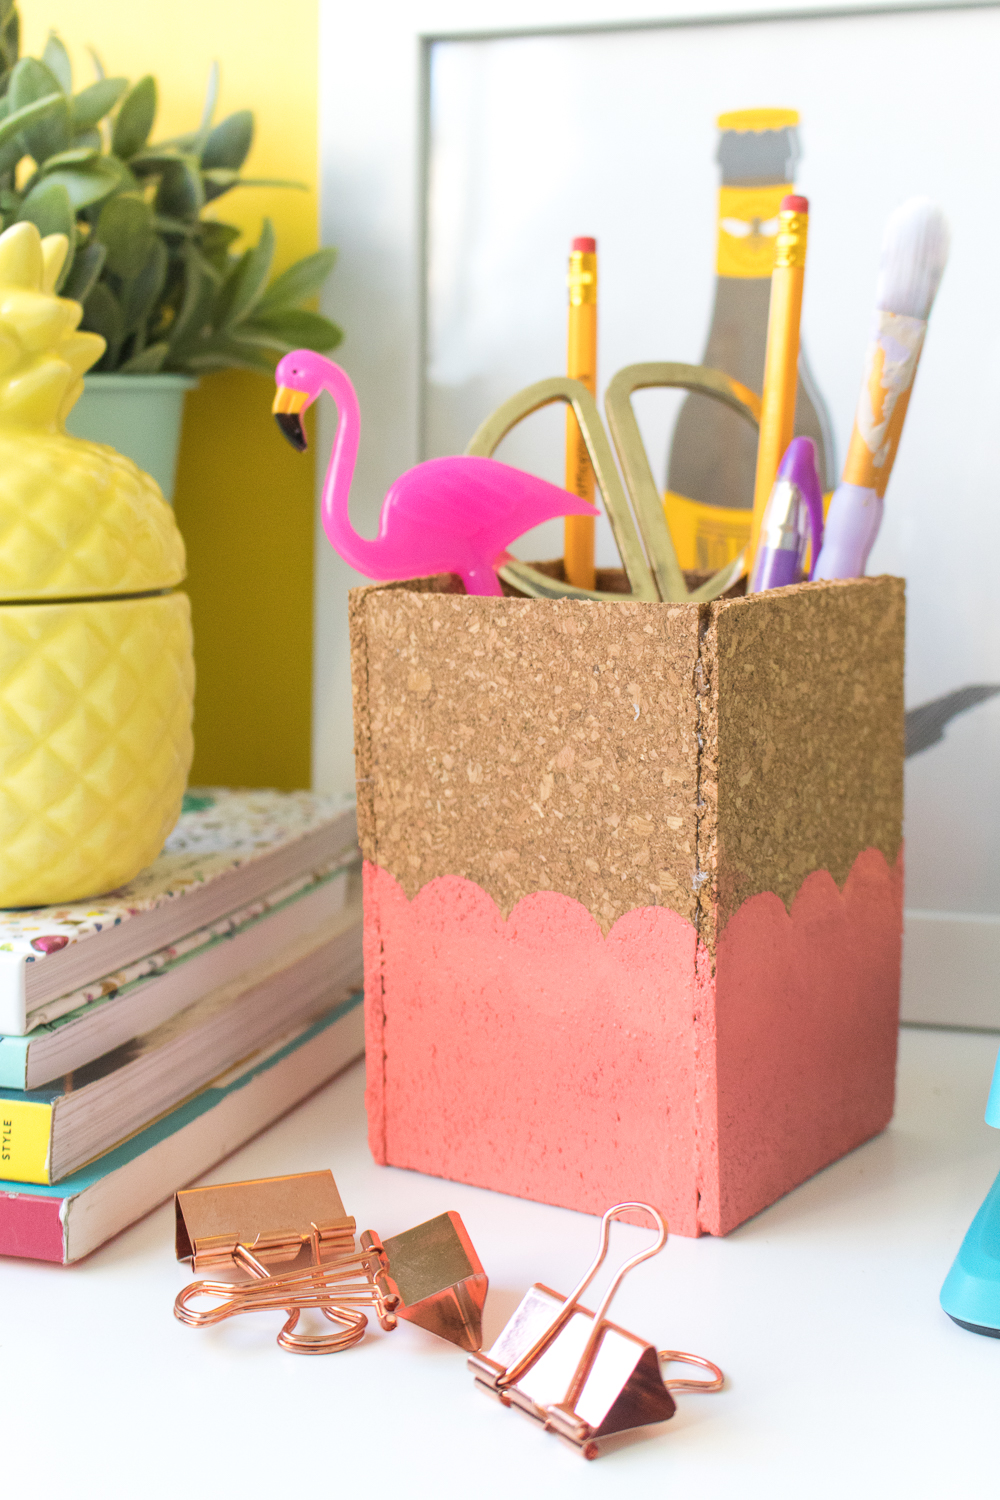
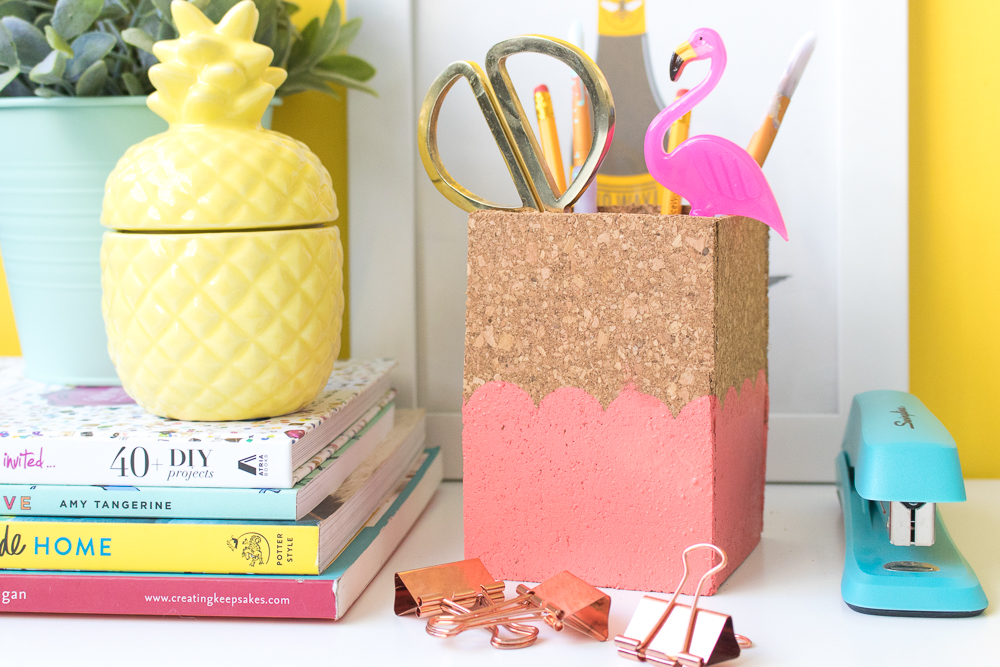 Let dry completely, and turn the cup upright to begin filling! Cork is sturdy, but note that too many heavy items leaving against the edges may cause it to break over time.
Set on your desk for pretty homemade office storage that matches your color scheme! Happy crafting!

