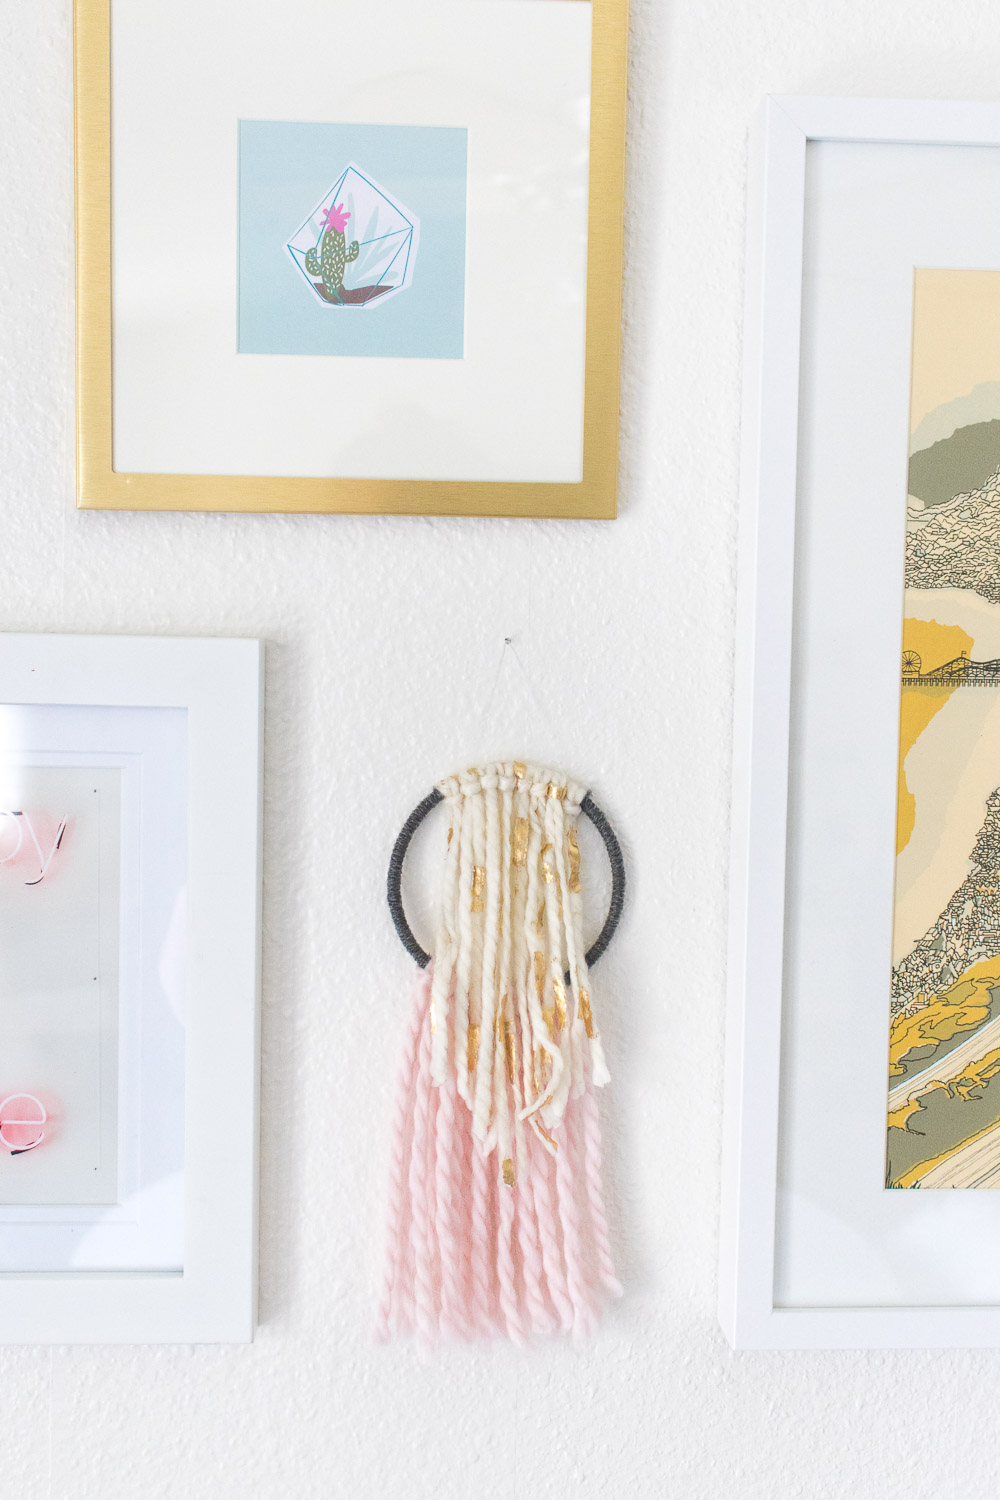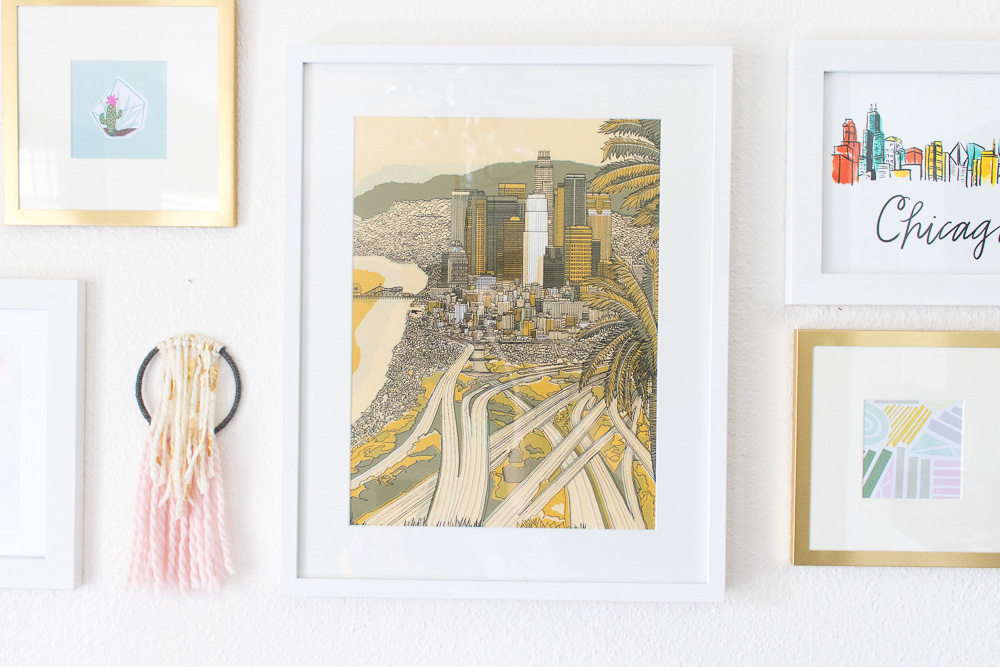
 I’ve been really interested in weaving lately, and I had a cool idea to try weaving a circular piece of art…which failed miserably. That’s just how things go, right? Ha, I’m still learning to weave and just bought a new little loom I’m looking forward to trying, but I decided to rework my “fail” into something else that could become part of the gallery wall I’m planning in our dining room. This really simple wall hanging is essentially a bunch of pieces of yarn tied at different heights on a macrame hoop, but I love how it turned out.
 This just goes to show you that sometimes the simpler projects come out prettier than the complicated ones I guess. Maybe I can try that circular weaving once I’ve had more practice, but until then, I was excited to include this little piece of wall art in the gallery wall that you saw in yesterday’s post.
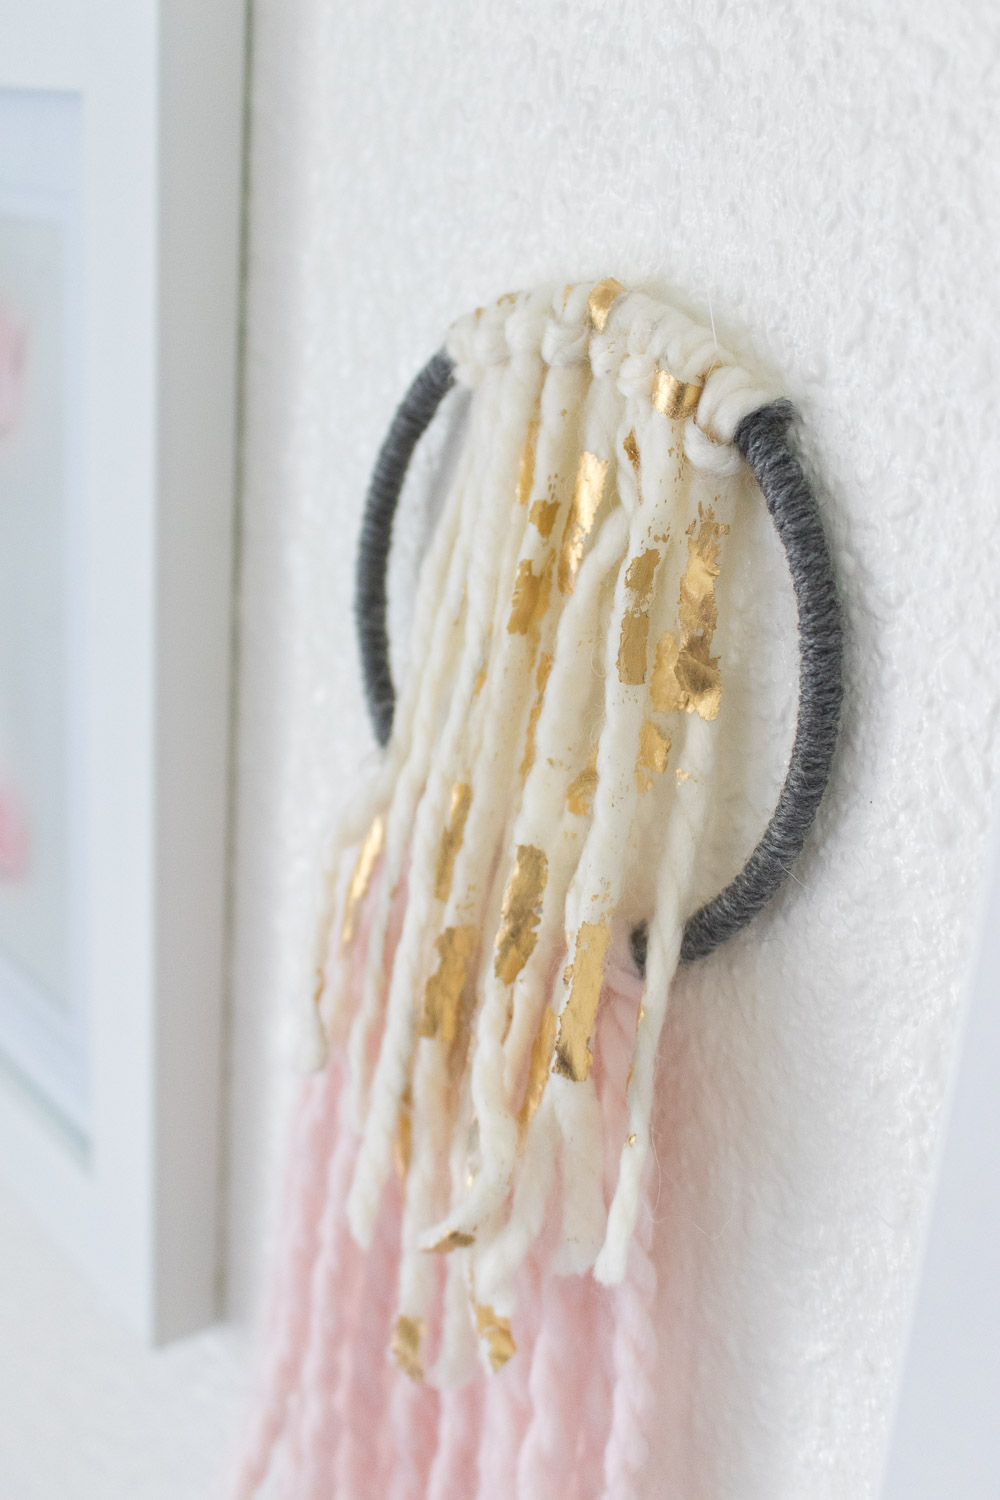
I found this pretty white yarn with gold leaf on my last trip to JoAnn, and I knew I had to find something to use it for, so this seemed like the perfect project. Plus, I’m including quite a few gold accents in our dining area, so I knew it would tie in well with the rest of the decor. I snuck in the blush yarn because I’m obsessed with blush right now and am slowly sneaking it into small areas of the house (and hoping Andrew doesn’t notice, ha!). Lastly, I used grey because it’s my go-to neutral. It may not be my usual ultra-colorful DIY but I love the simplicity and it fits in perfectly with the rest of our decor.
Here’s how to make one of your own simple wall hanging!
Supplies:
- 4 inch macrame hoop (or larger, if desired)
- 2-3 different colors of yarn
- Scissors
- E6000 glue or equivalent
- Thread or thin string, white or matching color
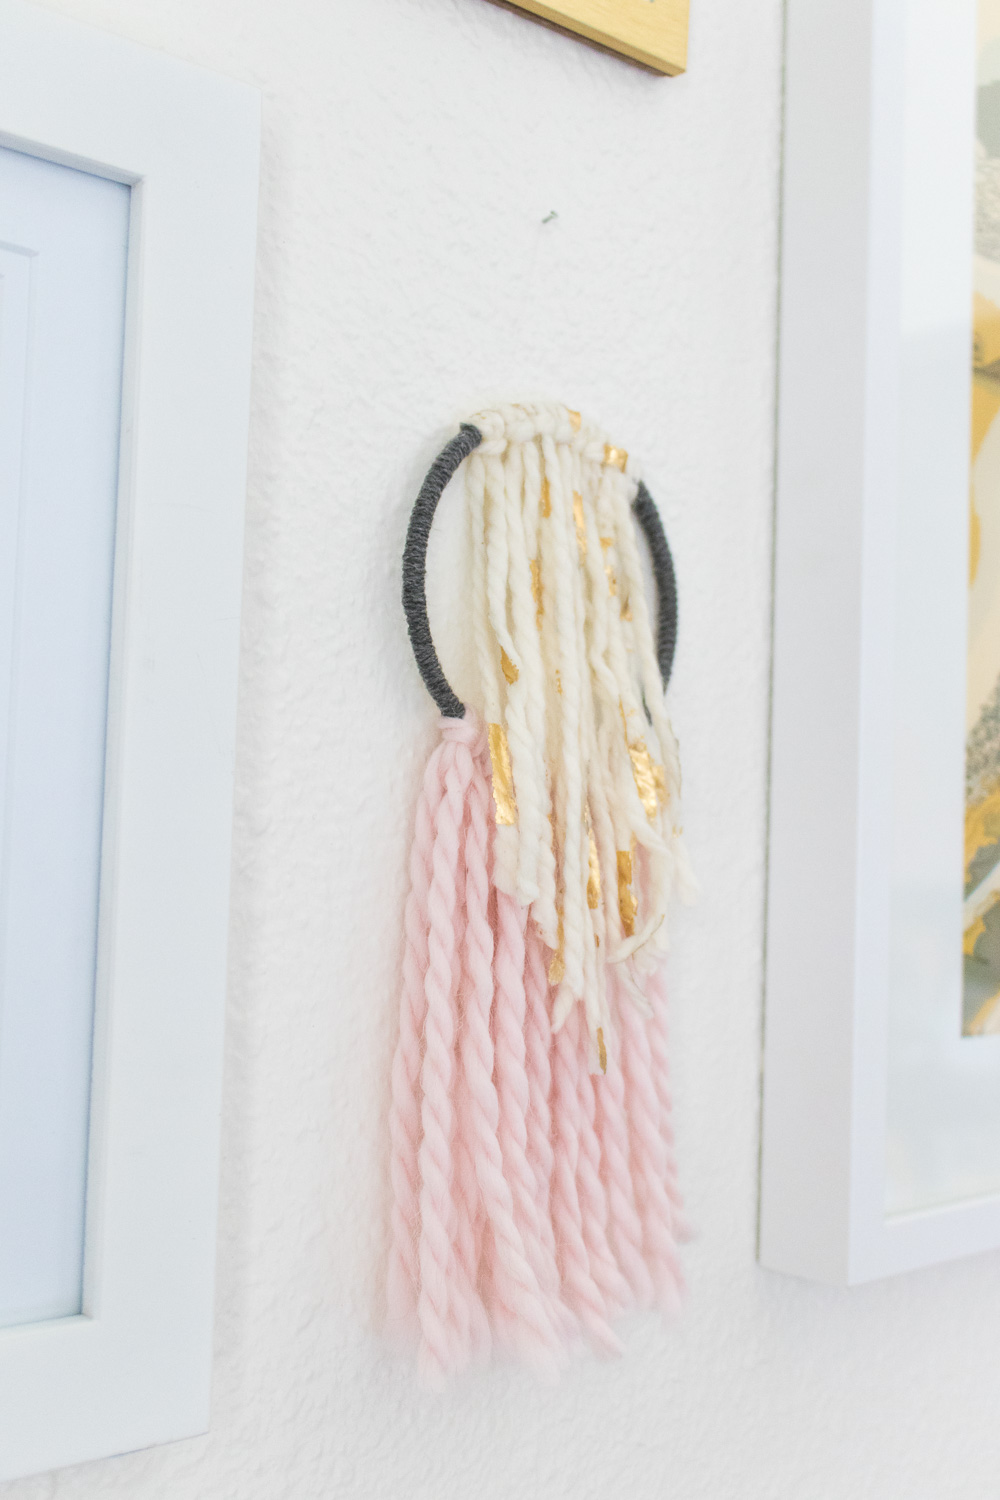
In this case, I used blush for the bottom, white for the top and grey for wrapping in between.
Step 1: Lay the loop on a flat surface while attaching yarn. Cut about 10 equal sized pieces of yarn for the bottom (blush), about 10 inches long.
Step 2: Fold each piece in half, wrap around the bottom of the macrame hoop and loop it into a knot. Repeat with all pieces of yarn. The pieces may not appear even due to the curve of the hoop. Use the scissors to trim them all to even them straight across as needed.
Step 3: Cut about 8 equal sized pieces of yarn for the top (white), about 7 inches long.
Step 4: Fold each piece in half, wrap around the top of the macrame hoop and loop into a knot. Repeat with all pieces of yarn so that you have about 7 pieces of yarn hanging down, and it should overlap onto the bottom portion.
Step 5: Cut a long piece of grey yarn for wrapping around the remainder of the hoop. This step ensures that the hanging yarn does not slip around on the hoop.
Step 6: Starting at the bottom on one side where the blush yarn ends, add a small amount of glue and tightly wrap the yarn around the hoop. Continue wrapping around and around, gluing in place, until you reach the top where the rest of the yarn is attached.
Step 7: Repeat on the other side of the hoop, pushing the hanging sections of yarn together so there are not gaps between each piece. Cut any loose string from the wrapping so that it all appears clean.
Step 8: From here, you can cut the top section (white) into a point, an angle or trim all pieces so they are straight across like the bottom. I trimmed the section into a slight point.
 Step 9: Lastly, cut a piece of thread or thin string to about 5 inches and wrap one side around the hoop where the top section meets the wrapping (white meets grey) and tie a double or triple knot. Repeat on the other side, where the hanging section meets wrapping again and tie another double or triple knot. This should result in a small section for hanging the wall hanging.
Because this is very light when made on a 4-inch hoop, the thread is strong enough to hold the wall hanging. If using heavier materials, consider a thicker thread to hold the weight. Plus, remember you can add beads to the hanging sections of yarn!
Have fun with this simple wall hanging to make it look unique and create a fun piece of wall art that matches your unique style! I love how it breaks up our gallery of frames in the dining room, and I can’t wait to share a real weaving project with you guys soon. Happy crafting!

