The following post is sponsored by Excel Blades
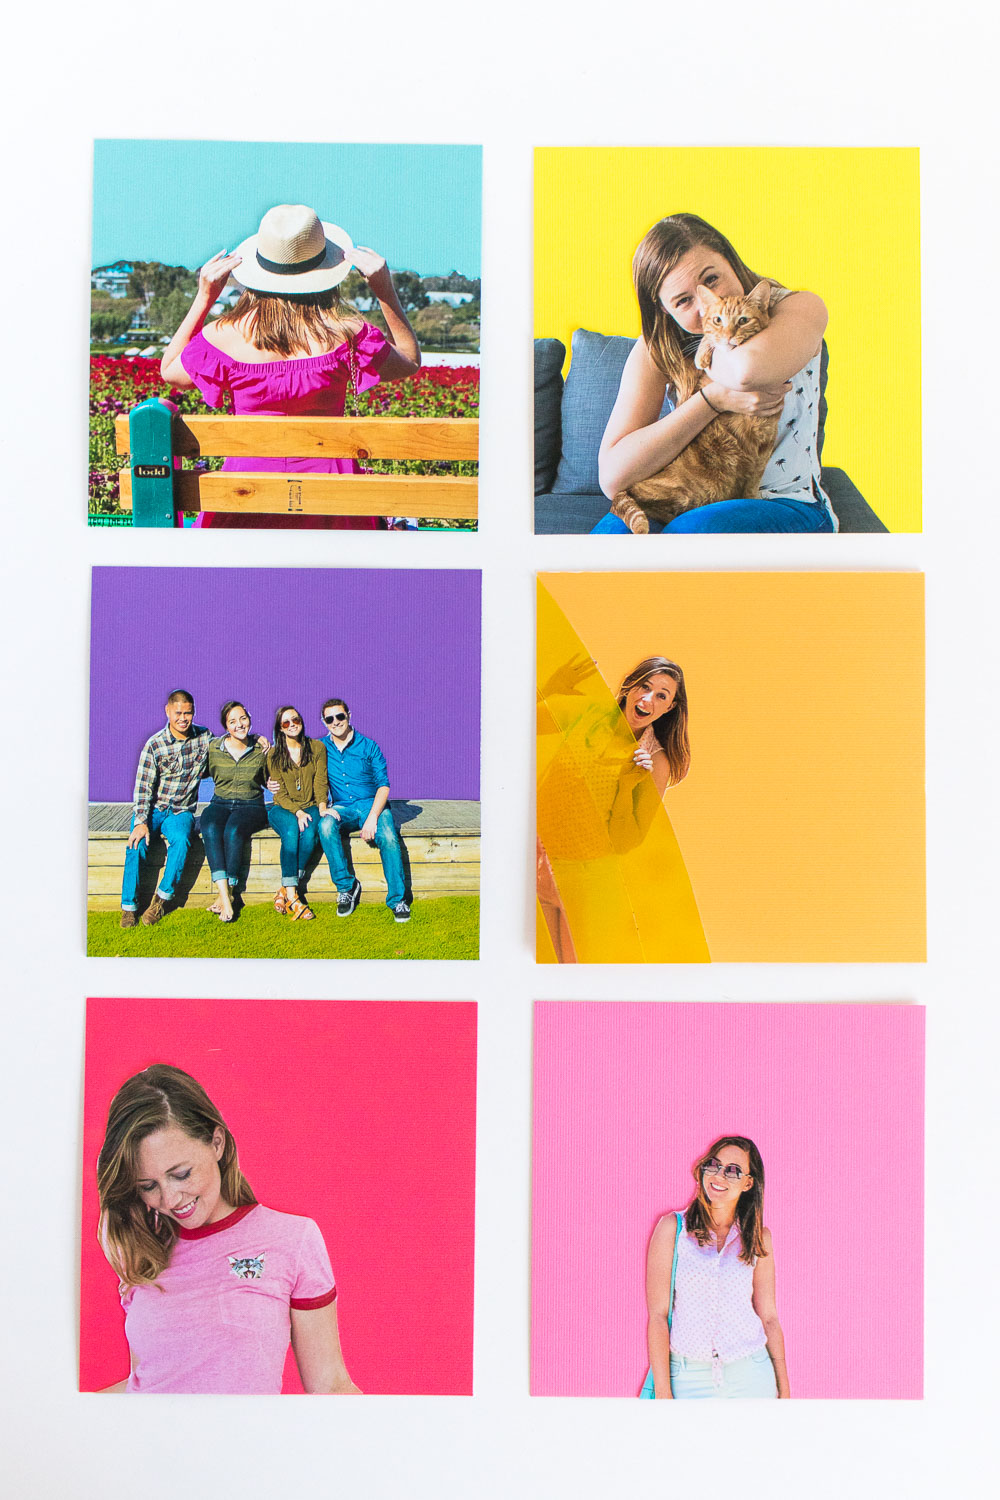
 Part of me wishes I had lived in a dorm room in college. Decorating a dorm would have been so much fun, but at the same time, my situation worked out much differently and in the end, having my own bathroom was probably worth it. If I had lived in a dorm, I think this DIY swapped background photo art would have been perfect dorm decor, but instead, it adds to perfect pop of color to my office space. Using my go-to Excel Blades hobby knife, I simply removed the background of several photos and replaced them on brightly colored paper. Whether framed or left plain, they’re the perfect way to make a miniature gallery in a small space!

 Of all of these, I think that orange background photo Andrew took of me at The Museum of Ice Cream is my favorite. Together, I love the color they bring to any space, and collaged together they look like a lovely little gallery.
Projects like these are so simple to make but can make a huge difference when placed together on a wall. I decided to go with a more rainbow-like gallery, but simply swapping out the backgrounds of a few photos to match your decor can add a lot of interest. In some cases, the backgrounds were solid (like a wall or the sky) and others were busy (like my living room or a museum). This simple technique helps to remove the background to replace the color, enhance it or make it flow with others.
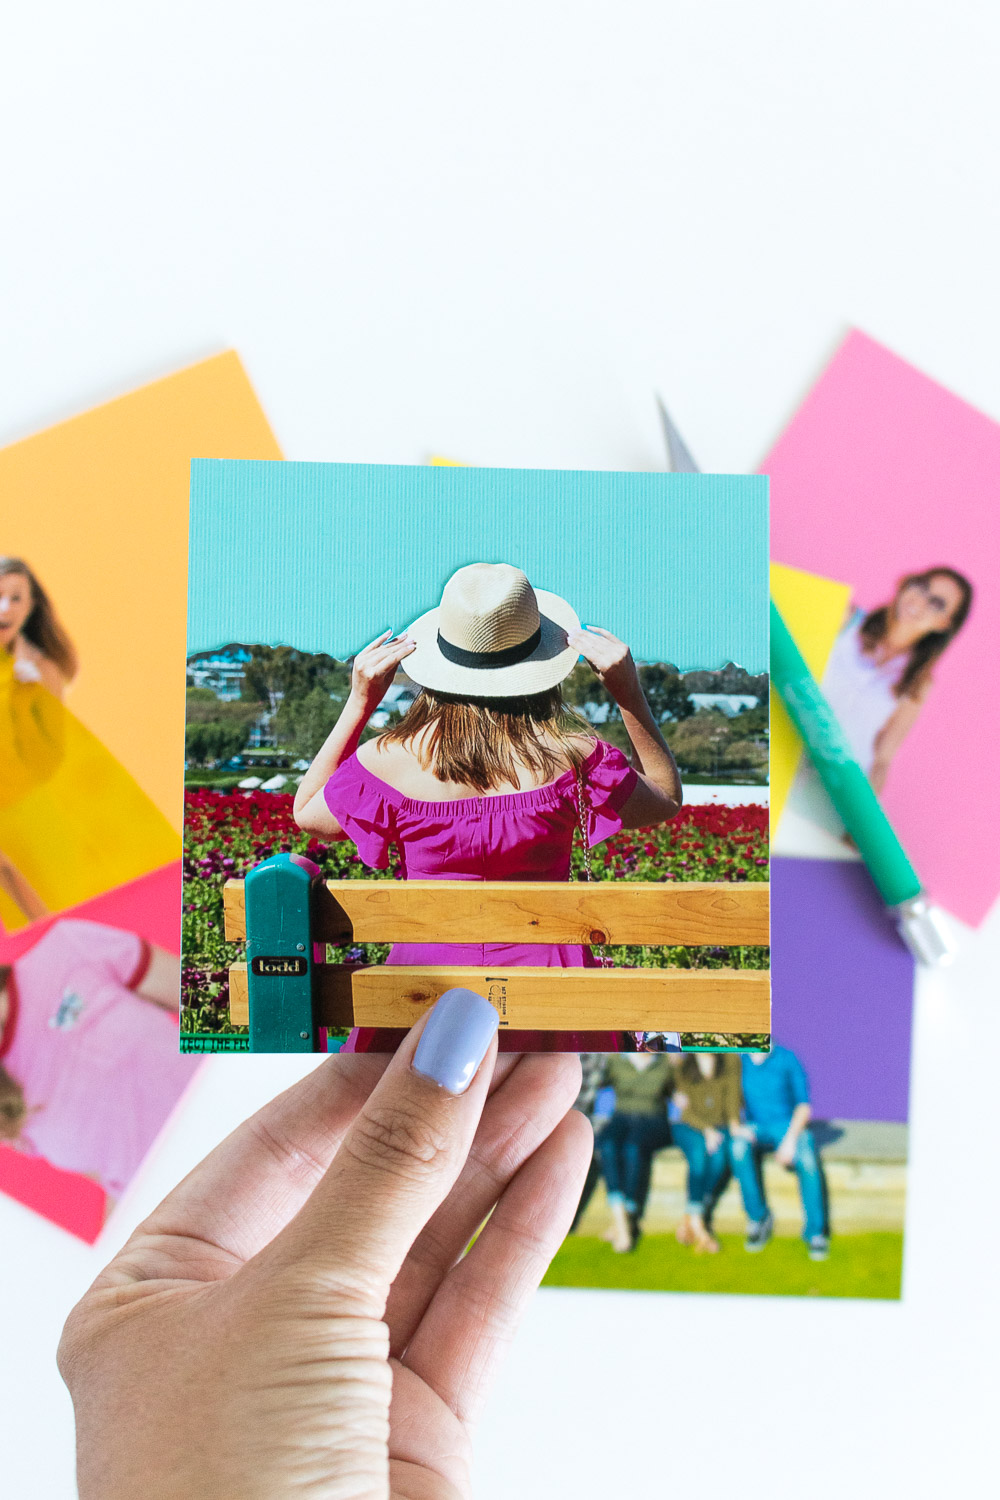
 I love that the way the photos are glued to the cardstock gives them texture.
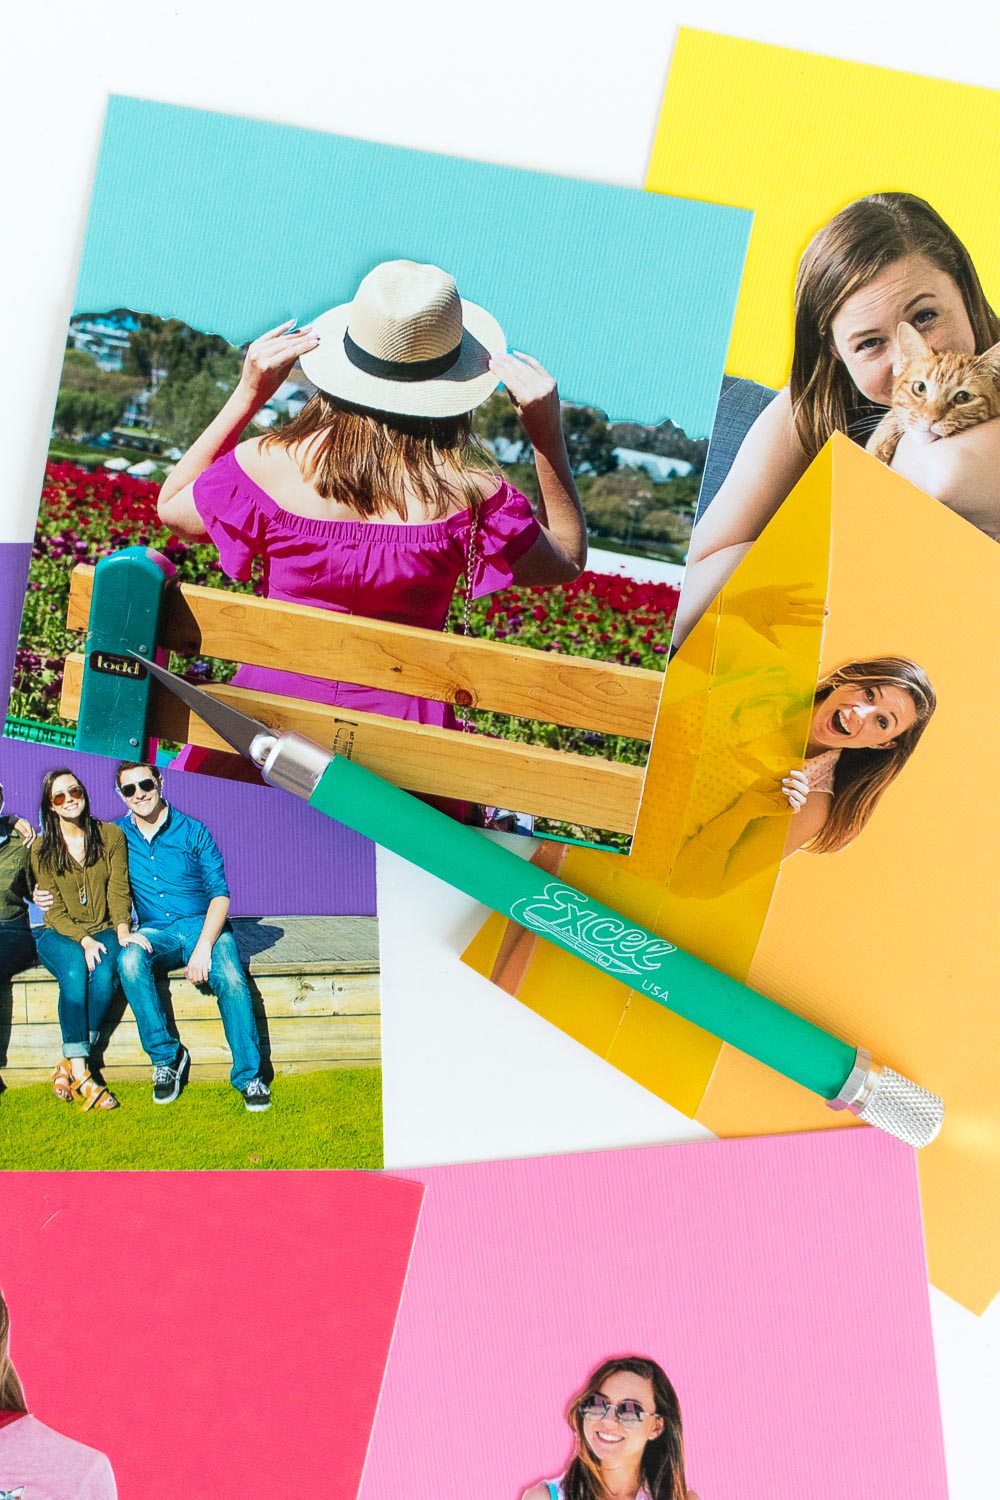
My Excel Blades hobby knife comes in a variety of colors, and this bright teal is my favorite. It’s extra sharp and easy to maneuver, so it’s perfect for cutting even small details.
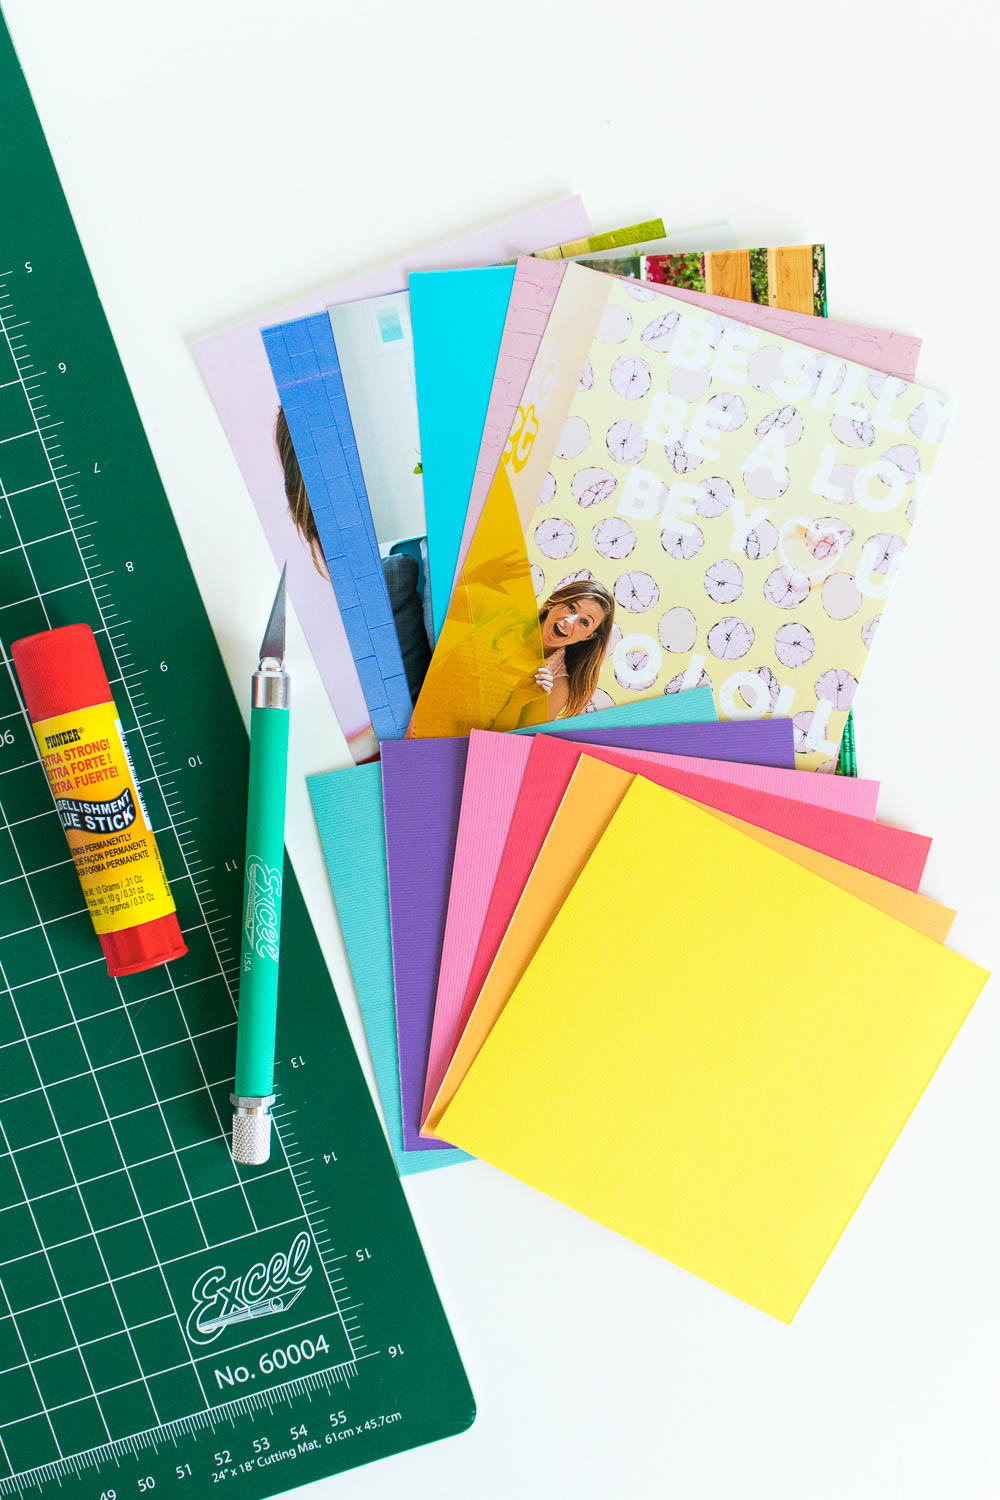
Supplies:
- Printed photos, glossy recommended
- Excel Blades hobby knife
- Excel Blades cutting mat
- Cardstock paper
- Glue stick
- Paper cutter or scissors
Step 1: Cut the photos to 4 x 4 inches or desired size using scissors or a paper cutter. I cut 4 x 6-inch photos down to 4 x 4 inches.
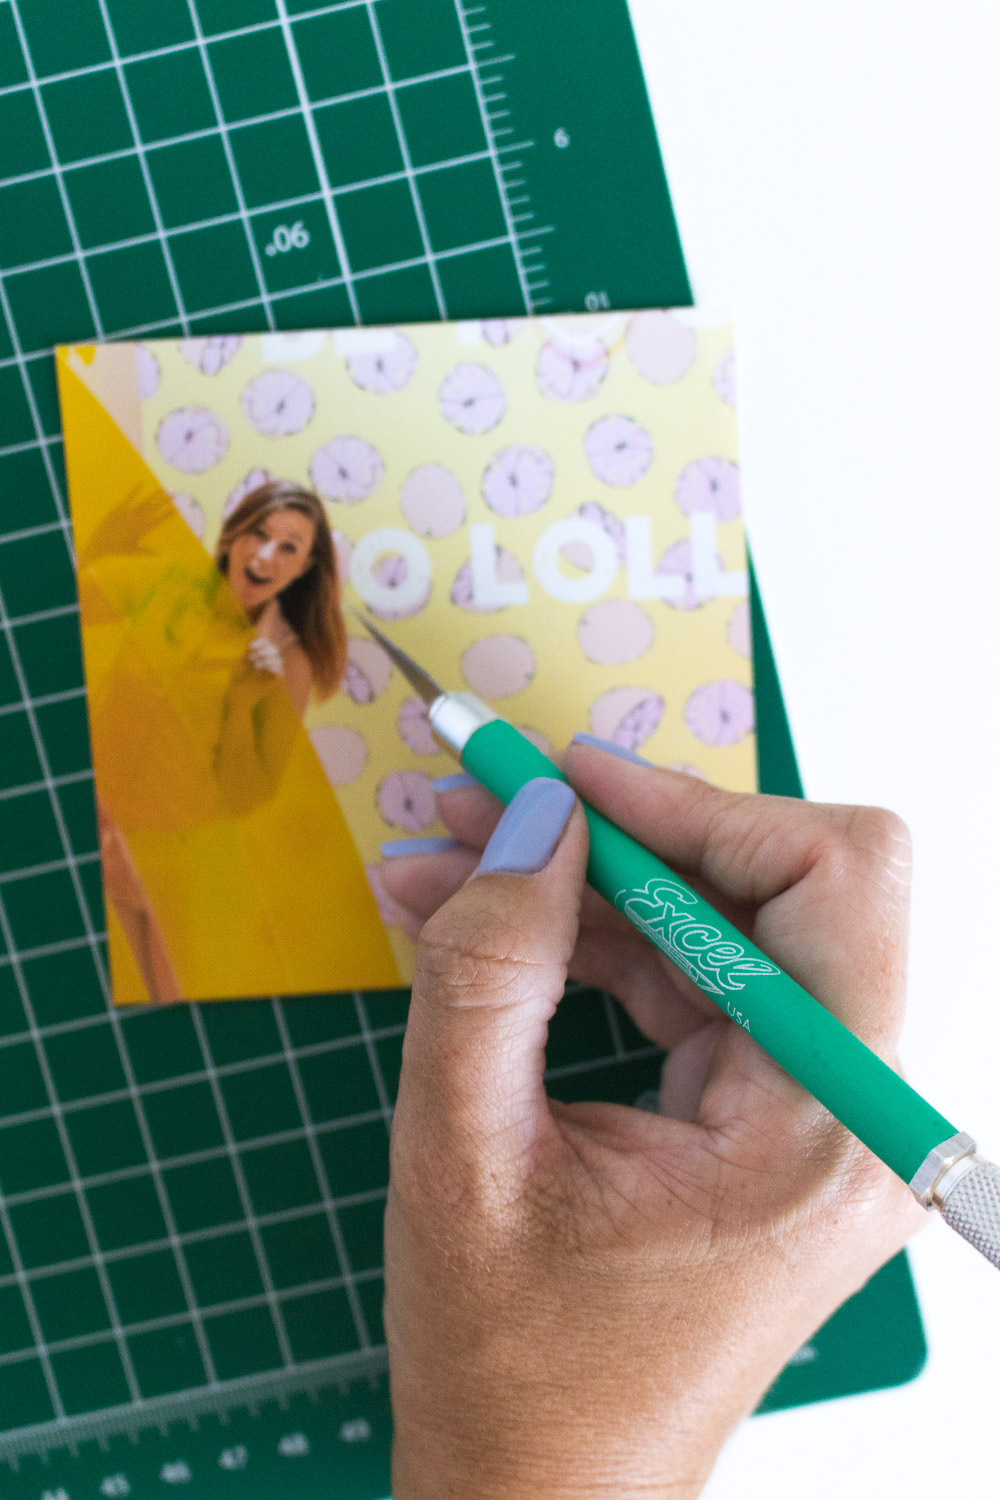 Step 2: Lay the photo(s) on the Excel Blades cutting mat to protect your work surface. Carefully begin maneuvering the blade around the area of the photo you want to cut away. Press lightly and slowly drag the blade around the details to cut away the background.
Step 3: With the paper cutter or scissors, cut the desired colored cardstock to 4 x 4 inches or desired size.
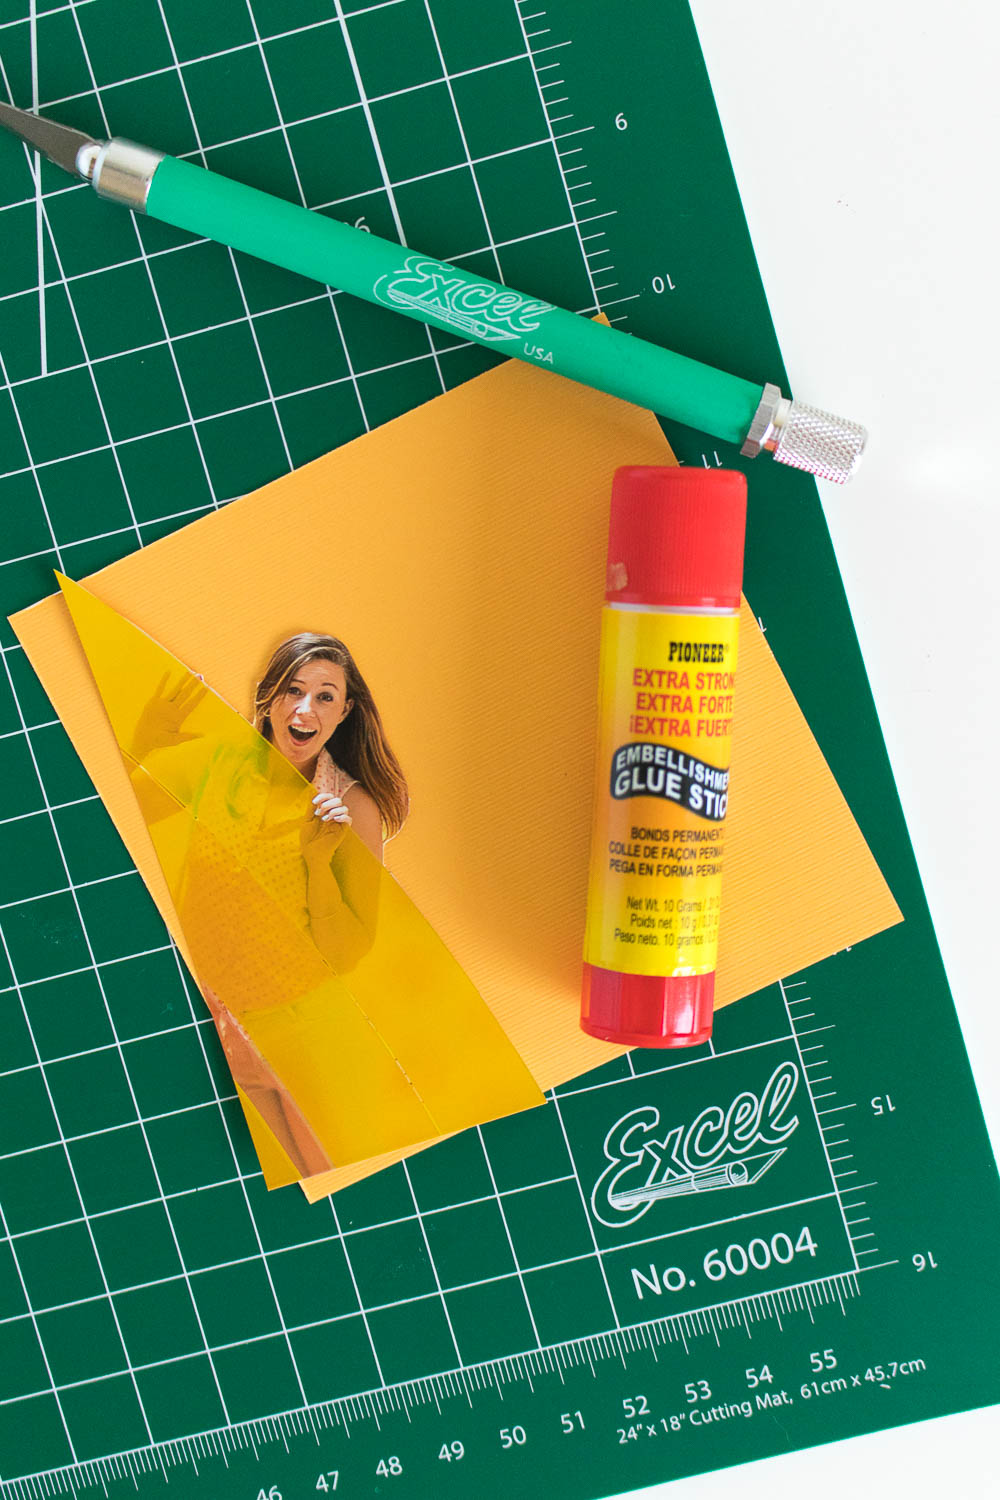 Step 4: Use the glue stick to glue the photo onto the corresponding colored cardstock.
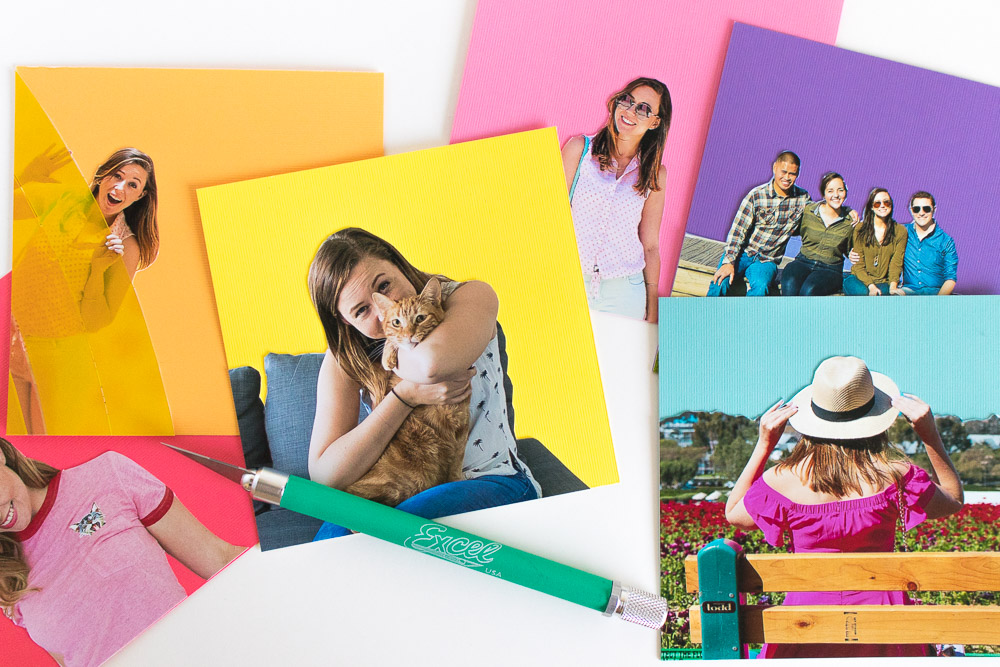 Display alone or as a group to show off your favorite photos with a bright pop of color! I love how these look all together, but I think an ombre group would be pretty to try next!
Have fun decorating your dorm room, your hallway, your office space or anywhere else in your home!
Thank you to Excel Blades for sponsoring this post. All opinions are my own. Thanks for supporting the brands that keep Club Crafted sharing!

Bright Shadows
Cute idea! It really makes the photos look bold!
Holly Wade
Bright ShadowsThank you!!