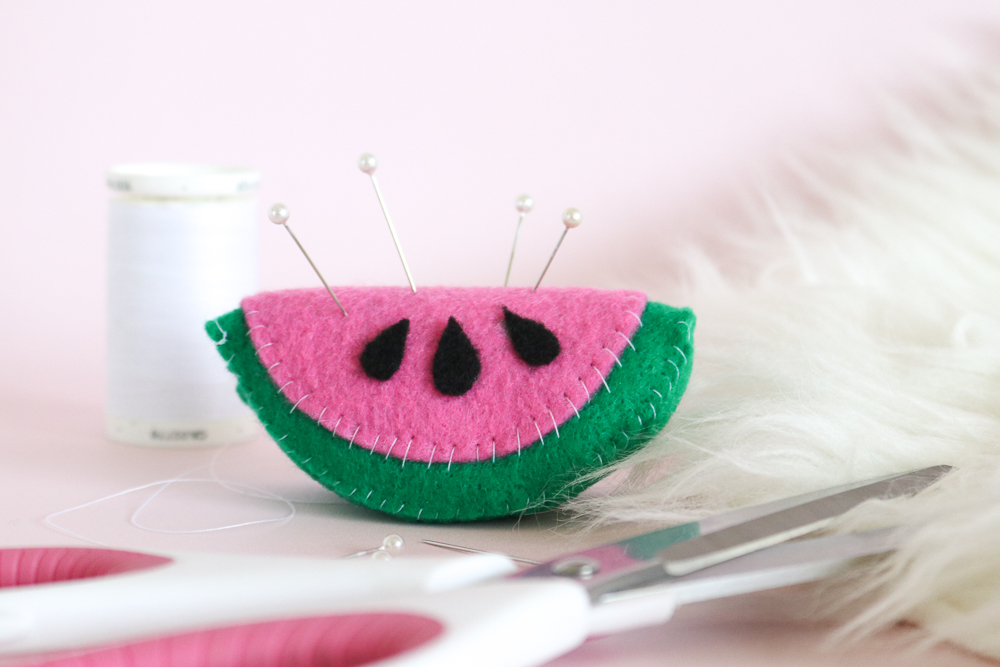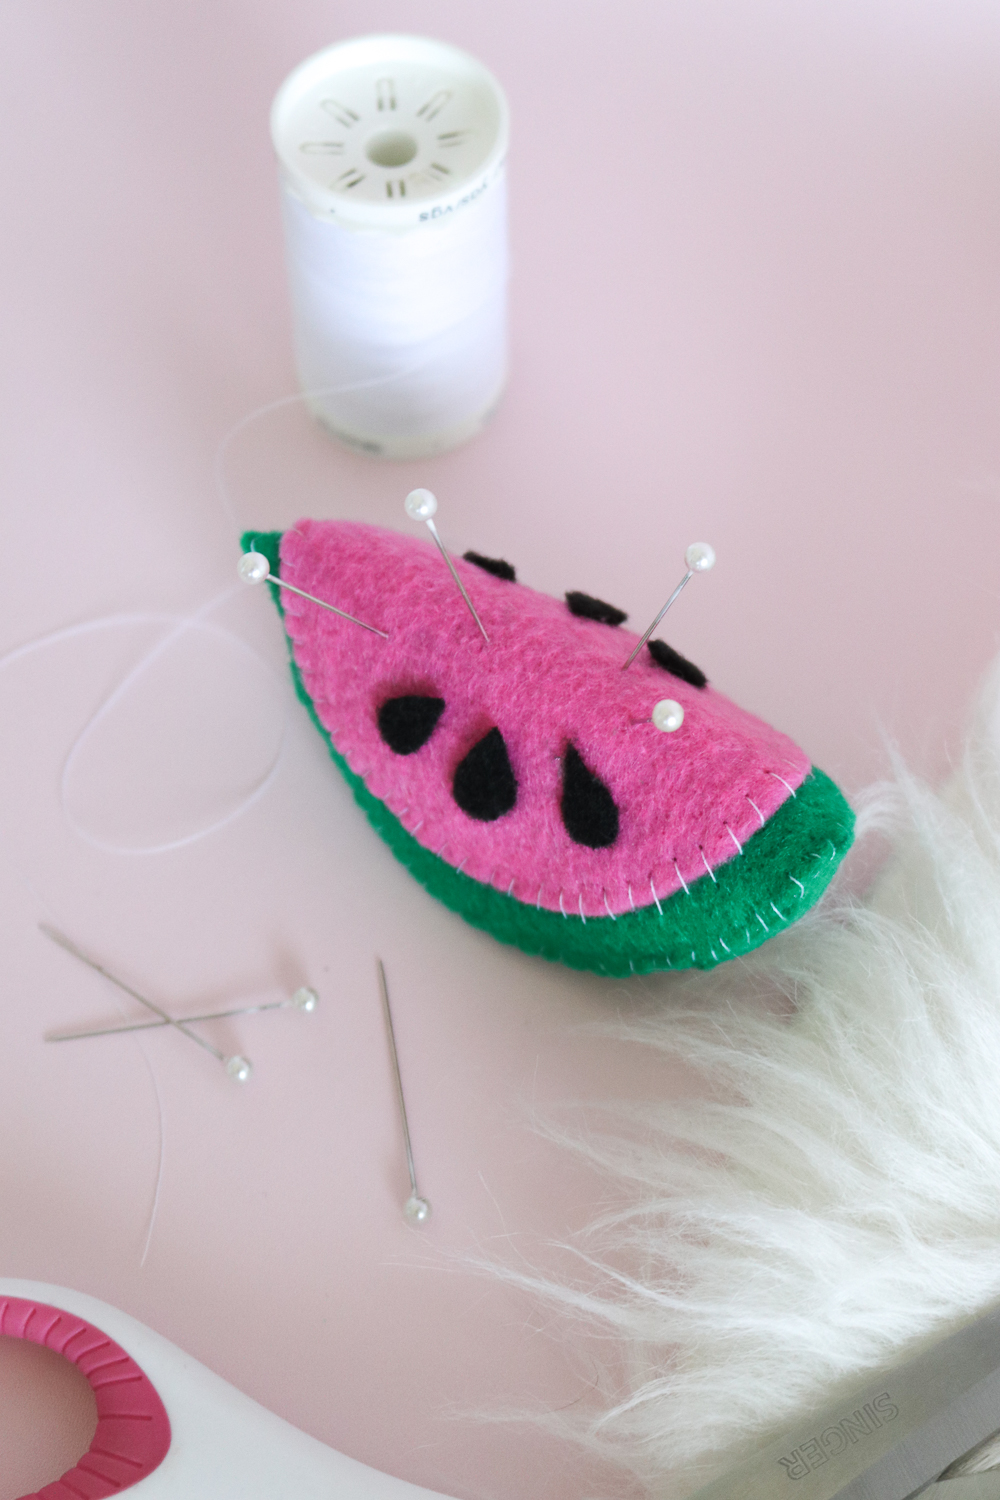
Even though I’m no sewing guru, I do try to practice new sewing projects to improve. It’s much easier to get better at something when you make a point to keep up with it. When I don’t touch my sewing machine for a whole month, I feel like I lose a lot of the skill I built up previously, so even little projects like hemming my new curtains keep me feeling comfortable with my machine.
**This post was originally published on 3/22/17
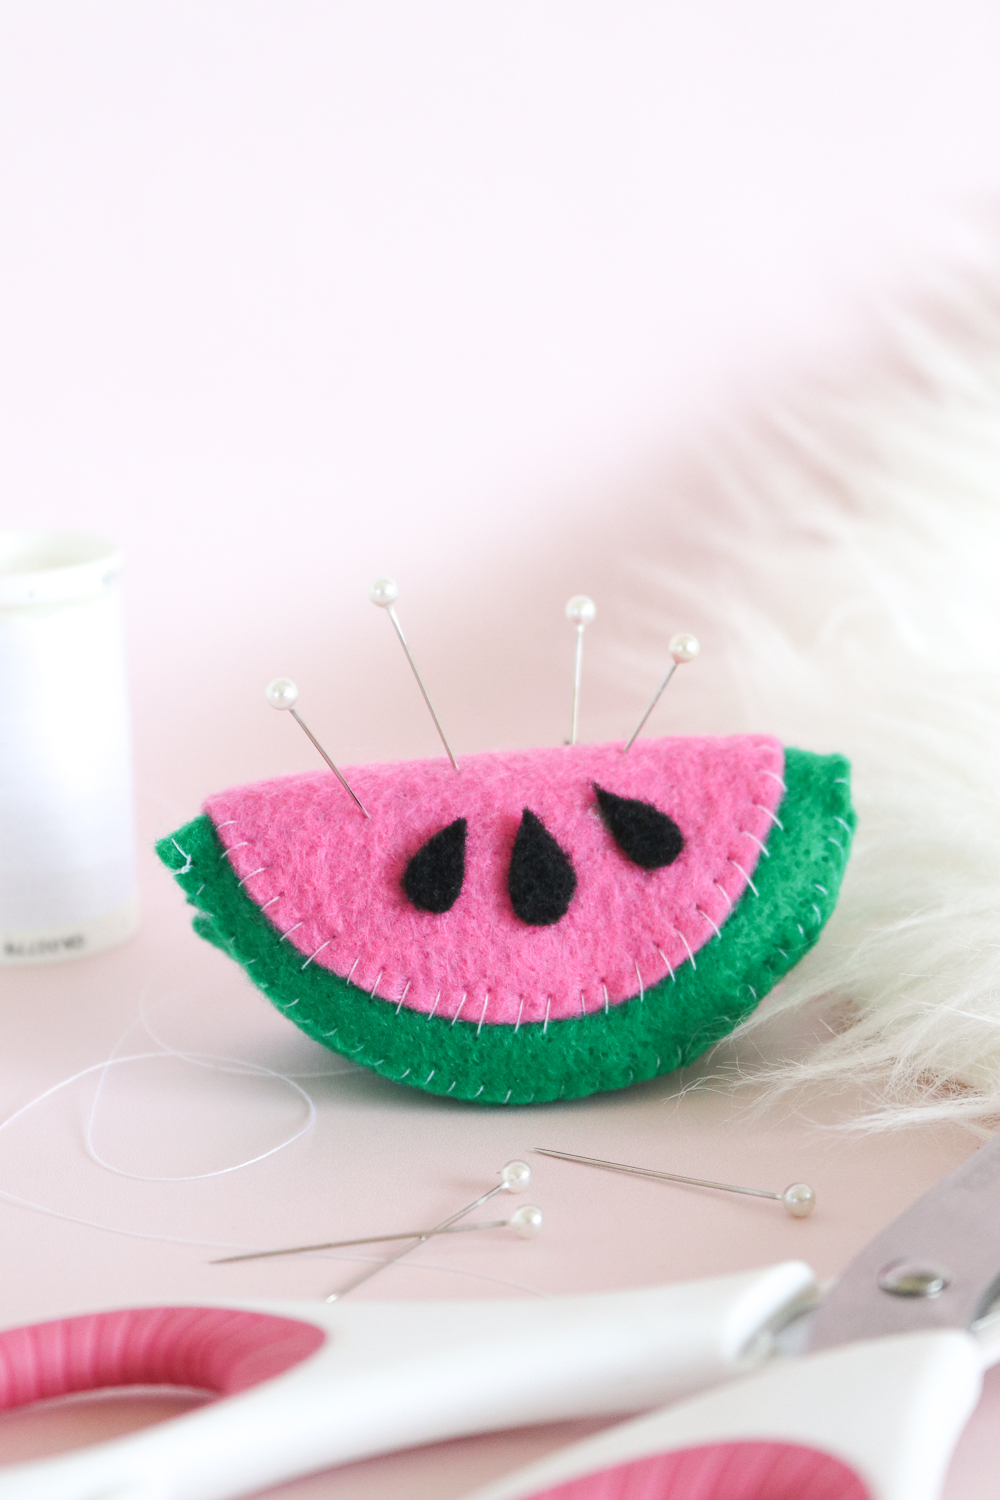
This time, I decided to practice my hand sewing skills with this DIY watermelon pin cushion. I thought this project would be fun and give me something to use when I continue practicing sewing (I actually have another sewing project planned for later this month!), so it’s currently sitting on our newly hung office shelves. That’s right guys, I finally have a studio/office again!
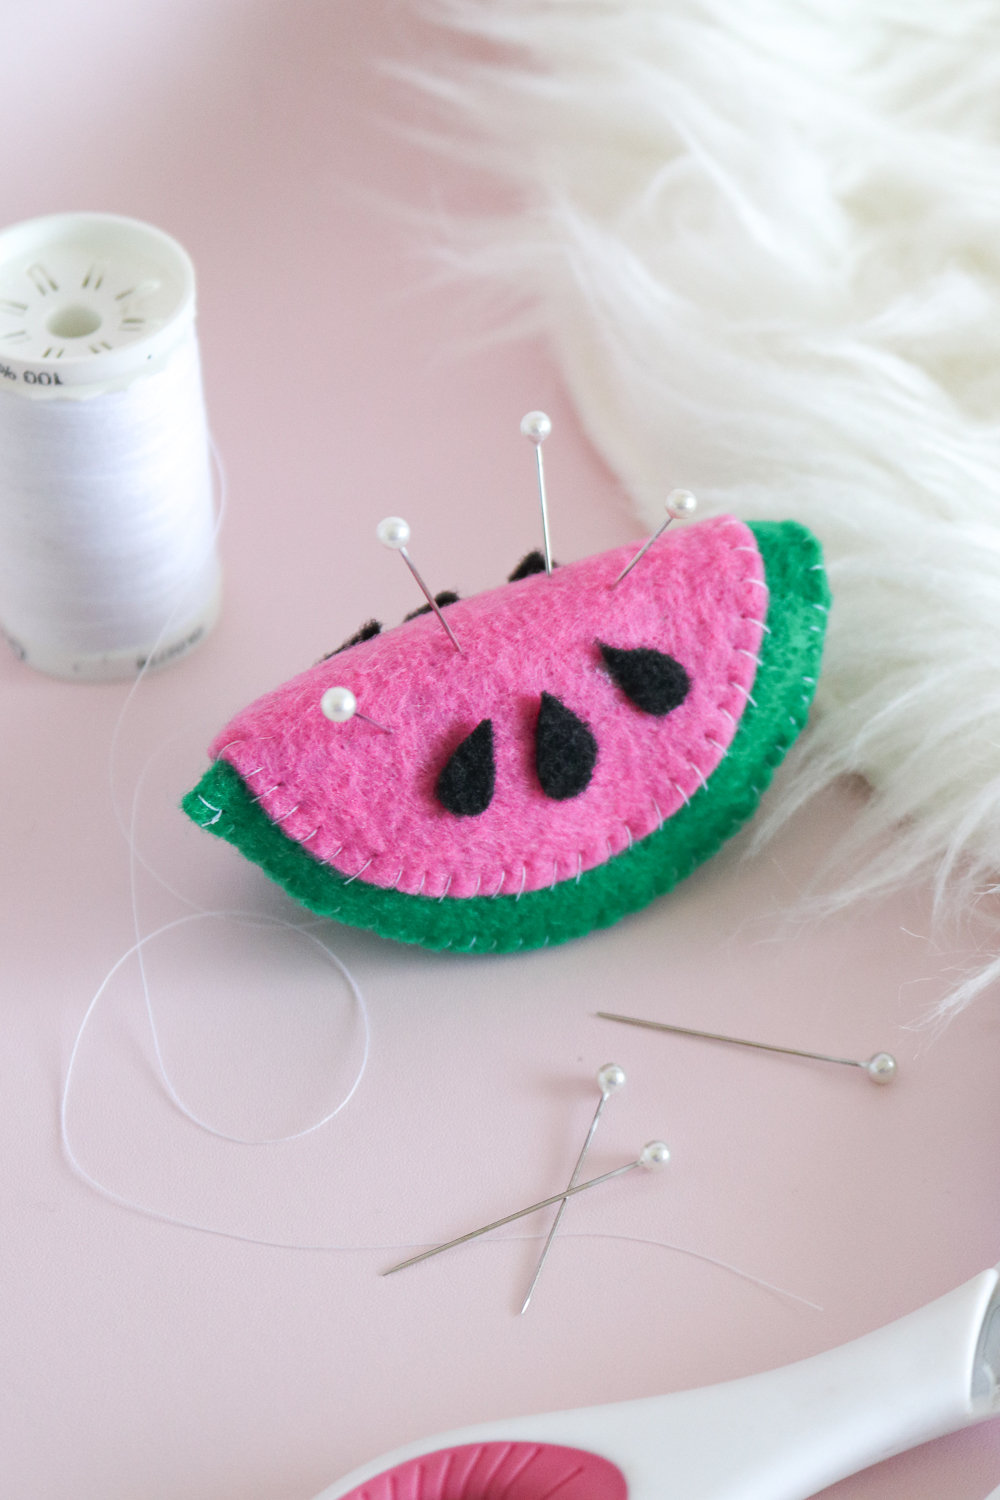
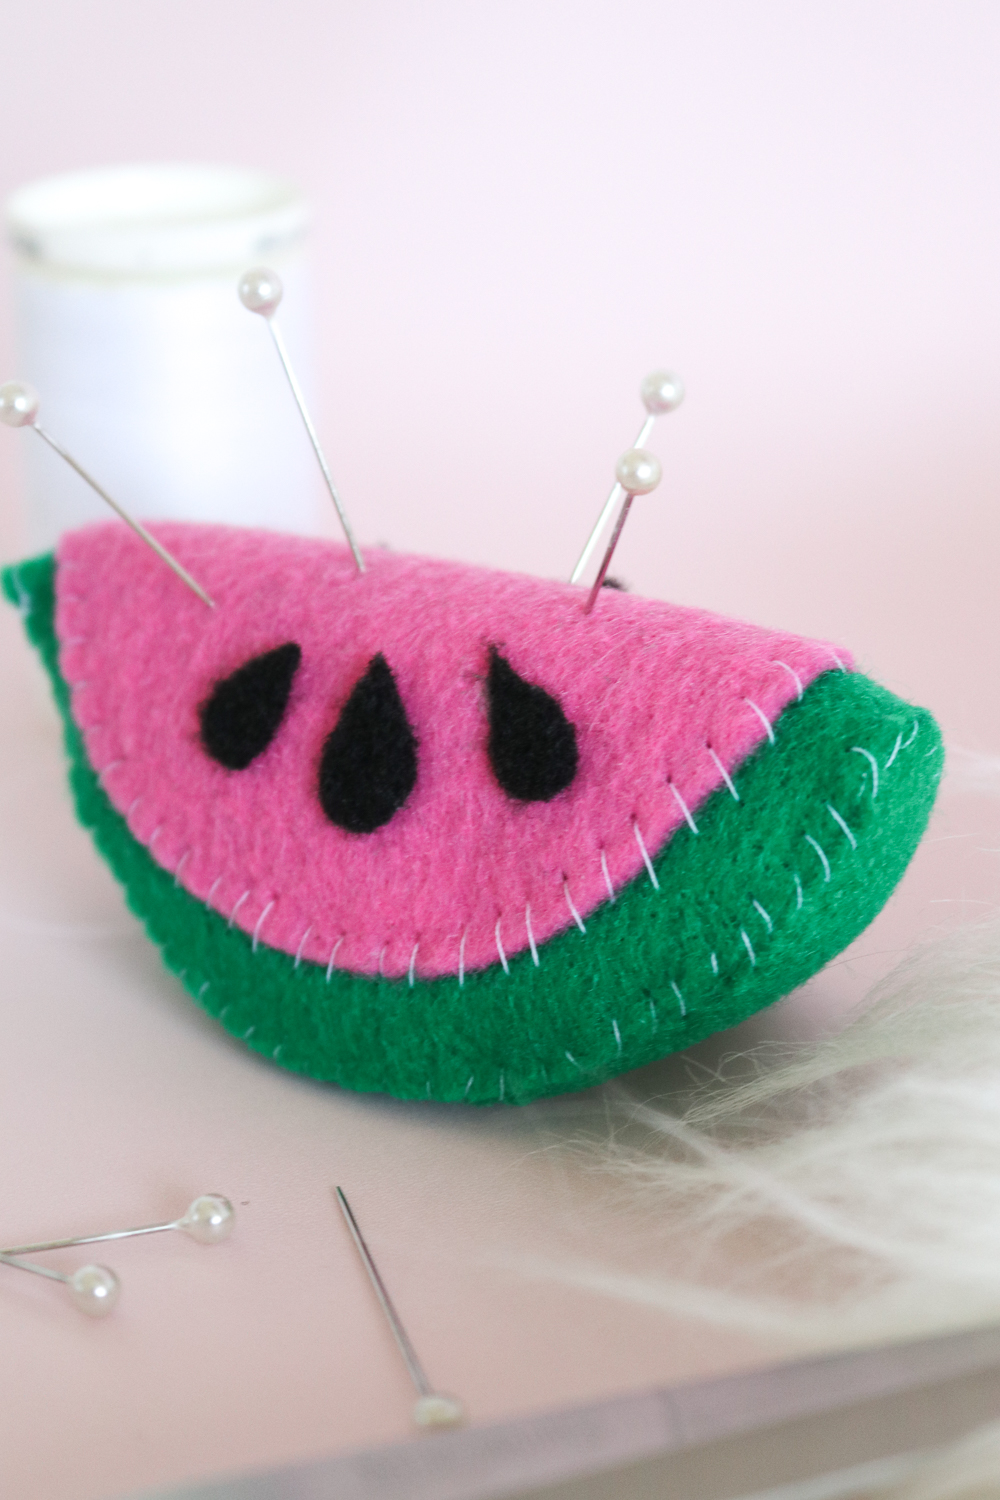
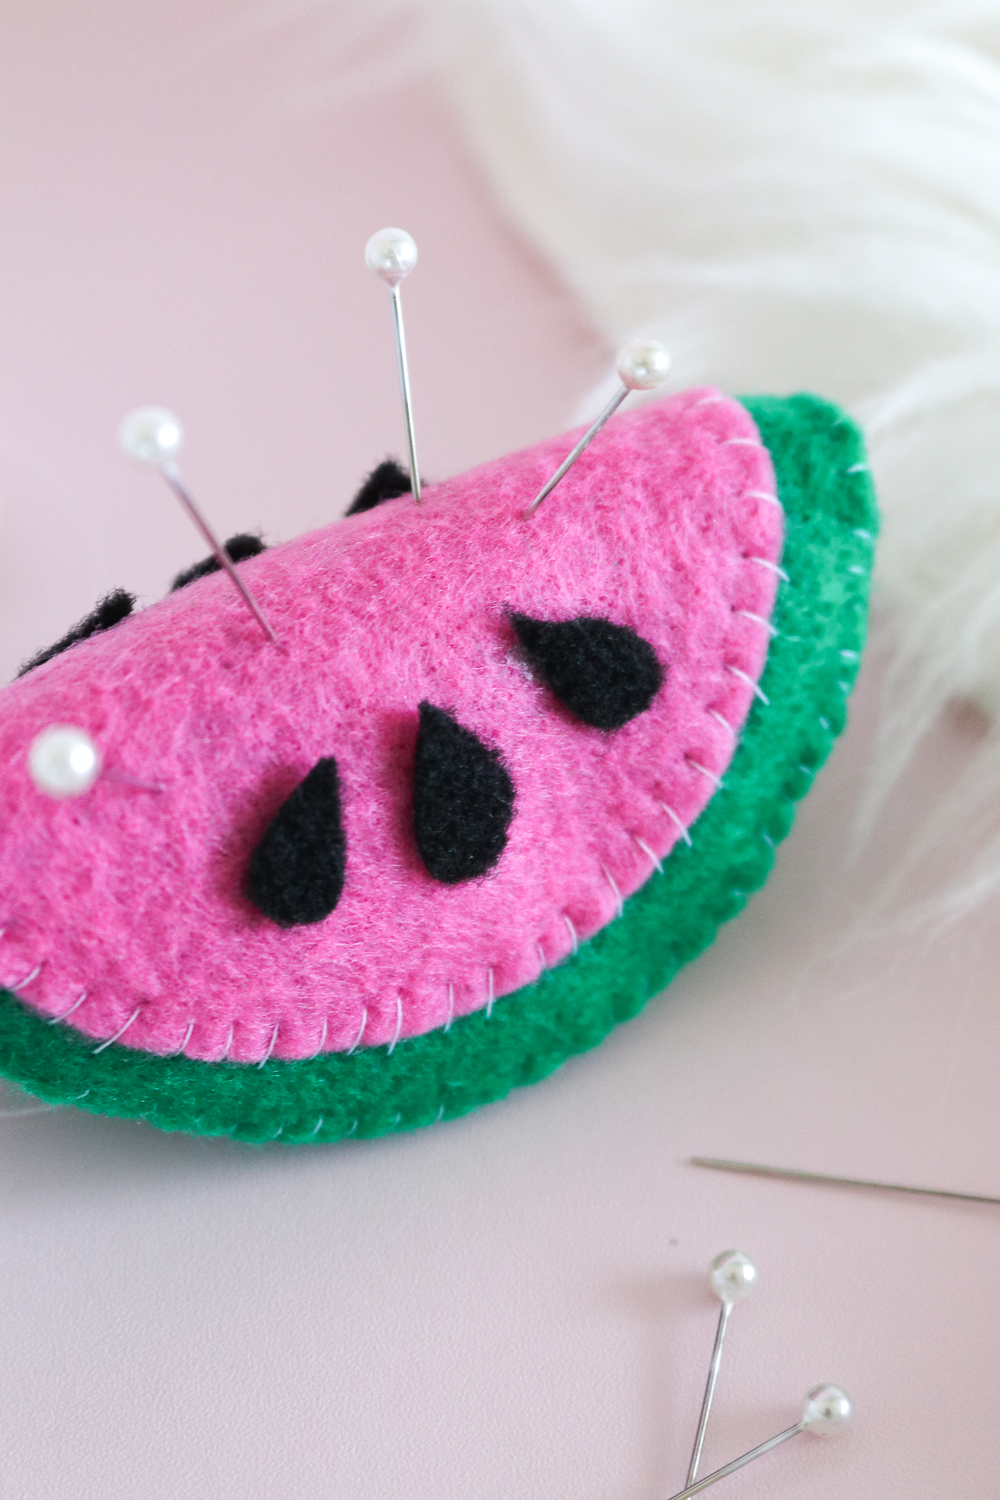 I would say this is a project for someone who is either already somewhat experienced with a needle and thread or is willing to spend time making this as it will take longer if you’re less familiar with hand stitching. The best thing about this is that it doesn’t have to be perfect. My stitches are certainly not straight and even all the way around, and I think that is perfectly OK for this project.
While I was sick recently, I just hung out on the couch stitching up this watermelon pin cushion while watching a 90s movie marathon. It’s a great way to pass the time and do something with your hands while you watch TV. Plus, I included my own templates (albeit just hand drawn ones) for you to use to cut the felt and make this project a little easier. This is a cute way to store your pins, and if you follow the blog, you may have noticed I just really like turning things into fruit…
Supplies:
- Green felt
- Pink felt
- Black felt
- White thread
- Hand sewing needle
- Scissors
- Pillow stuffing
- Fabric glue
- Watermelon pin cushion template
Step 1: Cut out the felt according to the attached template. You should have a large green circle, a green oval shape, a smaller pink circle and six black seed shapes.
Step 2: Place the pink circle in the middle of the green circle. Thread the needle with a long piece of white thread and poke through the edge green and pink felt from the bottom and sew stitches all the way around the pink circle to completely secure it, making stitches evenly apart. Tie a knot to secure the thread on the underside of the green felt.
Step 3: Fold the pink/green circle in half. The oval shaped piece of green felt will be the bottom of the watermelon. At the edge of the half circle, thread through the underside of the edge of the green circle and attach to the thin end of the oval piece. Continue stitching all the way around until you have about 1 inch of space remaining.
Step 4: Stuff the watermelon with the pillow stuffing until it is very full, using the end of a pencil if needed to move the stuffing into all corners.
Step 5: Stitch up the remaining opening of the watermelon and secure the end with a knot, trimming loose threads.
Step 6: Lastly, use a small amount of fabric glue to glue three black seeds to each side of the pink portion of the watermelon slice.
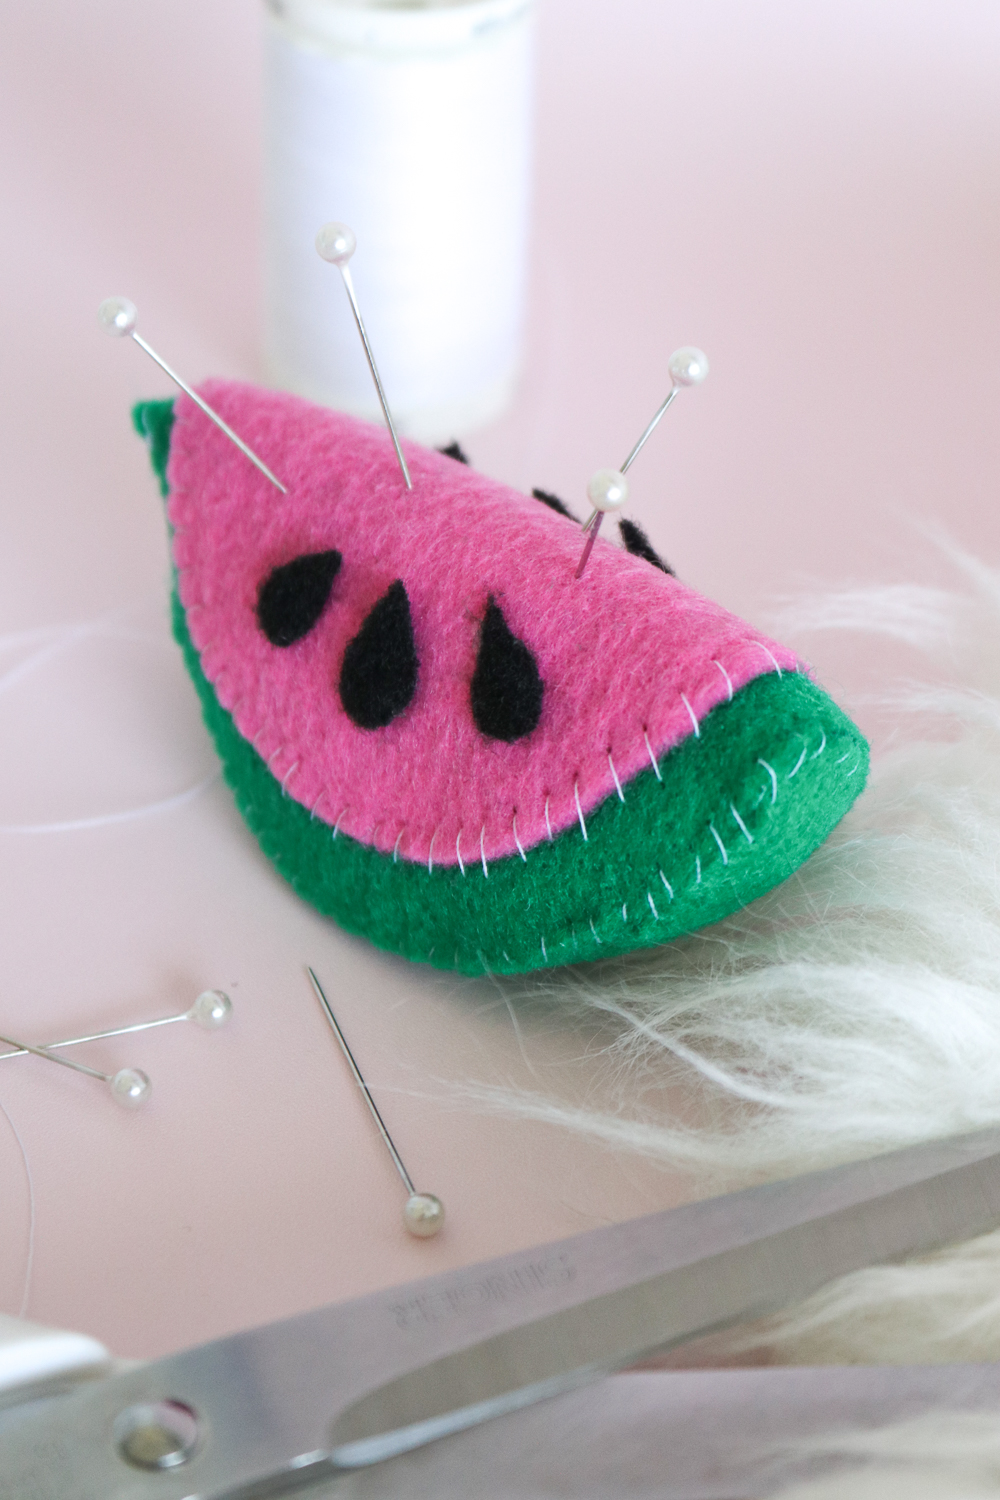
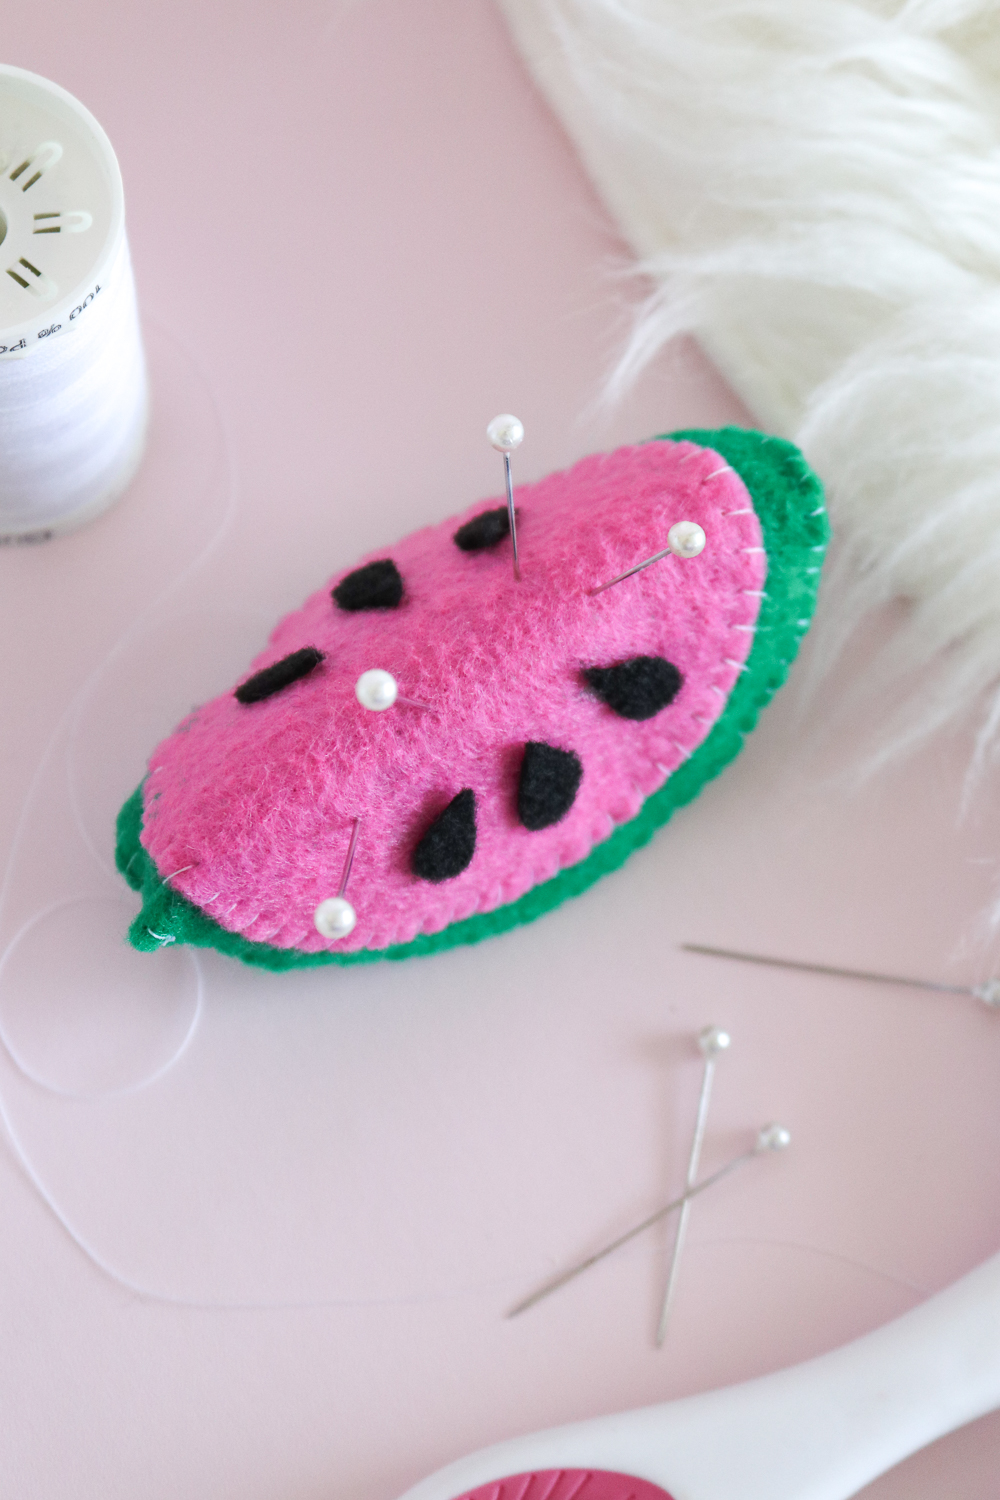
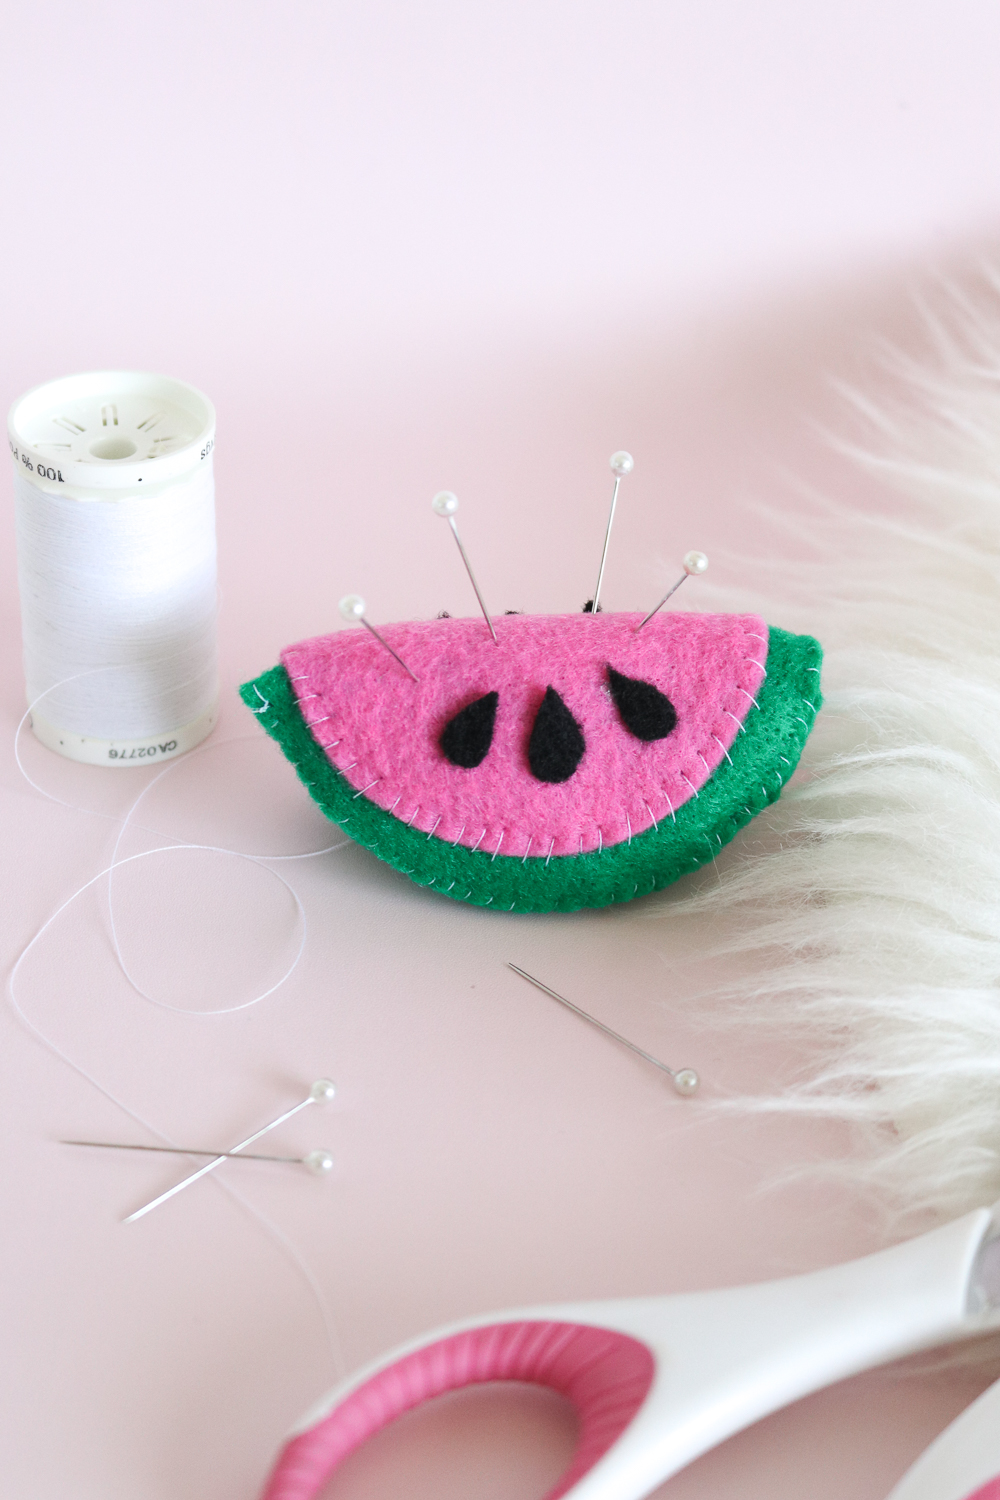 Now you can begin sticking your watermelon cushion with pins!
Mine sits on the shelf above my sewing machine now, so it’s easy to access the pins and they’re displayed in a cute way. If it were up to me, I’d probably make a watermelon version of everything! Happy crafting!

