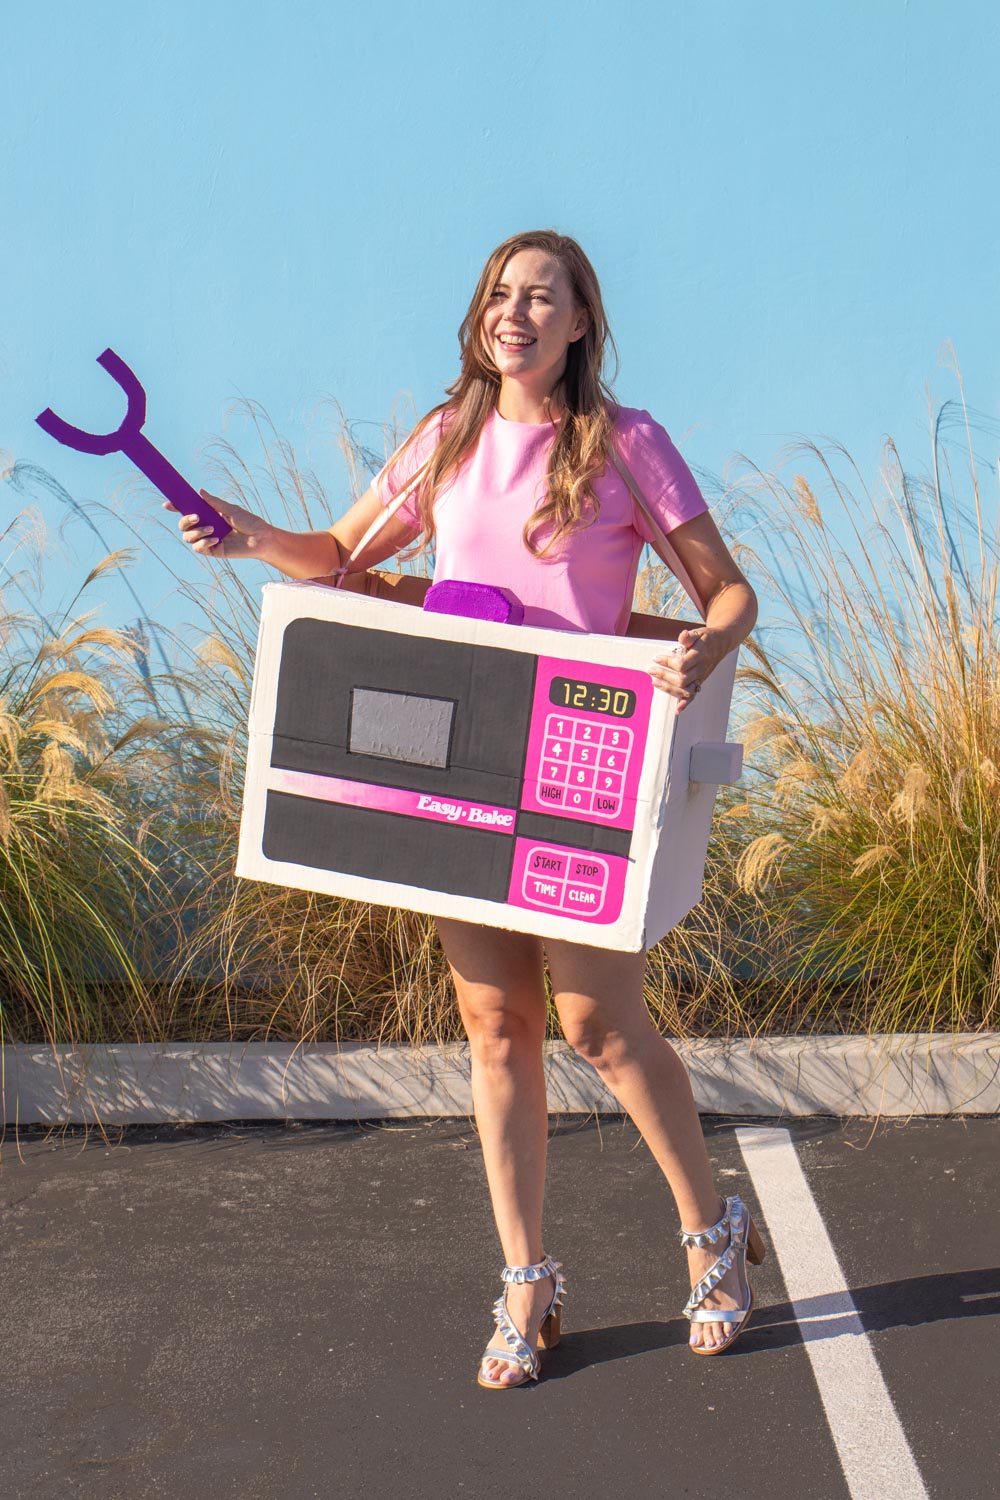
If there’s one thing I always wanted as a kid, it was an Easy Bake Oven! Although I never had one, I loved using the one my friend had to eat warmed cake batter. That’s the 8-year-old dream, right?! After how much everyone enjoyed my 90s Halloween costumes last year, I thought I’d add to my repertoire with this fun, easy-to-make Easy Bake Oven costume! Made with a cardboard box, it’s very easy to recreate this fun 90s costume at home. Because I grew up in the 90s, I chose to recreate the 90s version of the Easy Bake Oven that I remember, but they do STILL make them! They’ve actually been around since the 1960s, and the design has changed quite a lot over the years. Here’s how to make your own Easy Bake Oven Halloween costume!
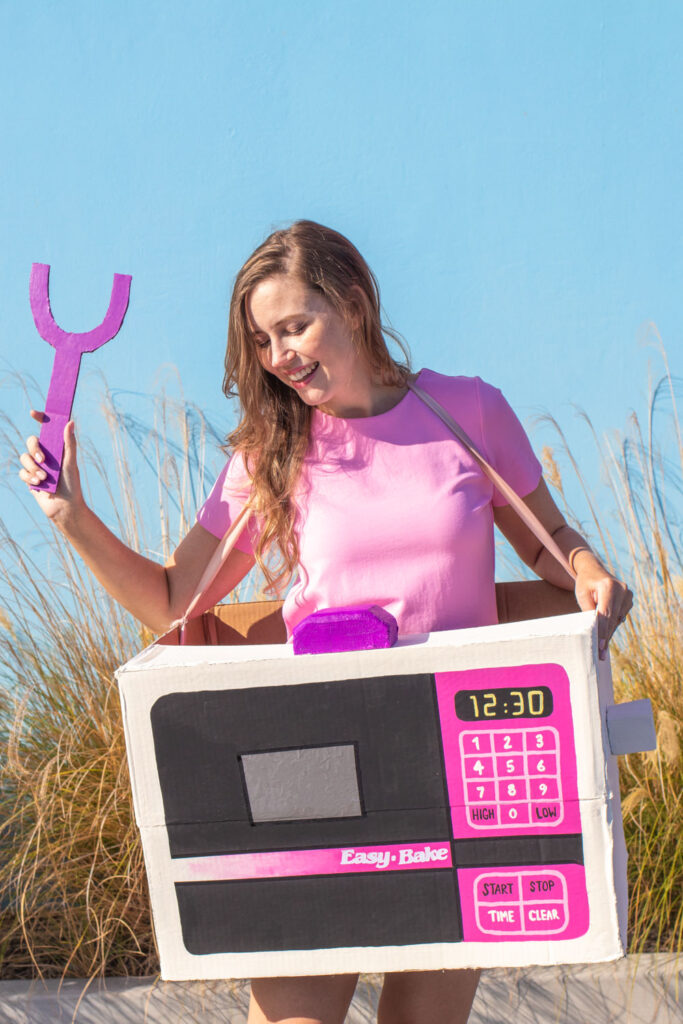
Obviously, celebrating Halloween is a little different in 2020. At this point, I don’t know exactly what the holiday will entail, and I’m sure it will vary from state to state. Regardless, I hope we’ll all find enjoyable (and SAFE) ways to celebrate Halloween, even if we’re at home. Don’t let it stop you from dressing up in your favorite Halloween costume! It’s truly my favorite part of Halloween. This Easy Bake Oven costume will be perfect for any type of Halloween costume!
Got a cardboard box? Great! That’s the main aspect of an Easy Bake Oven Halloween costume.
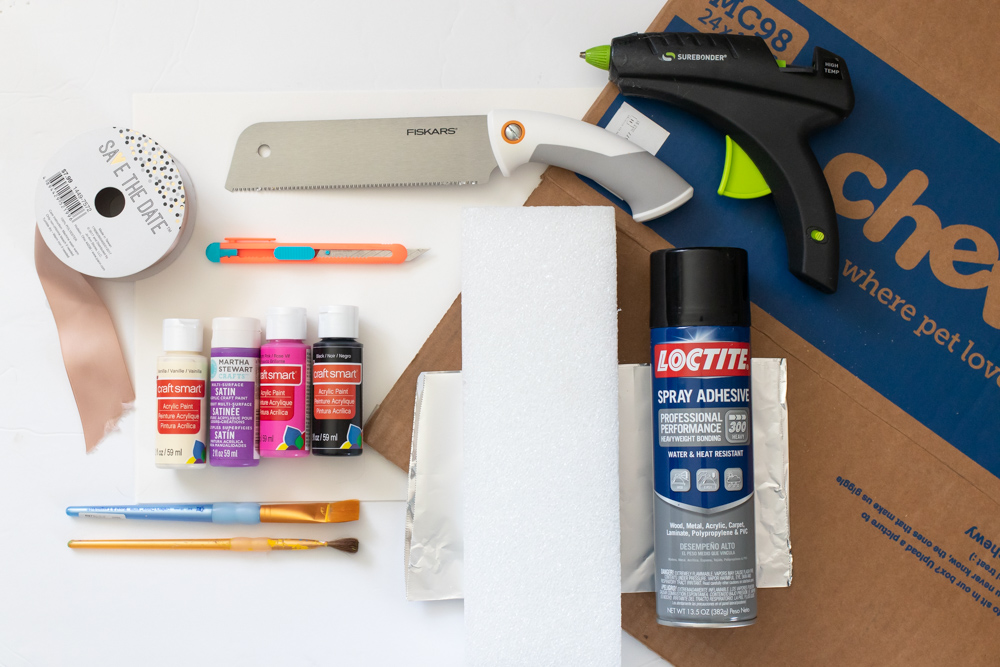
Supplies:
- Large cardboard box
- Cutting tool
- Acrylic paint in white, purple, pink and black
- Paintbrushes
- Styrofoam
- Craft saw
- Aluminum foil
- Spray adhesive
- Glue gun
- Ribbon
- Thick black washi tape
- White vinyl and cutting machine, recommended but not required
- Joint compound, recommended but not required
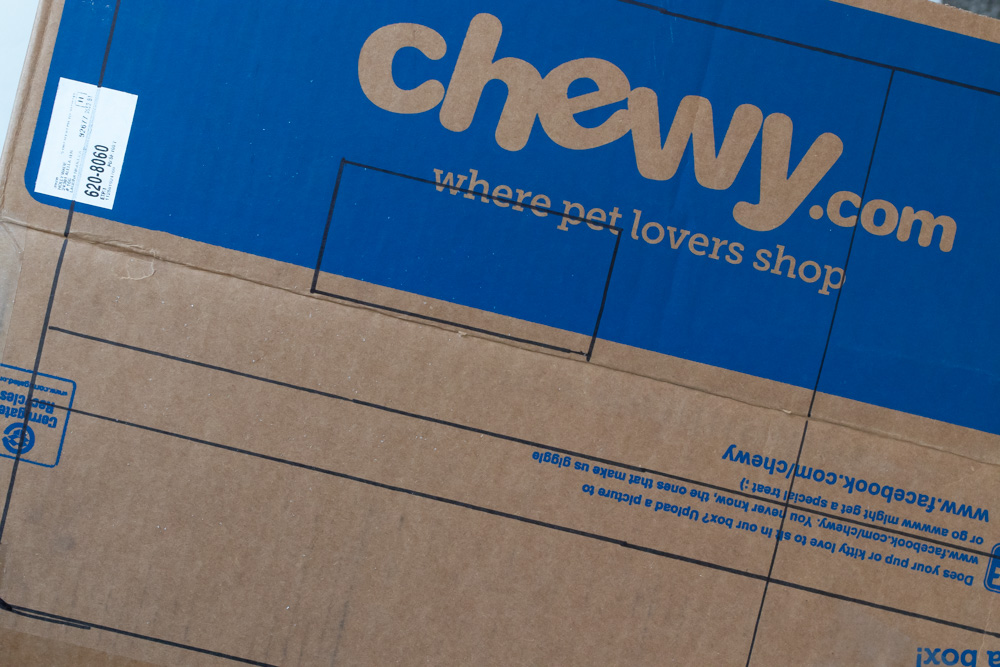
Step 1: First, outline the different aspects of the Easy Bake Oven costume on the box so that you know where to paint. It will have a thick border, a small window in the middle, a thinner section on the right side and a stripe going through it for the logo.
Step 2: Now that you’ve outlined the front of the box, cut all flaps off the bottom. From the top, cut three of them, leaving the flap on the front intact.
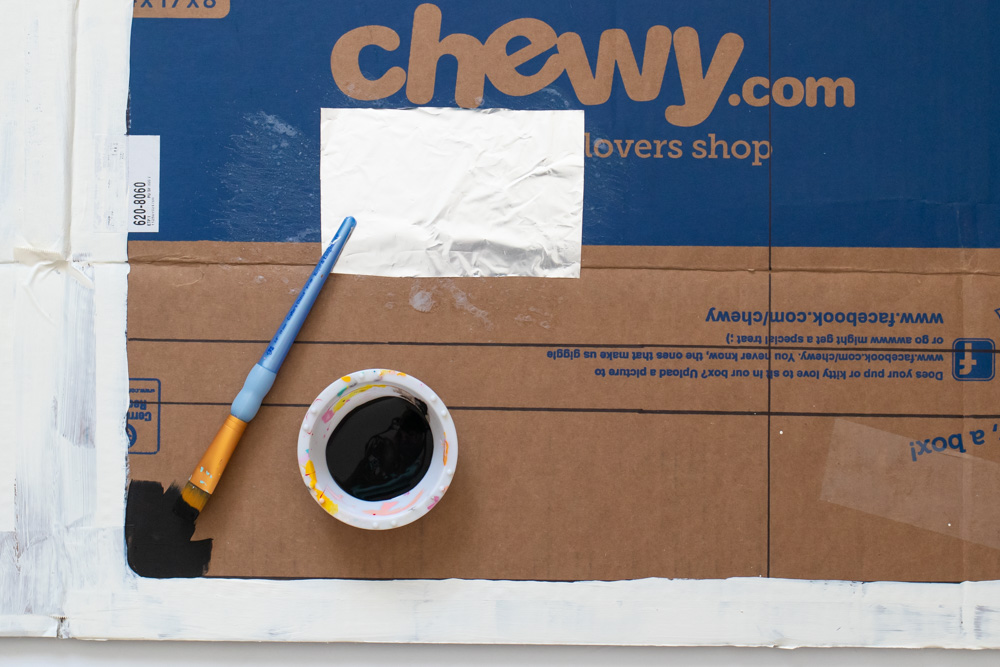
Step 3: Apply a small amount of spray adhesive to the middle square for the “window”. Then cut a small piece of aluminum foil and press in place. Spray adhesive works best for this, but you can also try a glue stick. Do not use the glue gun – it will bubble.
Step 4: Then begin painting the Easy Bake Oven costume! Paint the outside border and all other sides (and top flap) white. It will take several coats.
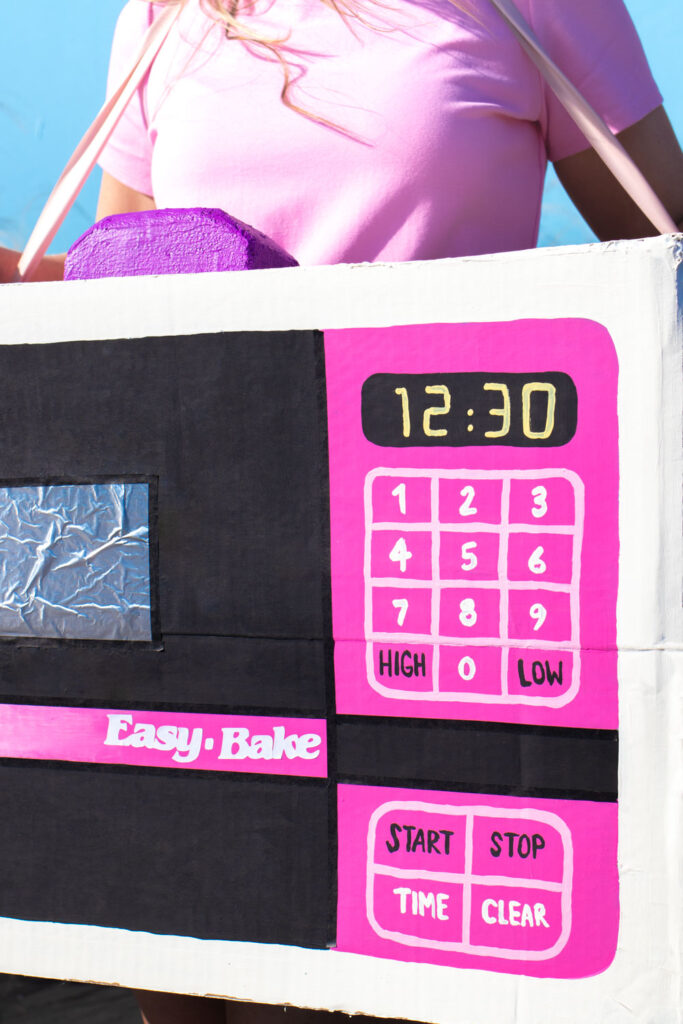
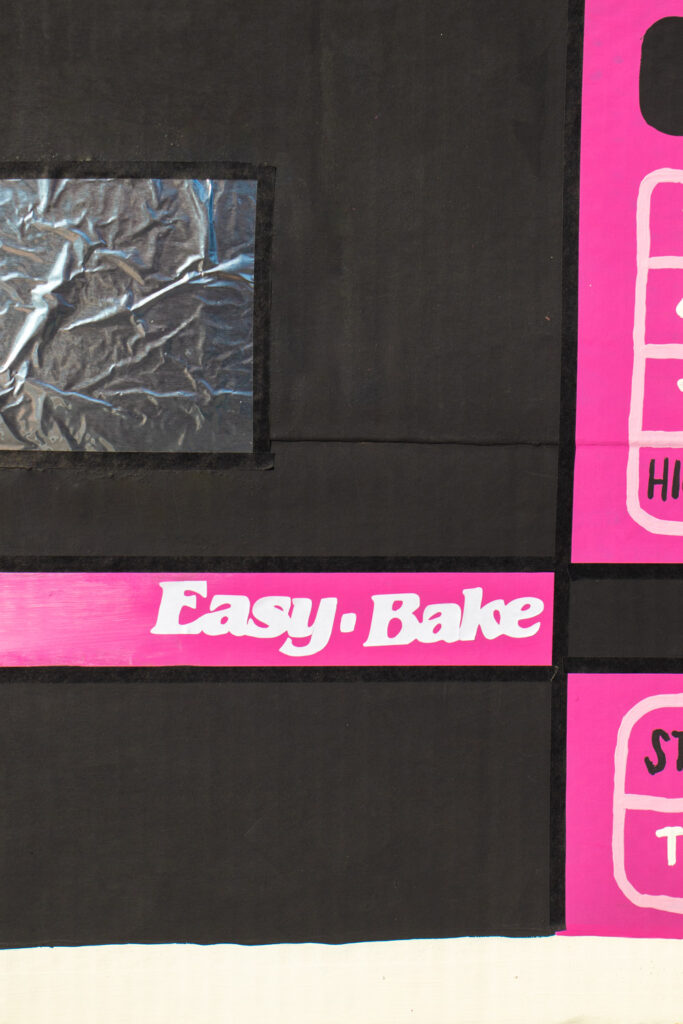
Step 5: Paint the main inside section on the left black. Paint the right side pink, with the exception of the stripe, which will also be black. Then paint the main stripe on the left side pink, dabbing it into a white gradient where it reaches the outside edges. See photos for reference.
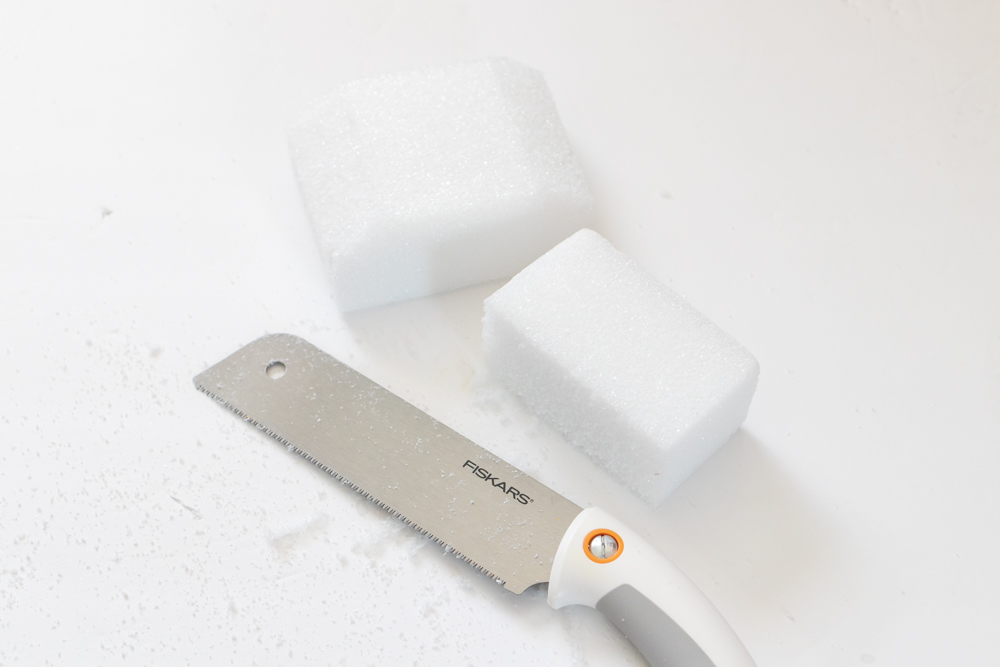
How to Get a Smooth Coat on Styrofoam for painting
Step 6: Cut the styrofoam into a smaller rectangle and a larger square. Use a craft knife or saw to angle the sides a bit. This will be the storage container on top of the Easy Bake Oven Halloween costume.
Step 7: To get a smoother coat on the styrofoam, I like to spread on joint compound and let it dry. Otherwise, the styrofoam will simply soak up paint and the texture will come through heavily. It’s OK to skip this step, but joint compound can be found in any hardware store and it’s very inexpensive.
Step 8: Once the joint compound is dry, paint the small rectangle white. Paint the angled square purple.
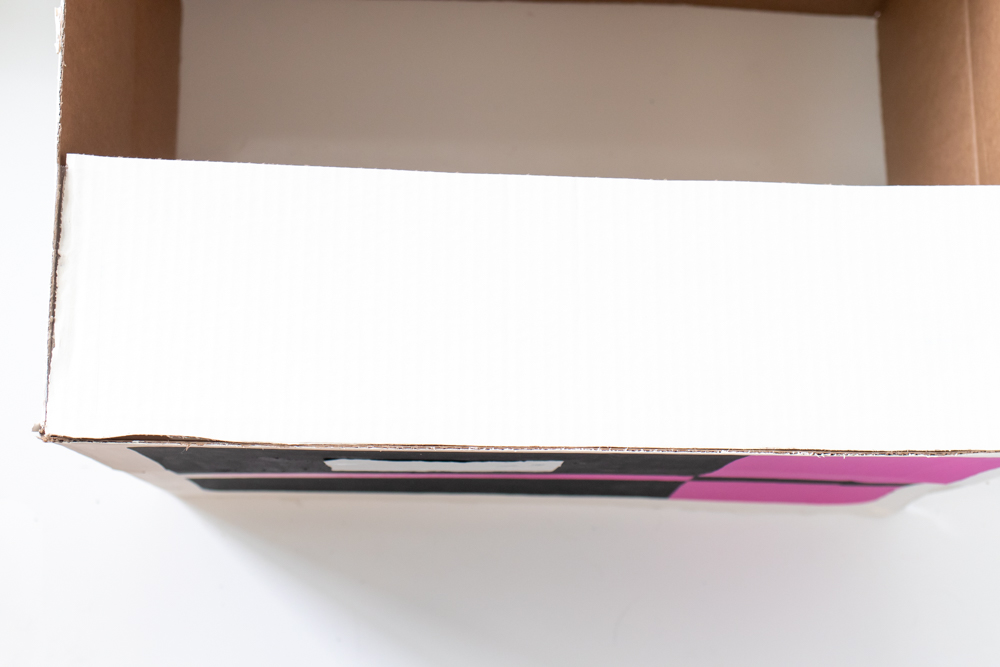
Step 9: Once dry, use the glue gun to glue the top flap in place. Make sure it has a lot of glue to hold it in place well.
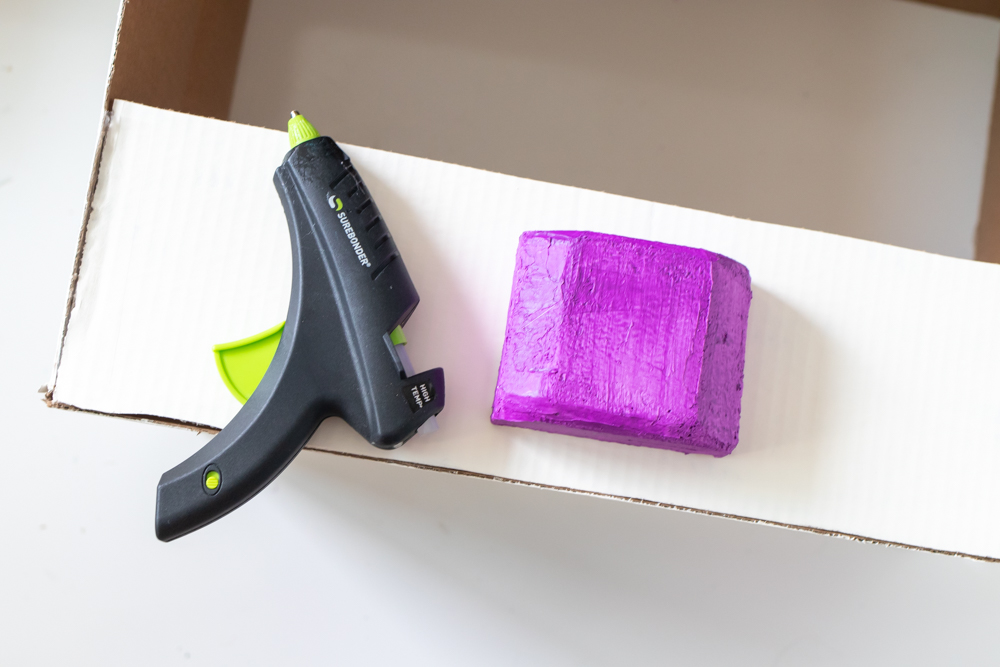
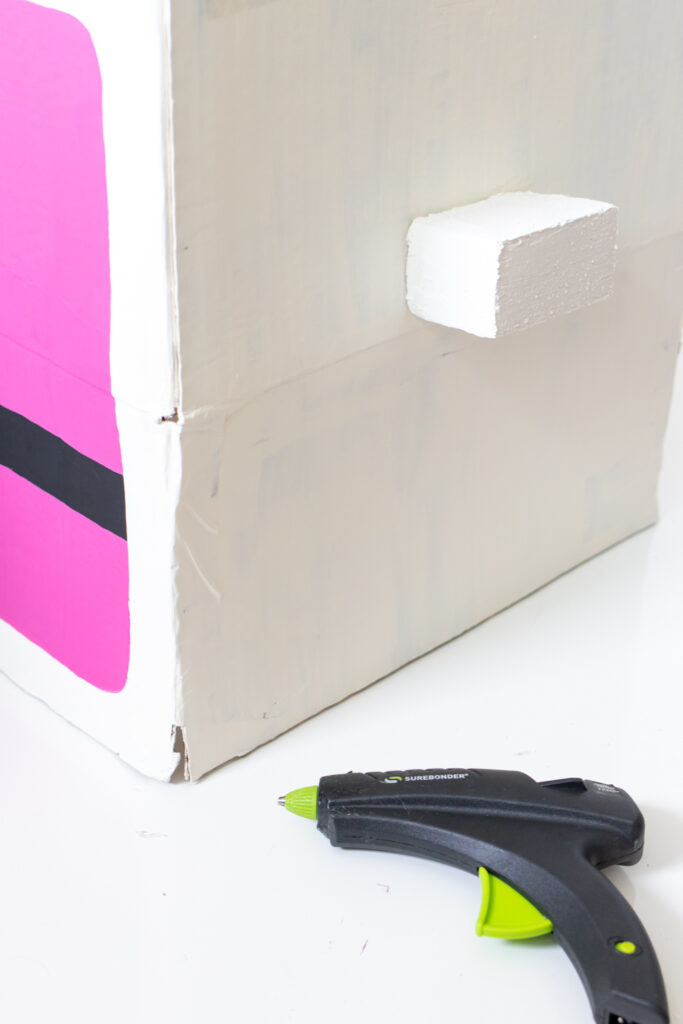
Step 10: Then glue the purple square to the top flap of the Easy Bake Oven. Glue the white rectangle to the right side. This is where the cake pans would feed into.
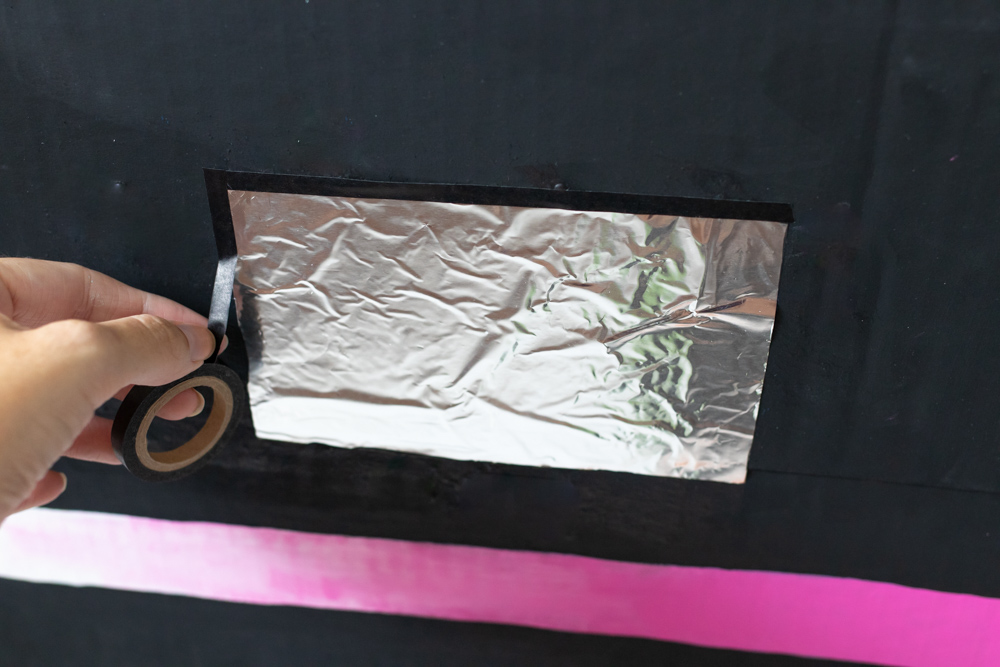
Step 11: Use black washi tape to clean up the edges of the foil window. It also created a clean line across the middle stripe.
Step 12: Then use small paint brushes to paint the numbers and other controls on the right side panel of the box costume. At this point, you can paint the logo on the right hand side of the pink stripe OR cut out a logo from vinyl to stick in place.
Step 13: Lastly, create the straps to finish the Easy Bake Oven costume. Use a craft knife to cut slits in either side of the box. Thread thick ribbon through them and knot well. When you wear the costume, this strap will go around the back of your neck, resting on your shoulders.
Note, you could try to make front-back straps. However, because of the top flap, this would be difficult to do and may cause the costume to tip. I did the same side-based strap for my cupcake costume last year.
Optional: Use leftover cardboard and a craft knife to cut out a claw-shaped spatula. Paint it purple to use as a fun prop with your costume.
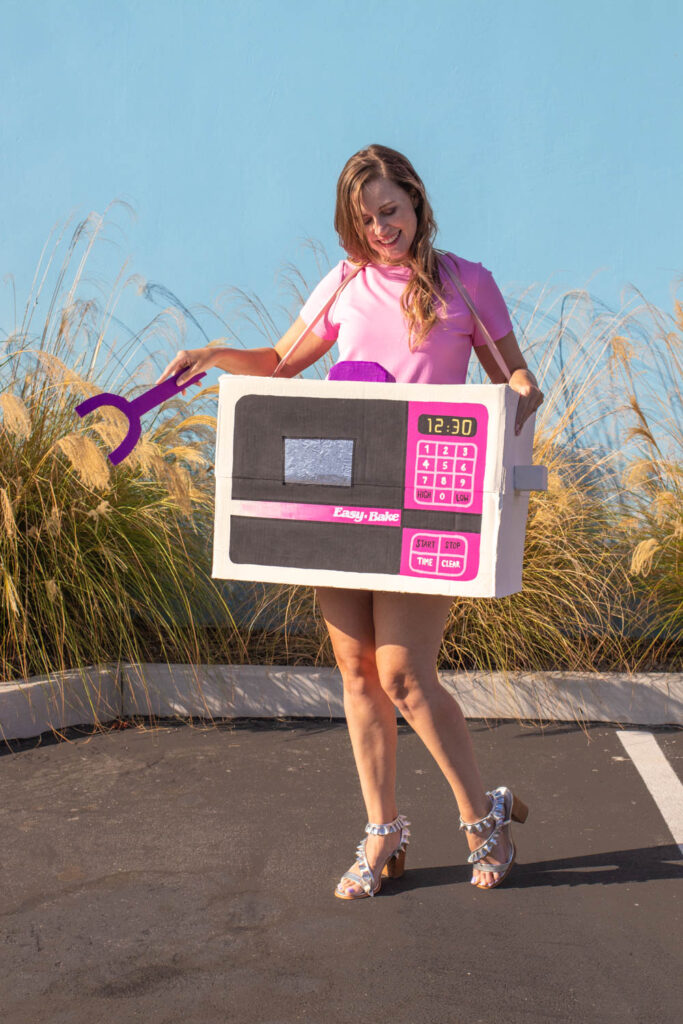
Whew! That’s how you recreate this Easy Bake Oven Halloween costume! I know it seems like a lot of steps, but it really is mostly about painting the details of the toy. I hope it helps brighten up your Halloween this year!
More Halloween costumes coming soon!
