The following post is sponsored by JOANN
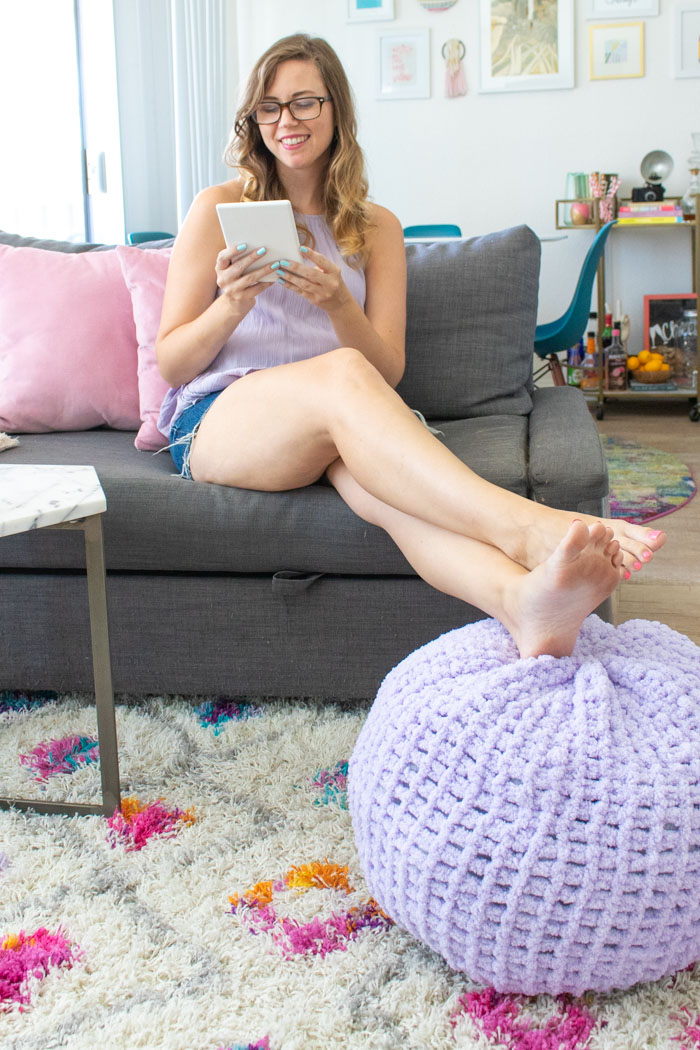
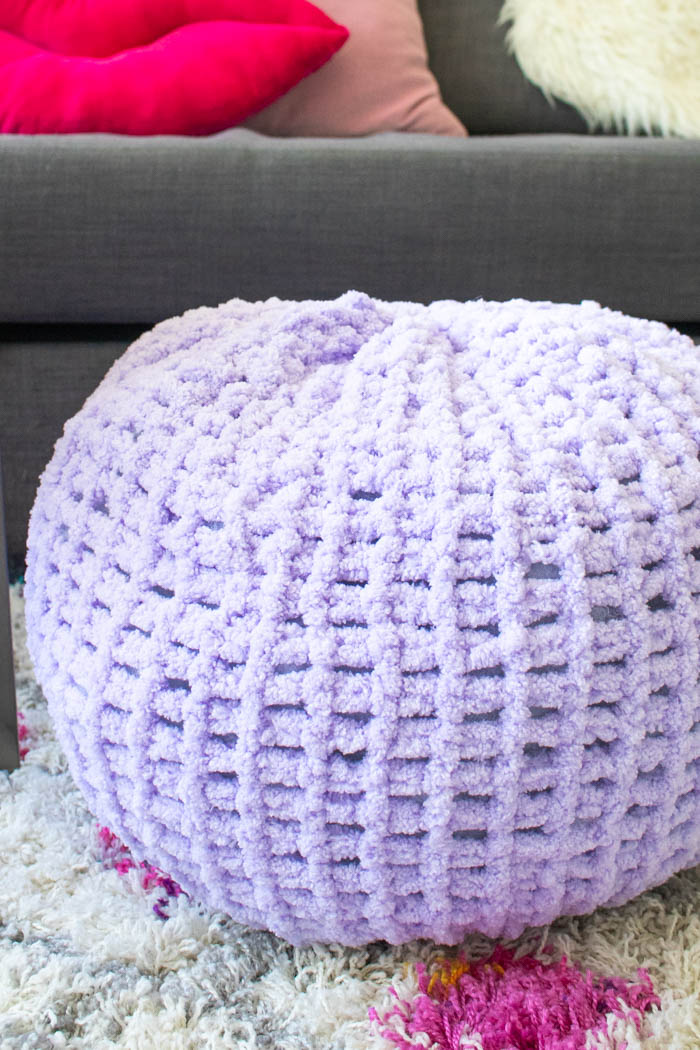
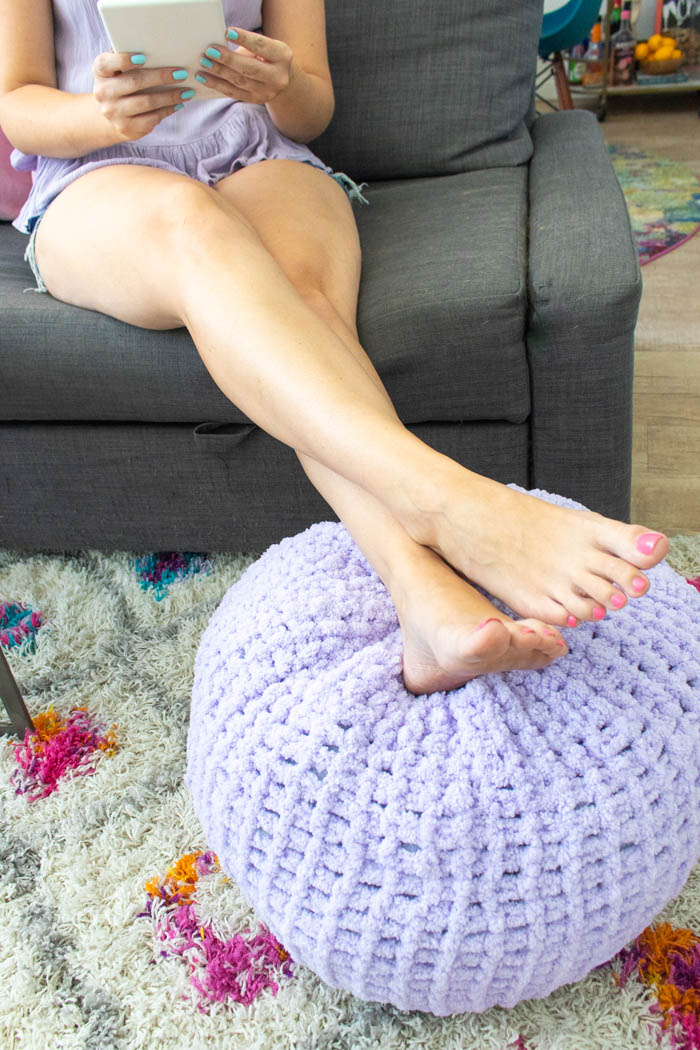
We have a cozy new addition to our living room! Heading into fall, I’m all about adding cozy accents throughout the house, and when JOANN asked me to try out their new Loopity Loops yarn, designed for really easy finger knitting, I knew just what our living room was missing. If only the photos could do the softness of this DIY finger knit pouf justice! Going into the project, I thought I’d have a hard time because my extent of knowledge on yarn projects is a few straight crochet stitches, but the whole pouf came together without a hitch. (Or should I say stitch?) Read on to see how to finger knit a floor pouf to prop of your feet and cozy up on the couch!
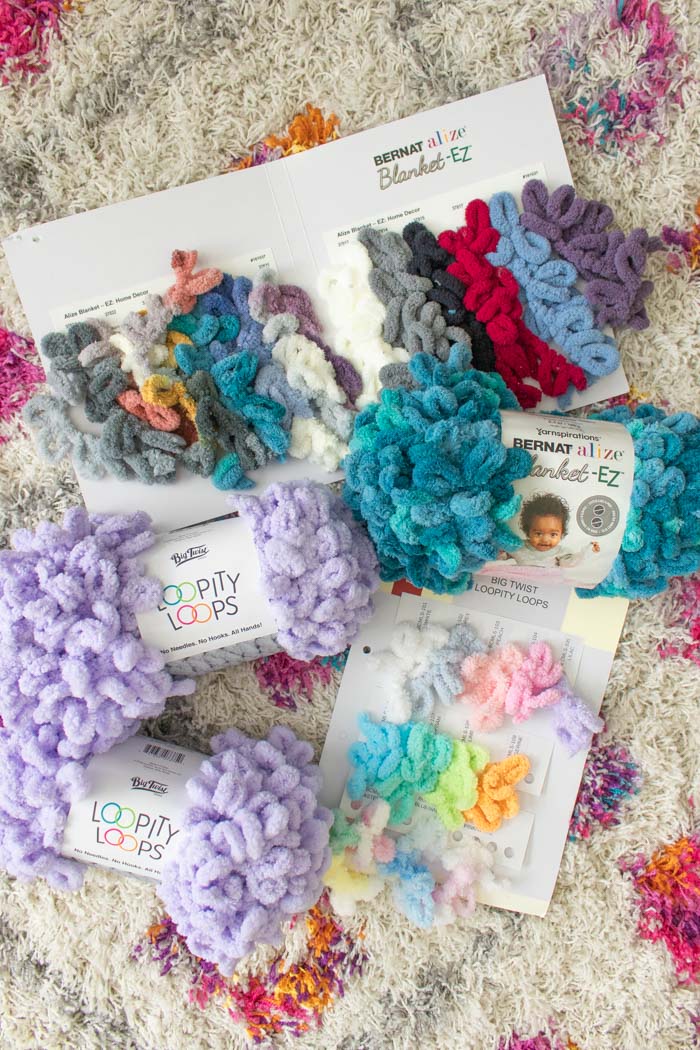
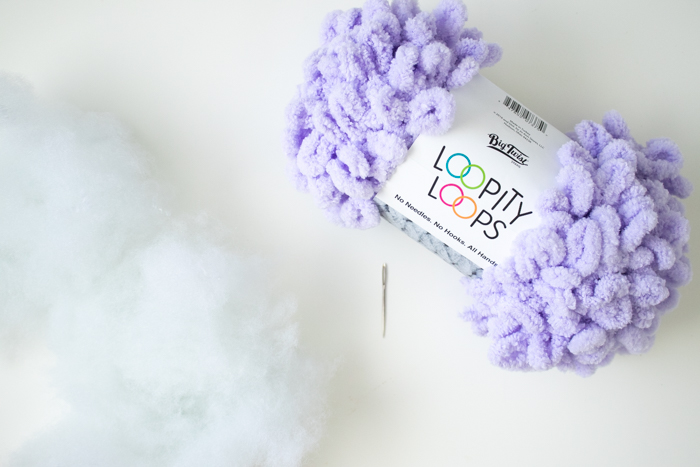
These new Loopity Loops and Bernat Blanket-EZ yarns just came out in JOANN Stores, and holy moly, did I mention how soft they are?! They also come in a variety of colors. After making this project, I also finger knitted a scarf (in like 1 hour!) and now I’m ready for MORE. Using a drawstring style on the top and bottom of the pouf makes it really easy for beginners. You don’t need any crochet or knitting knowledge to finger knit a floor pouf or anything else. The tutorial below is all you need!
Like I said, I found Loopity Loops really easy to use, and I hope that my instructions demonstrate that. Despite the number of steps involved, this style of finger knitting is actually quite easy, and you’ll get the hang of it after the first two rows. You can create just about anything simply by pulling loops through loops!
Supplies:
- Loopity Loops Yarn (2 1/2 skeins)
- Darning needle
- White or complimenting yarn
- Fiberfill/pillow stuffing
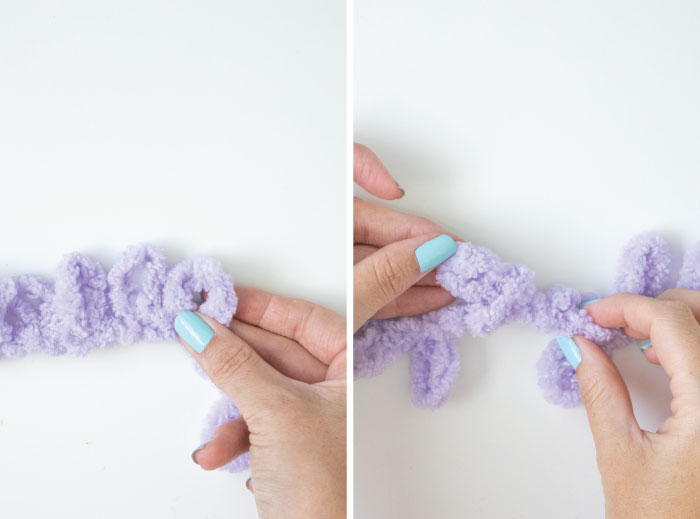
Step 1: Find the end and pull out a long section of yarn. With the loops facing up, count 30 across.
Step 2: Pull the 31st loop through the 30th one in order to create the second row. Continue across the 30 loops, then go back the other way, continuing to pull the working yarn loops up through the existing loops.
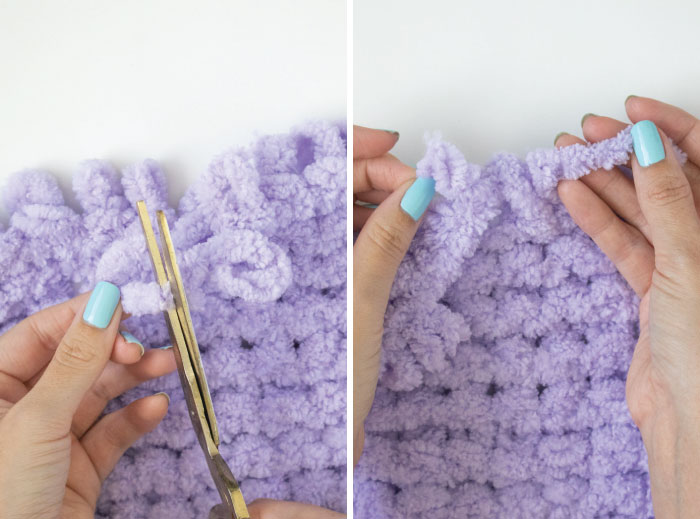
Step 3: When you eventually reach the end of one skein, cut one of the loops so that you have a small piece of straight yarn. Weave this through the loops. Then do the same with a new skein and continue the pattern where you left off (similar to crochet).
Note, it’s easy to miss a loop here and there, so check your work after each row to make sure you’ve looped everything through. If you make a mistake, you can simply pull the loops free to fix it. It’s a quick fix!
Step 4: When you’ve finished about 2 1/2 skeins of yarn, stop and DO NOT cut the yarn yet. The length of the piece will be the entire circumference of the pouf, so the longer it is, the wider around the pouf will be.
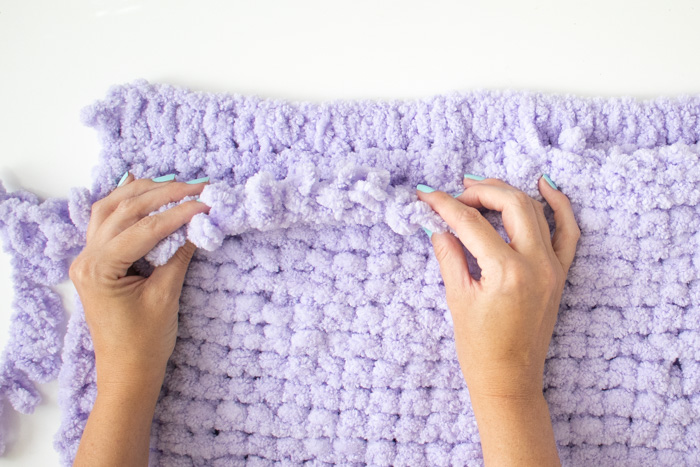
Step 5: Join the two ends of the piece. Note, one side of the piece will have a different look than the other (a front and a back). Whichever side you want facing OUT, put those two sides together.
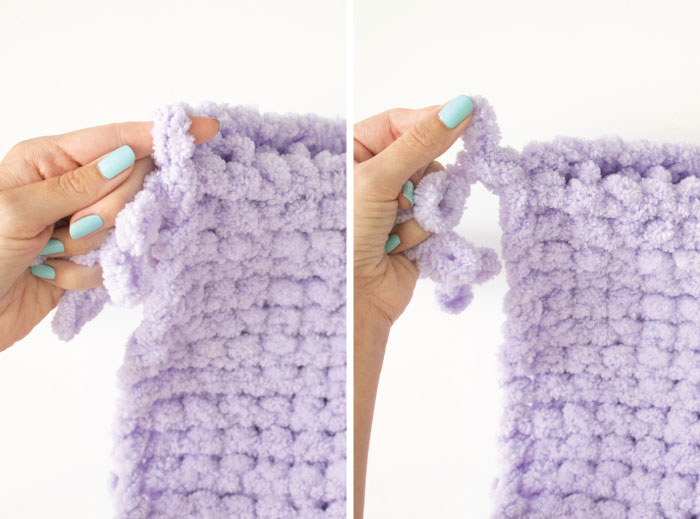
Step 6: With one hand, group the open loop of one end with the already knitted loops of the opposite end. With the working yarn in the other hand, pull the next loop through both openings to bind the sides together. Repeat with the next loop and all the way across the piece.
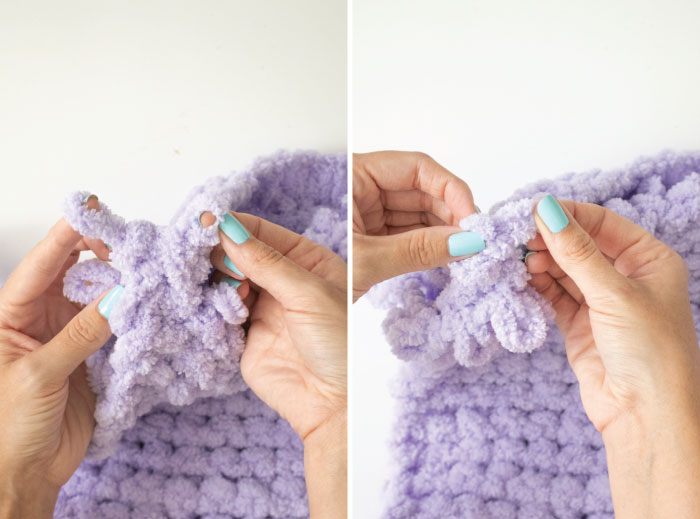
Step 7: To finish the loops and prevent unraveling of your pouf, take the left loop and pull it through the right loop. Do this only once. Then take the new right loop and pull it through the left loop. Continue this pattern all the way across the final set of loops in order to bind them together in a chain-like stitch. When you reach the end, you should have only one loop.
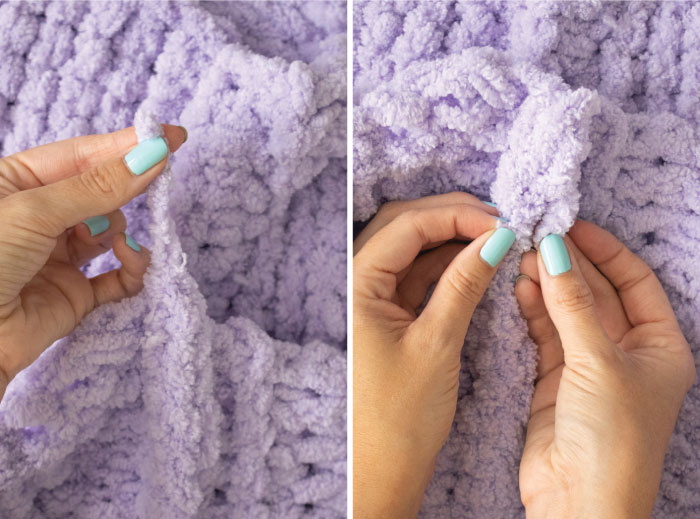
Step 8: Cut the NEXT loop free so that you have an extra piece of yarn. Pull the piece of yarn up through the loop and pull tight.
Step 9: Weave the piece of yarn through the seam you’ve just knitted. Then turn the piece right side out.
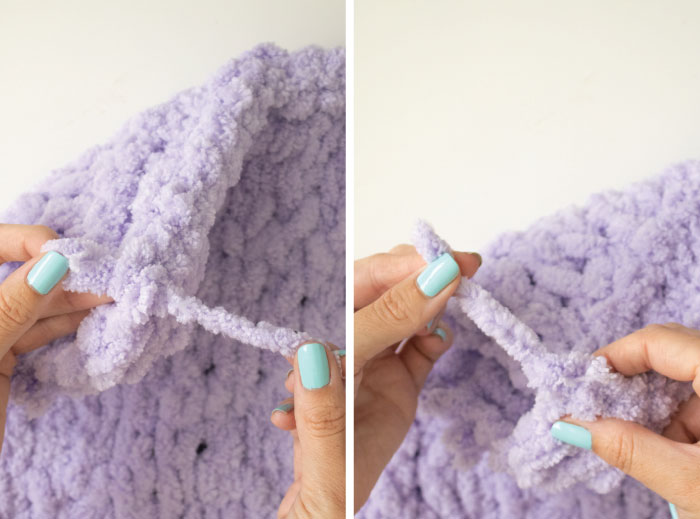
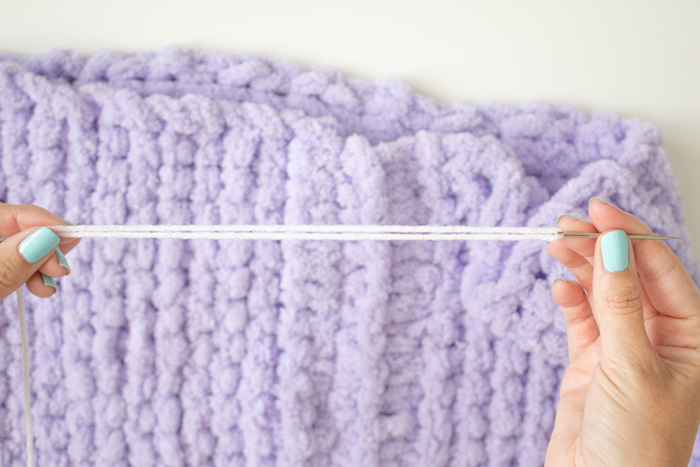
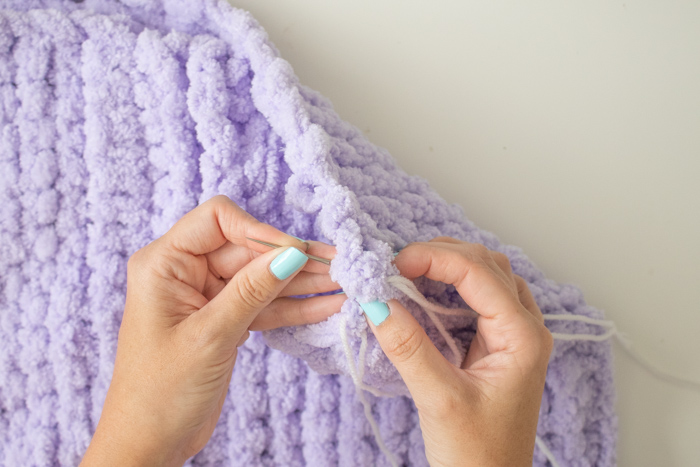
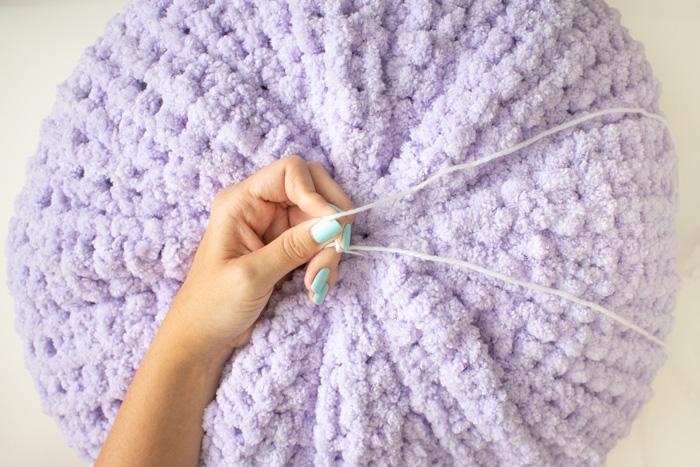
Step 10: Thread a piece of regular yarn onto a darning needle. Starting at the seam of one open end, thread the needle and yarn through the loops all the way around the opening until you reach where you started.
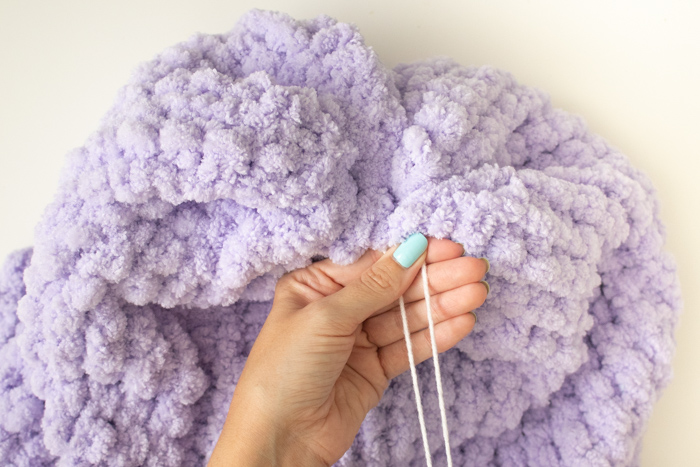
Step 11: Pull the yarn tight to pull the end of the pouf into a drawstring and tie tightly with multiple knots to secure.
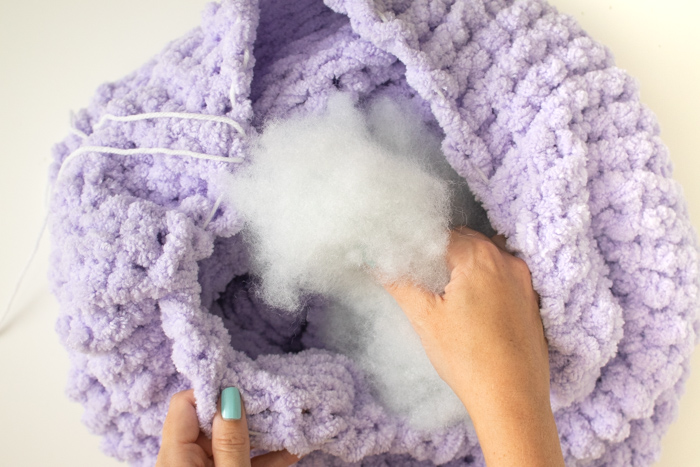
Step 12: Flip over to the other side and fill with fiberfill until very full. Repeat the drawstring at the open end and close tightly to finish the pouf!
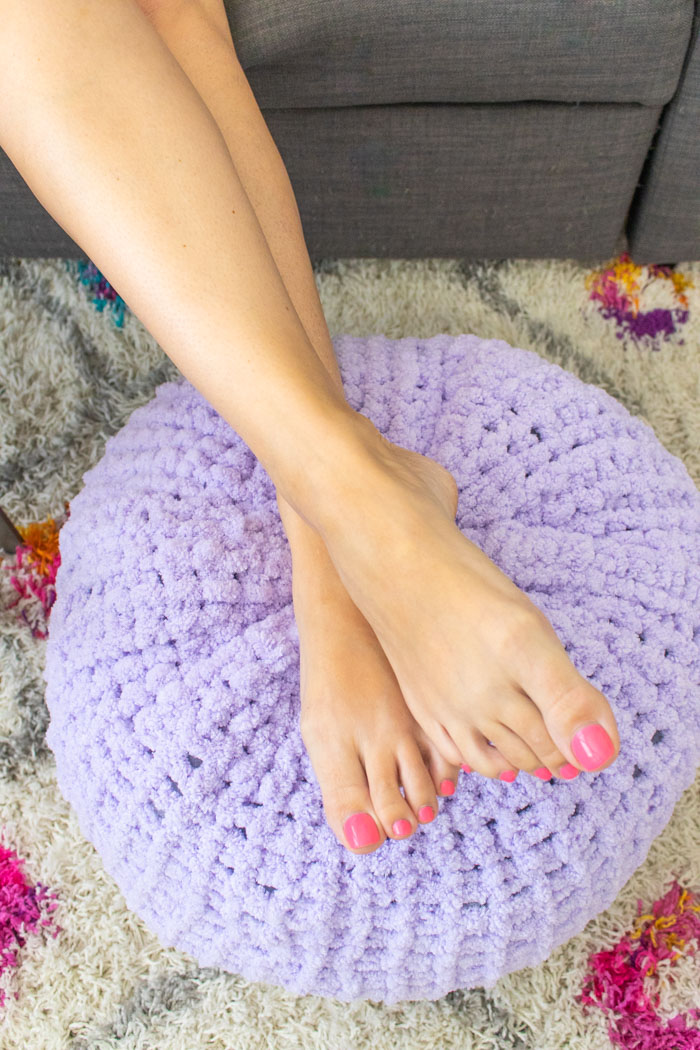
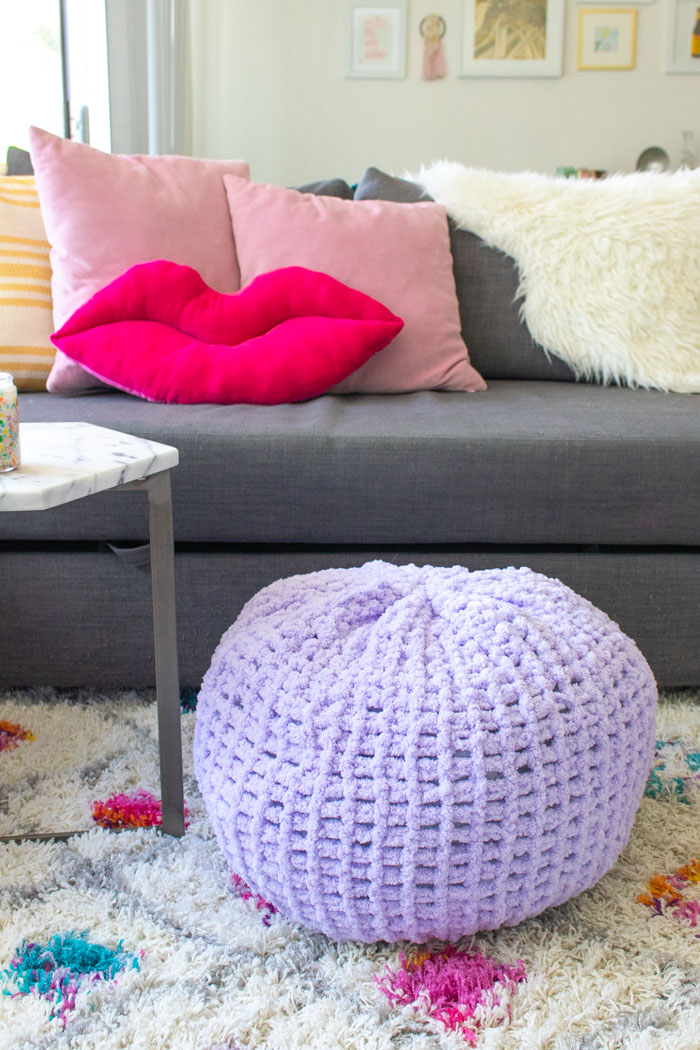
Ta-da! Without any special tools, you have a cute new pouf to lounge on!
If you have any questions about finger knitting with these loop yarns, let me know! I’m excited to keep playing around with them and see what else I can come up with to cozy up this fall and winter. Now, tell me what color you want to make your new floor pouf!
PS, that lips pillow is another DIY!
Thank you to JOANN for generously sponsoring this post. All opinions are my own. Thanks for supporting the brands that keeping Club Crafted making! Please note this post contains affiliate links from which I may collect a small profit should you choose to make a purchase. I only link to products I personally use or recommend.

Charlotte Buckingham
This is a good idea but the stuffing keeps coming out, I suggest 2 layers of fabric
Holly Wade
Charlotte BuckinghamThank you for the tip, Charlotte! That’s a good point.