The following post is sponsored by RubberStamps.com
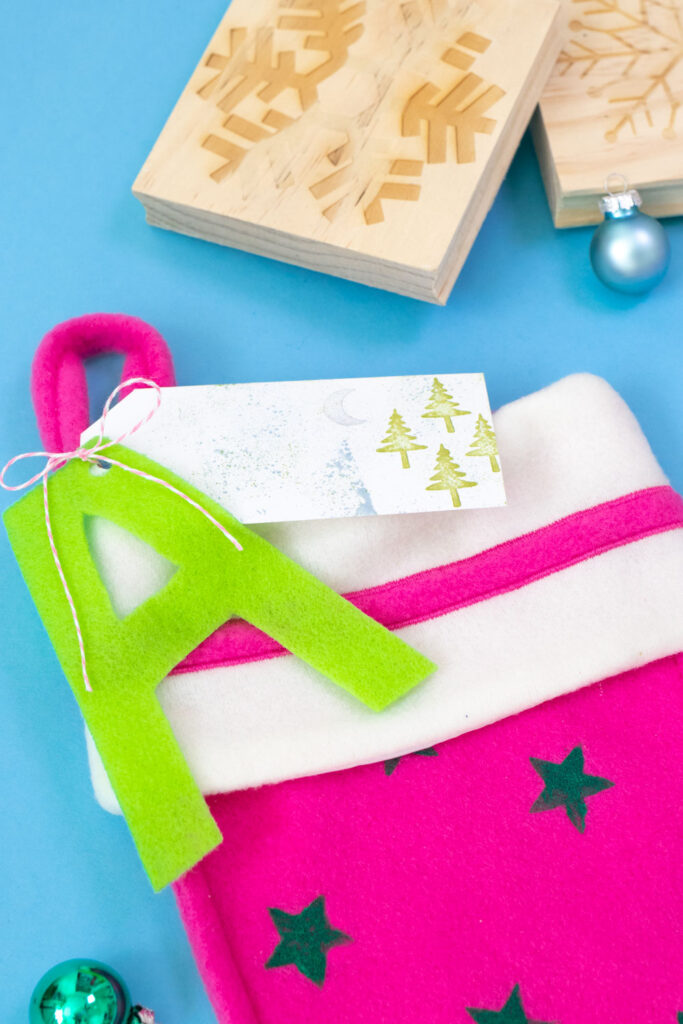
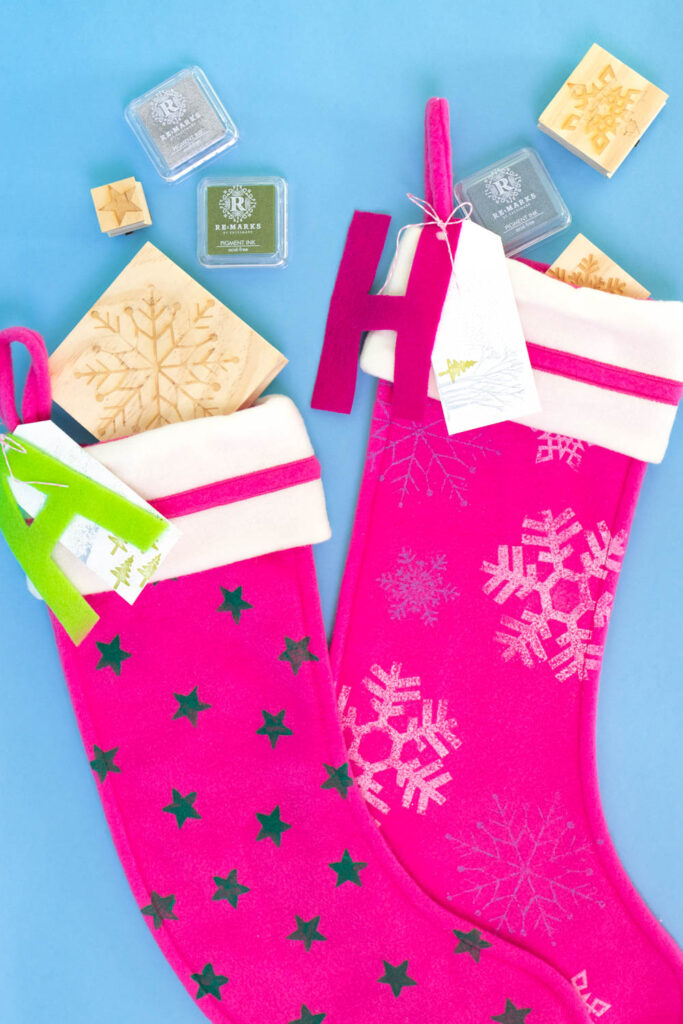
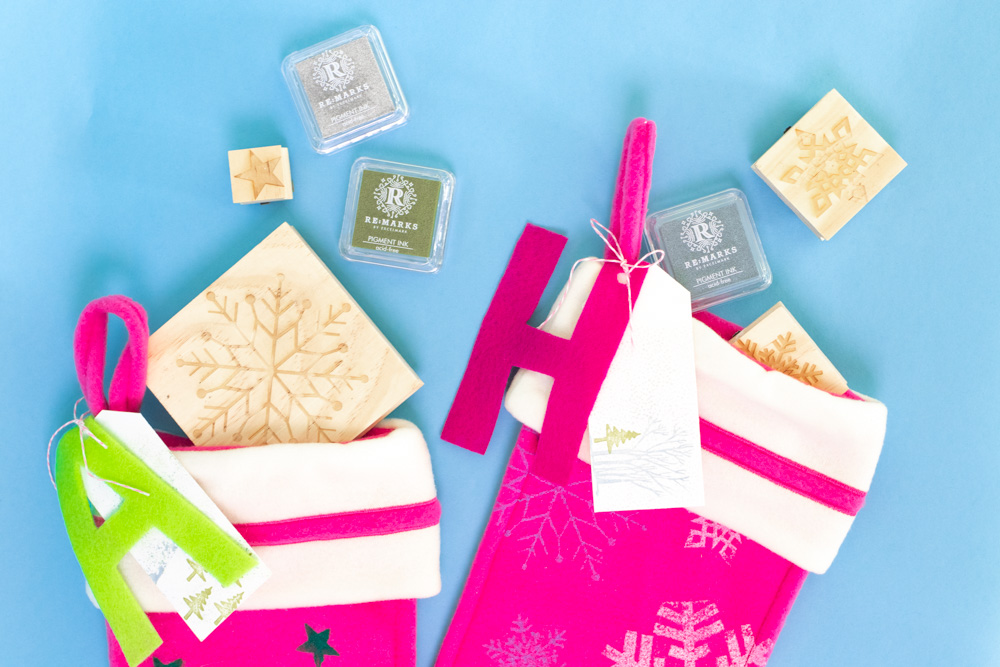
This month is already flying by, and I had yet to make our stockings this year! As such an avid DIYer, I’ve made us new Christmas stockings almost every year. This year, I partnered with RubberStamps.com to make these easy stamped stockings personalized with tags for the holidays! Who says stamps are only for paper?! Using fabric paint with my stamps created a lovely effect on these plain fleece stockings. They were perfect by themselves, but I also made little embellishments to hang from the stockings for personalization. Plus, with SO MANY options to choose from on RubberStamps.com, I couldn’t decide on just one style! Whether you’re busy crafting or just sending out your holiday card for the year, be sure to visit RubberStamps.com for pre-made AND custom stamps! Keep scrolling for the full tutorial (with a video!) for these easy stamped stockings.


Do you remember my stamped envelope liners or popcorn favors from earlier this year?! While those were supposed to be for our wedding, which sadly had to be postponed until further notice, I was really impressed with the stamps. I look forward to breaking out the popcorn favor wraps when we finally have a chance to reschedule. For now, I was excited to keep playing around with RubberStamps.com’s huge selection of stamps. As someone who is NOT gifted with the ability to paint/draw, stamps make it incredibly easy to customize items. These plain stockings were the perfect canvas for holiday-themed stars and snowflakes that I never could have painted by hand.
Here’s what you need to know about stamping fabric:
- Use a sponge brush to apply paint to the stamp when possible. A traditional brush may have too much bleed, resulting in less clear stamp.
- Work quickly when applying paint to a stamp because it can dry before you get to place it on your stocking, resulting in an incomplete print.
- Avoid overly complicated designs on thick fabrics. Fabrics like these fleece stockings will kind of absorb intricate designs. Instead, save the more intricate stamps for your embellishments!
How to Stamp Holiday Stockings
Stocking Supplies:
- Fleece stockings
- Fabric paint, any colors
- Plastic paint palette cups
- Snowflake stamp (1)
- Snowflake stamp (2)
- Snowflake stamp (3)
- Snowflake stamp (4)
- Star stamp
Stocking Tag Supplies:
- Cardstock, cut into tag shape
- Felt, cut into letter shape
- Winter Stamp Set
- Moss Green Pigment Ink Pad
- Slate Grey Pigment Ink Pad
- Silver Metallic Pigment Ink Pad
- Hole punch
- Felt
- Scissors
Step 1: Lay out your holiday stocking flat, smoothing to remove dips in the fabric. Squeeze fabric paints in different colors into small paint containers.
Step 2: Use a sponge brush to dip into the paint, then scrape along the edge so there is very little paint on the sponge. Dab that paint onto the stamp lightly so it doesn’t seep through to the background. Then firmly stamp onto the stocking and carefully remove to reveal the snowflake or desired design!
Step 3: Repeat with the same or other stamps in various colors. Be sure to thoroughly clean stamps between paints with a damp towel.
Step 4: To make the tags, cut the paper into thick rectangles. If desired, trim two corners for a signature tag shape. Then apply clear cling stamps to the acrylic block. Press into the pigment ink and layer on top of each other for a sweet, simple winter scene.
Tip: You can create a simple background pattern by lightly tapping the paper onto the pigment ink! It’s a great way to create the appearance of snow or texture.
Step 5: Cut a letter out of felt. Then punch holes in both the tags and felt letters. Tie them around the stamped stocking hanging loop.

Just like that, these easy stamped stockings are ready for stuffing! Hang them over your fireplace or along a shelf for a set of stockings that is both functional and decorative for the season.
Thank you to RubberStamps.com for generously sponsoring this post. All opinions are my own. Thanks for supporting the brands that keep Club Crafted making!
