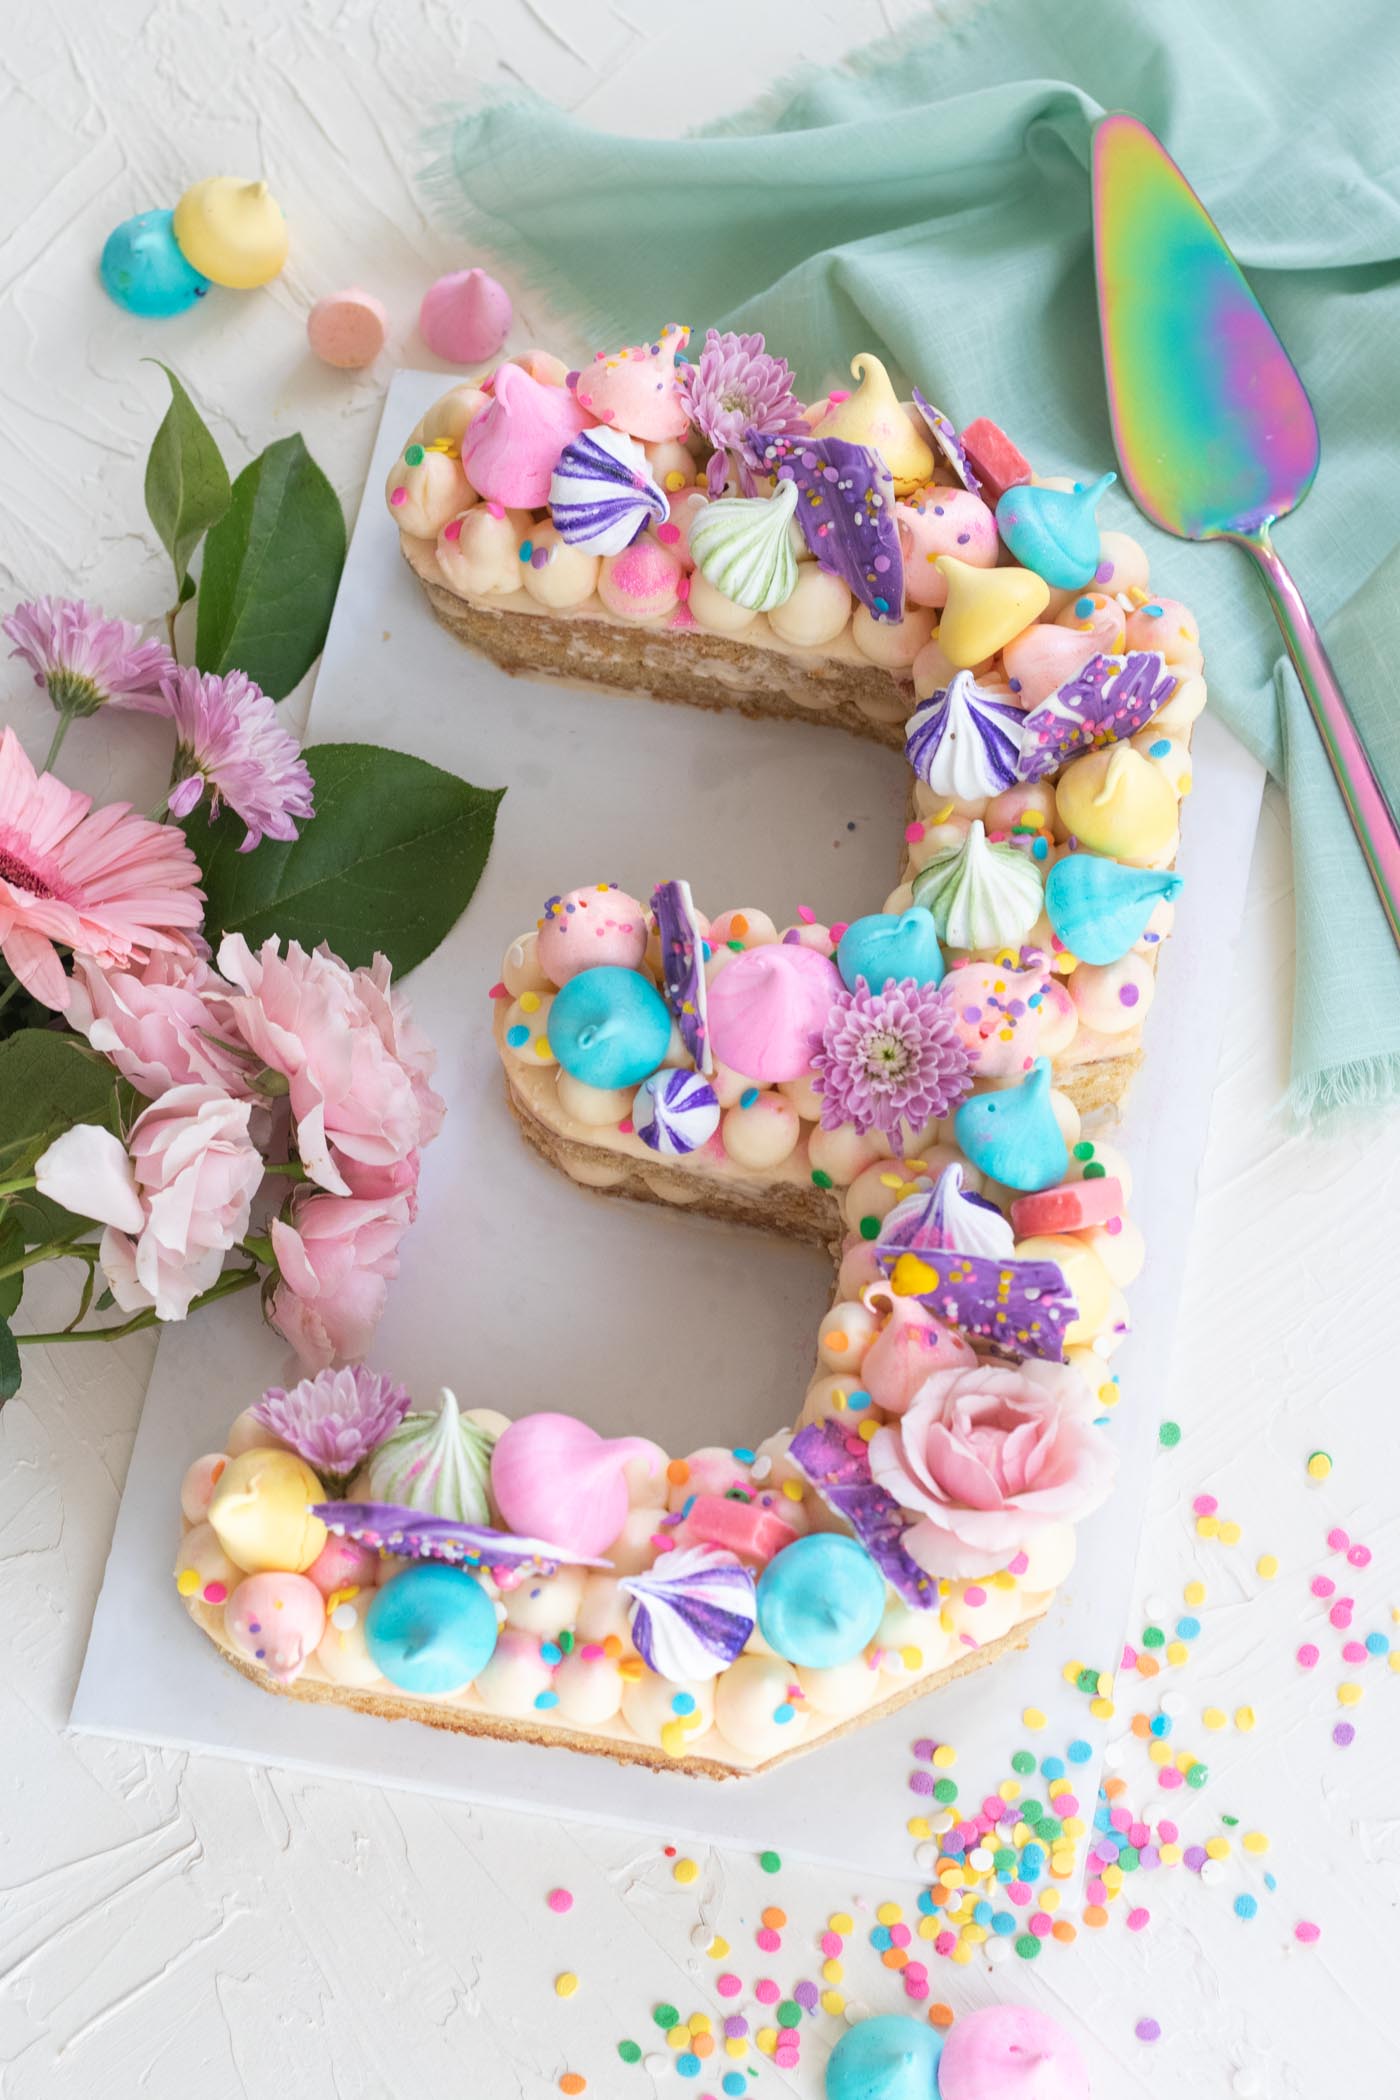
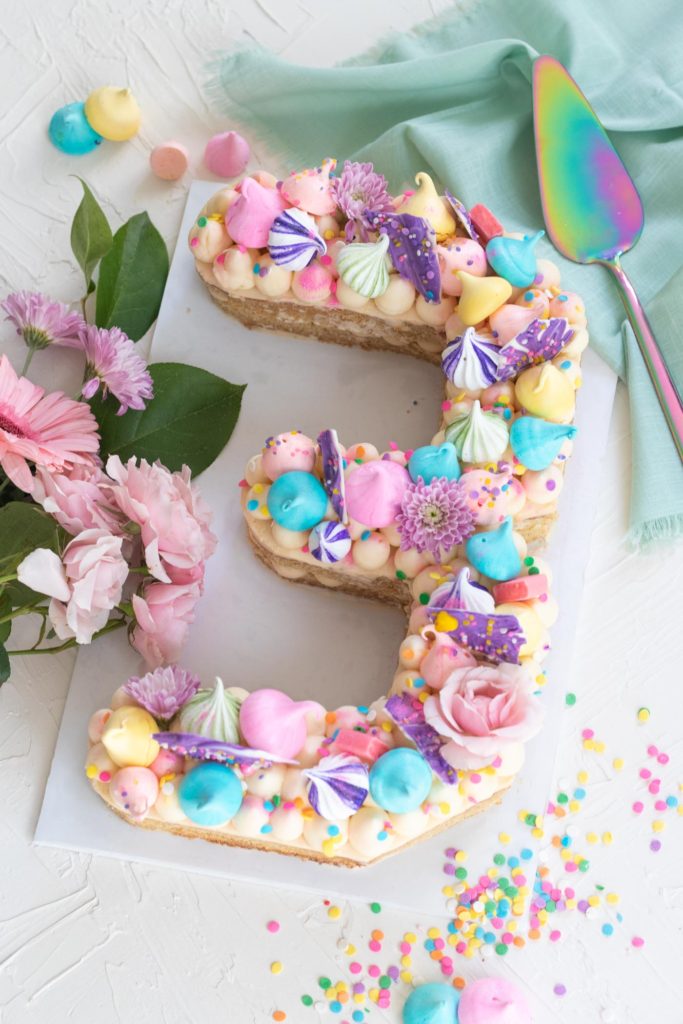
Yes, Club Crafted just turned three years old!! Geez, it has been a journey getting here, and I’m celebrating my third blogiversary with a big ‘ol number cake! I’m going to walk you through the easy way to make a number cake at the end of this post as well as walk through memory lane about this little blog of mine. Let’s just say I’ve come a long way since my first post about clay projects and since my first DIY tutorial, emoji cork boards. After celebrating my blogiversary with cakes the past two years, I decided to take it a step further and try out my own version of the popular layered number cakes I’ve seen all over Pinterest.
Last year, I celebrated with coconut cupcakes, and the year before that I shared photos of my ALL-TIME FAVORITE CAKE I’VE EVER MADE, a yellow cake with fudgy chocolate frosting. I swear, that is still the cake I’m most proud of to this day!
Scroll down for the full DIY number cake tutorial! 👇🏼
First, let me bore you with some info about Club Crafted…When I wrote that first post three years ago, I had every intention of turning Club Crafted into a subscription box service. It’s still something I would love to pursue one day, but sadly, I was not and still am not in a position to take such a risk. Instead, I launched the blog in the hopes that one day I could do MORE with it. Ultimately, I did do more – just not the “more” that I expected.
I’ve been managing my blog and freelance career full time for about a year and a half now. It’s a constant struggle, but I’m thankful to be able to work for myself and make my own decisions about my business. This past year has truly been the hardest so far, but I’m excited to see what the next one holds! When I first started blogging here, I was still managing my first website (primarily dessert recipes), Andrew just finished his first year of law school, and I had just moved to Orange County and began working a new job that I quickly learned I didn’t like. Clearly, a lot has changed…but I hope that there is still a lot more change to come.
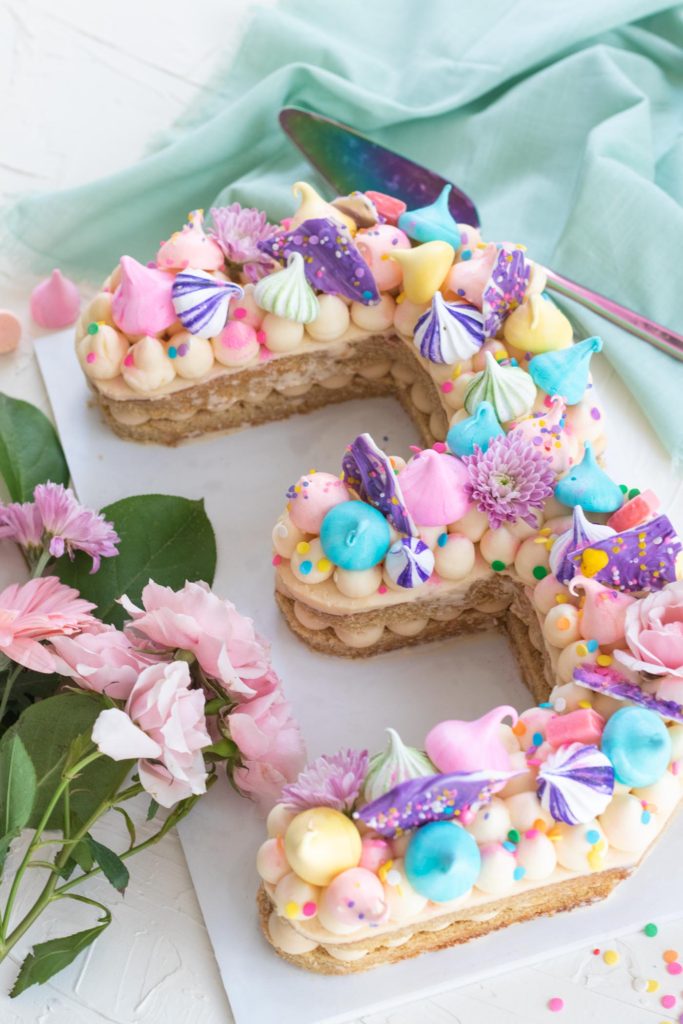
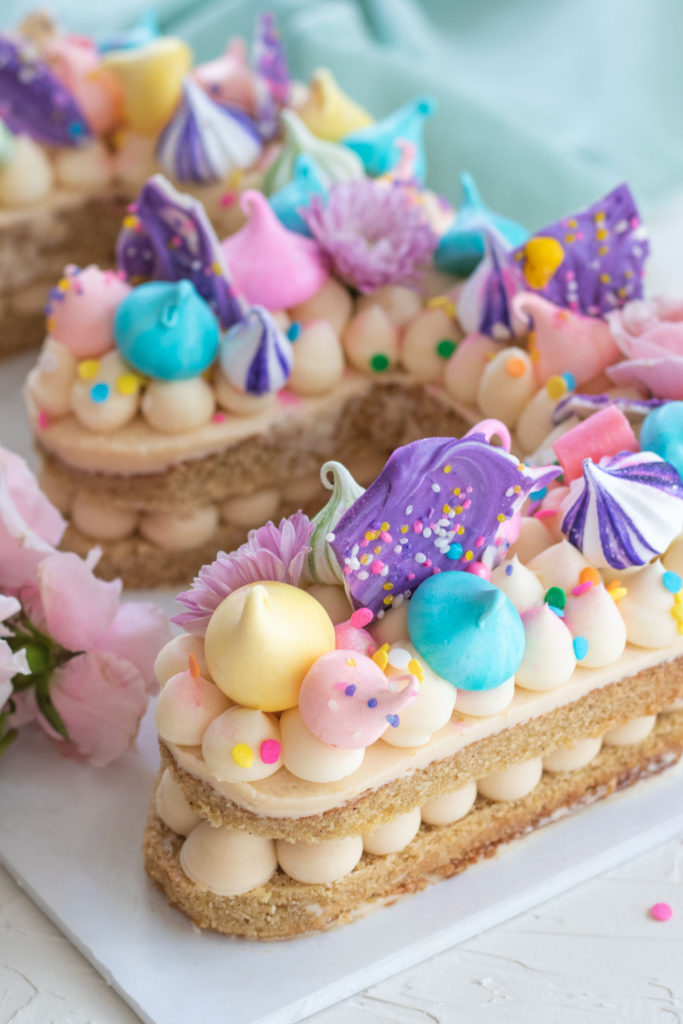
Now, let’s talk about the easy way to make a number cake. It’s all about this pan! I used the Wilton Countless Celebrations Cake Pan for my number three cake and it was SO much easier than trying to carve it later. You simply use the pieces provided in the set to make the pan into your desired number or letter, then make some cuts after baking to finish everything off!
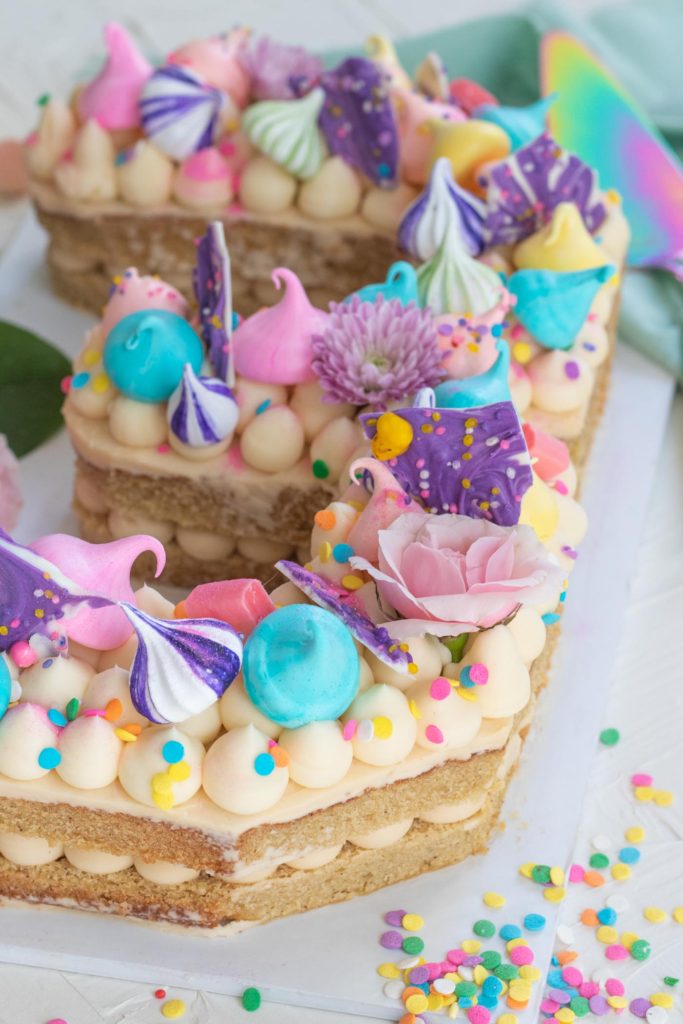
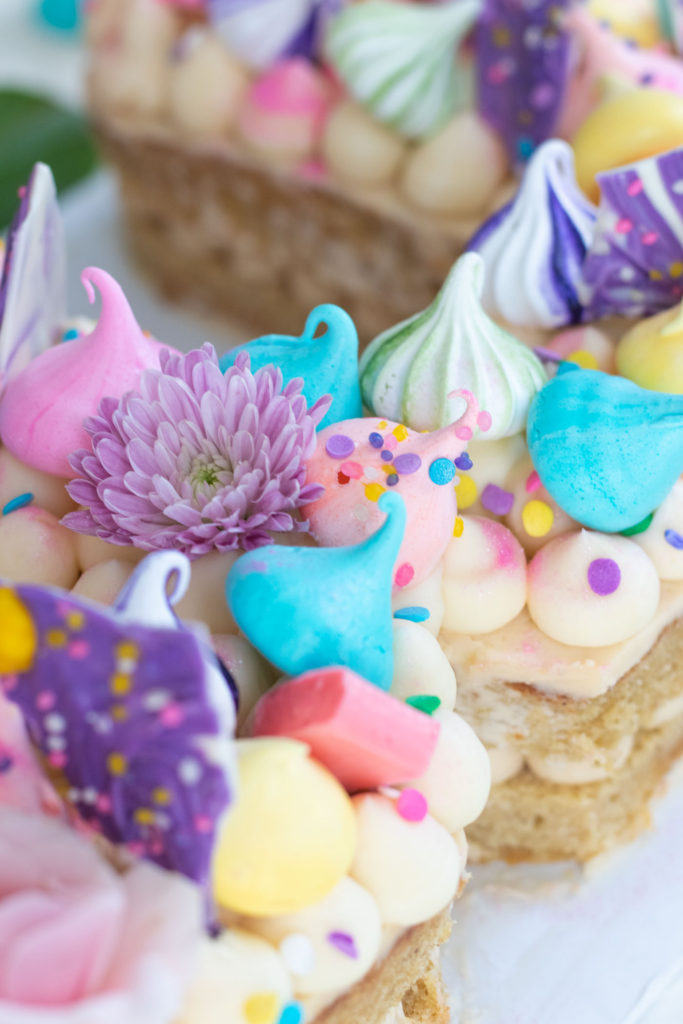
Then you can decorate the number cake however you want! I used a combination of homemade meringues in a variety of colors, sprinkles, edible glitter, homemade candy bark, candies and flowers.
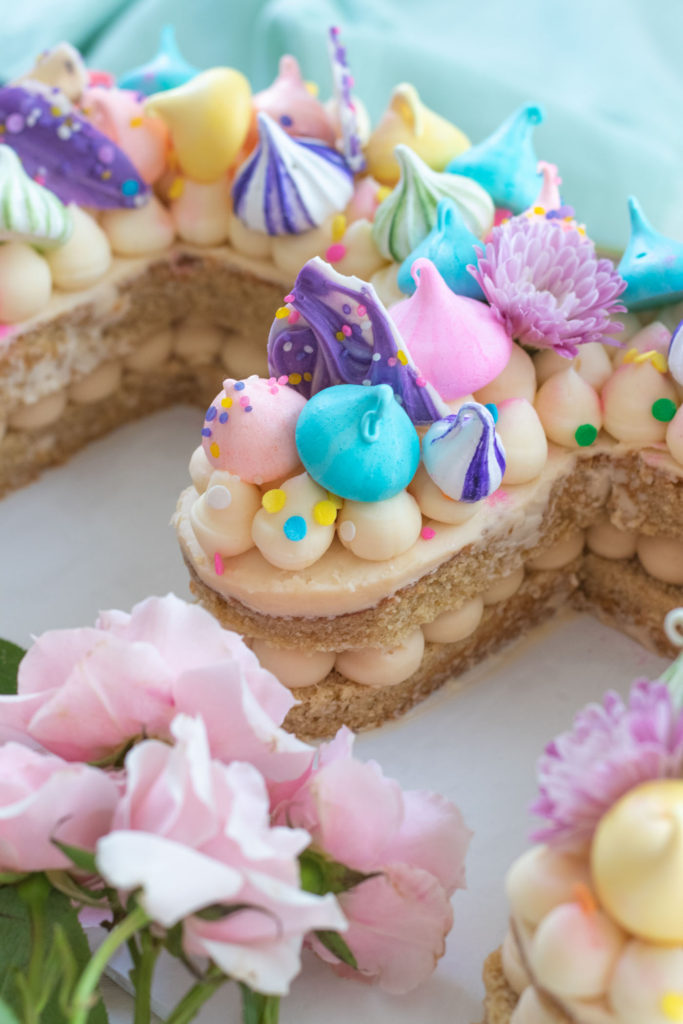
How to Make a Number Cake the Easy Way
Supplies:
- Wilton Countless Celebrations Cake Pan
- Your favorite cake recipe! (I used the whiskey cake from the book Layered)
- Your favorite buttercream recipe (here’s my classic vanilla buttercream)
- Serrated knife
- Pastry bag
- Piping tip
- Cake level
- Angled spatula
- Sprinkles, meringues, candies and flowers for decoration
Before beginning, prepare a variety of toppings! Browse my recipes section for homemade ideas, or purchase pre-made toppings from the grocery store or bakery.
Step 1: Arrange the cake pan with the necessary pieces to make your desired number or letter. Spray the cake pan lightly with cooking spray.
Step 2: Prepare your cake according to the recipe. Bake until a toothpick inserted into the cake does not reveal any liquid batter. Let cool completely before removing from the pan.
Step 3: Remove the cake from the pan and use the curved pieces included in the pan set to curve all corners of the number or letter (optional). Then cut the cake into two layers using the cake level or a knife. Cut the top of the cake if needed to make it level – this may depend on your recipe.
Note, I also cut around the edges of the cake, but this is optional as well.
Step 4: Use a small amount of frosting to stick the bottom of your cake to a large rectangular cake board.
Step 5: Prepare A LOT of frosting and move to a pastry bag fitted with a large round piping tip. Pipe dollops of frosting on the bottom layer of the cake. Then carefully place the second layer on top, lining up all edges.
Note, you can also add a layer of smoothed frosting on top of the cake before piping if desired. This is what I did.
Step 6: Pipe more dollops all over the top of the cake. They should be very close together.
Step 7: Lastly, decorate it! While the frosting is still room temperature, press meringues, macarons, candies, fresh flowers and pieces of candy bark into the top so that it is fairly crowded. Nothing should hang over the edges. Finish with sprinkles and edible glitter!
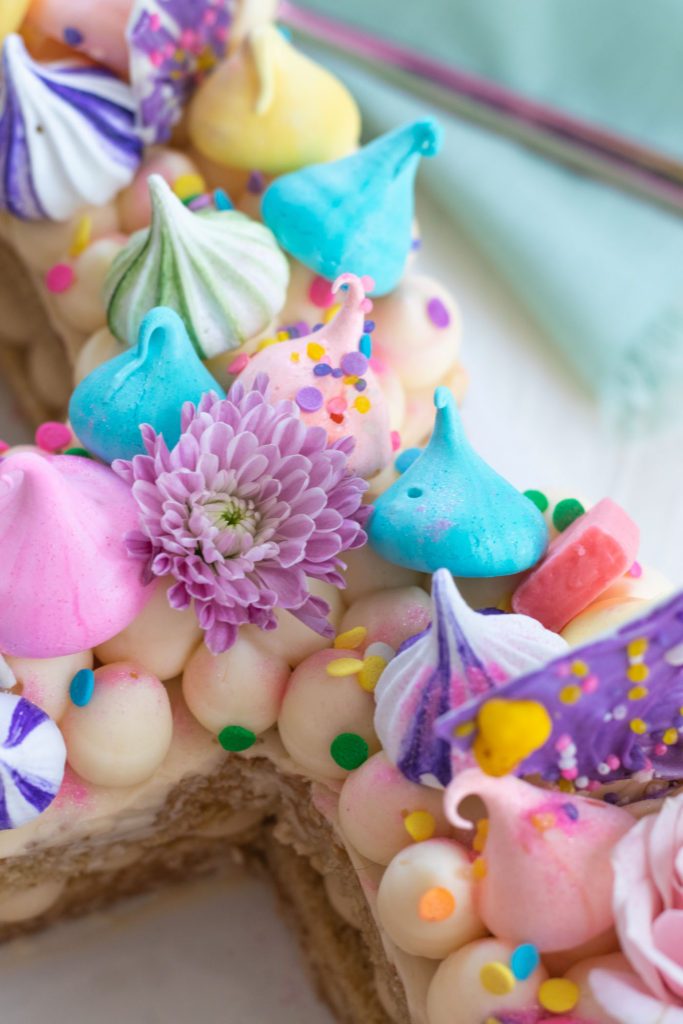
And that’s the easy way to make a number cake! These number cakes are perfect for birthdays and anniversaries or, in my case, BLOGIVERSARIES! How should I celebrate next year??
Also, fun fact: I finished my entire photo shoot before realizing I had the three upside down. Then I redid the entire process 🤦🏼♀️😆
Please note this post contains affiliate links from which I may collect a small profit should you choose to make a purchase. I only link to products I personally use or recommend.

Playful Cooking
OMG this is just absolutely brilliant and so so gorgeous! I have to try this out.
Holly Wade
Playful CookingThanks so much!!