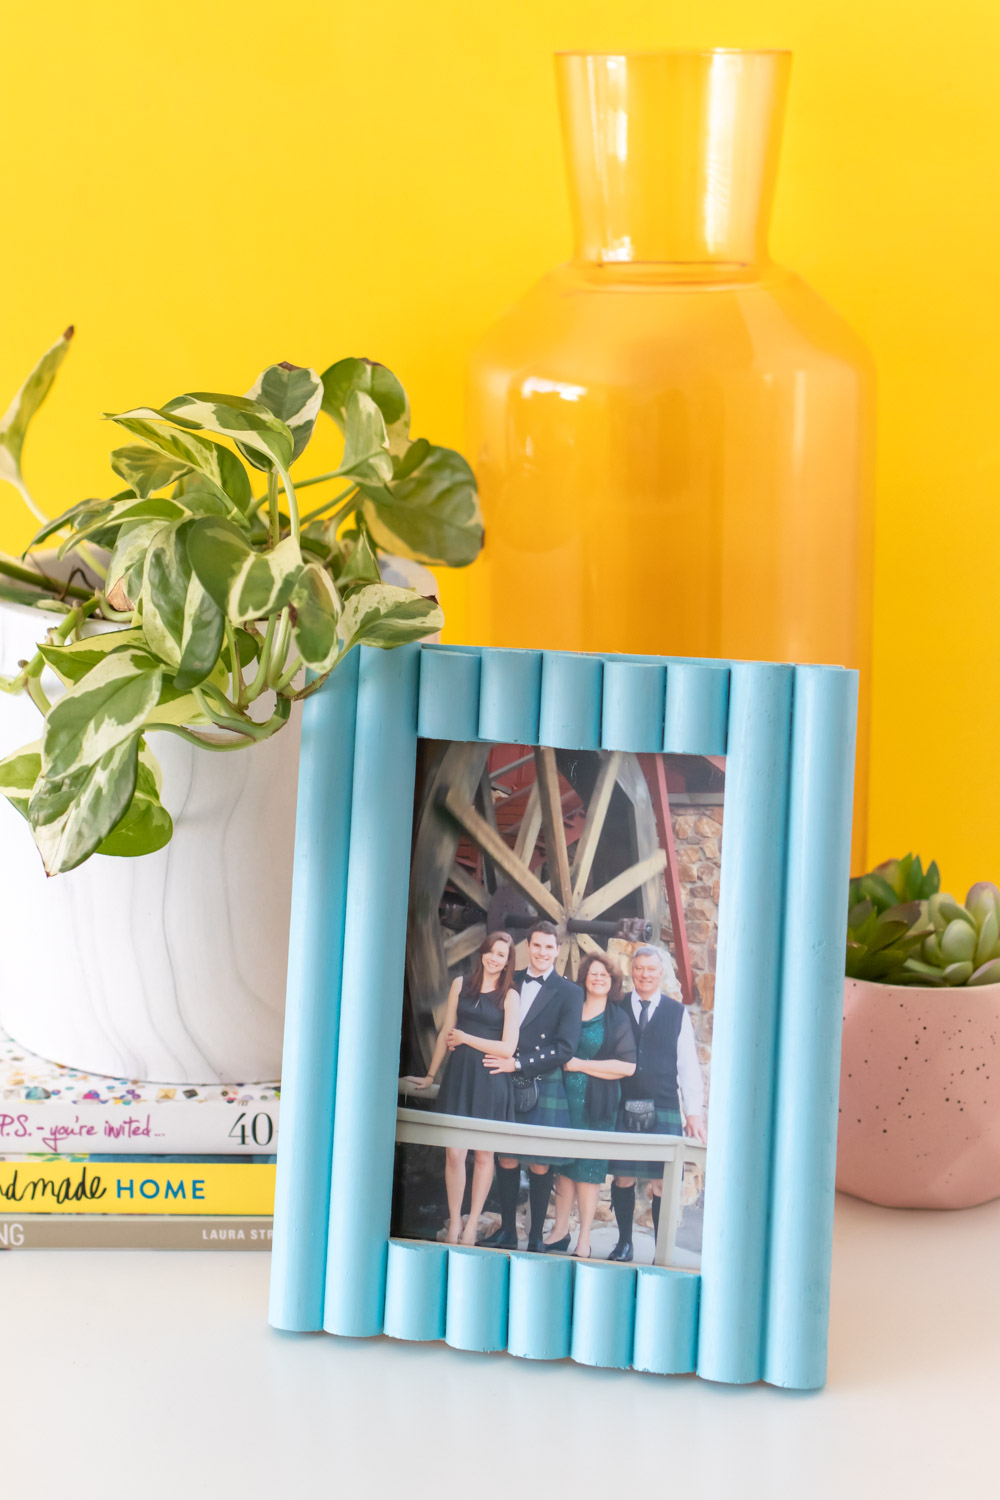
It’s been a rollercoaster of emotions around here while we’ve been house hunting (more on that here). After some non-stop craziness, I’m happy to focus on a good ‘ol DIY today! This easy wood frame update is decorated with half round moulding and painted for a dramatic makeover on a budget. The trim on this DIY photo frame costs less than $3, and the frame is only a few dollars from a craft store! For cutting the trim, you’ll need some tools, such as a hand saw or electric saw. I successfully cut mine by hand with a hand saw, and it’s completely doable! It will simply take a little more time and elbow grease. Here’s how to try this easy wood frame update with trim!
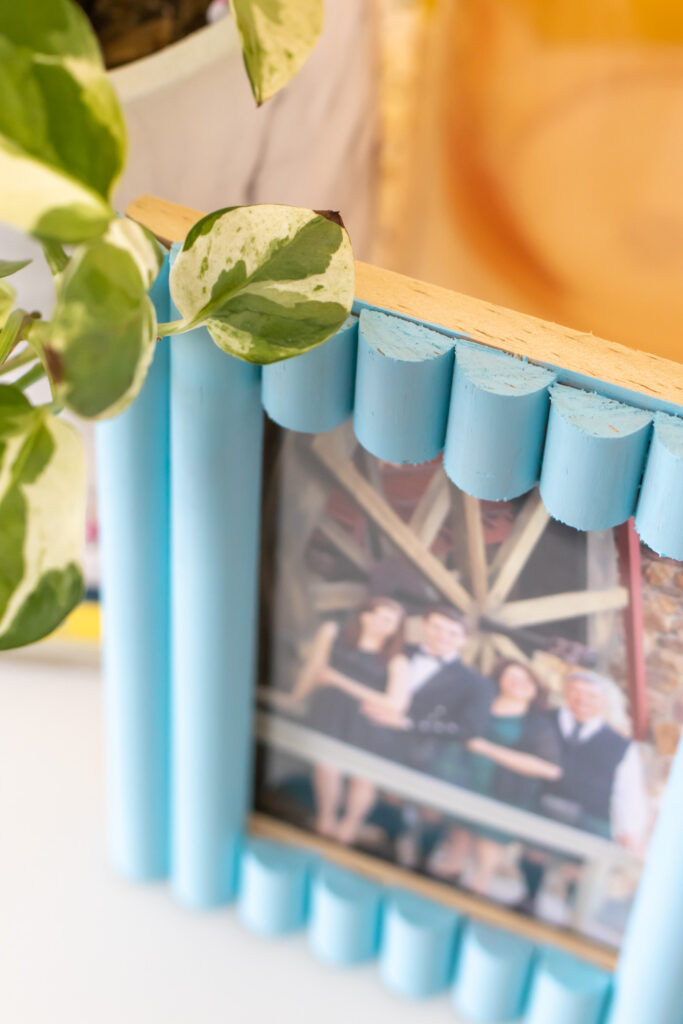
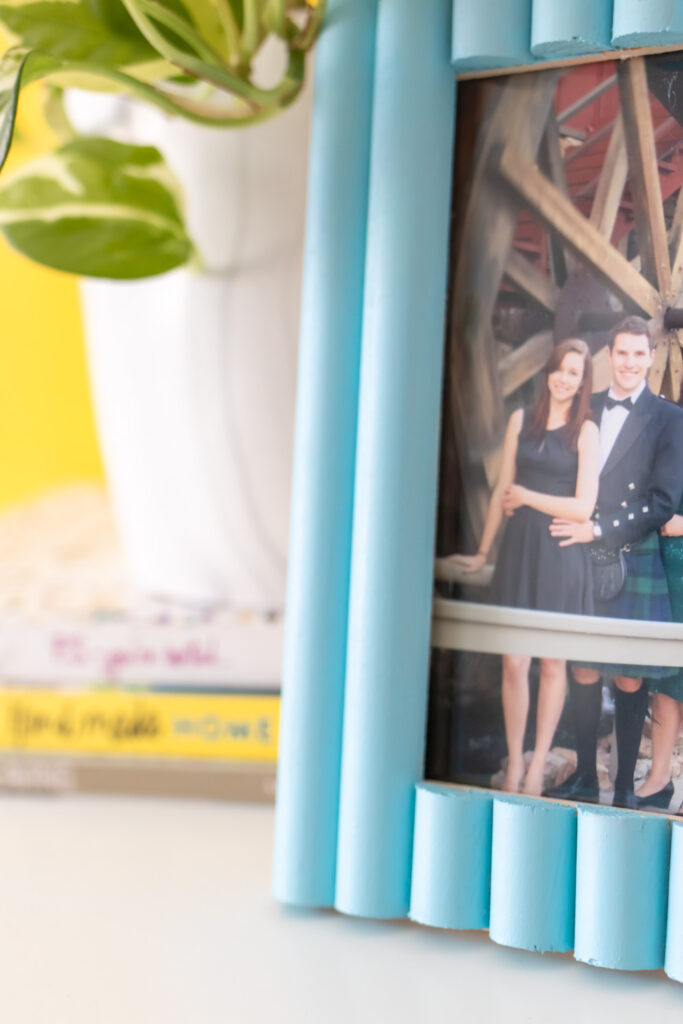
First of all, let’s talk about what I did wrong. I definitely didn’t do as well with this DIY as I would have liked, and it’s primarily because I’m impatient and have a very dull hand saw. It’s important to make very precise measurements and clean cuts to achieve the best result. Perhaps if I had an electric saw, I could have done a better job? Either way, you can clearly see some imperfections with this photo frame update. It doesn’t bother me personally, but be careful to measure and cut precisely for a better finished product.
You can see with my wood frame update that the smaller pieces of trim have varying sizes. I guess you could say I was not blessed with the patience to make precise measurements and cuts, but I also blame my shaky hands and dull saw blade. Nonetheless, the trim photo frame is happily on display in our dining room!
How to Update a Photo frame with moulding
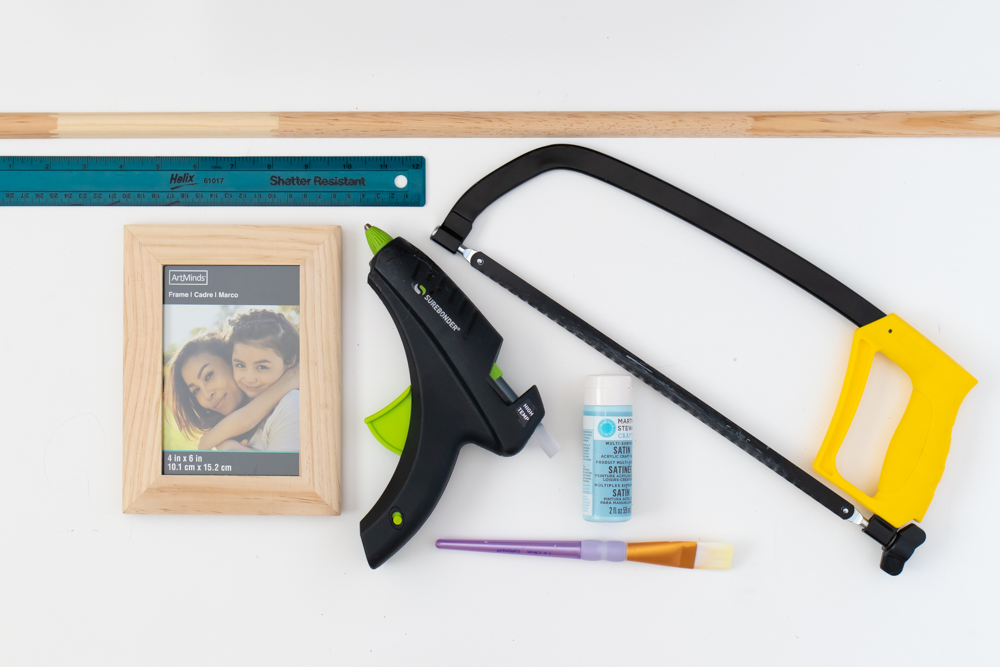
Supplies:
- Wood frame
- Half-circle trim, 1/2 inch
- Hand saw (or other)
- Ruler
- Glue gun
- Paint
- Paintbrush
- Sandpaper (recommended)
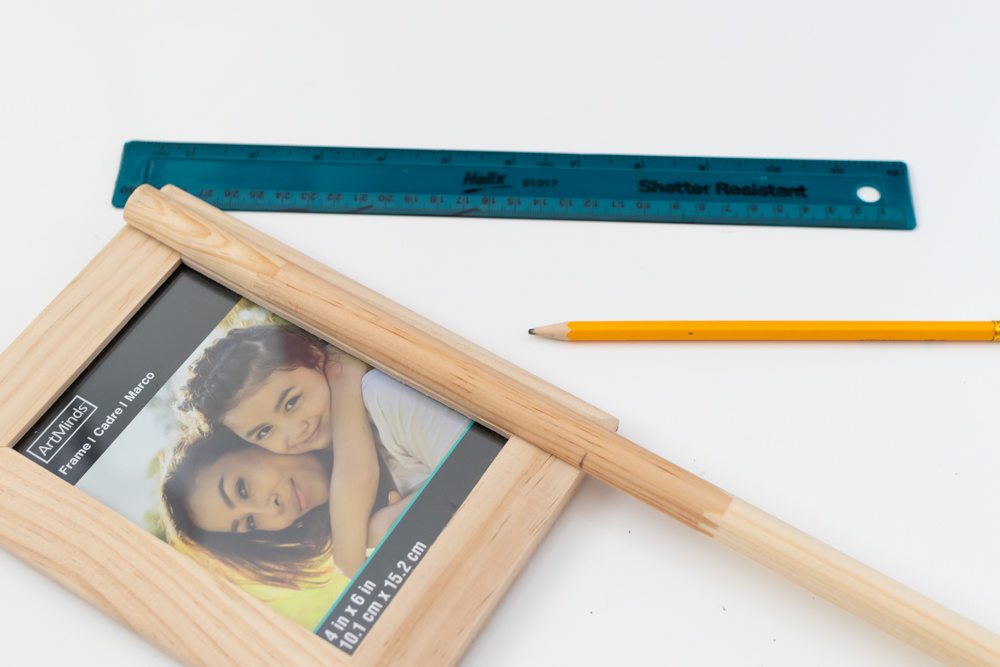
Step 1: First, choose the orientation you want the frame to be. I chose vertical. Measuring vertically, mark where to cut the wood trim.
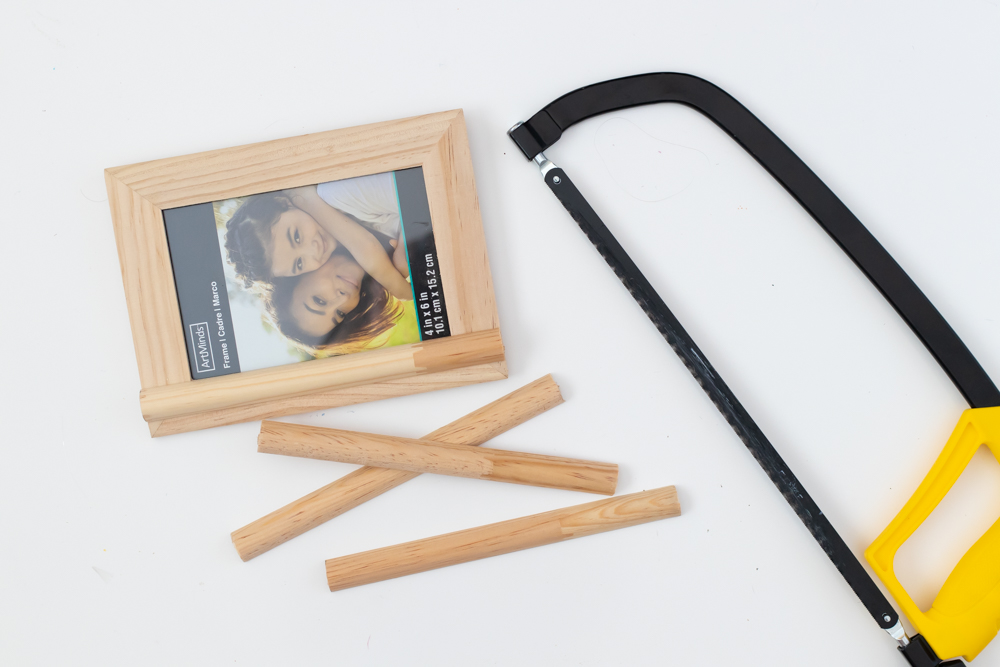
Step 2: Use a hand saw or other tool to cleanly cut pieces to the same size that match the height of the frame. This 4×6-inch frame used four dowels. If you can, sand the edges until smooth.
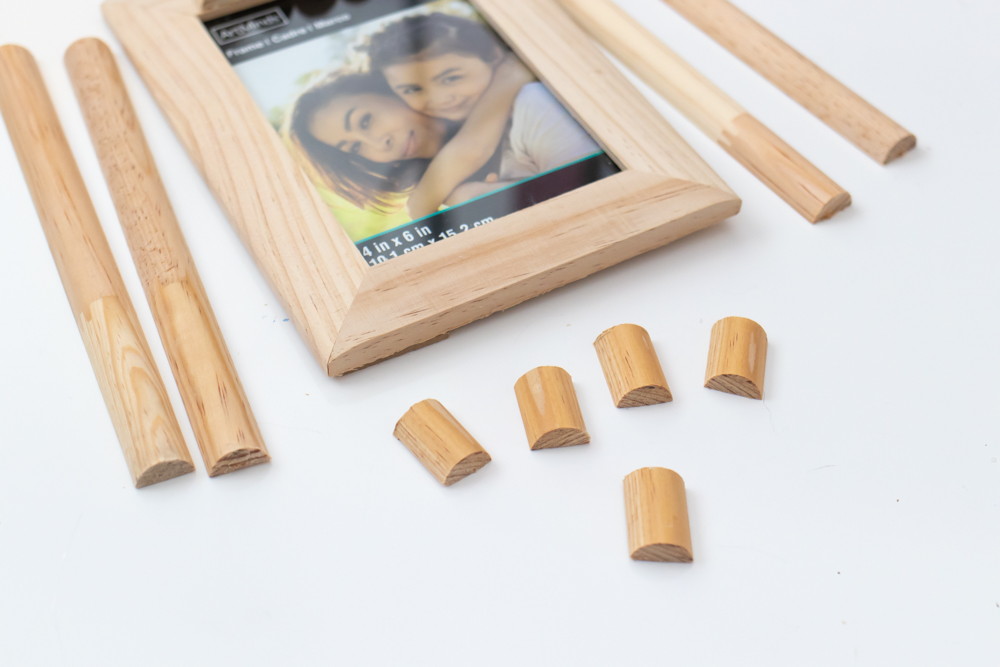
Step 3: Repeat the process with the shorter pieces. Keep all trim flowing the same direction. Carefully measure, cut and sand each piece. My frame uses five pieces across both the top and bottom.
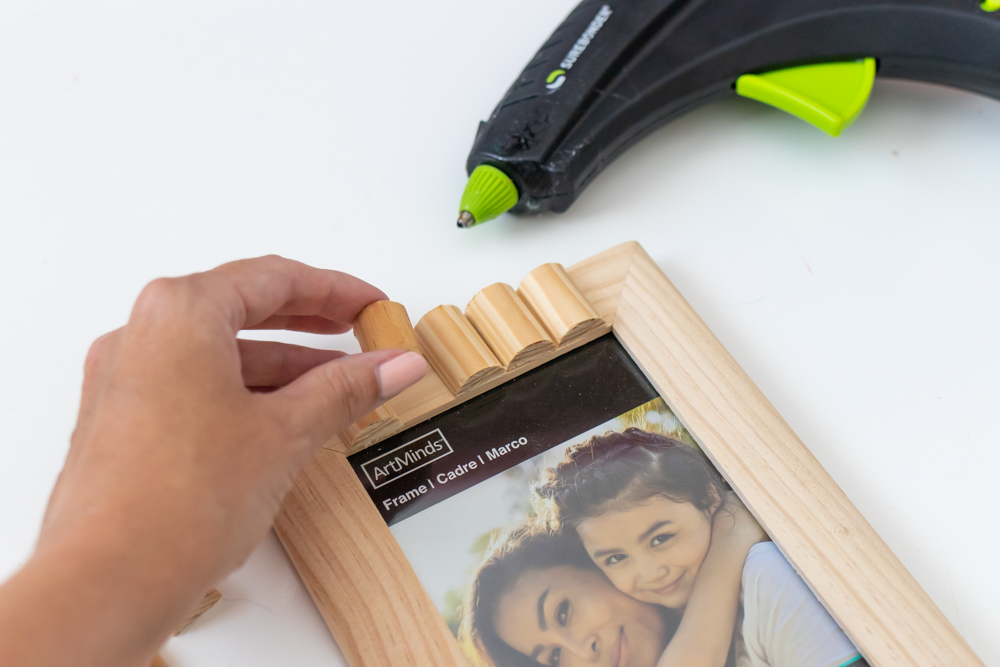
Step 4: Use a glue gun or wood glue to adhere the trim to the frame. Check your measurements carefully.
Note, the long pieces hang off the edge slightly. If you prefer, you can cut them down more. Test out what fits best with your specific wood frame DIY.
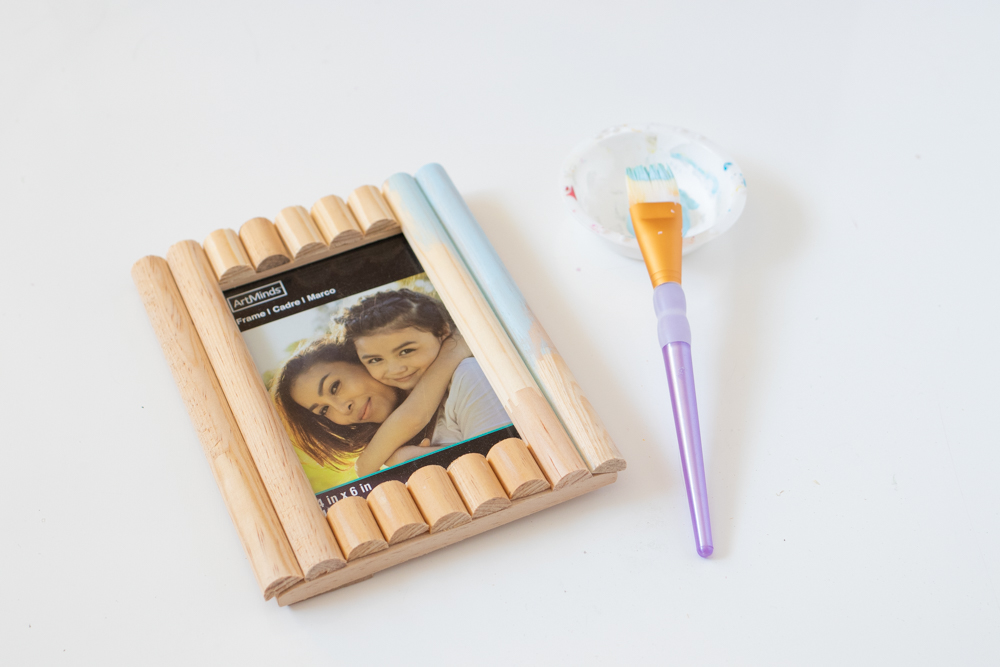
Step 5: Lastly, paint! Paint a few coats of matte paint on the easy wood frame update and let dry. Make sure to reach between the trim pieces.
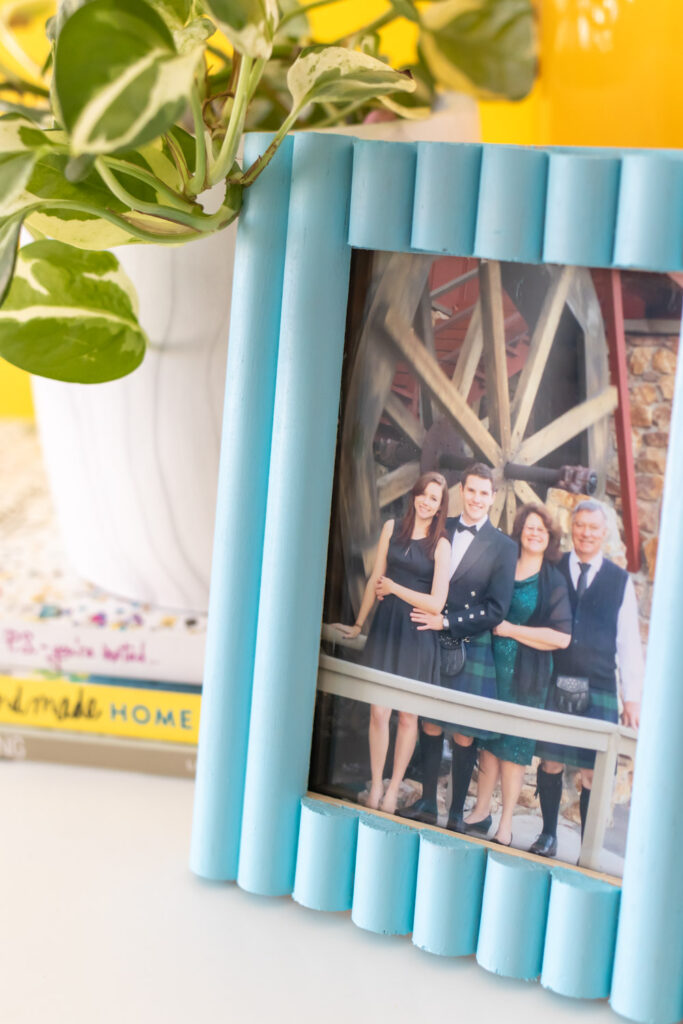
Then simply swap out the frame with your favorite photo to display! This photo is from early on when I began dating Andrew, but it’s one of my favorite photos from an event we attended with his family. After years of DIYing, this easy wood frame update with trim is definitely my favorite photo frame project to date! What color would you paint yours?
