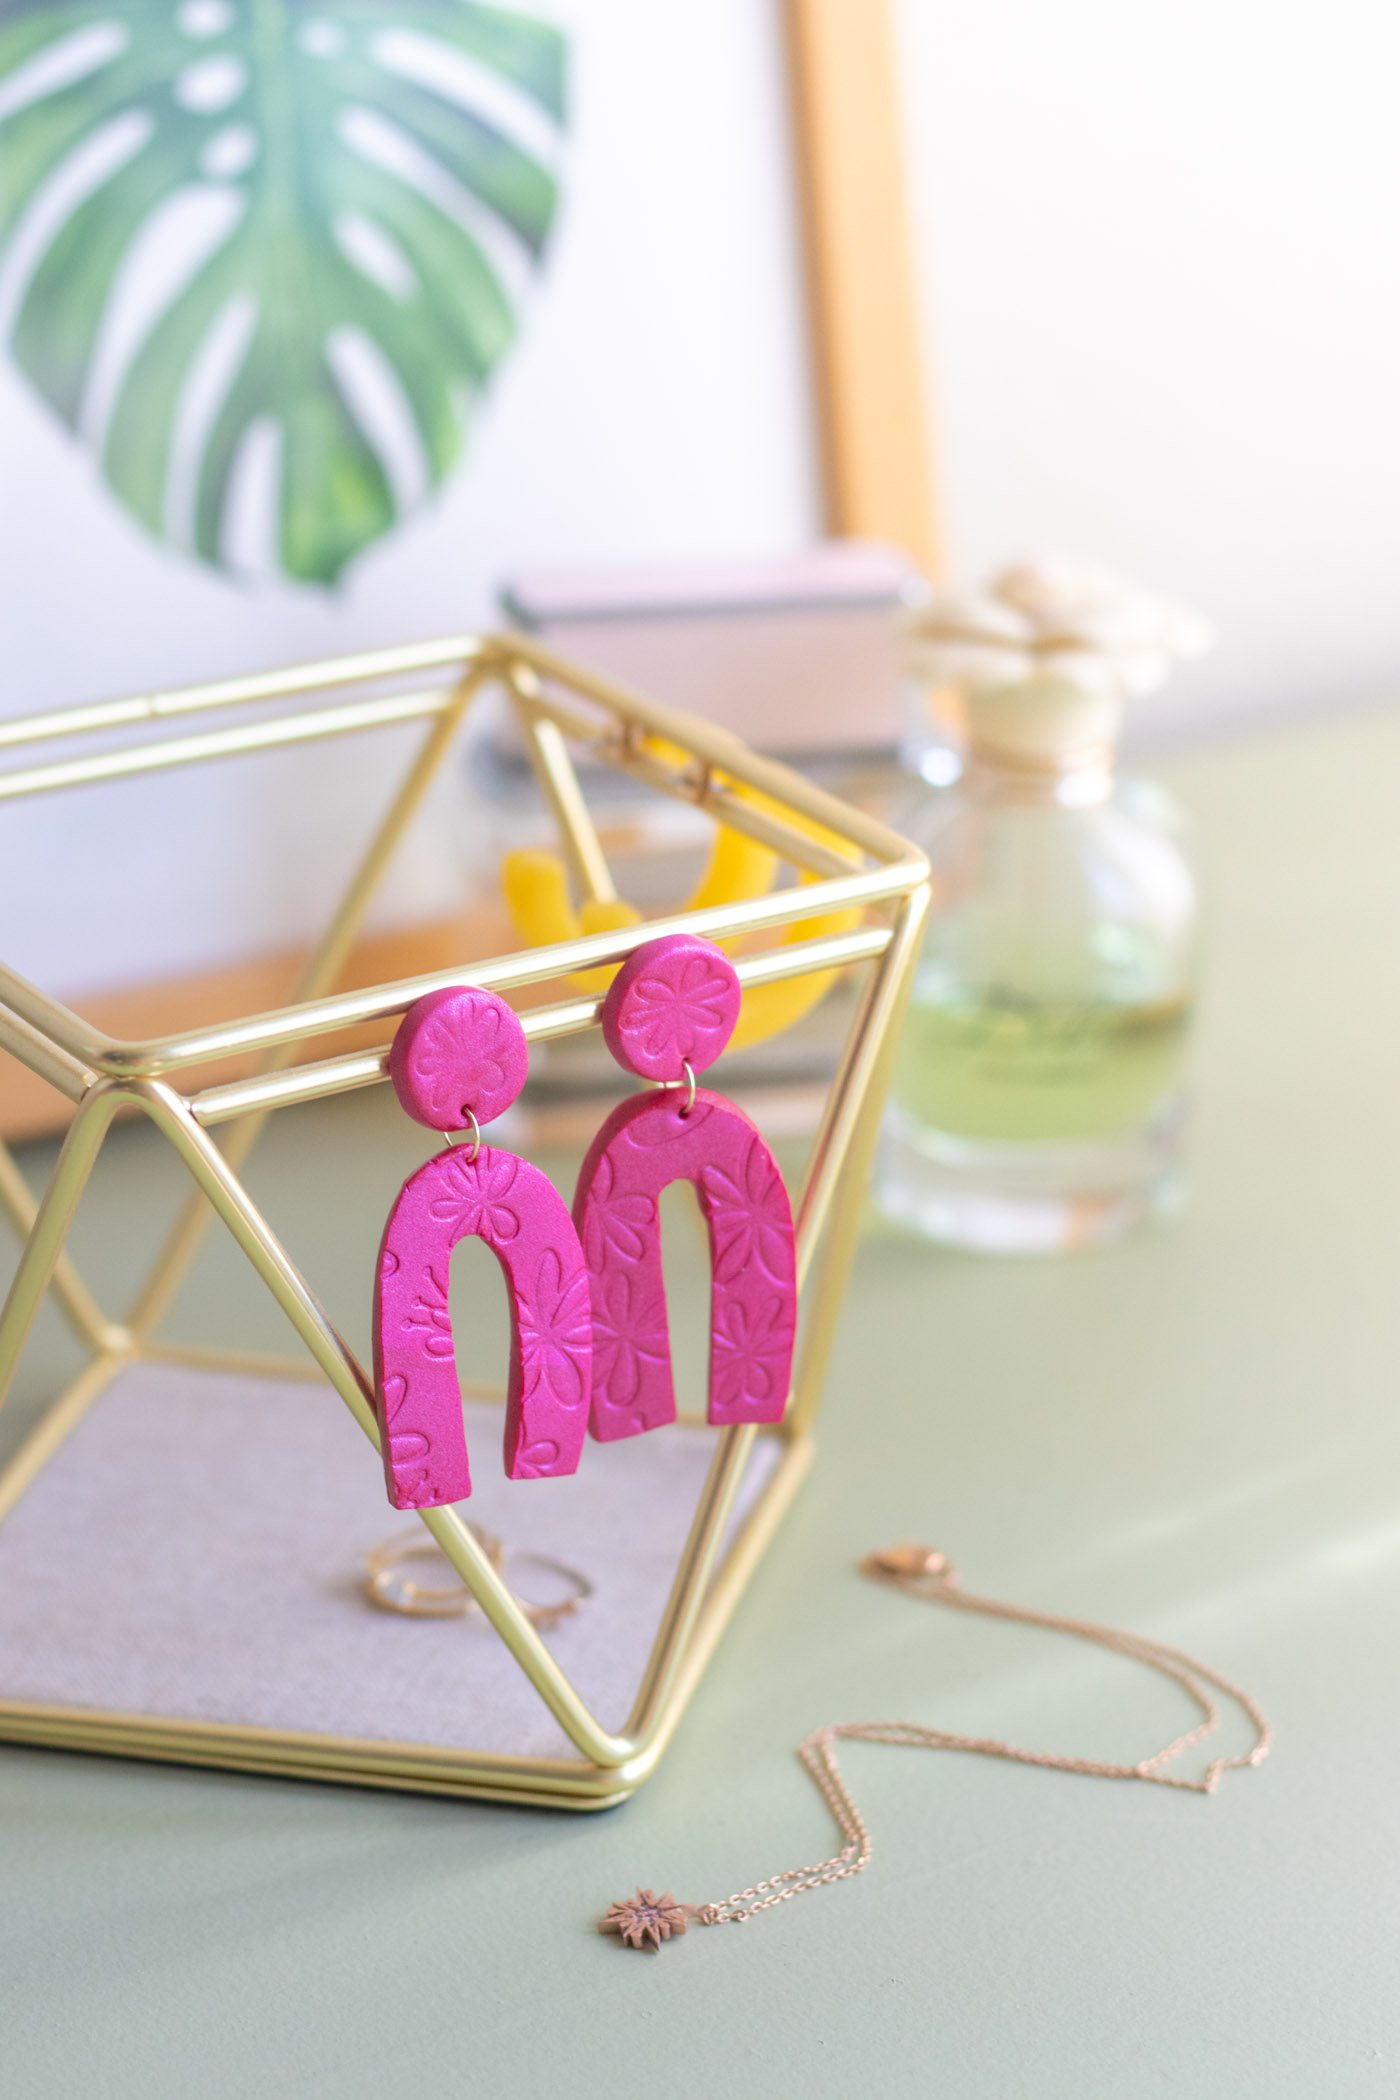
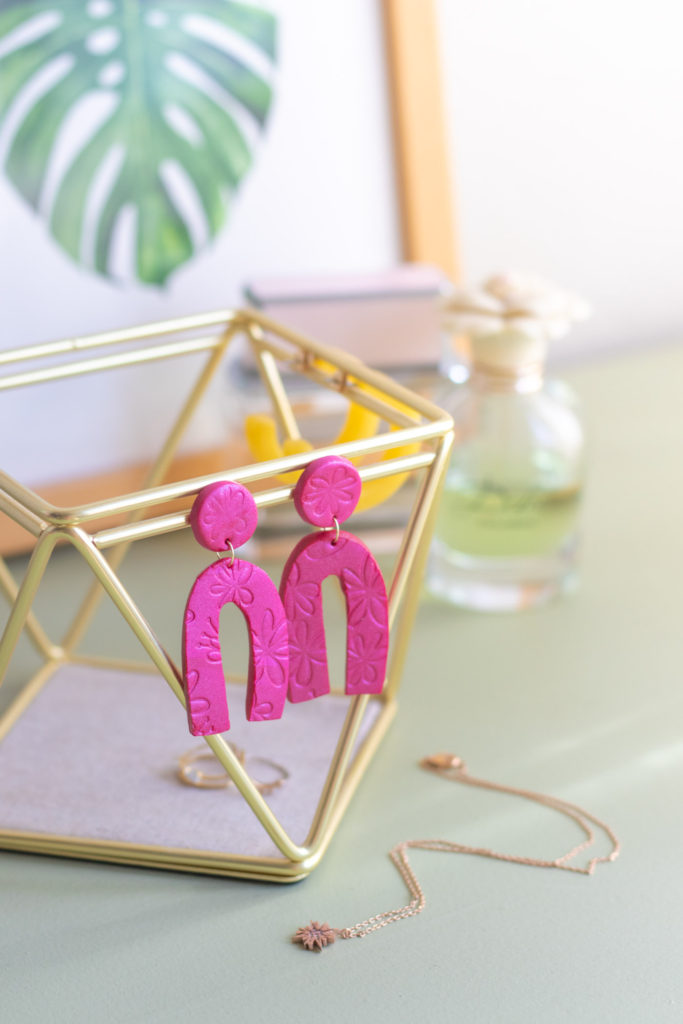
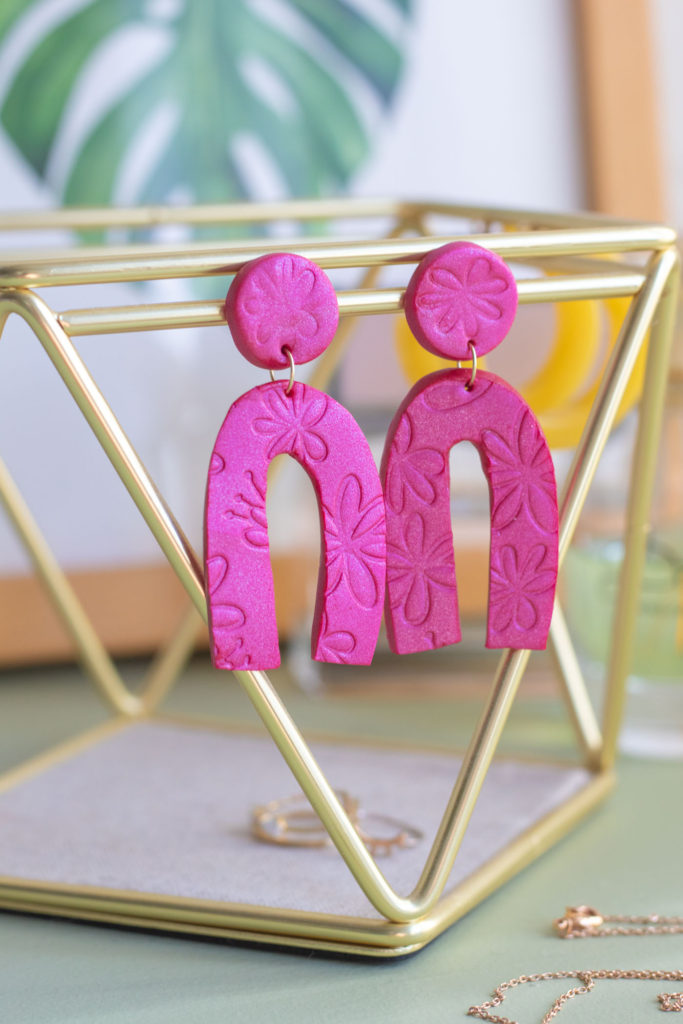
I’ve seen so many beautiful DIYs for clay statement earrings, but I wanted to try taking that a step further and use paper embossing folders to make DIY embossed earrings with clay for a subtle texture and pattern! Can you believe I don’t have any pink earrings right now?! I had to remedy that, and these embossed earrings were the perfect DIY to go with almost any outfit in my closet. Feel free to test out different combinations of clay shapes, embossed patterns and clay colors to make completely unique DIY statement earrings that are sure to turn heads. I must admit that hearing people compliment my earrings and then be surprised when I say I made them is one of the best feelings in the world. You can feel it too! Click through for the full DIY earring tutorial.
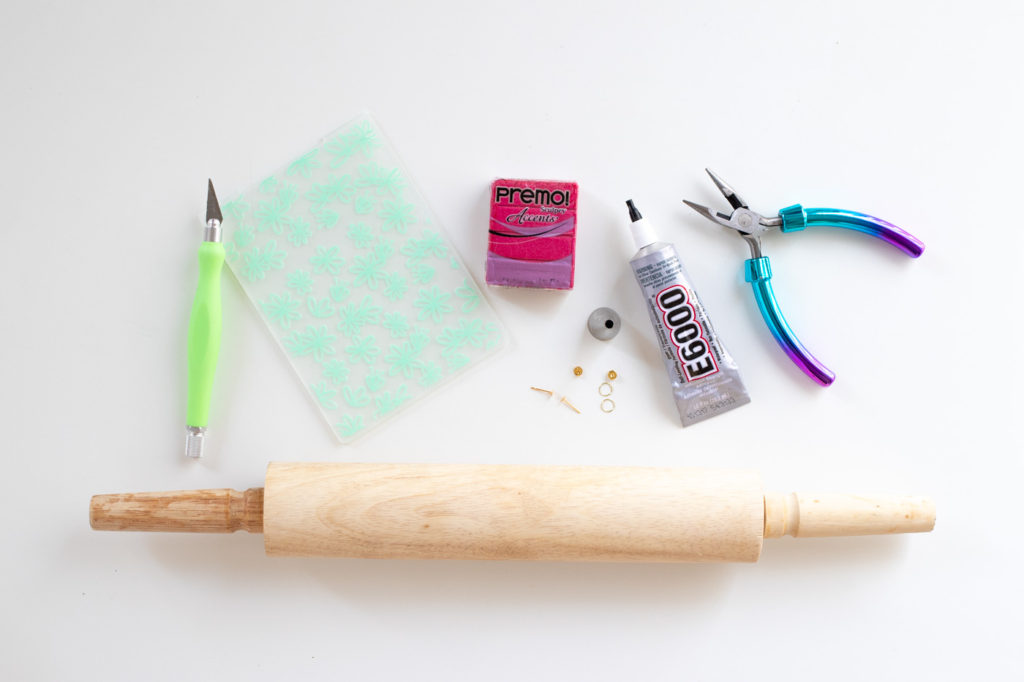
First, let’s talk about supplies. I recently treated myself to a Cricut Cuttlebug so that I can emboss paper for cards and other products, so I purchased a variety of embossing folders to play with. Although they are intended for paper, you can absolutely use them to emboss clay! For best results, make sure you choose a smaller pattern that will be clearly visible on your earrings. I also chose a type of Sculpey clay with a light shimmer to it (linked below), and even though it’s difficult to see in photos, it’s a really fun addition to these embossed earrings! Of course, everything you need is available at your local JOANN or favorite craft store.
How to Make DIY Statement Earrings with Clay
Time: 15 minutes
Supplies:
- Polymer clay, desired color
- Rolling pin
- Craft knife (or shape cutter)
- Large round piping tip (or shape cutter)
- Embossing folder, desired pattern
- Stud earring findings
- 2 large jump rings
- E6000 glue or similar
- Flat nose jewelry pliers
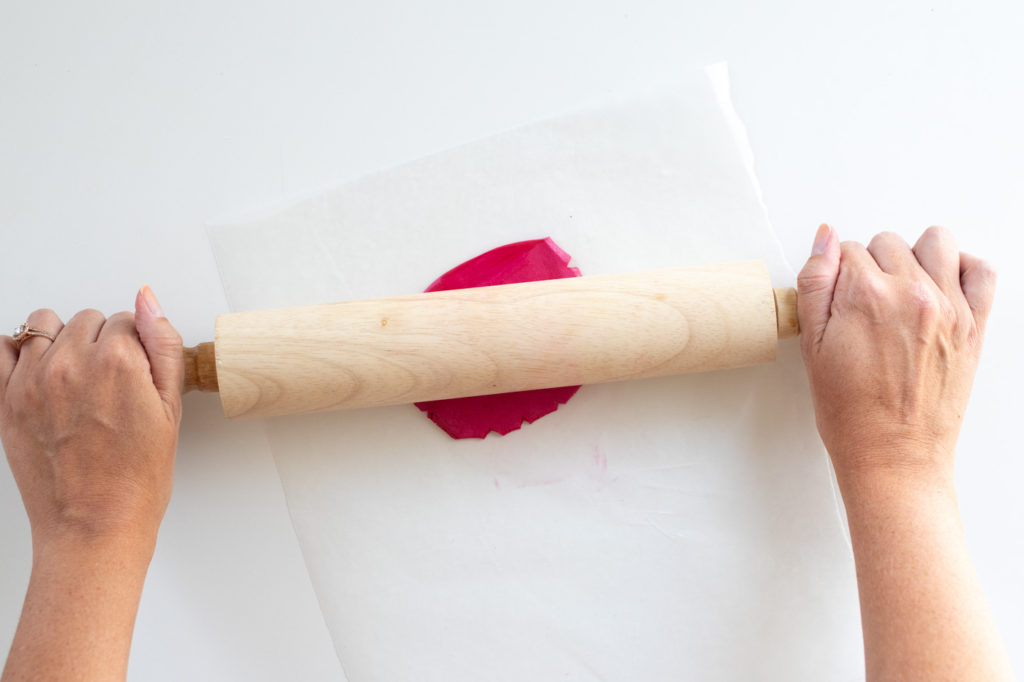
Step 1: Cover your surface to protect it from the clay. Roll out a piece of clay until about 1/4 inch thick.
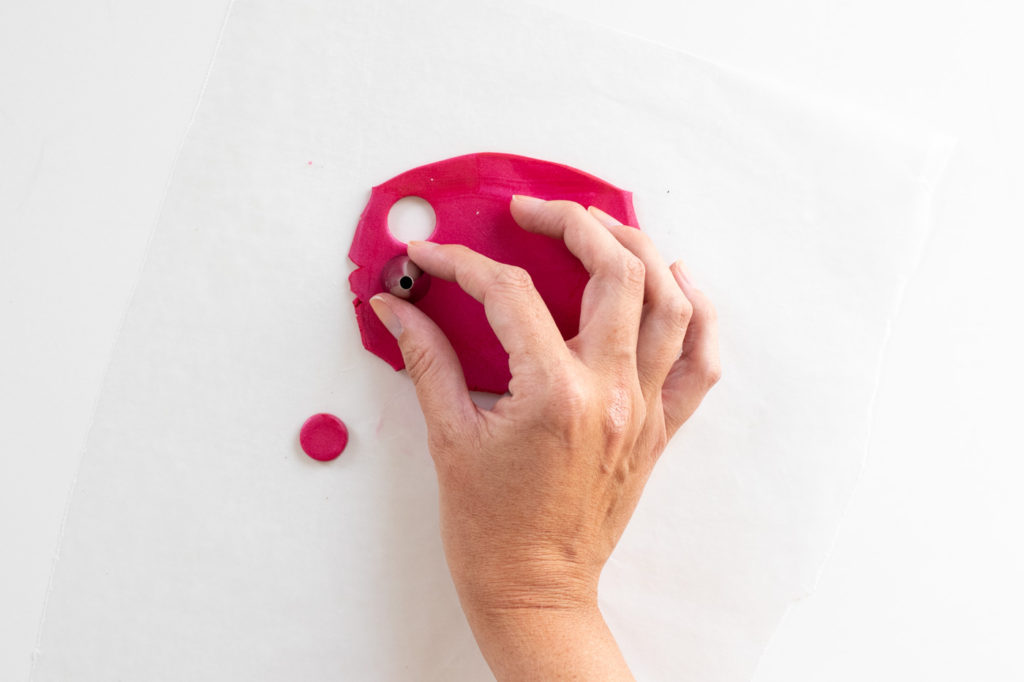
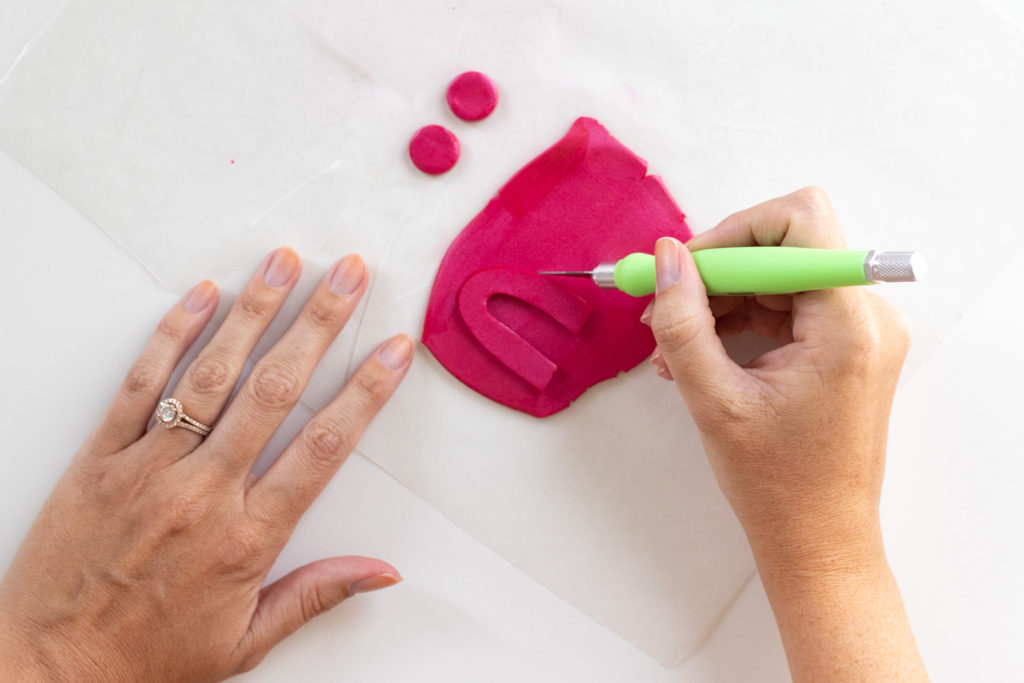
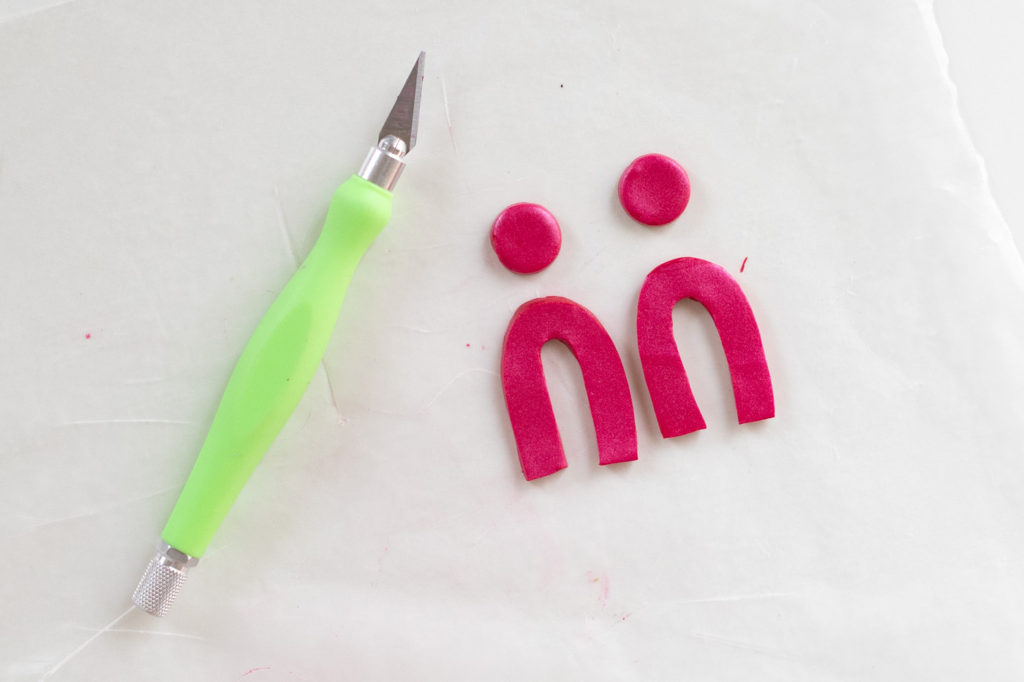
Step 2: Once evenly flat, use the thick end of a piping tip or a round shape cutter to cut two small circles out of the clay. Then use the craft knife or a shape cutter to cut large horseshoe shapes out of the clay. Remove excess around the shapes.
Note, I freehanded my shapes, but this is not necessary. You can print and cut out designs to use or use pre-made cutters. If cutting freehand, you can place the first shape on top of the clay to use as a stencil so that both sides will match.
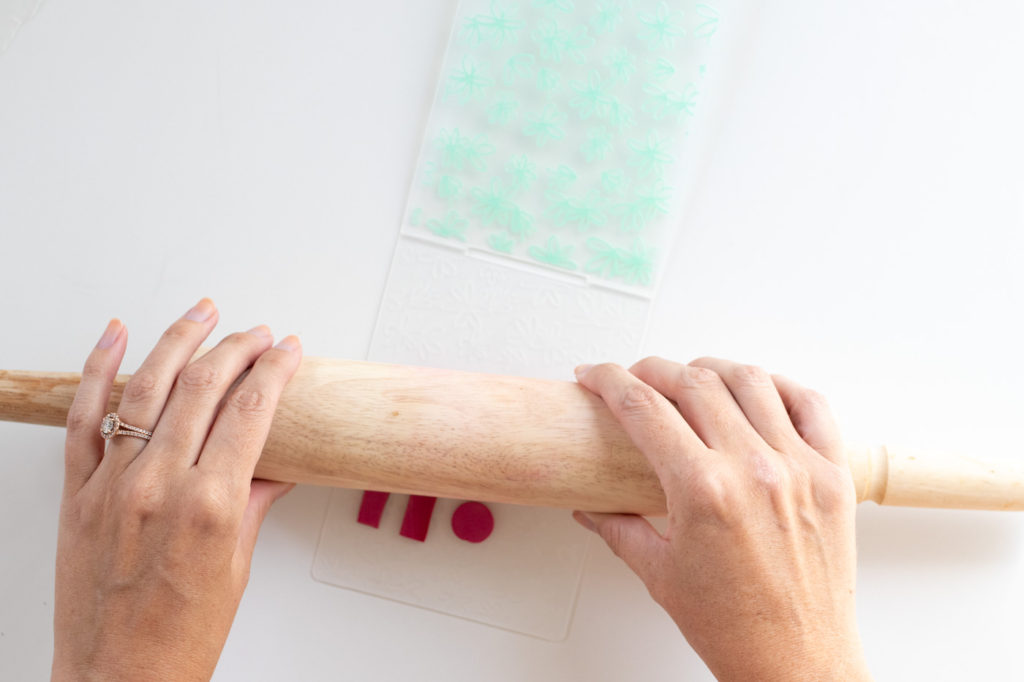
Step 3: Open the embossing folder. Place the clay best-side-down (the side you want embossed) onto the embossing folder pattern. Gently roll over the clay pieces with a rolling pin to emboss it. The clay should not spread if you are gentle. Carefully peel back the the clay to reveal the embossed clay pattern.
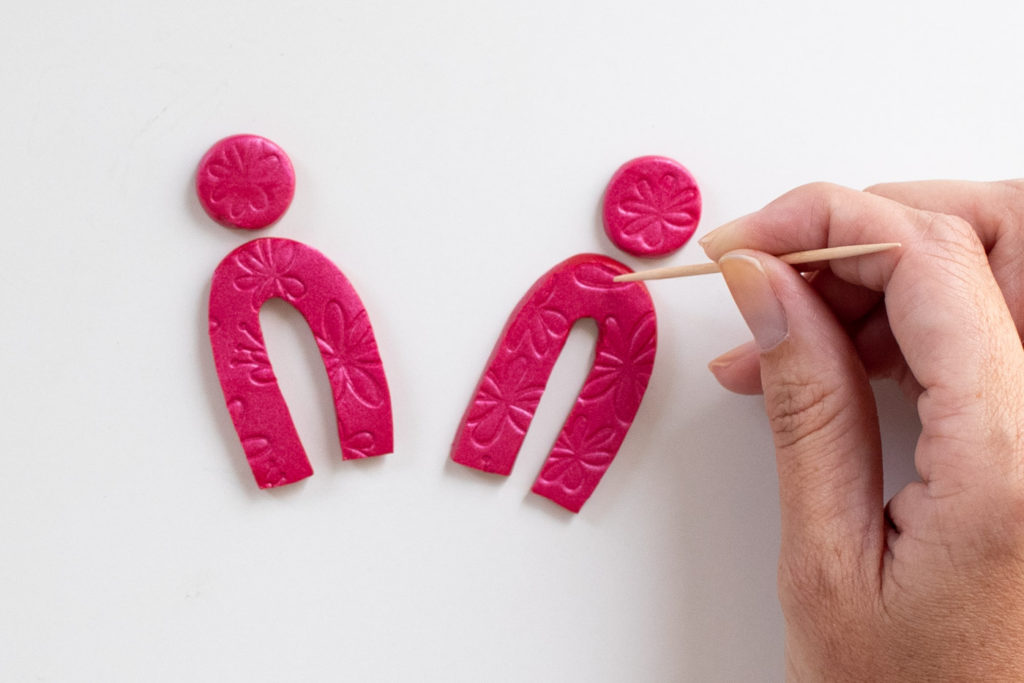
Step 4: Use a toothpick (or similar) to create a small hole at the top of the horseshoe shapes and the bottom of the circles. These holes will be for connecting the pieces after baking.
Step 5: Bake the clay on a lined baking sheet according to packaging instructions. They may vary by brand.
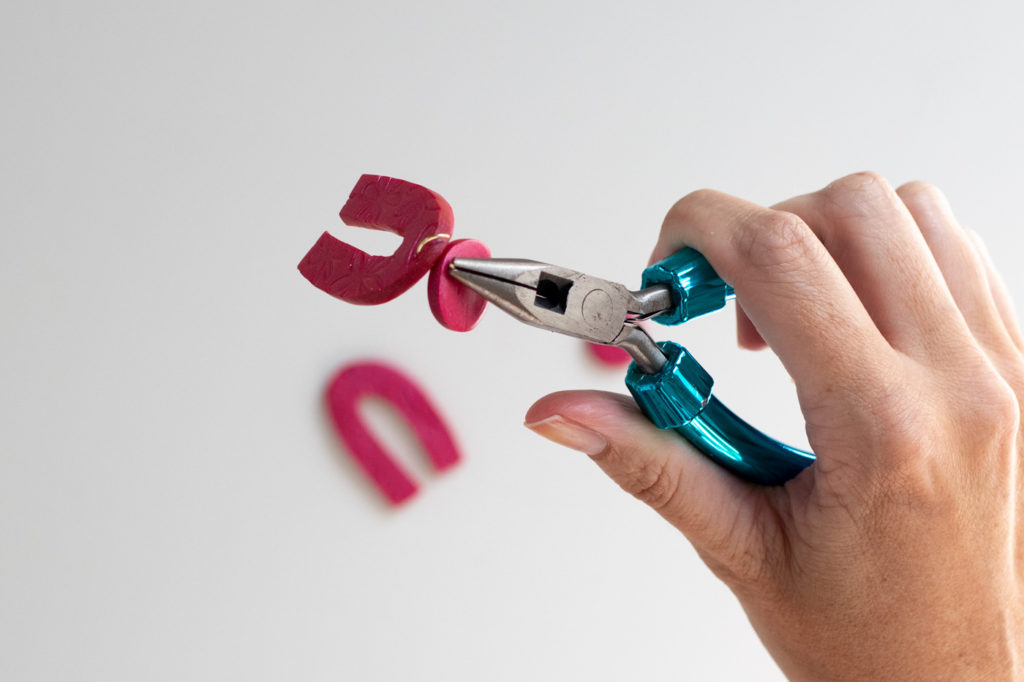
Step 6: Once baked and cooled, use a jump ring and jewelry pliers to attach the two pieces of the embossed earrings together. Make sure the embossed sides are both facing the same way!
Step 7: Lastly, use a heavy-duty glue to attach the earring studs to the back of the circle shapes. Let glue set overnight before wearing.
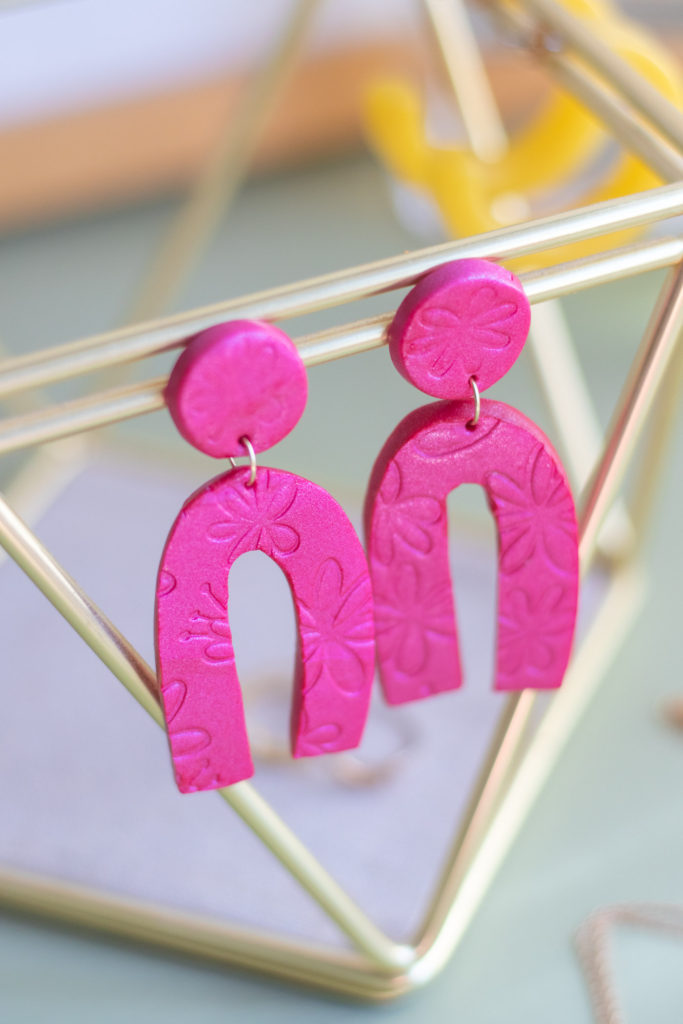
Now you can rock these DIY embossed earrings with just about any outfit! I have several fun embossing folders with different patterns, so I think I’ll have to make more embossed earrings in different shapes, patterns and colors! Gotta check all the boxes, right??
PS, check out my Pinterest DIY Jewelry board for more ideas!
Please note this post contains affiliate links from which I may collect a small profit should you choose to make a purchase. I only link to products I personally use or recommend.
