
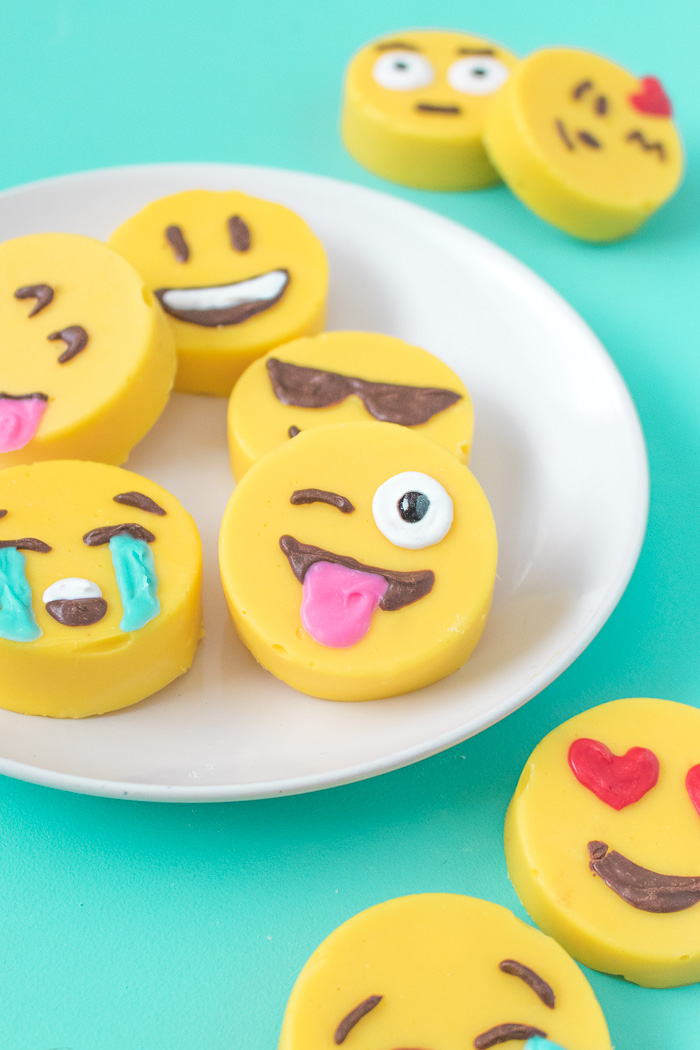
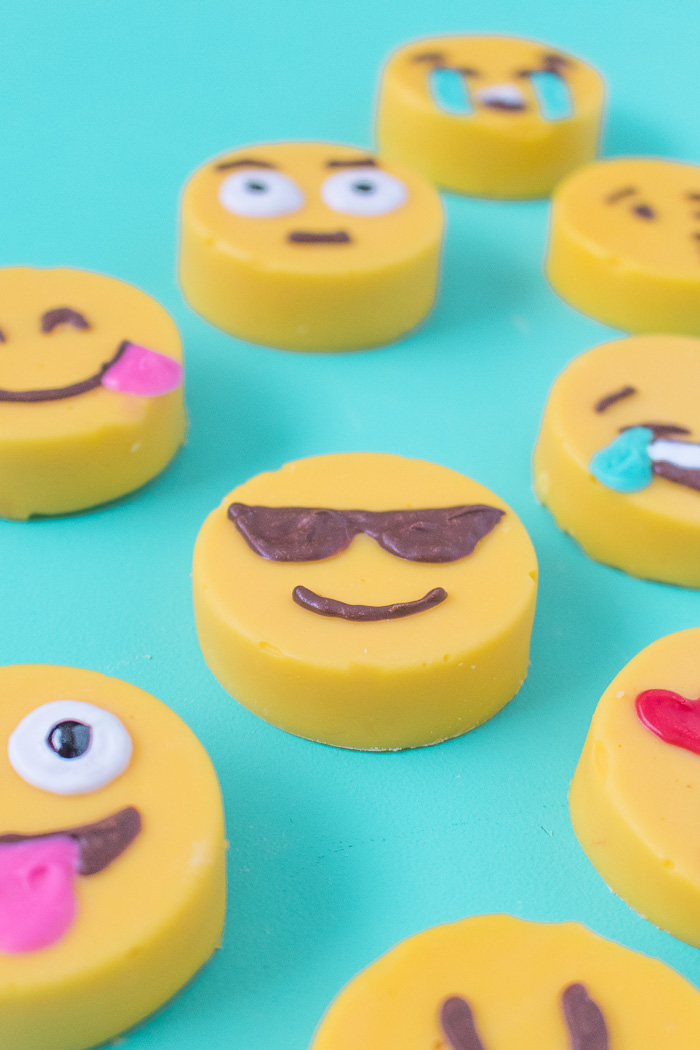
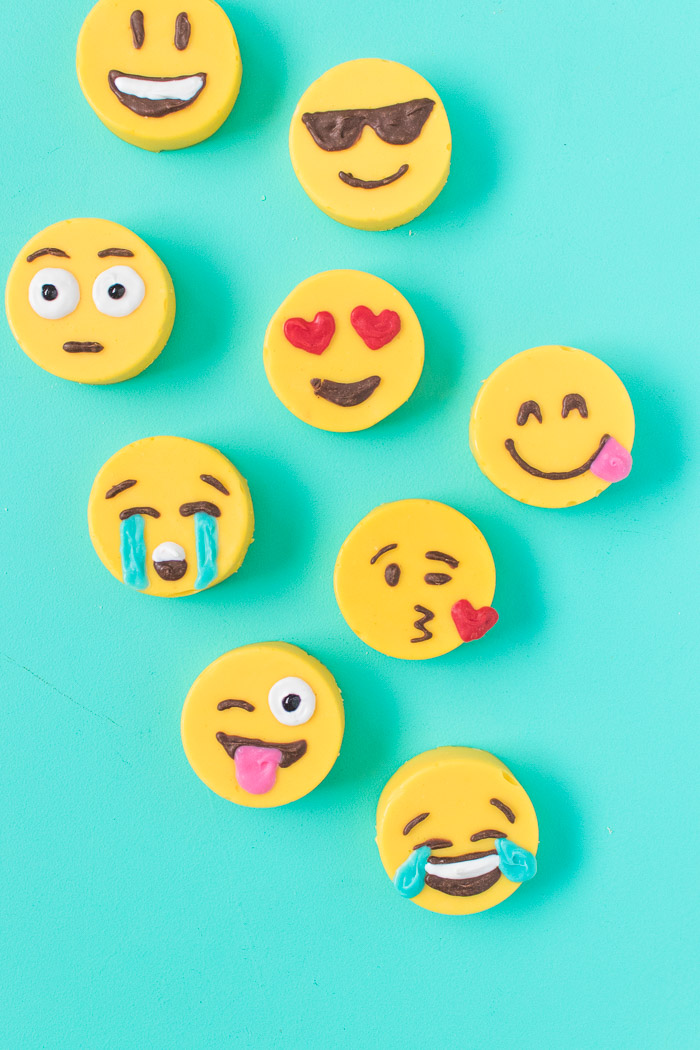
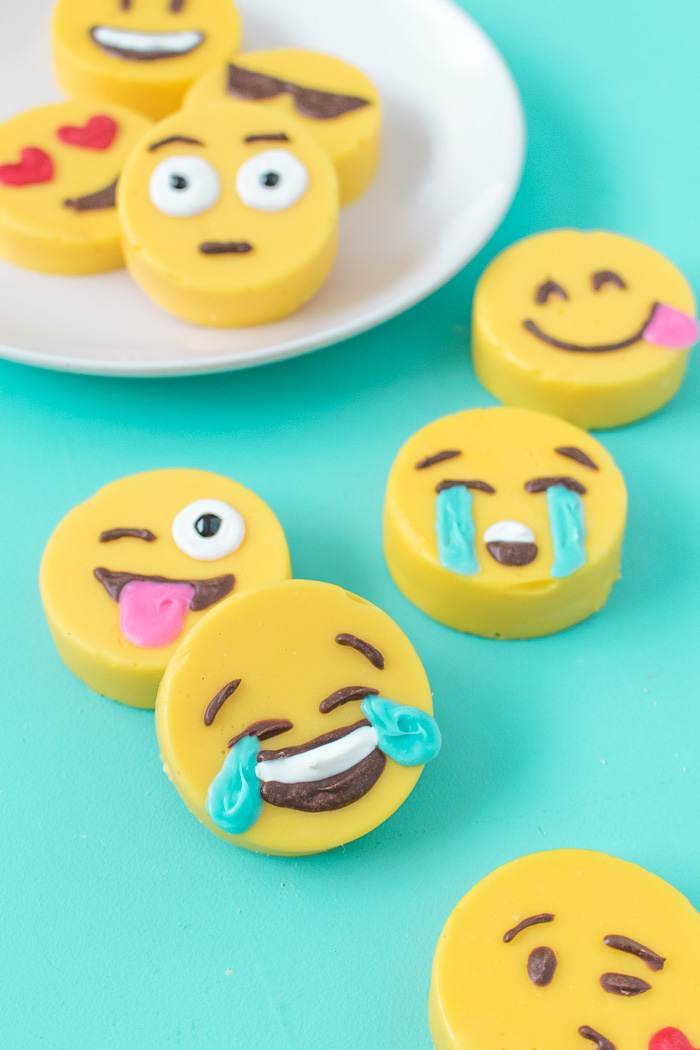
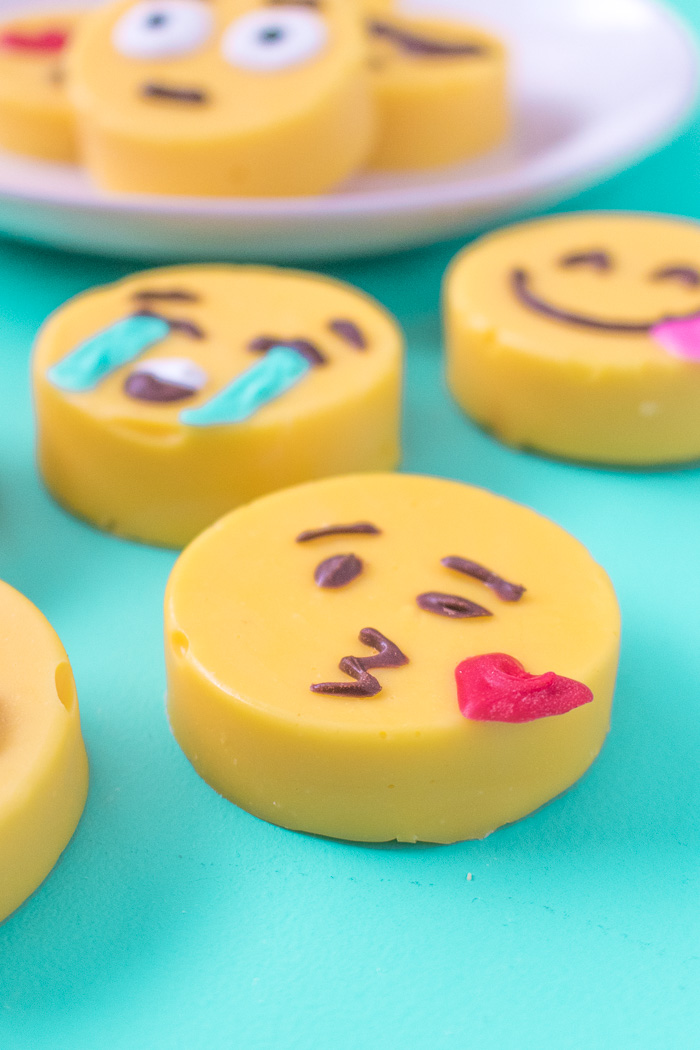
Are emojis still fun? Or are they overused? Now that they’ve been around for a while, I feel like I hear mixed feelings about them, but personally, I still think emojis are a lot of fun! I use them often and without remorse, so I thought I might as well bring back another DIY to showcase my love for them. This time, it’s in the form of EMOJI FUDGE! Not only is this 3-ingredient white chocolate fudge the easiest fudge recipe ever, it’s deliciously smooth and creamy while still being able to hold the round shape for these emoji fudge pieces. I can’t decide which emoji face is my favorite now!
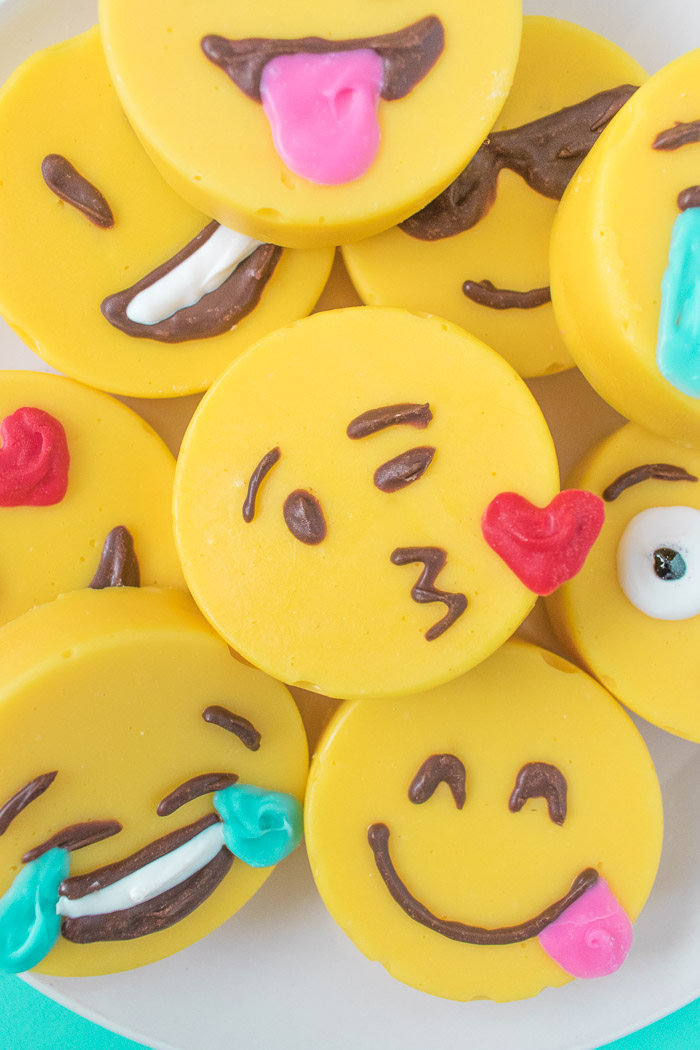
I’m going to let you in on a secret about piping these faces…wax paper and printouts! No, I definitely did not freehand those designs. I traced a printout of my favorite emojis with candy melts. They’re not perfect, but since they’re food, I think that’s OK. Using brown chocolate (or black candy melts) and pink, white, red and blue candy melts, I traced each expression over a piece of wax paper and simply peeled them away to stick onto the fudge when it was ready. It’s actually quite simple! You can use this technique for SO many things whenever you want to trace a specific design for your treats.
Scroll down for the full recipe card and how-to! 👇🏼
This emoji fudge is one of my favorite food posts in a while. I feel like I’ve been in a bit of a rut, so I don’t even know what I’m going to make for you guys next. (I guess we’ll find out next week, ha!) The great thing about fudge – in addition to how delicious it is – is that it’s incredibly easy to make. In order to make my emoji fudge, I used a simple 3-ingredient fudge recipe using condensed milk, white chocolate and vanilla extract. The same recipe works for semi-sweet or milk chocolate as well.
Once you mix together the ingredients, it’s all about the mold. This silicone mold is similar to the one I used. Pour the fudge into the mold and let it set in the fridge. If you only have a mold for 6-8 (like me) then you’re in luck because you can simply allow the extra prepared fudge to cool in the pot and reheat it until melted to finish making the next batch of fudge.
Seriously, this emoji fudge is soooo cute, and it’s the easiest fudge recipe you’ll ever find!


- 14 oz. can sweetened condensed milk
- 2 12 oz. bags white chocolate
- 1 tbsp vanilla extract
- Yellow food coloring
- Candy melts in pink, blue, white, and black
- Wax paper
- Pastry bags/ziplock bags
- Emoji printouts
- In a small pot over med-low heat, heat the condensed milk until hot
- Add the white chocolate chips in batches, whisking until melted into the condensed milk
- Stir in the vanilla and yellow food coloring until color is vibrant
- Distribute the mixture into 2-inch silicone round cavities until about 1 inch thick
- If needed, work in batches and reheat the fudge on the stovetop to pour into the cavities
- Tap the mold on the counter to distribute and remove bubbles. Move the rounds to the fridge for at least 1 hour to set before removing from the mold and repeating
- Print out your desired emojis, adjusting the size so each is 2 inches (the size of the mold)
- Tape down the printout, then tape see-through wax paper on top
- Heat the candy melts in separate bowls and move to pastry bags or ziplock bags with the tips cut off
- Trace the facial features of the emojis with colored candy melts
- Once set, carefully peel away the emoji features and place on the set fudge to complete the emoji faces
- Store in a covered container in the fridge for up to 5 days

Joanna @DIY Project
Adorable idea. Love this emoji fudge. Thanks for sharing this cute DIY tutorial.