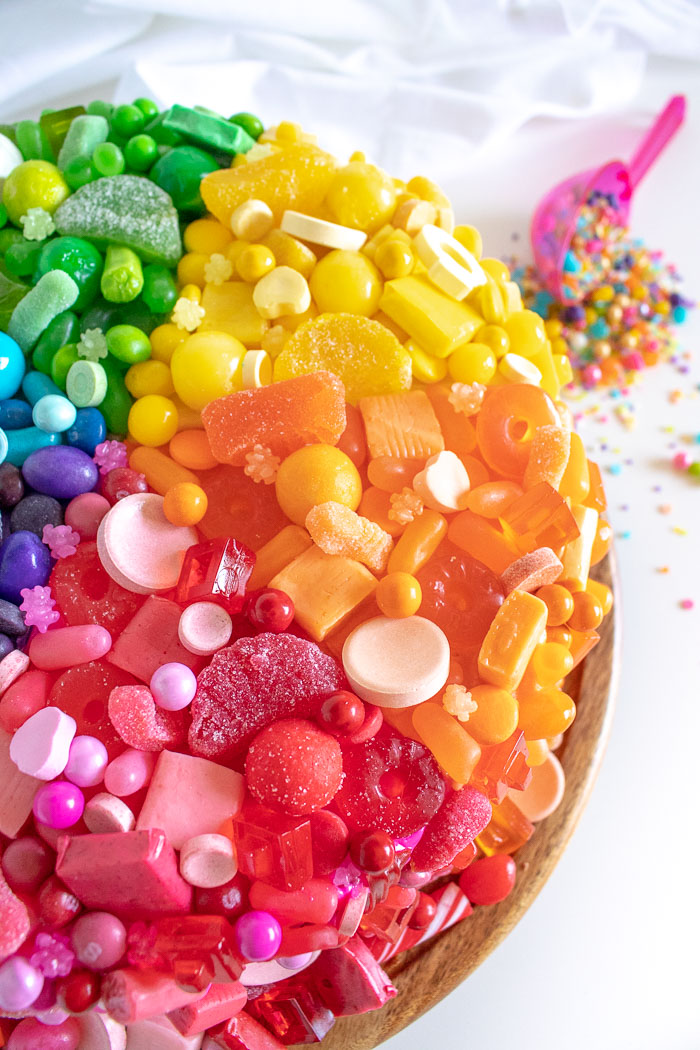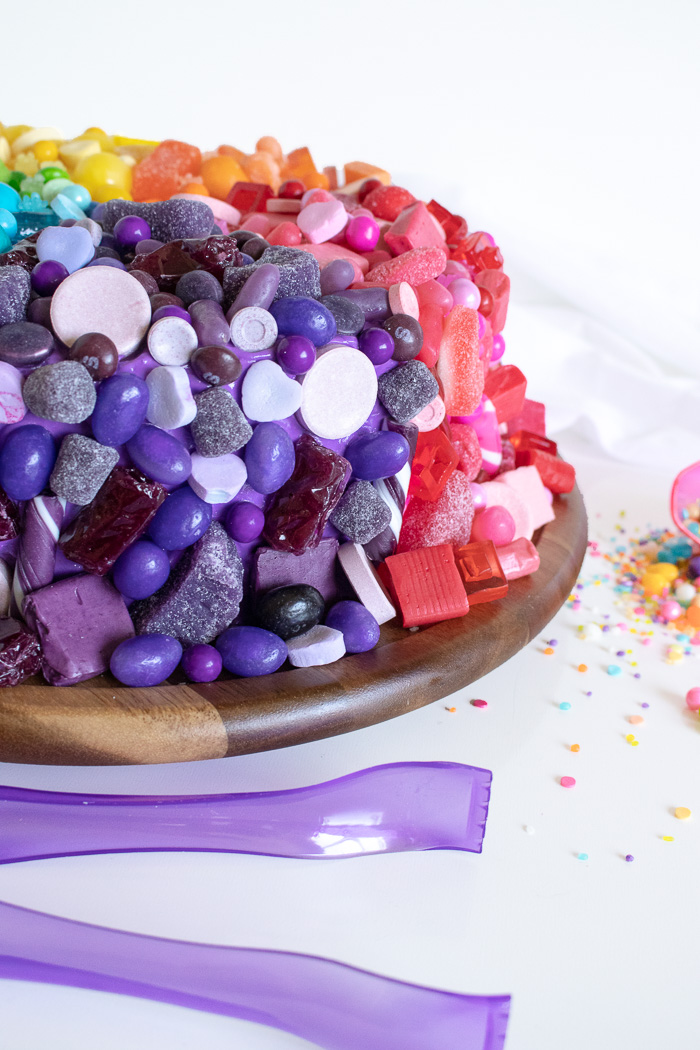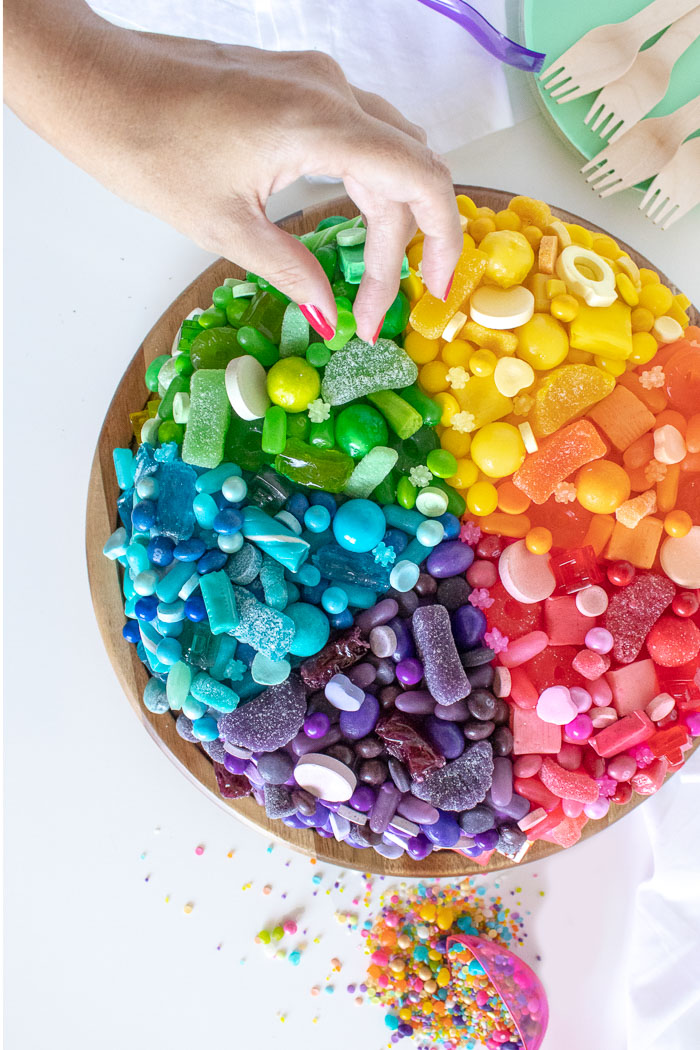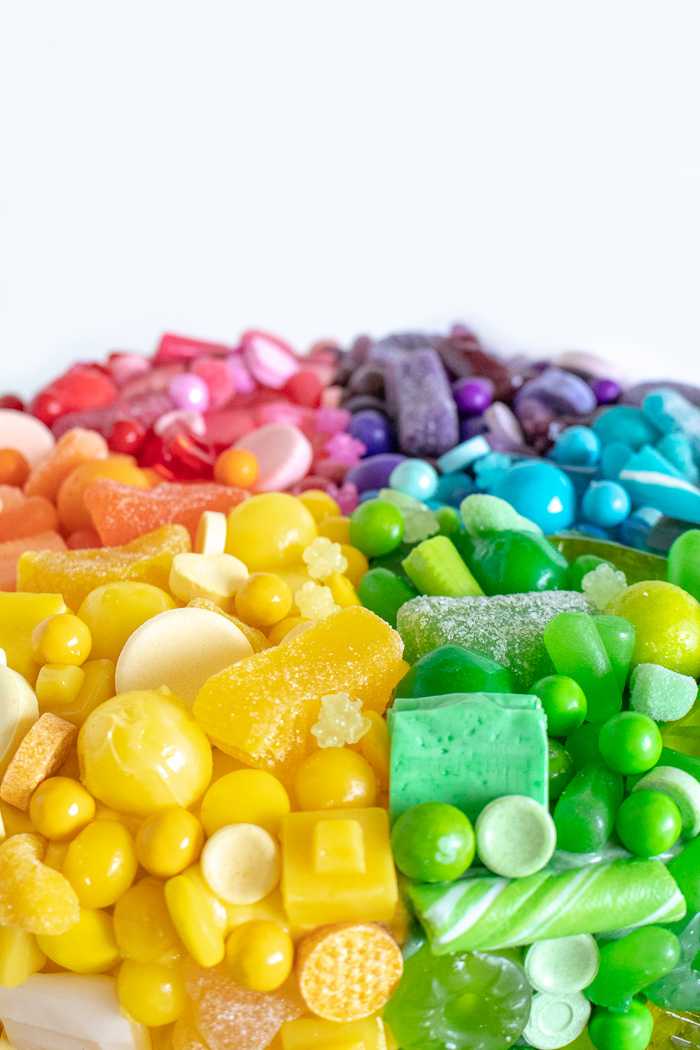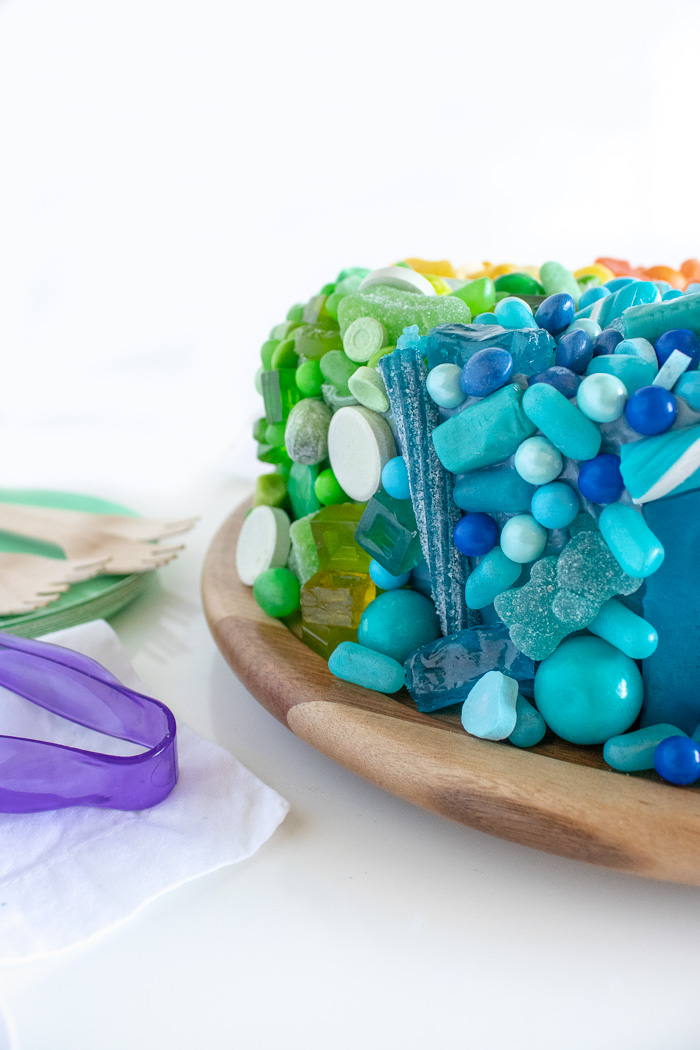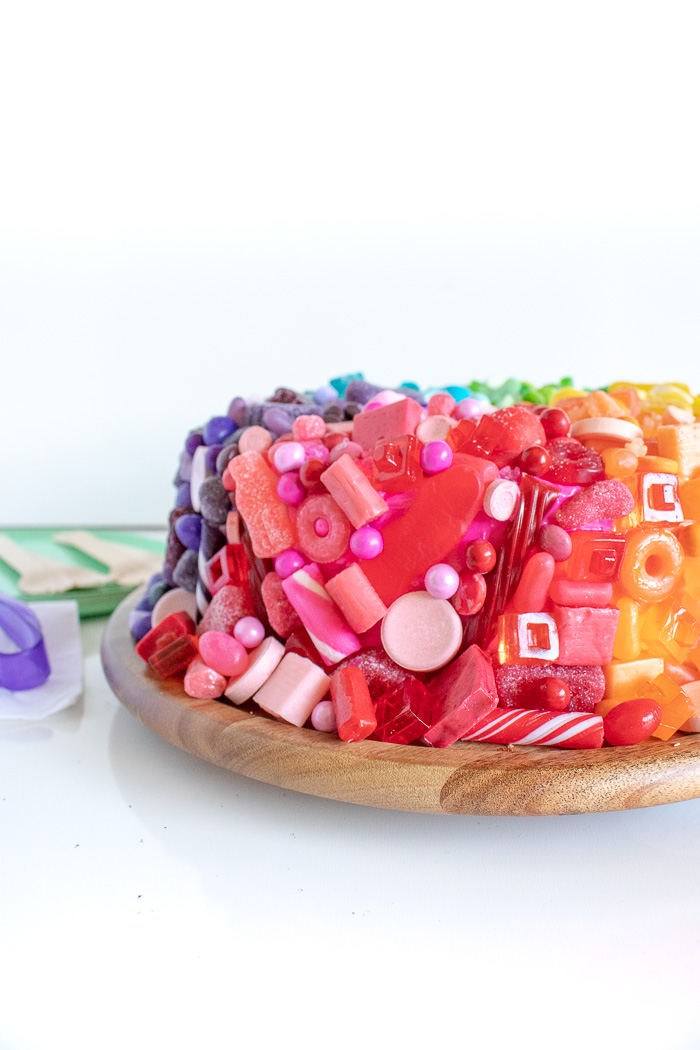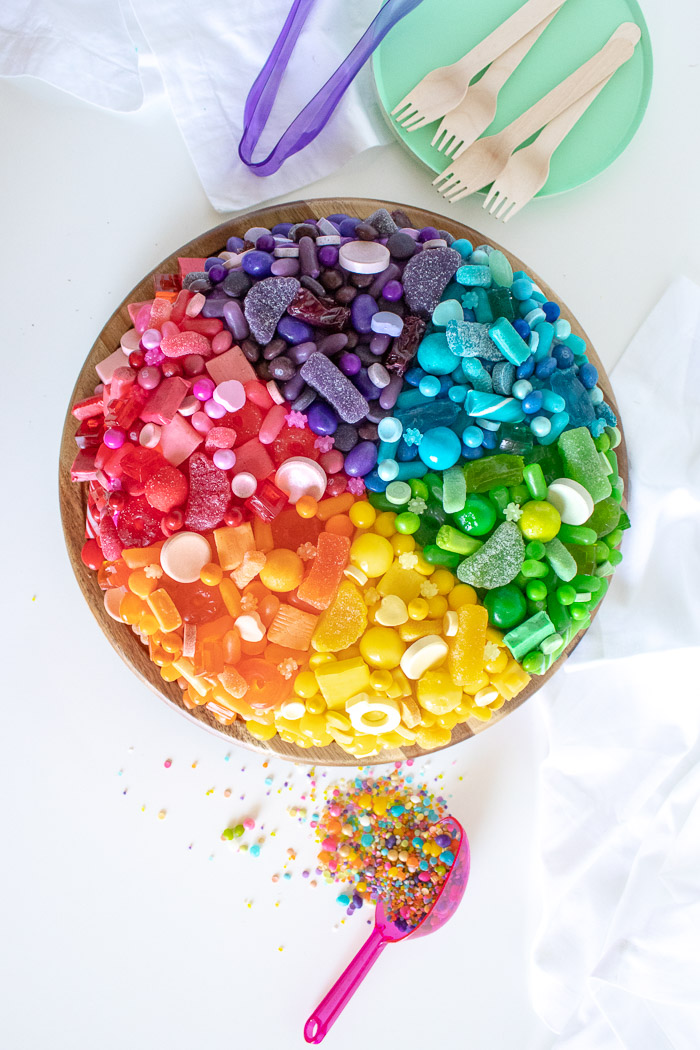
Let’s take a quick break from Halloween today to focus on candy! I’ve had this idea for at least a year about making a color wheel cake, but I felt like it was missing something, so I finally decided to make it a CANDY color wheel cake with sections of colorful candy piled all around the cake! Now, it’s one of my new favorites (do I say that every time?) and I don’t have the heart to throw away the leftovers sitting in my fridge. I’m not going to lie, this cake was WORK, but it was worth every second of sorting candy and carefully arranging them onto the cake. This is so much fun for a party, and it’s made even better when you serve it on a lazy Susan that allows you to spin the color wheel cake!
I didn’t make a recipe for you this time because this cake is really all about the OUTSIDE. I think this is the one occasion where I can safely say, “it’s what’s on the outside that counts” because this color wheel cake is all about the candy. I’m still constantly popping into the fridge to grab a piece of candy from a different section of the cake. The first things to go were the Smarties…followed by the Skittles and Sweet Tarts. The gummies didn’t last as well in the fridge, but that didn’t stop me from eating all of the fruit slice gummies off the cake, ha!
Scroll down for the full cake decorating tutorial! 👇🏼
How to Make a Candy Color Wheel Cake
Supplies:
- Two cake layers (any flavor!)
- Large batch of buttercream
- Food coloring, rainbow colors
- Floss or string
- Angled spatula
- Candy in rainbow colors (see below)
To find candy for this project, I recommend picking up colorful varieties of candy at the Dollar Store and then choosing color-specific candies at Party City! The more candy you can have overflowing the cake, the better. Blue and purple were the hardest colors for me to find, but some brands of candy have all the colors of the rainbow, so focus on these and choose some larger sized candies (even Airheads or Sour Punch Straws) to fill in the space.
Colorful Candy:
- Skittles
- Smarties
- Fruit slice gummies
- Sweet Tarts
- Gumballs
- Jelly Beans
- Now and Laters
- Starburst
- Conversation hearts
- Lemonheads
- Mike and Ikes
- Gummy Worms
- Sixlets
- Sprees
- Jolly Ranchers
- Gobstoppers
- Frootsies
Step 1: Layer the cake with buttercream and frost the cake with an uncolored crumb coat of vanilla icing. Refrigerate 30 minutes.
Step 2: Remove the cake once the icing layer feels solid. Use a piece of string or dental floss to mark the cake into 6 equal sized pieces like a color wheel.
Step 3: In separate bowls, mix each color of icing until color is bright. Move to pastry bags or small ziplock bags.
Step 4: Pipe the icing into each section around the cake (ROYGBP) and down the sides of the cake within the marked sections. One at a time, smooth with a spatula and refrigerate.
Step 5: Remove candies from wrappers and separate by color.
Step 6: Layer candies all over the cake in their corresponding color. Try to completely cover the buttercream if you have enough candy, and keep larger pieces on top of the cake or at the base so that gravity doesn’t ruin your cake.
Serve fresh for best results, and store leftover cake in the fridge. Let everyone pick off candy before eating the cake, or cut into slices completely covered in colorful candy. It’s all part of the fun of it!

