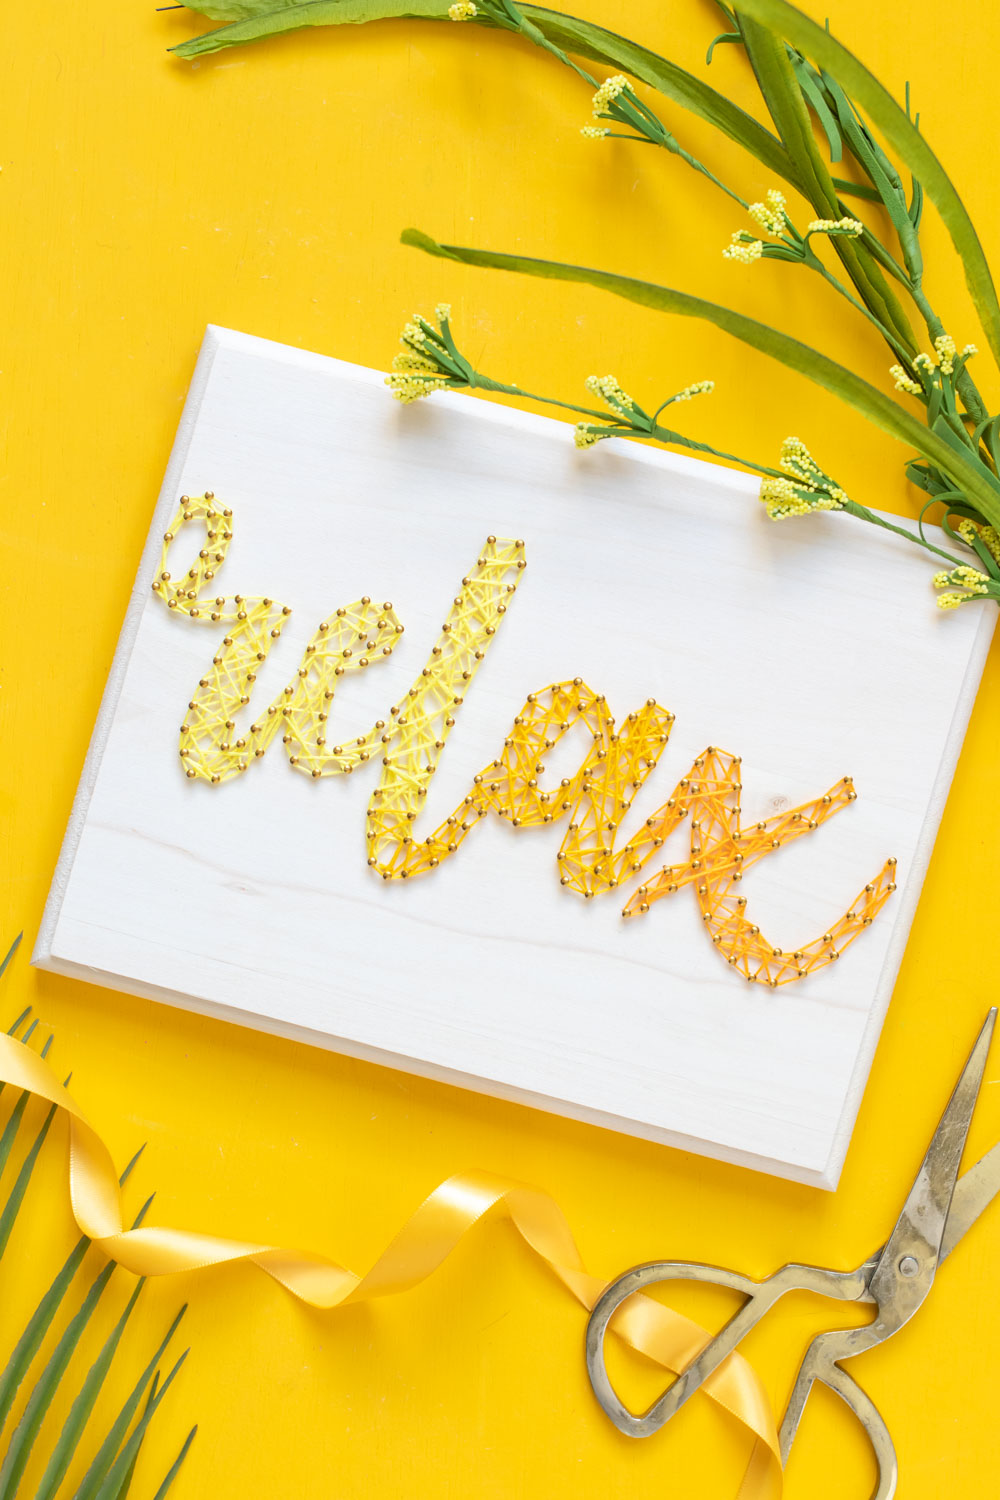
After seeing string art ideas all over Pinterest for years, I decided it was time to finally share my own version! This easy graphic string art how-to has an ombre effect with different shades of embroidery thread. Plus, it took me less than an hour to make! String art doesn’t have to be difficult, and I’m sharing my graphic string art template below for making this “relax” design. If you want something different, I also have a quick tutorial for making your own string art template! If you have the right programs, it’s actually quite simple.
*This post was originally published on March 31, 2020
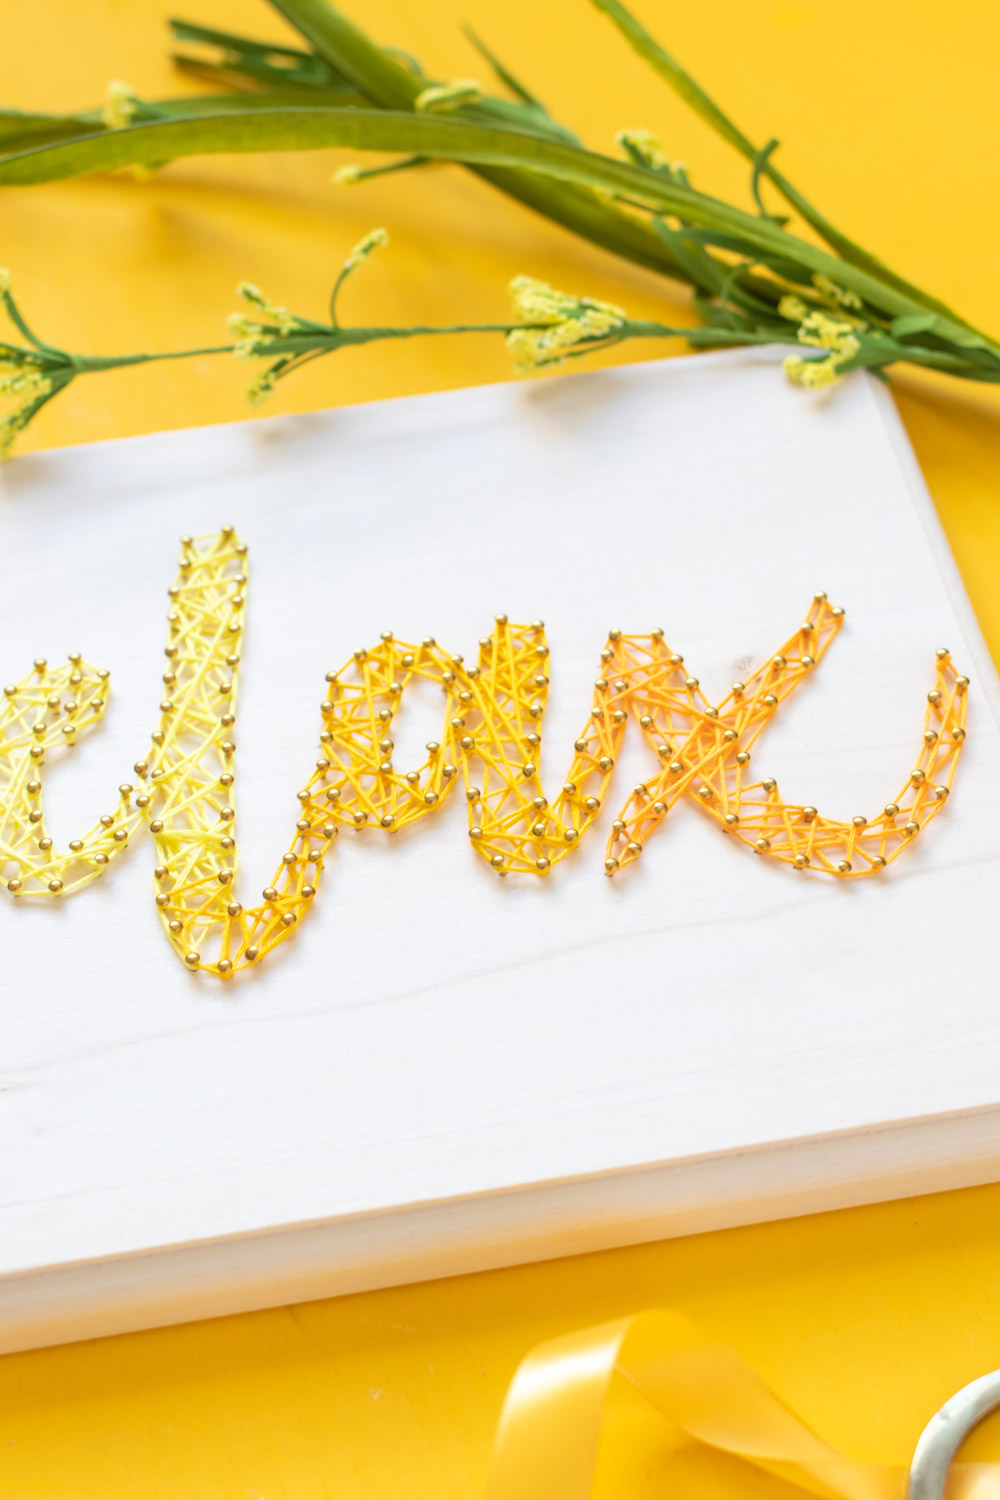
Psst, you might recognize these supplies from my craft box gifts last week? Here’s one example of how to use the supplies to make graphic string art you can hang in your home and DIY wall art! Since our walls are still quite bare, I’m looking forward to finding a place for this.
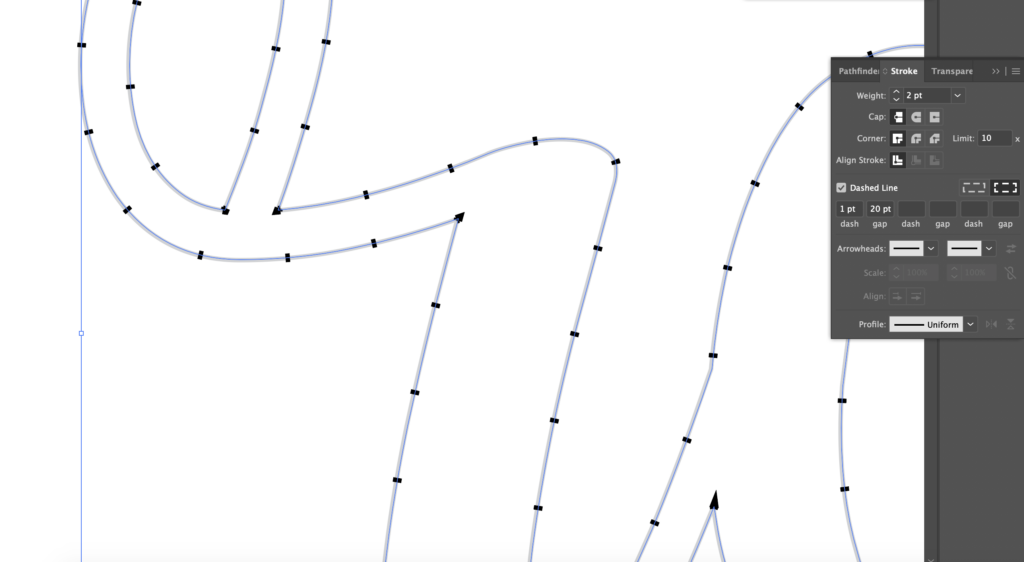
How to Make a String Art Template
You can download my “relax” string art template here. This is formatted to 8 x 10 in. If you want to make your own graphic string art template, I recommend using Adobe Illustrator. Type out your word/phrase in your desired font. Adjust to the size of your wood surface. Then right click and choose “create outlines.” Now you can adjust the stroke of the design by opening the “Stroke” window. Then click the hamburger menu (see above) and click “Show Options.” Select “Dashed Line” box and adjust the gaps so that they are further apart. This will work with any design you want to make custom graphic string art.
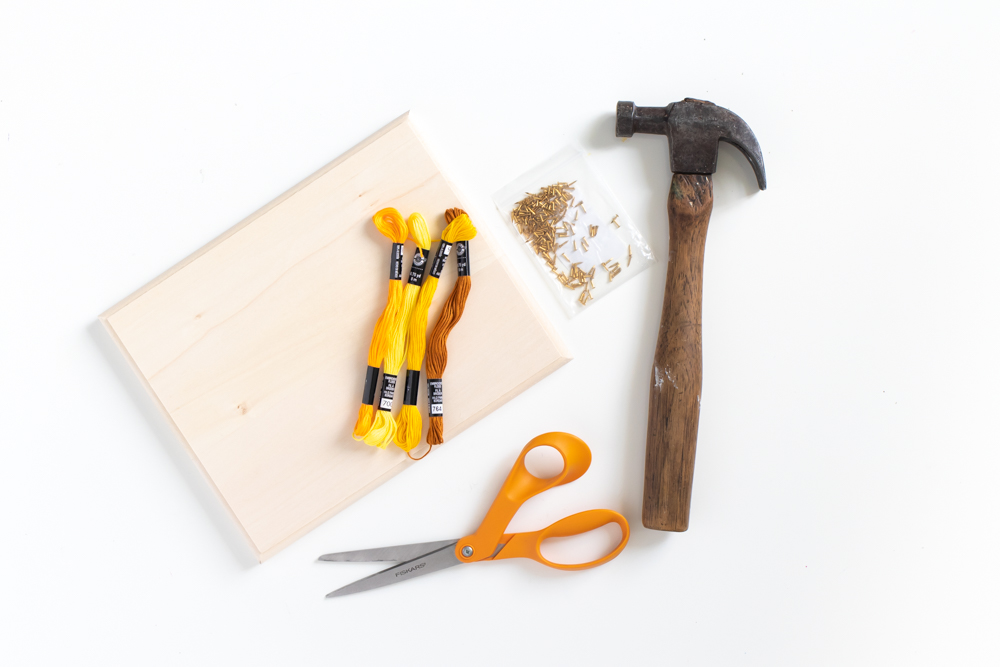
Easy String Art Tutorial
Supplies:
- String art template, printed on classic paper (see above)
- Wood slab (mine is 8 x 10 in)
- Mini nails, gold
- Hammer
- Embroidery thread, ombre colors
- Scissors
Step 1: Place the printed template on top of your wooden slab. Make sure it is printed to the proper size. Hold in place or use tape to prevent slipping.
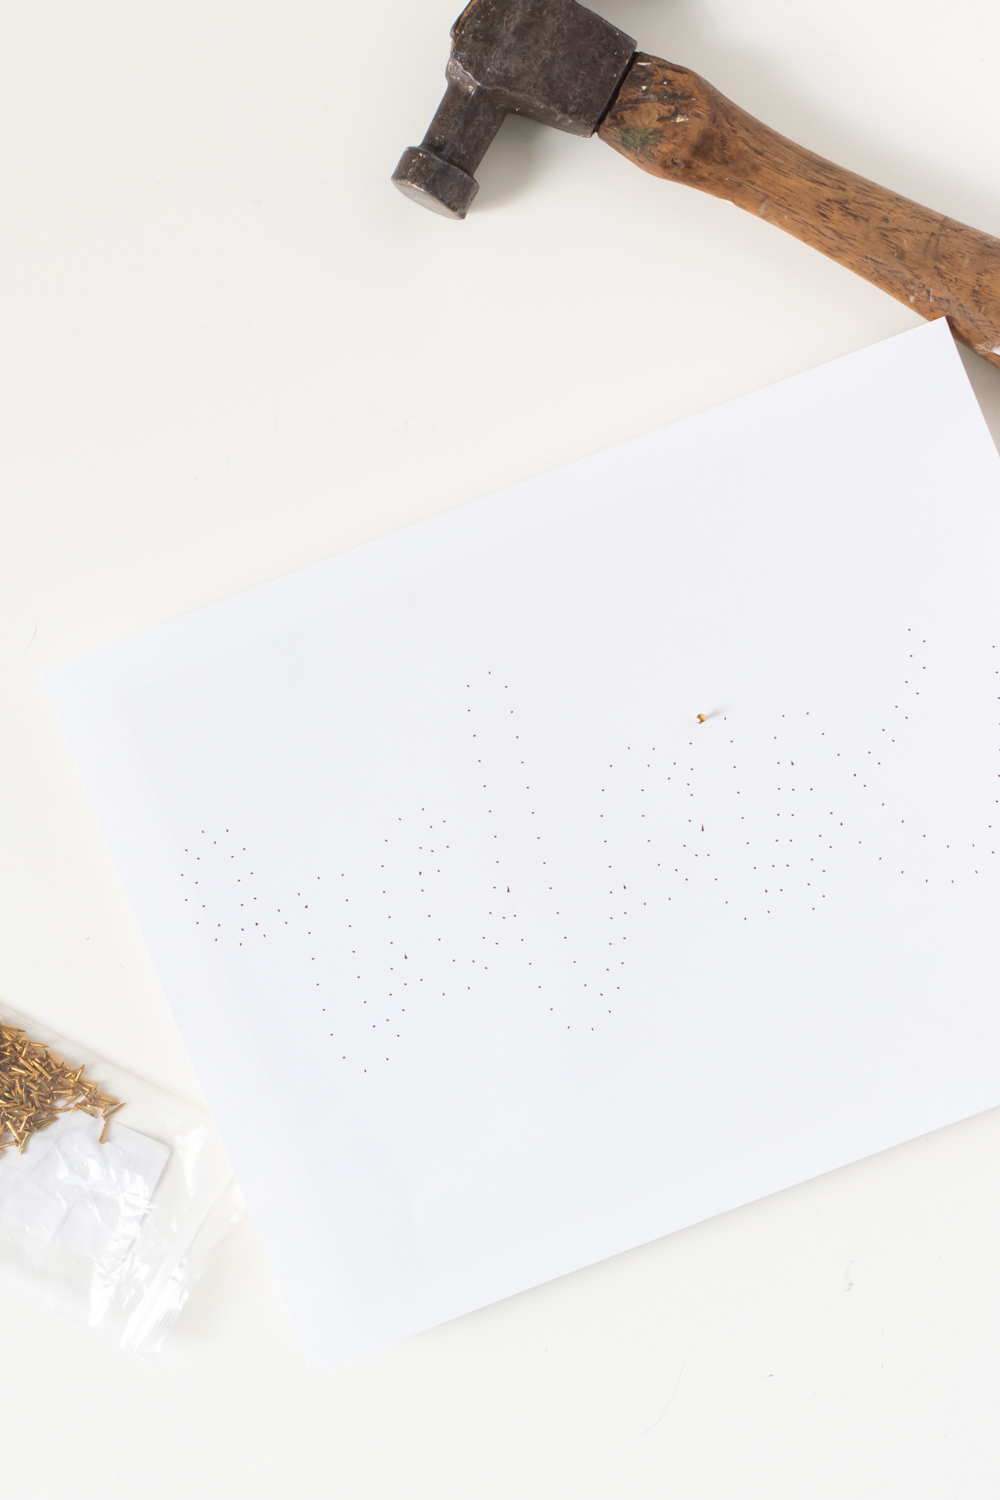
Step 2: Hammer a nail at each dot on the template. Each nail should only hammer into the wood about halfway. They should be secure but allow enough space for wrapping the thread to make the graphic string art. Don’t worry if they aren’t completely straight.
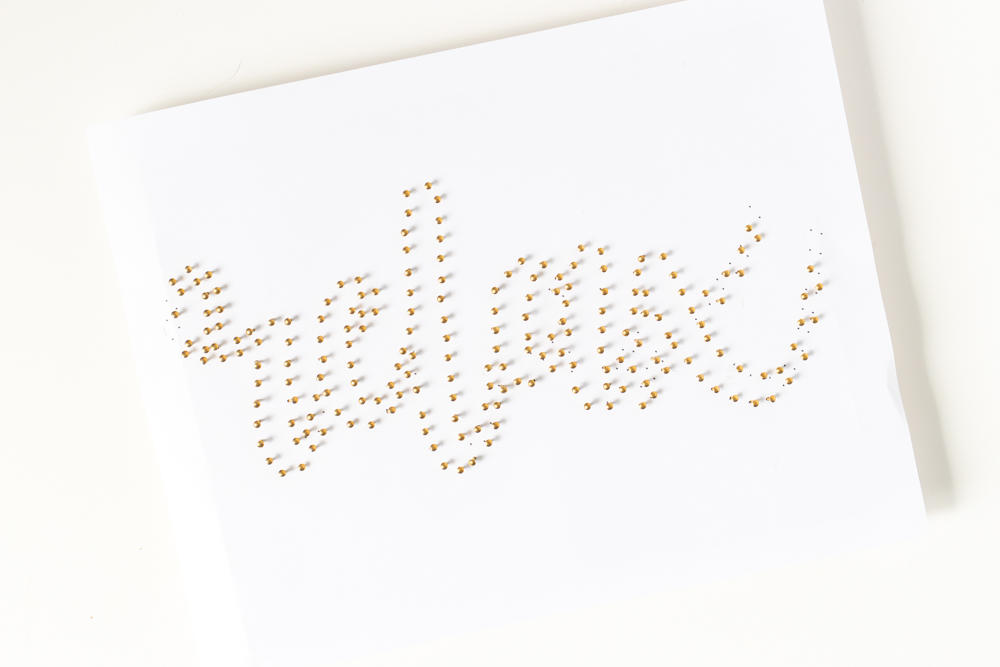
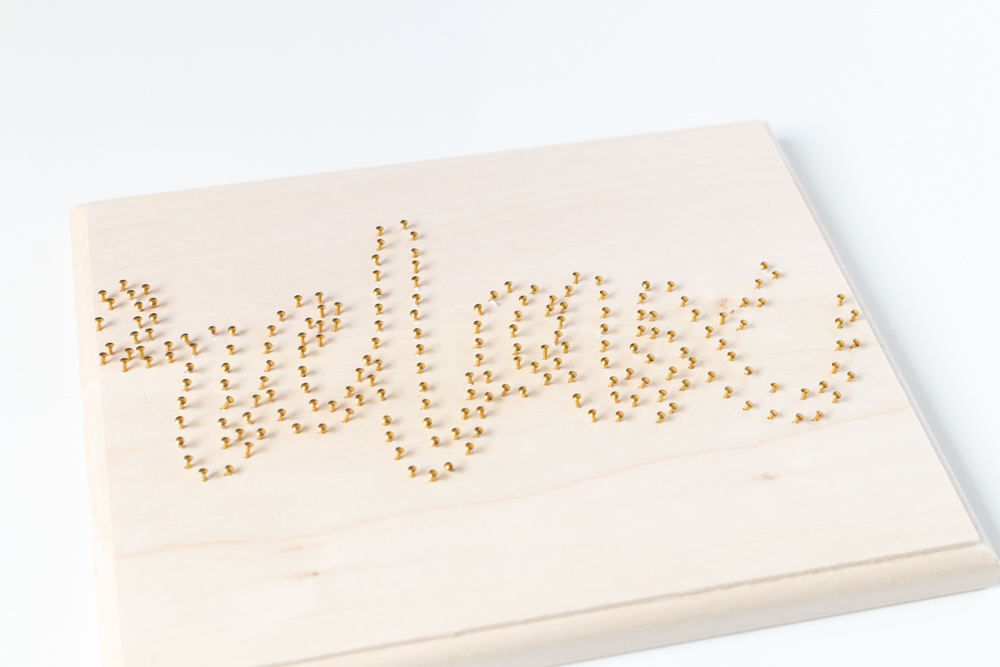
Step 3: Then hammer all the nails needed and carefully tear away the paper string art template. It’s important to be gentle so as not to rip out any nails.
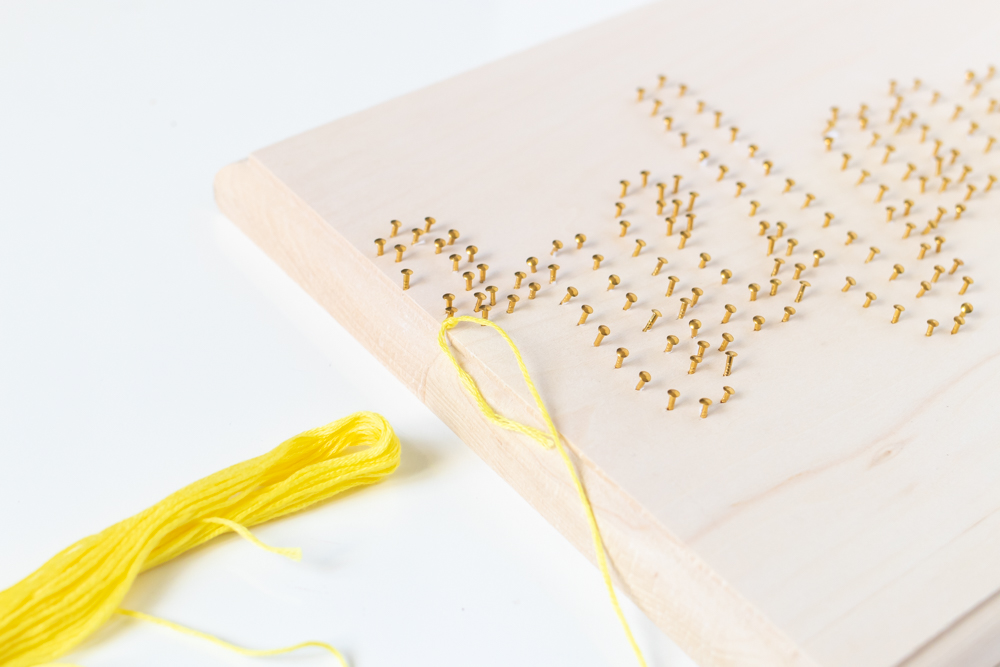
Step 4: Starting on one end of the text design, knot the end of embroidery thread several times around a nail. Trim the tail.
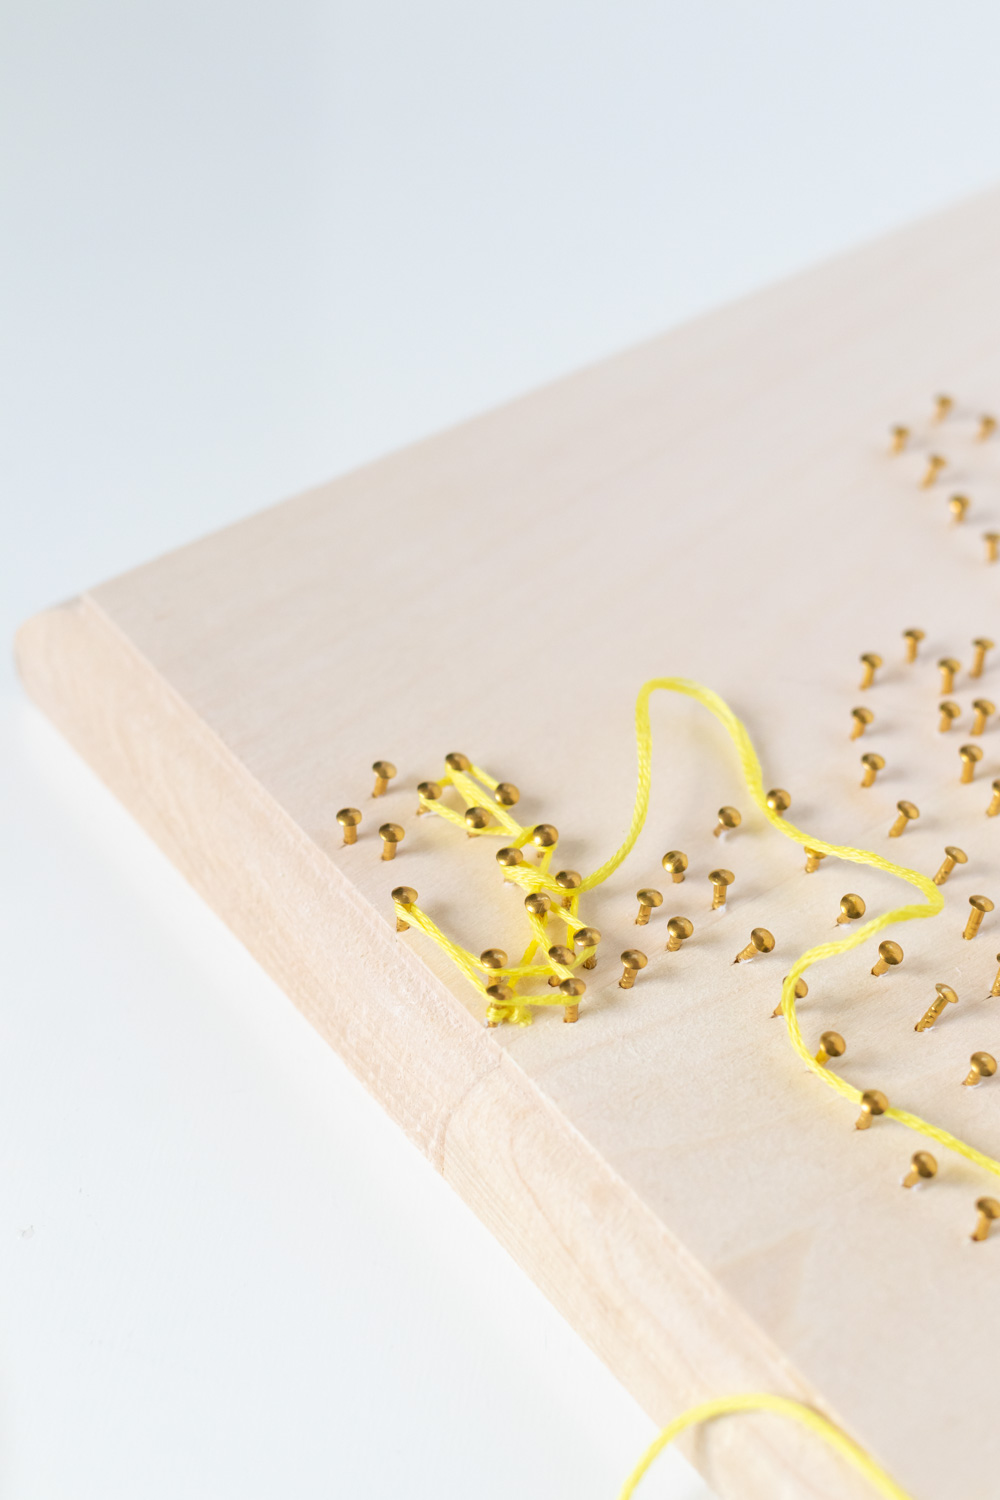
Step 5: Then begin wrapping the embroidery thread from one nail to the next, creating a web. Make sure to leave openings in the letters where appropriate. When about 1/4 or 1/3 of the way across the word, add the second color by knotting the thread to a nail. Overlap the two colors before tying off the first one. Continue until you’re satisfied with the appearance of the graphic string art.
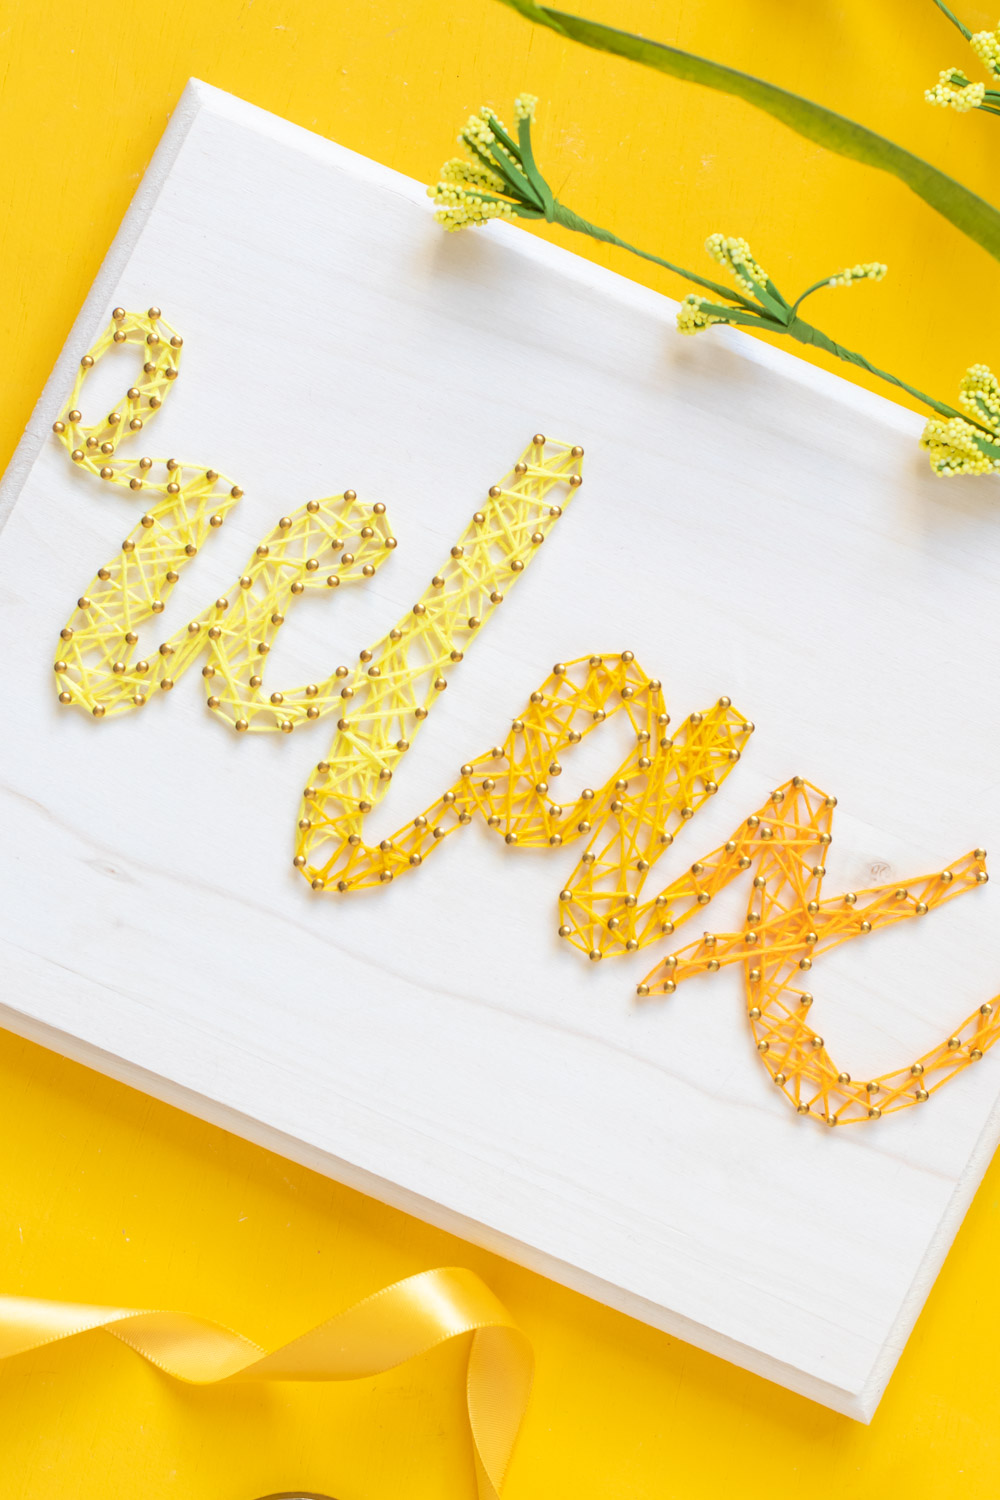
Now it’s ready to hang! I think this will make perfect wall art for the bathroom! What would your graphic string art say??
Please note this post contains affiliate link from which I may collect a small profit should you choose to make a purchase. I only link to products I personally use or recommend.

Ariana
How do you know which mail to start with or go next to?
Holly Wade
ArianaHi Ariana! It’s up to you! You go back and forth multiple times to fill in the letters made with nails, so the pattern is entirely random.
Chalia
How exactly are we supposed to loop the string around the nails? Looks really cool to do for my school project!
Holly Wade
ChaliaHi Chalia! You wrap the string tightly around the nail head to hold in place while you zigzag across the design. Hope that helps!
Anisha
Love the relax DIY string wall art! It is super duper cute. I would love to use it for my bathroom when I move to my apartment next. I want to make more similar ones using the words breathe and dream, but I do not have Adobe Illustrator. What font did you use for relax so I make the same ones using word maybe if possible? Or would you be able make templates for breathe and dream?