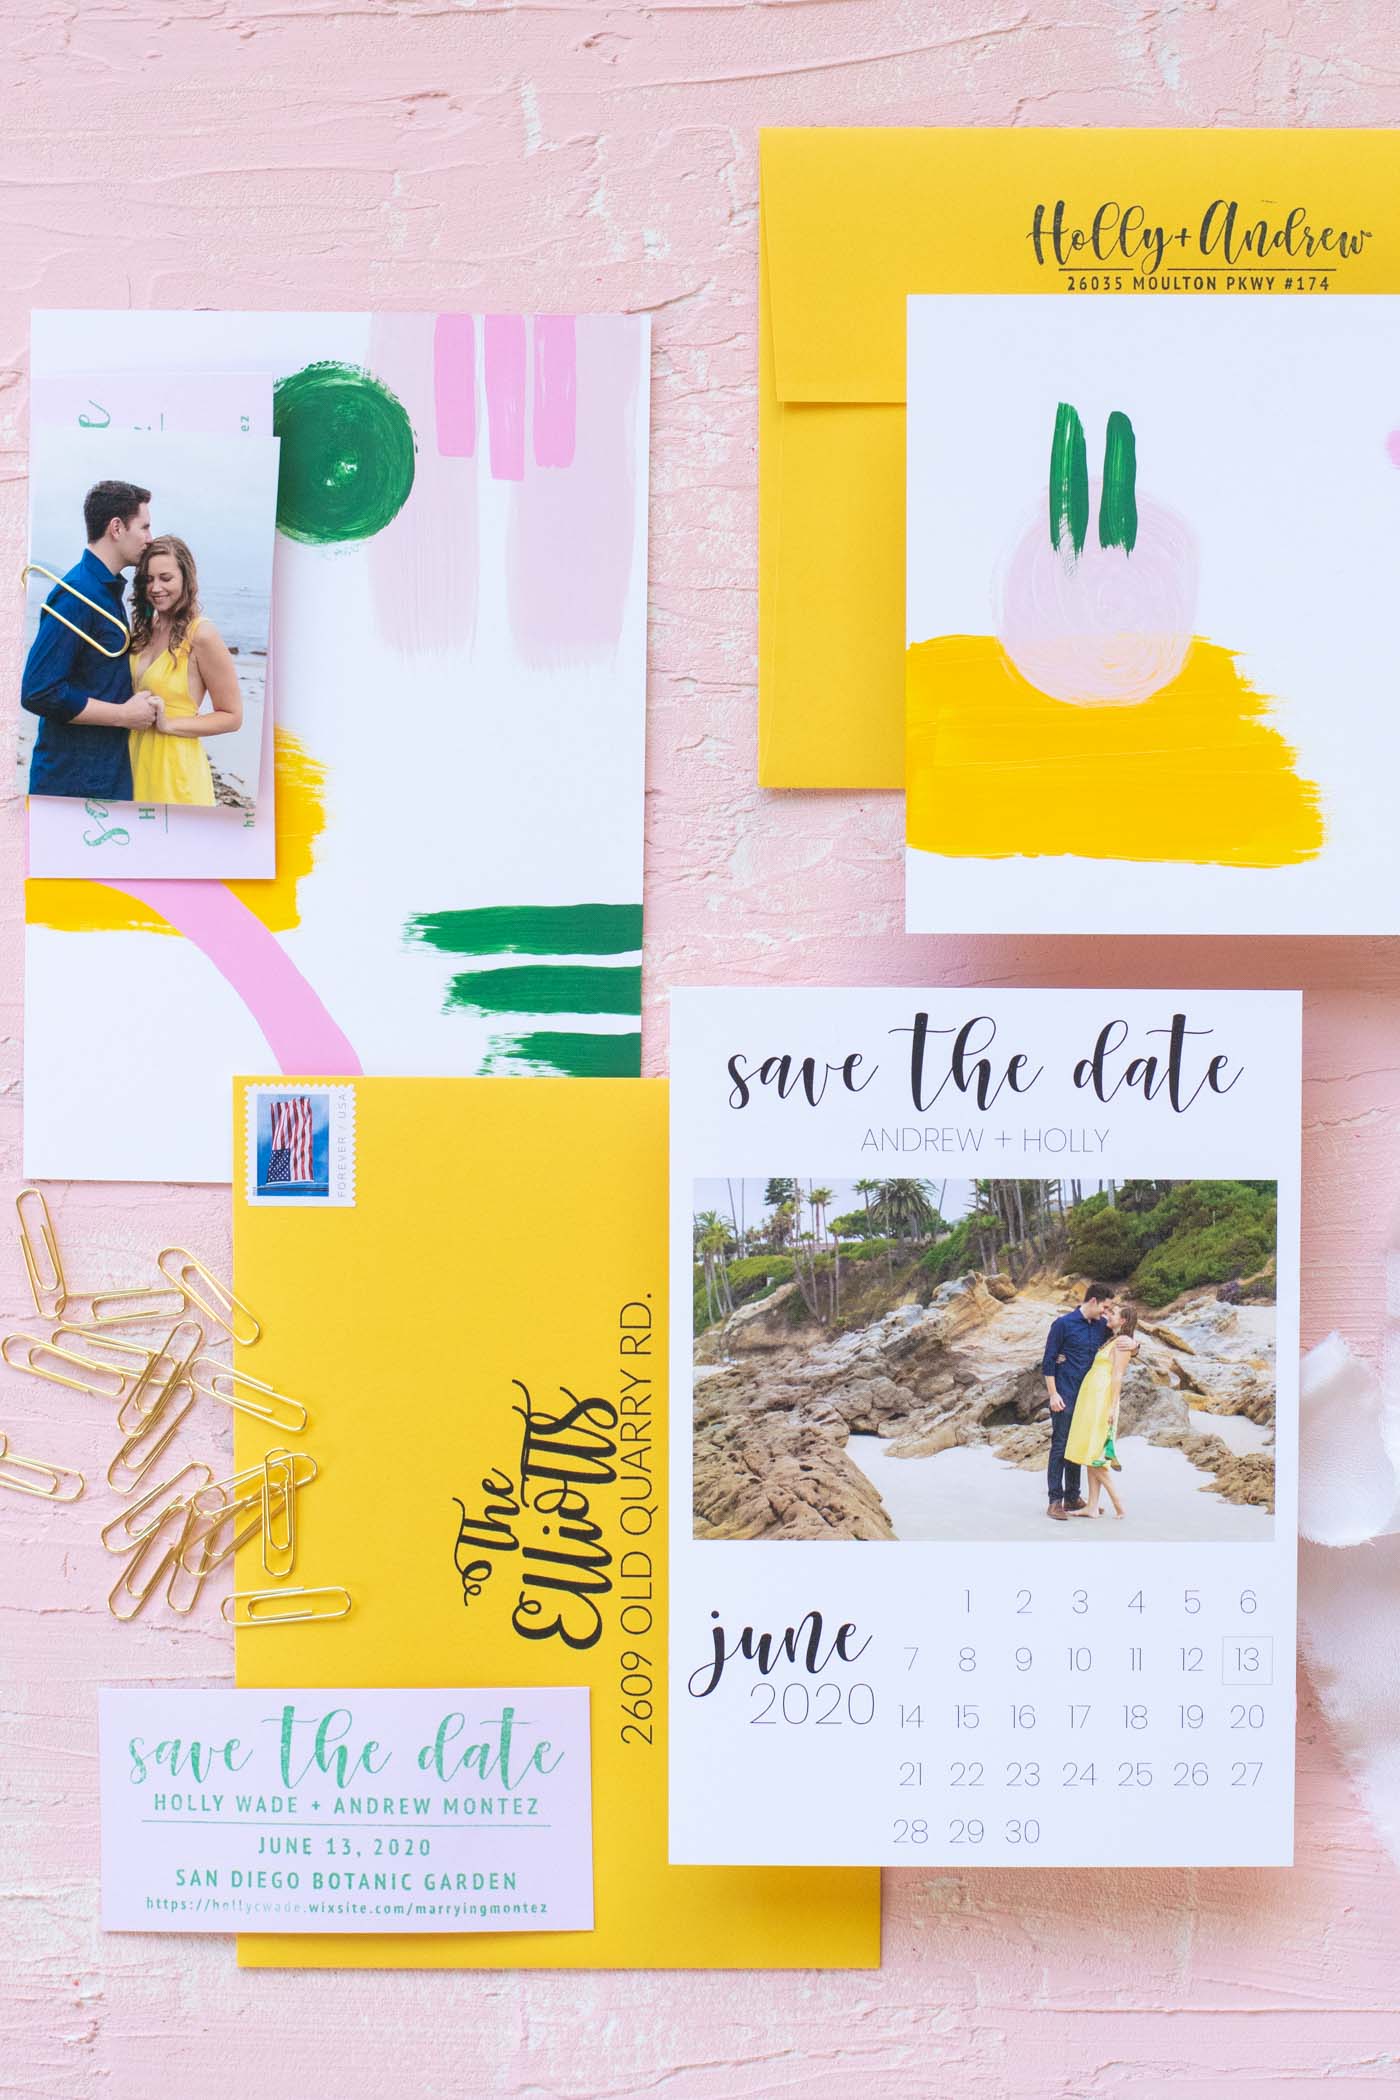
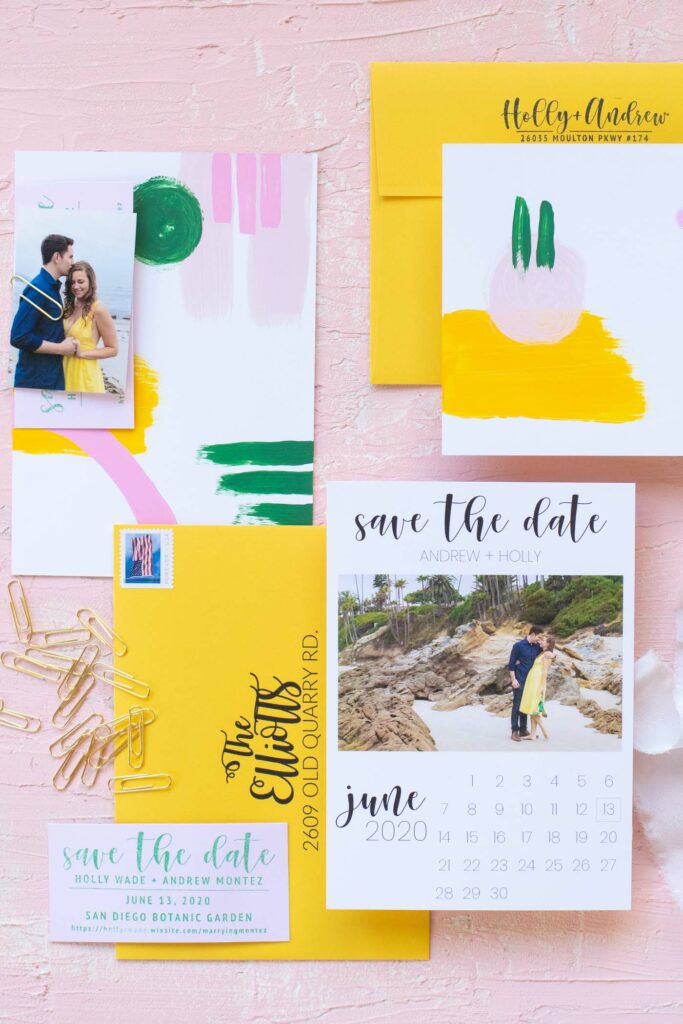
Making wedding decisions has been HARD. Going into planning, I was worried about my ability to make decisions. Ultimately, the decision-making has been the hardest part for me to overcome, but I did finally decide to make my own hand-painted save the dates with multiple elements, colorful paints and custom stamps. I’m learning that when you (hopefully) only have one wedding, it’s hard to narrow down decisions and pick a favorite. When you love multiple styles, you just can’t decide! I knew I wanted to DIY – I mean, hello, have you met me?! – but that made my decision that much harder….This is a personal post rather than a tutorial, but keep reading for more photos of these DIY save the dates!
I’m sure every bride goes through this. There are A LOT of decisions to make. Now that I’ve purchased my dress, chosen our color palette and flowers and sent out the save the dates, I feel like my “style” is set and cannot be changed. So bring on the anxiety! I want everything to come together cohesively, so now I’m going to struggle with trying to make sure everything “goes” together. Someone please reassure me I’m not crazy for caring so much, ha!
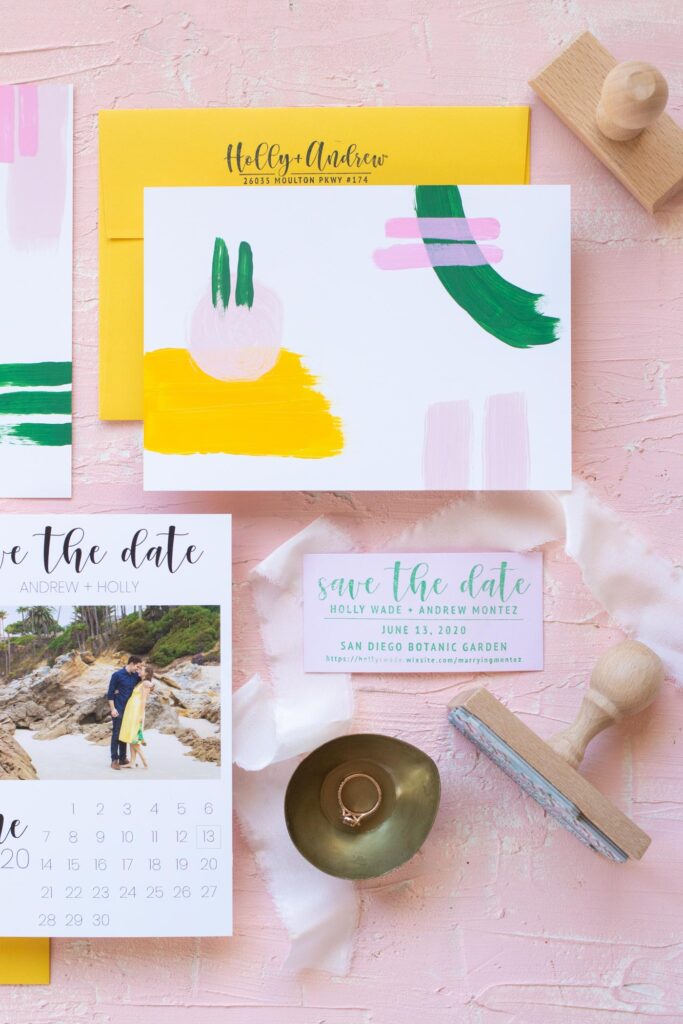
In the end, I’m satisfied with these hand-painted save the dates with shades of pink, green and a bright yellow. These are the colors I envisioned being the stars of our wedding. I knew I wanted some kind of brushstroke or watercolor element to our wedding decor, so I think adding hand-painted designs to the back of the save the dates was the right move for me (and Andrew, I hope) to bring out our personal style.
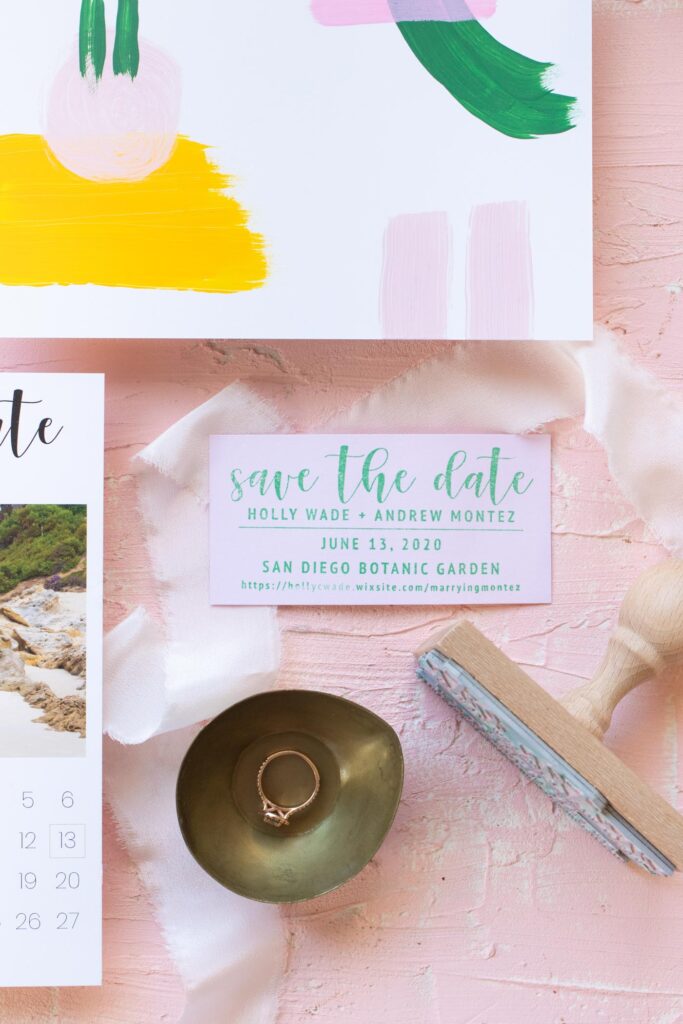
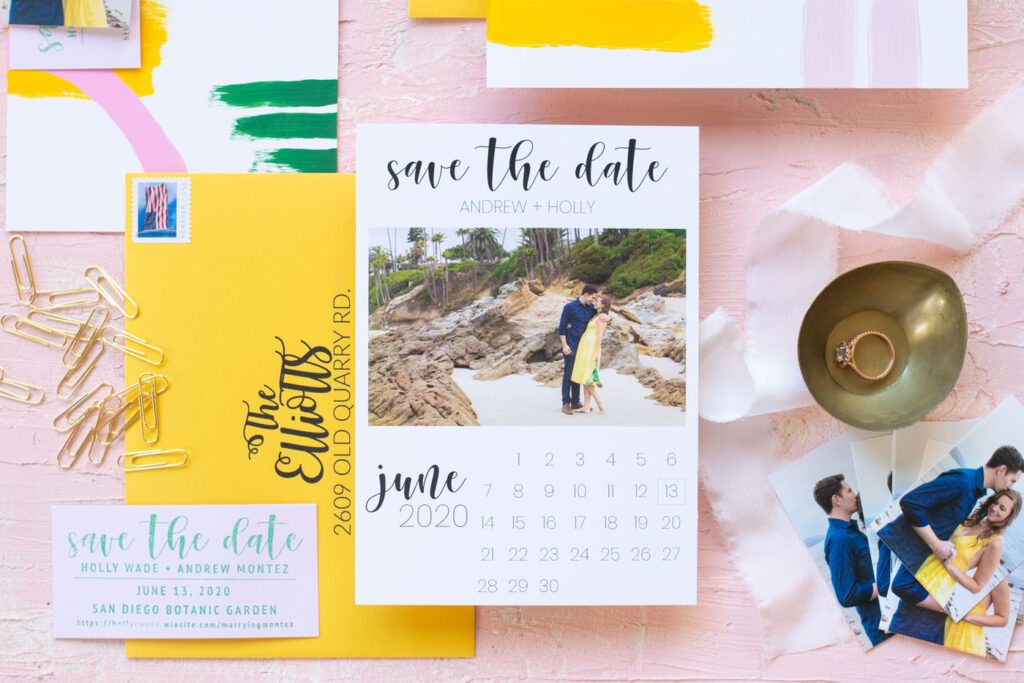
The Elements of Our Hand-Painted Save the Dates
- Calendar-Style Cards: Although I admired a lot of different save the date styles, I kept coming back to sweet, simple calendar cards. Because I’m neurotic and particular, I designed it myself using photos from our engagement shoot with Andrew’s sister.
- Hand-Painted Backs: To incorporate color (DUH!) and bring in a creative aspect that felt very “me,” I added abstract brushstroke designs to the backs of every card. Every one is unique, and I think that’s another reason I like it!
- Custom-Made Stamps: After designing two custom stamps, I used the Etsy shop Stamp by Me to bring them to life for our hand-painted save the dates. The first was our return address, which I look forward to using for many things! The second included all of our save the date information. At the time I had something completely different in mind for our save the dates…
- Save the Date Magnets: In the end, I used the stamp to make small magnetic cards so our guests could discretely add the info to their fridge without having to save the entire card. Using gold paper clips, I bundled the hand-painted save the dates with the magnet and a small photo.
- Printed Envelopes: Funny enough, I bought the bright yellow envelopes LONG before I decided on our save the date style. I wanted that look of handlettered addresses without the cost or effort, so I designed each individual address and printed them on the front of the envelopes. It took a lot of trial and error. Am I crazy? Yes, yes I am.
I know a lot of people think these things don’t matter. That’s fine. To me, these are fun activities I only get to do once. Even though I stressed over them, my hand-painted save the dates feel special and personal and distinct to who Andrew and I are. Next up, invitations! Wish my luck with that decision making process!
