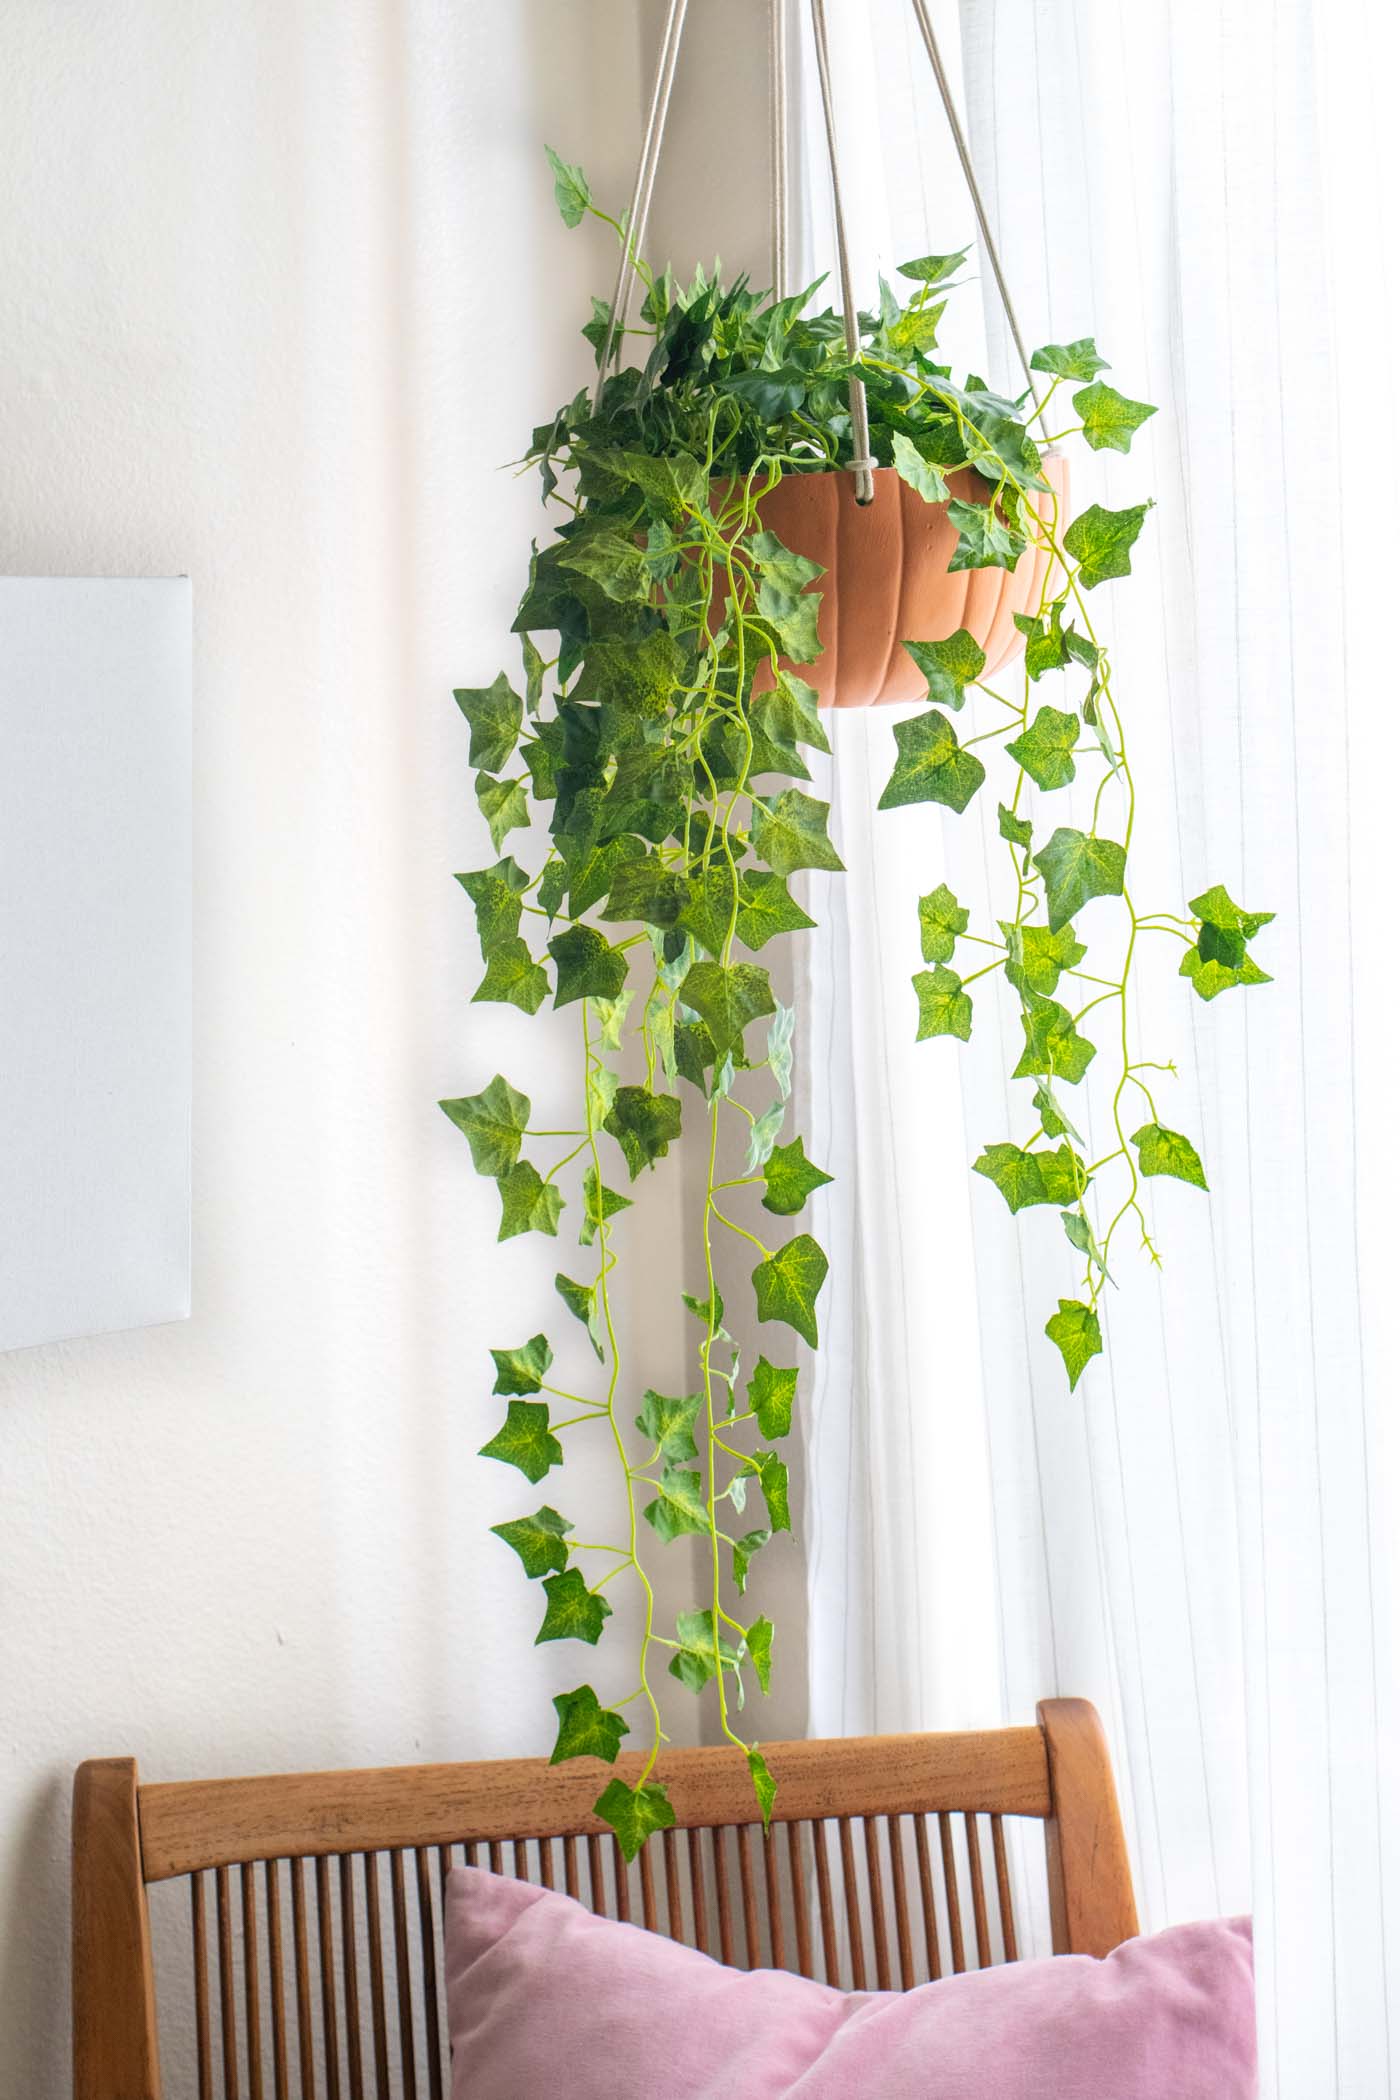
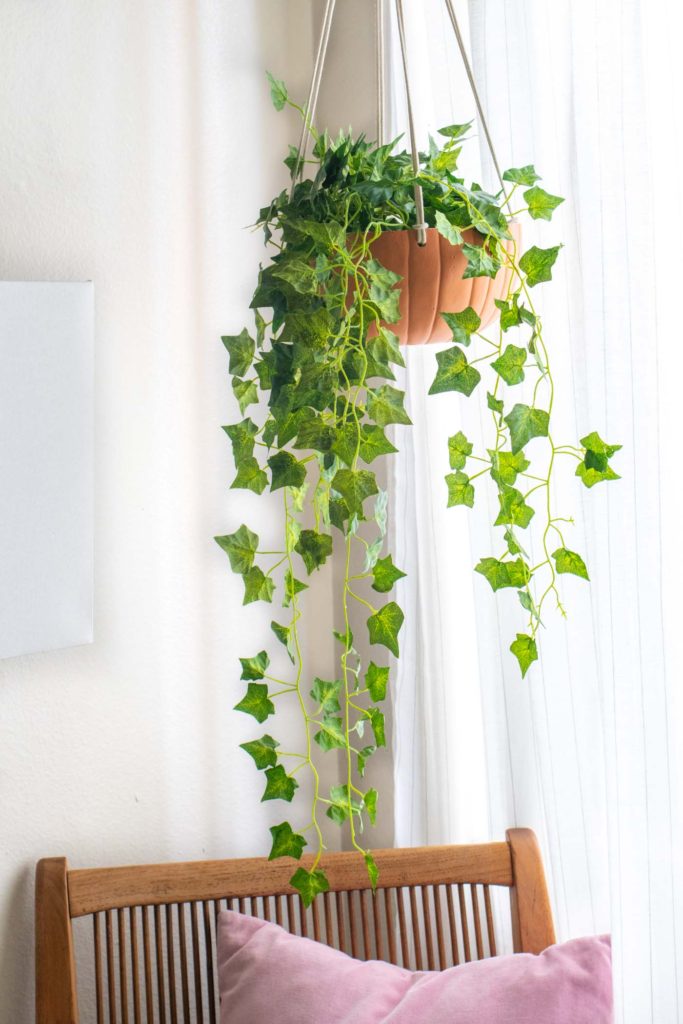
Hey there, pumpkins! I’m really excited about today’s project because I’ve been thinking about it for almost a YEAR! This easy DIY hanging pumpkin planter is carved from a craft pumpkin and filled with a faux plant for a quick fall decor update. At the end of the season, I can simply store it away for next year and move the plant to another space. Psst, I also made a quick video to show you exactly how to make your own hanging planter from a fake pumpkin!
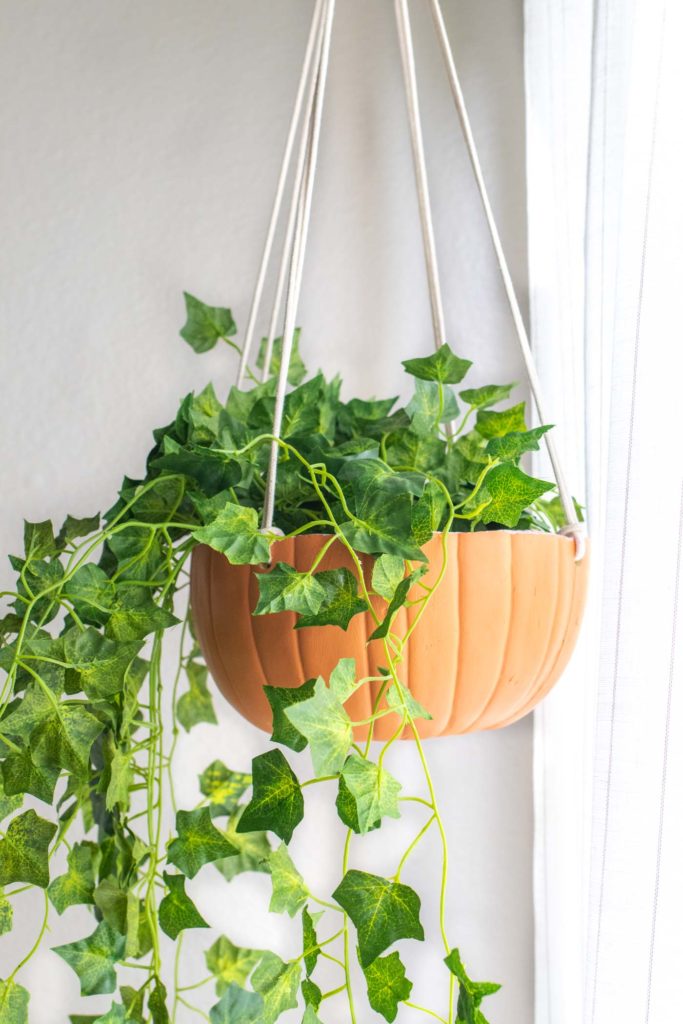
When it comes to decorating for fall, I have a hard time finding the space! That’s when I learned the one place in my home that wasn’t filled with STUFF was the ceiling…so I added this hanging pumpkin planter to a corner of our bedroom to give it a cozy fall look.
This planter is not very difficult to make, but you will need a drill or Dremel in order to create the hanging holes. Get ready to use a little elbow grease and it’ll be ready in no time!
Why to use fake plants in your pumpkin planter:
Note that I do recommend using fake plants in this project because of the weight. Craft pumpkins are not sturdy enough to trust them with the rocks and soil that come with planting a real plant, so to be on the safe side, stick to using faux greenery that is lightweight. You don’t want something to fall and leave you with a mess! Plus, fake plants make storing it for next year a breeze.
Check out the quick hanging pumpkin planter video tutorial or follow the instructions below!
How to Make a Fake Pumpkin into a Hanging Planter
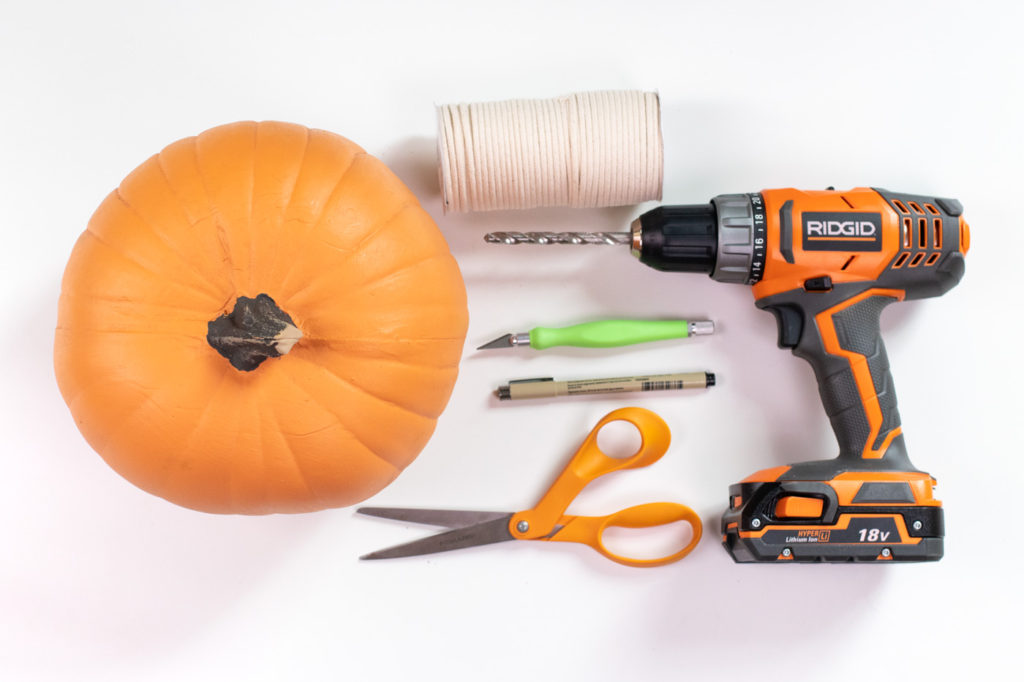
Supplies:
- Fake craft pumpkin (or “funkin”)
- Marker
- Craft knife
- Power drill with large drill bit
- Macrame cord or rope
- Scissors
Step 1: Mark and cut the pumpkin approximately in half. Once cut, it’s easy to clean up jagged edges with the craft knife.
Step 2: Use the marker to mark four evenly spaced points for the holes. Each should be about 1/2-inch from the top edge.
Step 3: Attach a large bit to a power drill (can also use a Dremel). Drill at each mark to make four holes for the planter to hang from.
Step 4: Then cut four pieces of 7-foot-long cord or rope. The length is adjustable based on how low you want your pumpkin planter to hang. Make sure you cut slightly more than double the length you want it to hang from the ceiling.
Step 5: Fold a strand of cord in half. Thread the folded edge through a hole in the pumpkin, then pull the other end through it, creating a knot. Repeat with all four.
Step 6: Pull all strands together so that they are evenly taught. At the end (top), make a loop with all strands. This will be the loop where the hanging pumpkin planter hangs from.
Step 7: Cut a separate piece of string about 12 inches long. Arrange it in a “U” shape on top of the loop, then wrap it around all strands (see video). Thread the end through the exposed loop at the bottom, and pull the top cord so that the knot is hidden and secure.
Step 8: Trim the loose cords from around the wrap knot. Now it’s ready to fill!
Step 9: Fill the pumpkin planter with lightweight faux plants. Then hang the top loop from a metal hook in your ceiling.

See my note above about WHY I recommend using faux plants in your new pumpkin planter!
Now I want to make one in every size! Customize your hanging pumpkin planter by painting it or adding other decorations, like temporary tattoos or glitter. NOW it feel like fall!
