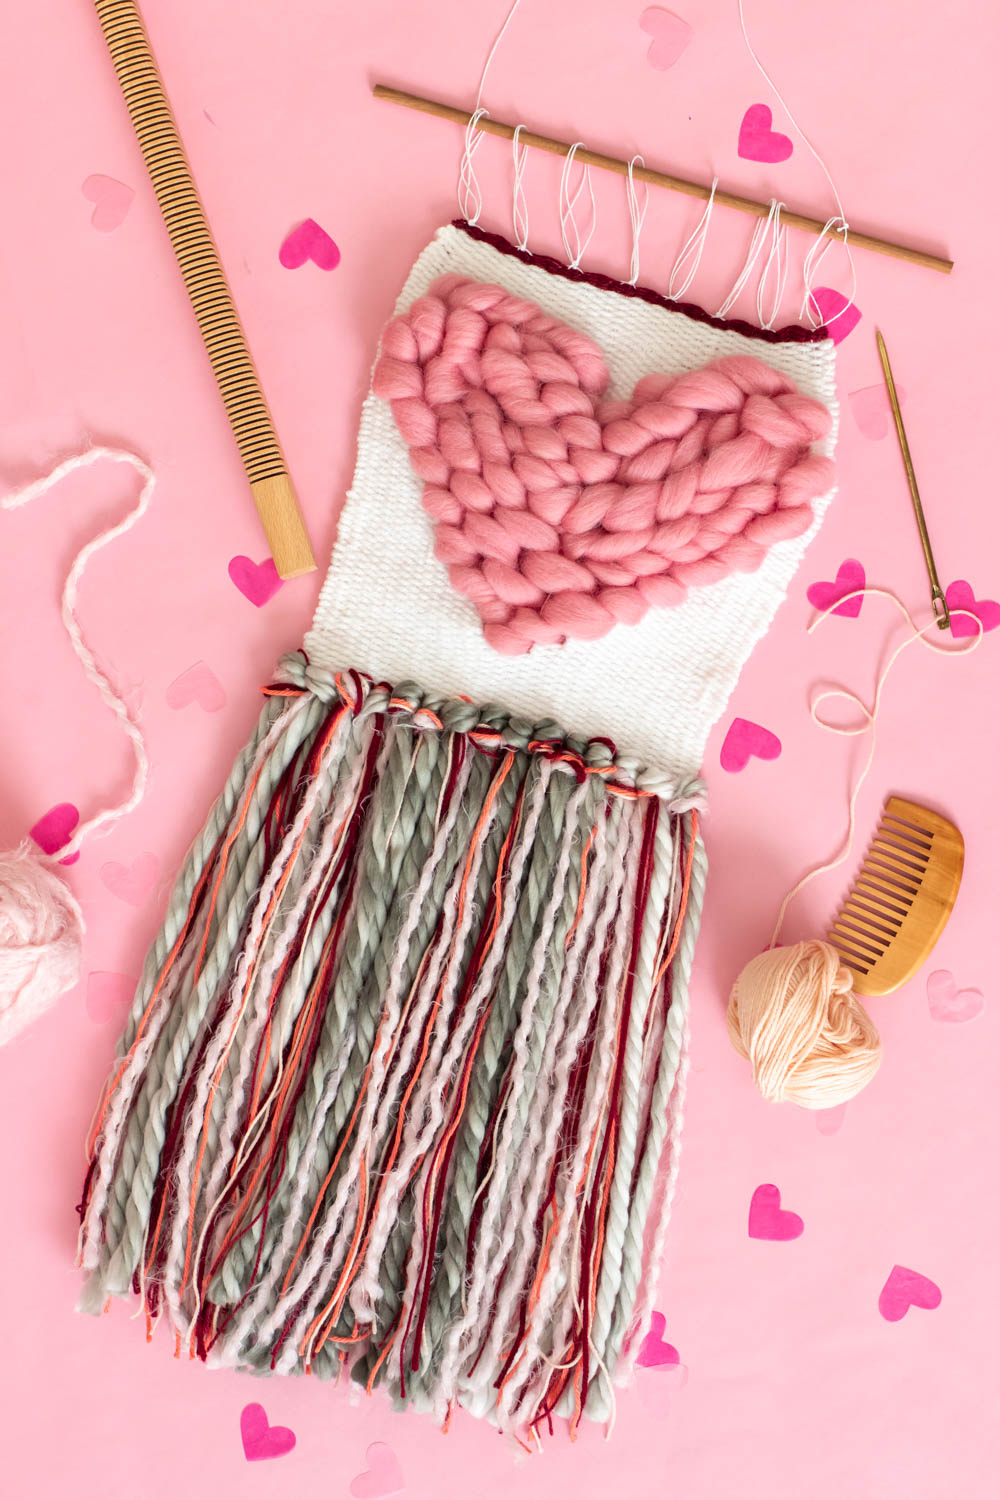
Anyone else still not over Christmas? Taking down the decorations was extra hard this year, but I’m moving onto the next major holiday – Valentine’s Day! I don’t normally do much decorating for Valentine’s Day, but since I’ve taking a break from weaving the last couple months to focus on the house, it was nice to get back to it. After some experimenting, I came up with this cute, simple heart weaving that I’ll hang in our living room. It’s the perfect subtle Valentine’s Day decoration but it also works year-round! With a thick roving heart in the middle, it looks more complicated than it really is. Overall, it only took a couple hours, and since I’m still a beginner myself, I have no doubts that this is a beginner-friendly weaving project. Keep reading for the details!

I doubt many people will be going out for Valentine’s Day this year. We haven’t ever gone out, I think. One year, we looked into it and just weren’t intrigued by those fancy special menus they give out for fancy Valentine’s meals. Instead, I usually cook us chicken parmesan over pasta (Andrew’s favorite) and we have a nice night with food, wine and a movie. I’m sure this year will be no different! It’s exciting to know this is our first Valentine’s Day as a MARRIED COUPLE though!
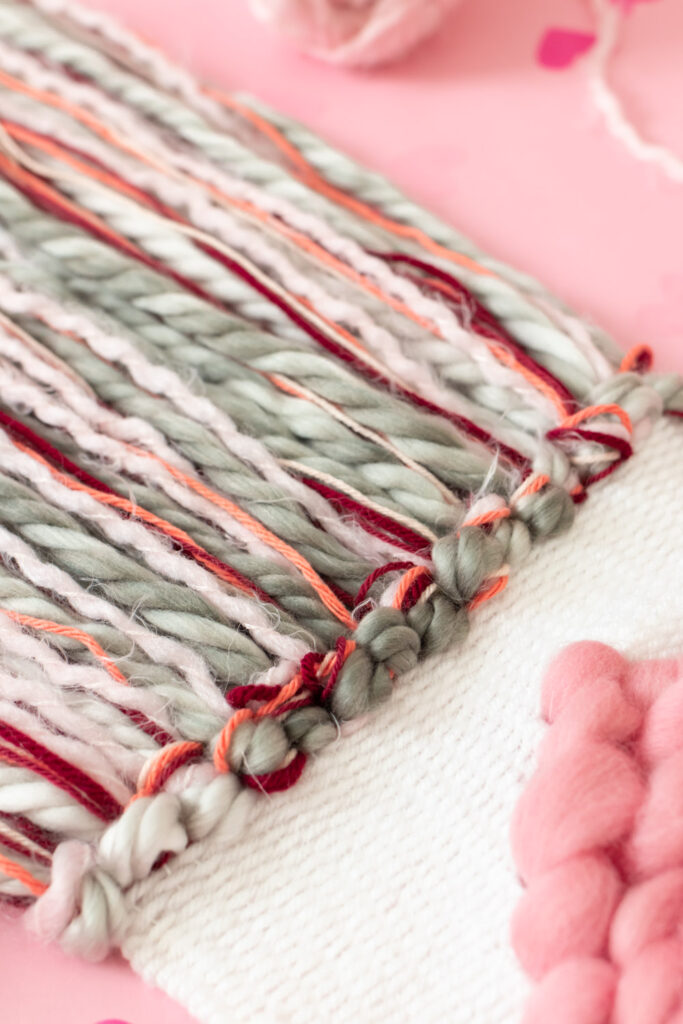
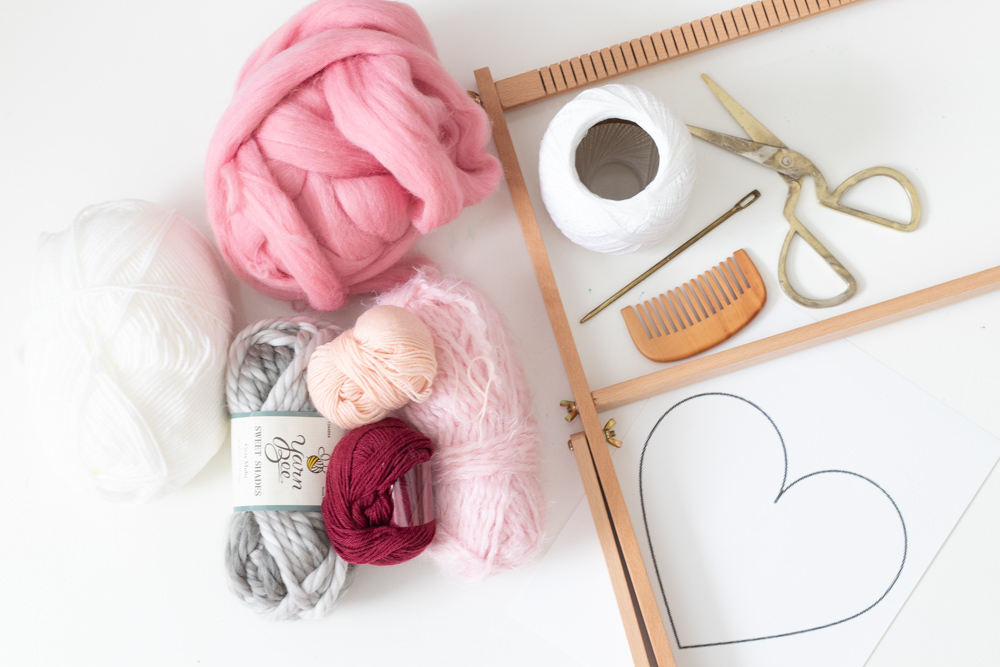
Now, let’s get back to the heart weaving project. In my experience, your project will look ten times better with a variety of fibers in your project. In this case, you can see I have a thick roving for the heart, a standard white yarn for the body, and a variety of fibers for the fringe. The roving is essential to create this look for heart weaving art, but you can choose any other combination of fibers for the rest. Personally, I love the look of thick and thin fibers together in the fringe.
How to Weave a Heart Wall Hanging
Supplies:
- Weaving loom
- Scissors
- Weaving needle
- Weaving comb
- White warp thread
- Thick roving, pink
- Standard yarn, white
- Variety of pink, red, grey or white fibers (I used 6 types)
- Large heart print-out (approximately 7.5 inches)
Quick note: I highly recommend checking out The Weaving Loom for all the basics about weaving, such as how to start, etc.
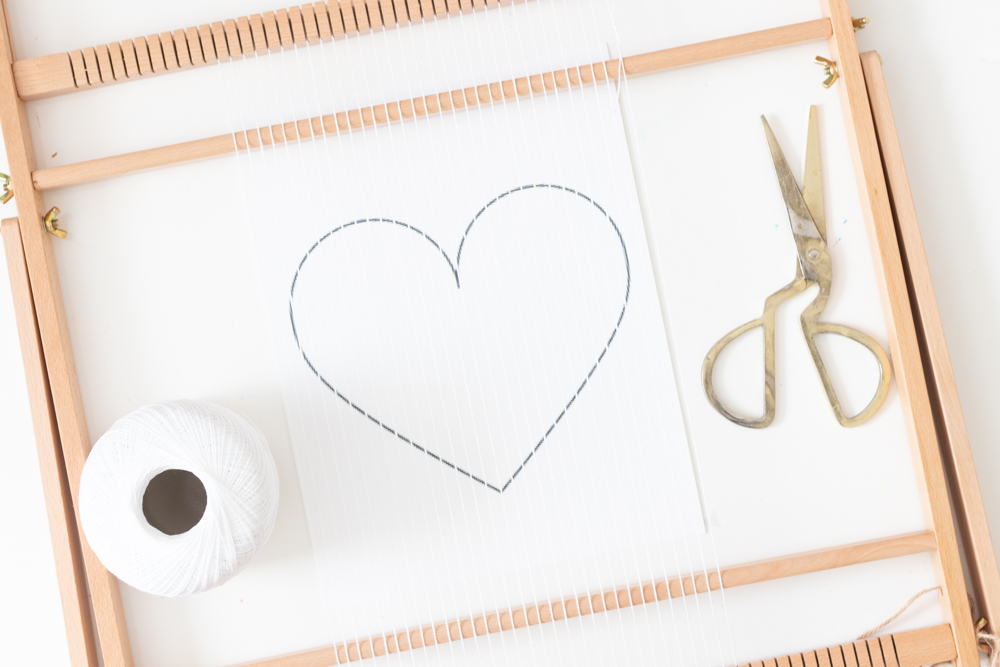
Step 1: Start by warping the loom. Make an odd number of warp threads. Mine has 31. Check out this example if you’re unsure how to warp.
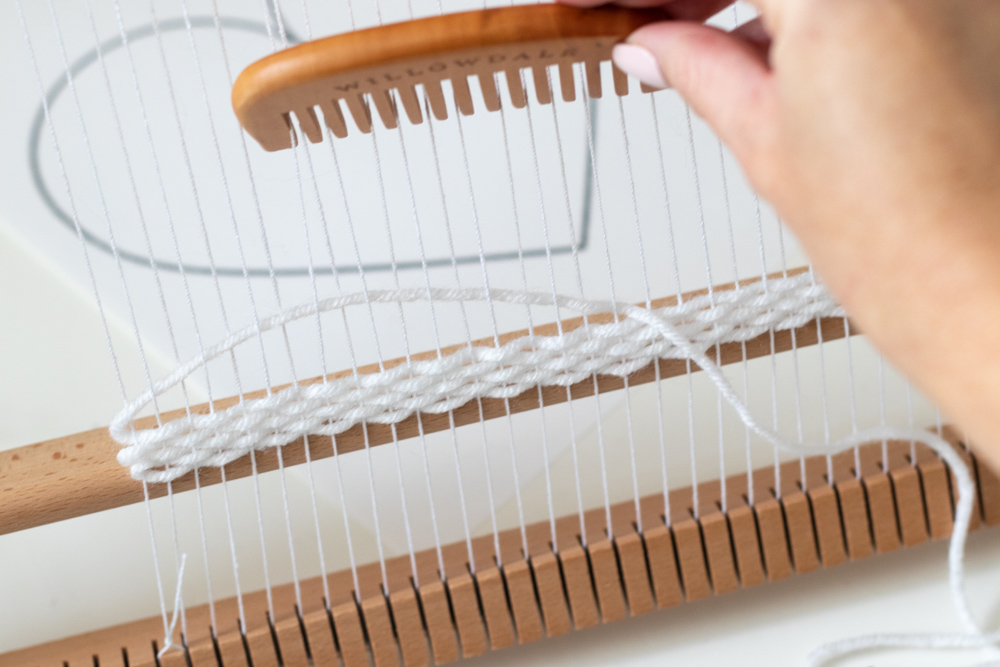
Step 2: Weave all the way across the bottom for about 5 rows to create a base for the fringe or tassels. Cut away excess, leaving a couple inches of “tail.”
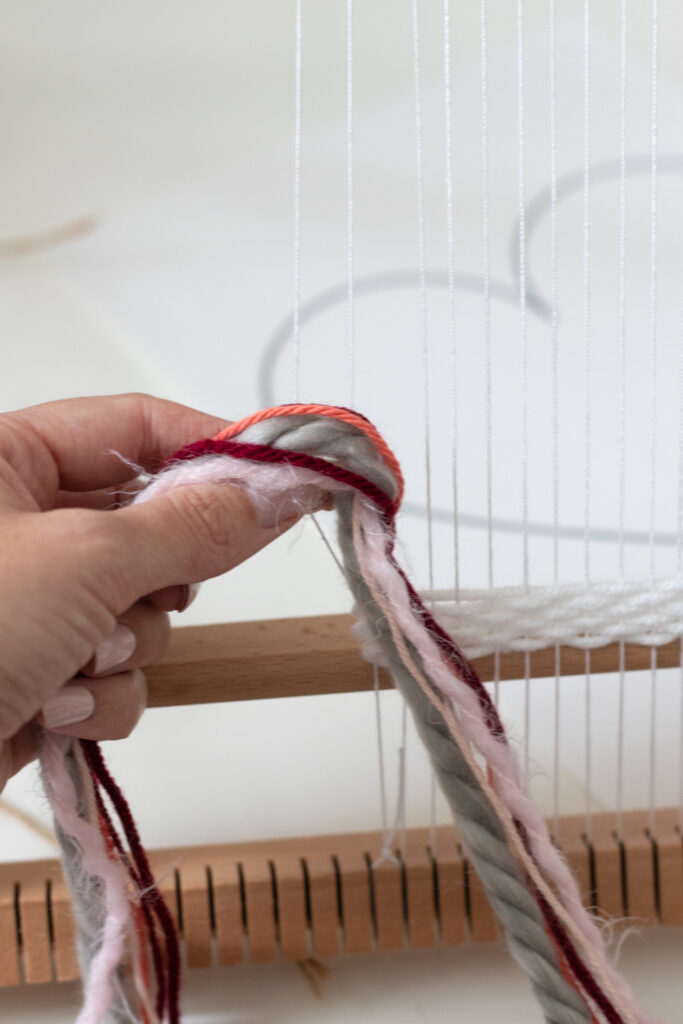
Step 3: Take all of the threads you’ll use for the tassels of your heart weaving in one hand and wrap around an object like a large book or frame. Wrap many times and cut to thread long sections about 24 inches long. For 31 wrap threads, I used 15 strands.
Step 4: Create rya knots using two threads. Repeat all the way across the loom, using three strands at the end because there are an odd number. You won’t be able to tell the difference.
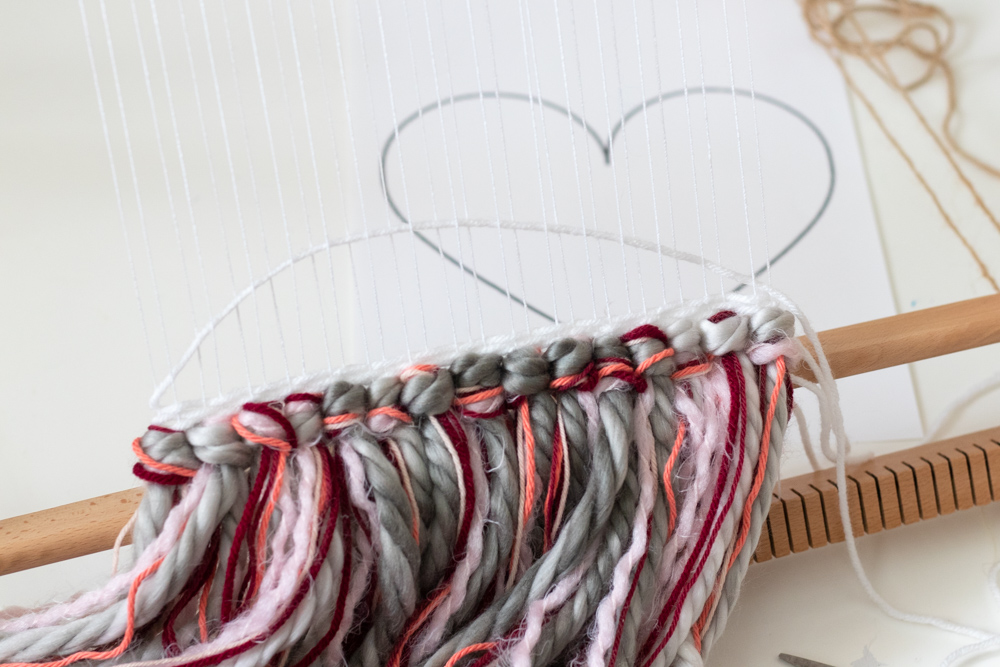
Step 5: Repeat the basic weaving pattern for at least one inch before beginning the heart pattern. Then you will start creating the heart shape using the template.
Step 6: Tape the heart print-out to the back of the loom to use as a template (if possible). Begin weaving around the pattern – it’s OK if it is not perfect. Remember not to make the weave too tight or it will misshape your hanging later on.
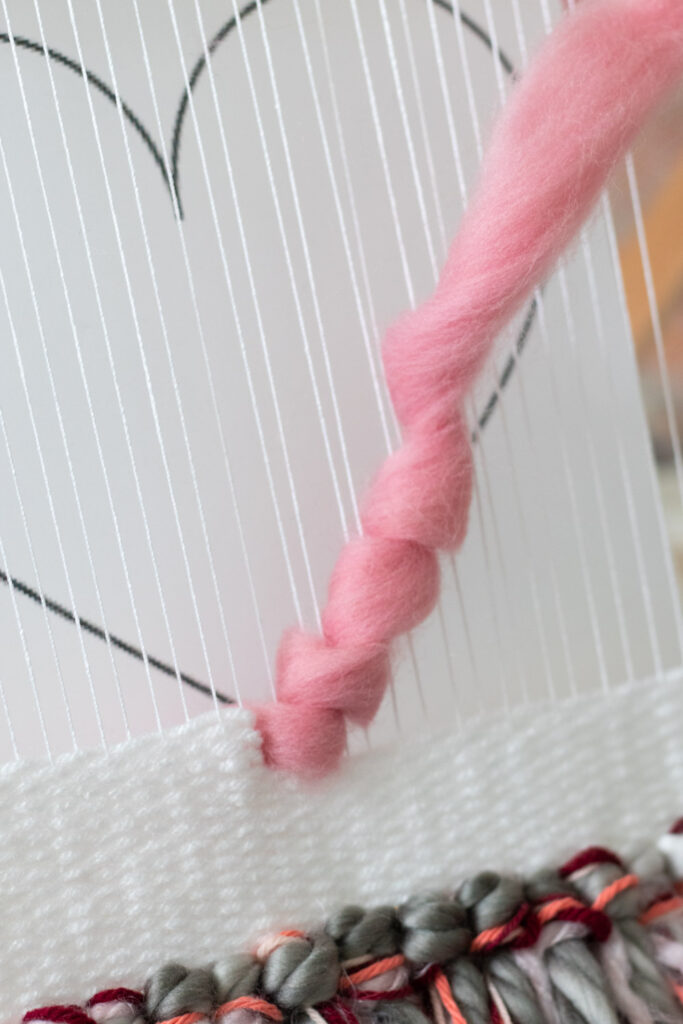
Step 7: Once you’ve started the shape of the heart weaving, add in the roving using a soumak weave. Starting at the bottom of the heart (your middle warp thread) pull the roving to the top, then to the right, skipping one strand. Wrap it round the next strand and loop it so that the roving comes out on top again. Repeat with every other strand at a diagonal to follow the shape of the heart.
Note, my personal preference for the heart waving was to simultaneously weave the background and the heart. If preferred, you can weave the entire background and fill in the heart afterward. It’s just a little harder to visualize.
Step 8: When you reach the top of the heart, you’ll need to reverse the soumak weave to go the other direction and fill in the shape. Repeat until full.
Step 9: Then continue the basic weaving so that you have about one inch of space above the heart. Finish there or change colors for a little extra decoration. Now it’s done!
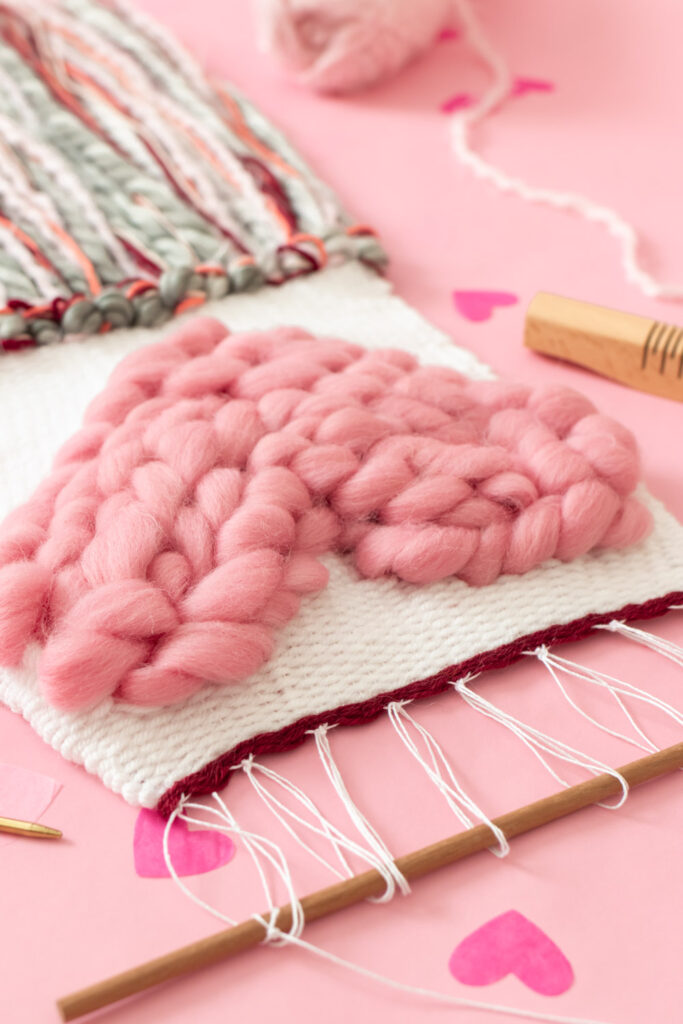
Step 10: To finish the heart weaving, flip the loom over and use a needle to weave the fiber tails into the back of the weaving. Then carefully remove the weaving from the loom and tie off the top and bottom. Finally, hang it on a wooden dowel!
Now the heart weaving is ready for hanging! I love that this screams Valentine’s Day but it could also work in your decor any other day of the year. Hopefully this is the start of many more weaving projects to come this year!
