DIY Holiday Gift Packaging Ideas with Cricut Joy // A Wine Bag, Treat Bags and More!
The following post is sponsored by Cricut
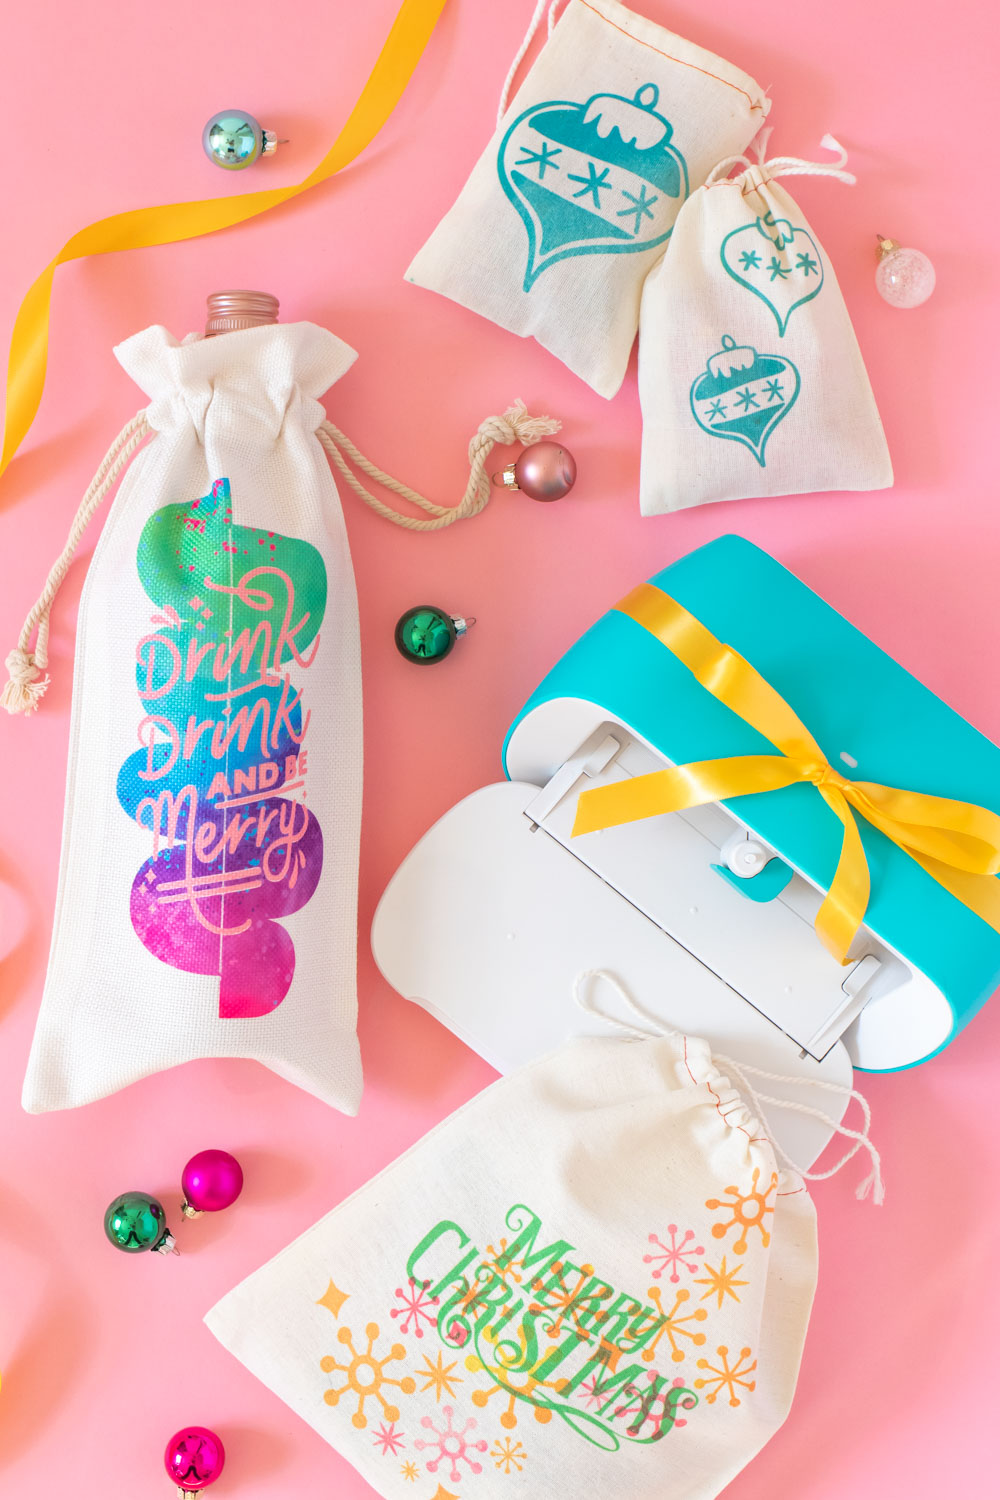
I’m sure I’ve shared before how much I LOVE wrapping gifts! I spend way too much time every year meticulously wrapping our gifts, and this seemed like a good opportunity to make my own gift packaging too! No matter what you’re gifting, you can customize the wrapping or gift packaging with fabric bags and Cricut Joy Infusible Ink Transfer Sheets. Over the past year, I’ve been sharing different ways I use my Cricut Joy – so add this to the list! It was the perfect size for making unique holiday gift packaging for wrapping wine bottles, cookies and other small items! The Infusible Ink presses vibrant colors deep into the fabric so it stretches and moves (unlike traditional Heat Transfer Vinyl). Keep reading for a full tutorial on using Cricut Infusible Ink Transfer Sheets and all of the templates I used to make these colorful, vintage-inspired designs!
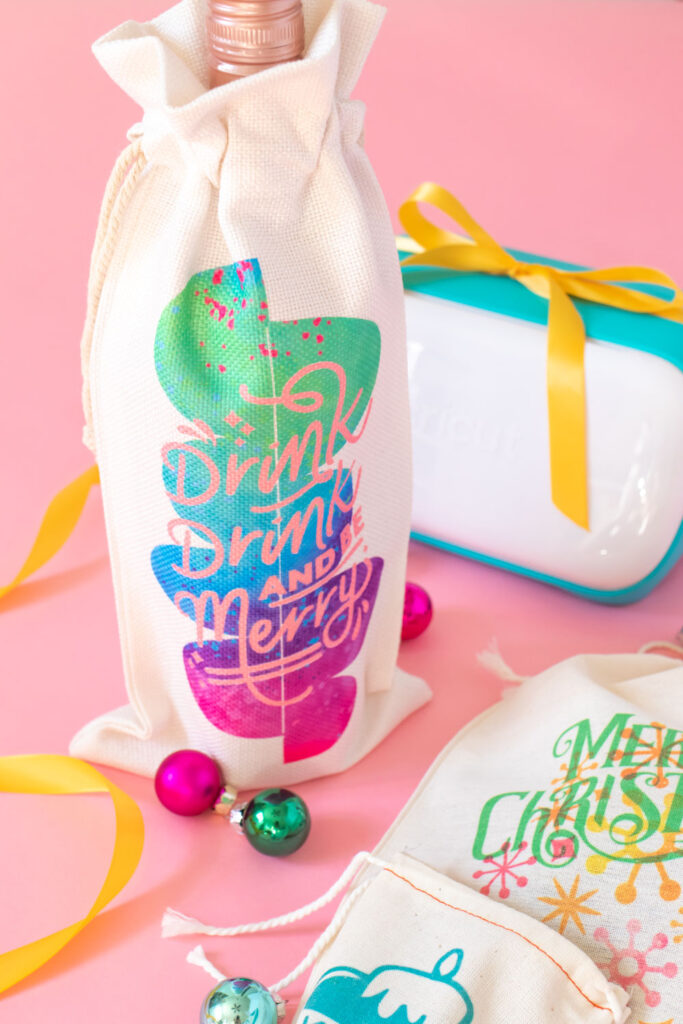
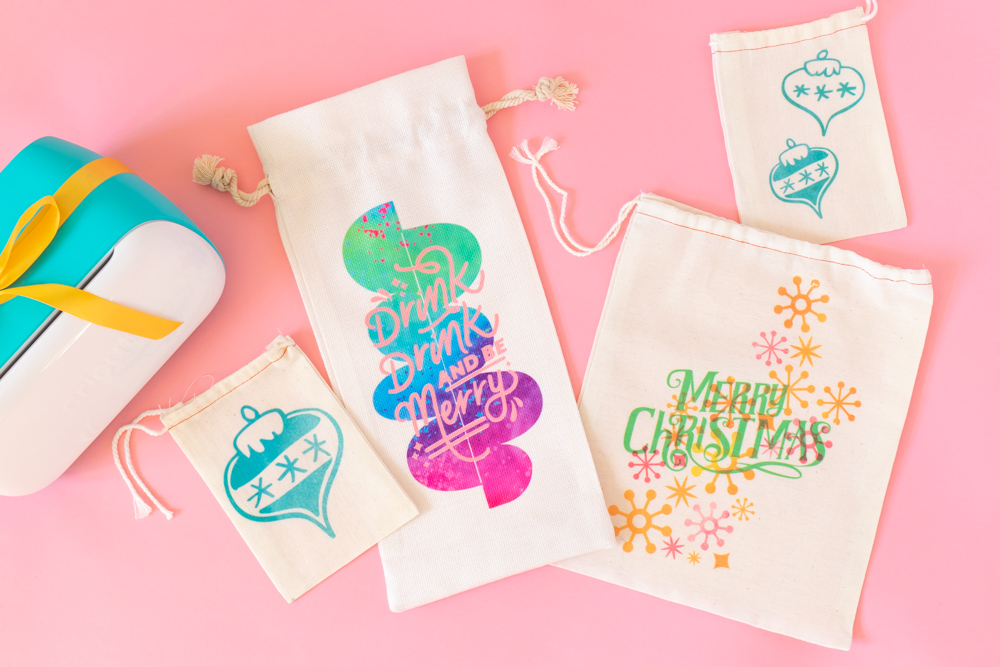
It wouldn’t be Club Crafted without a little color! These templates for my holiday gift packaging ideas are all available in Cricut Design Space (link below). I used them with splatter or watercolor-like Cricut Joy Infusible Ink Transfer Sheets for some fun texture on the gifts! Because I love mid century modern design, I choose shapes and fonts that felt a little retro. Now I can’t wait to gift them…but also, I kind of want to keep them for myself, ha!
How to Use Infusible Ink Transfer Sheets with Cricut Joy
Typically, I use a lot of Heat Transfer Vinyl in my Cricut projects. You can find a ton of them in my archives! Shockingly, I hadn’t shared my experience with Infusible Ink before, so this seemed like a much needed tutorial. While both products are great for different purposes, there’s no doubt Infusible Ink provides a true screen printed look in comparison to traditional vinyl, which sits on top of the fabric like a sticker.
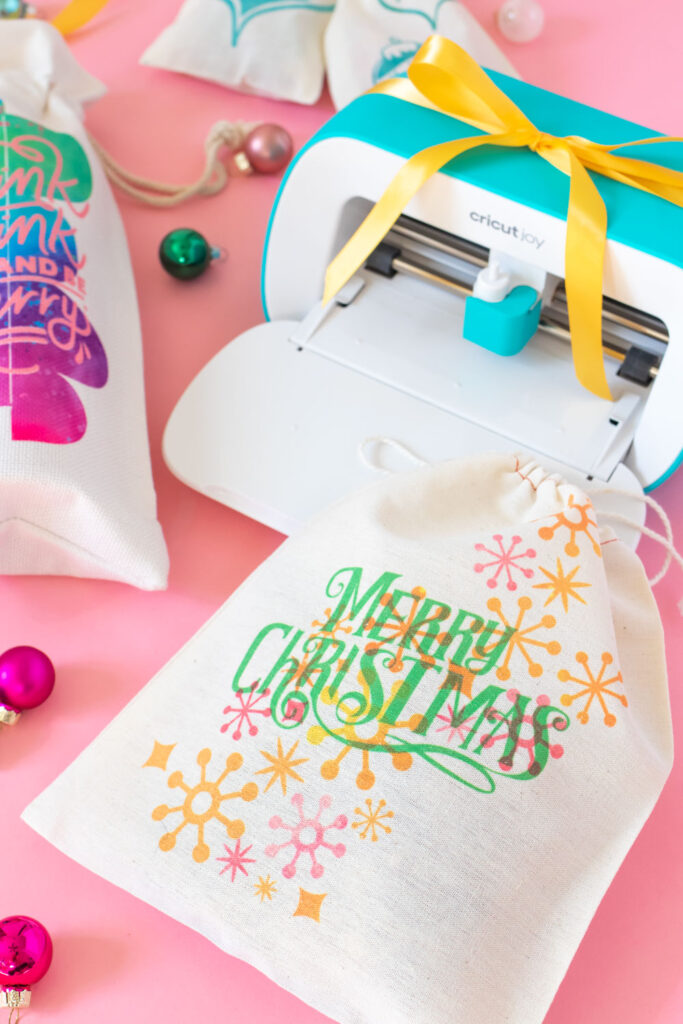
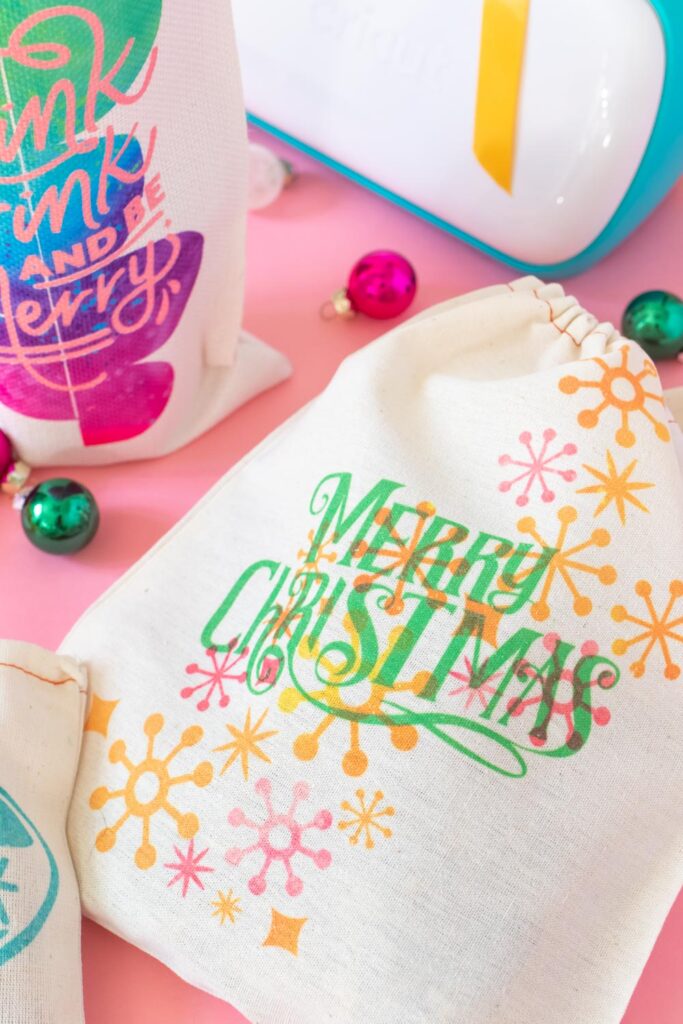
Using one piece of Infusible Ink is fairly straightforward. However, to layer Infusible Ink Transfer Sheets properly, your best technique is to slice your images together in Cricut Design Space. Once cut, you carefully move the smaller piece onto the larger one in order to iron them only once. You see this effect on my DIY wine bag, where I carefully rearranged each letter of my text onto the larger background piece. Whenever possible, you want to only apply the heat once to achieve more vibrant colors. Because of the way Infusible Ink imprints into the fabric, layering them without slicing results in less vibrant background colors and allows the background to be visible through your top layer. You can see this technique on the “Merry Christmas” bag. I wanted to show an array of techniques, but I do prefer the appearance of slicing the images together.
Although Infusible Ink is a little more work, it’s SO worth it. Here, I’ll show you!
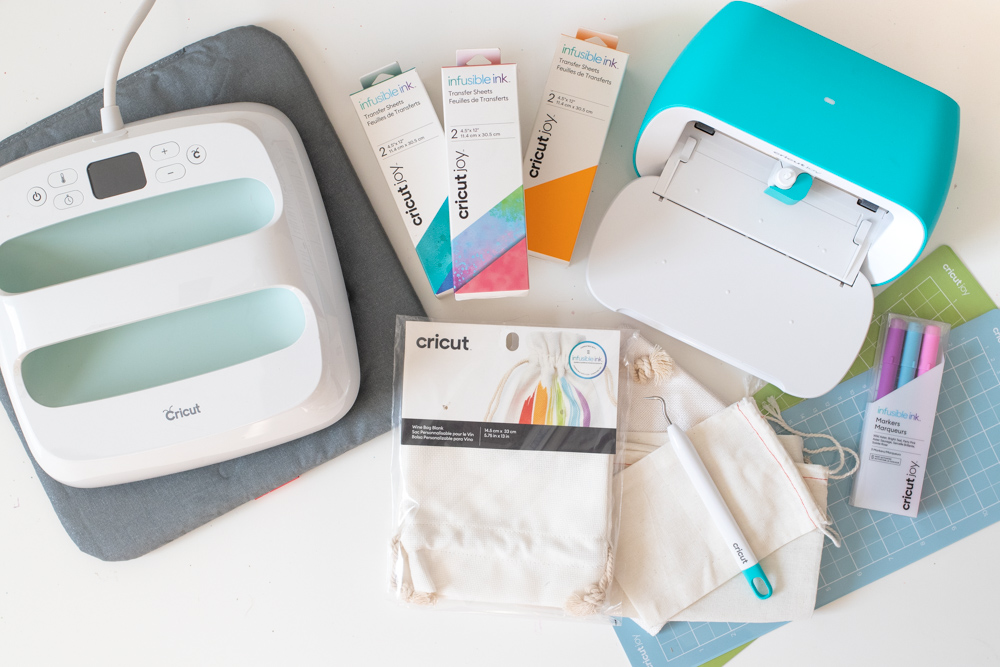
3 Ways to Make Holiday Gift Packaging with Infusible Ink
Supplies:
- Cricut Joy or other Cricut machine
- Cricut Joy Infusible Ink Transfer Sheets Patterns, Watercolor Splash, Cool Splashpad + Warm Splashpad
- Cricut Joy Infusible Ink Transfer Sheets, Bright Green, Rose Pink + Tangerine
- Cricut Joy StandardGrip Mat
- Wine Bag Blank
- Fabric gift bags
- Cricut Weeding Tool
- Cricut EasyPress 2
- Link roller
- Holiday Gift Bag Templates (on Cricut Design Space)
Step 1: Whatever your desired design, add it to Cricut Design Space. You can find all of the designs I used for my holiday gift packaging ideas above. Hide or change designs as desired to be cut by color or pattern.
Note, my wine bag packaging design is already sliced. I did not slice any other images. To slice an image, select two pieces. Then select “Slice” from the bottom right. Remove any unneeded pieces from your board.
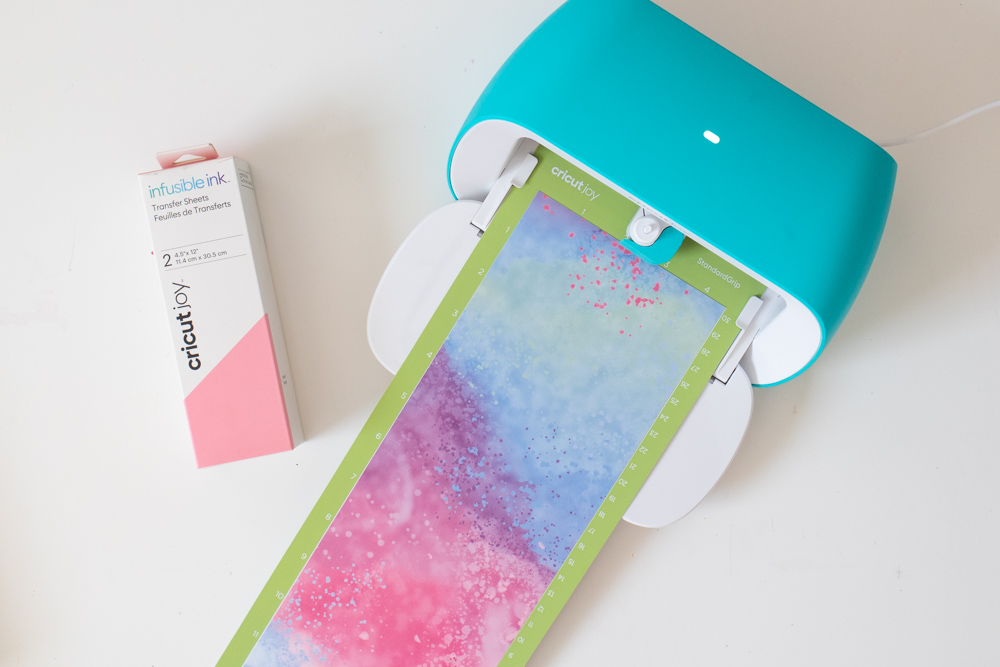
Step 2: Apply the Infusible Ink Transfer Sheet with pattern/color facing UP. Make sure “Mirror” is turned on for ALL images in your designs.
Step 3: Click “Make It” and select “Infusible Ink” from the material section. Follow on-screen instructions to load Cricut Joy and click “Start.” Repeat with all pieces.
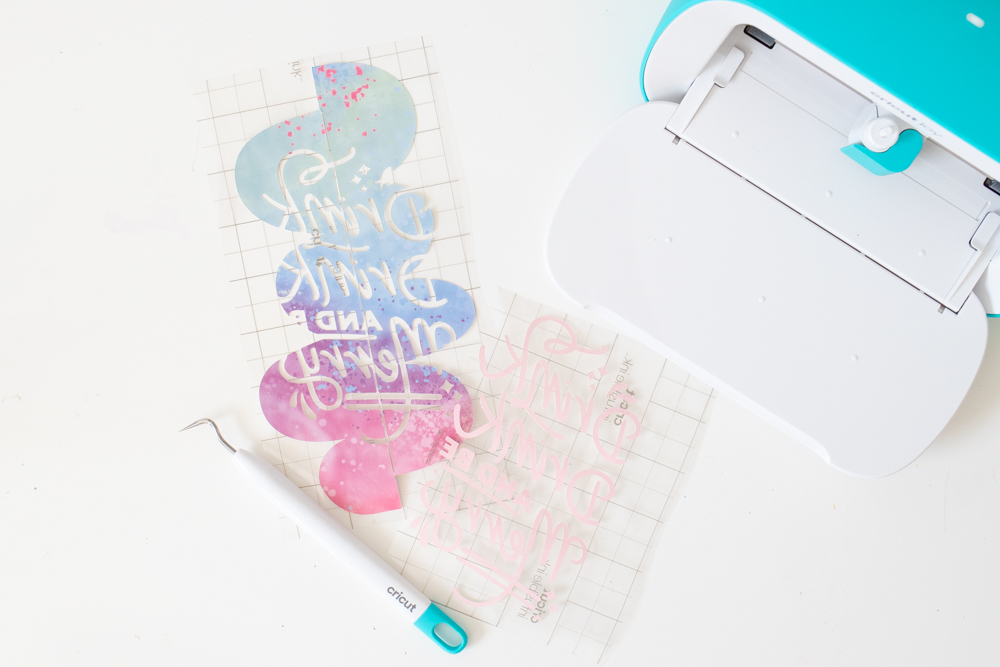
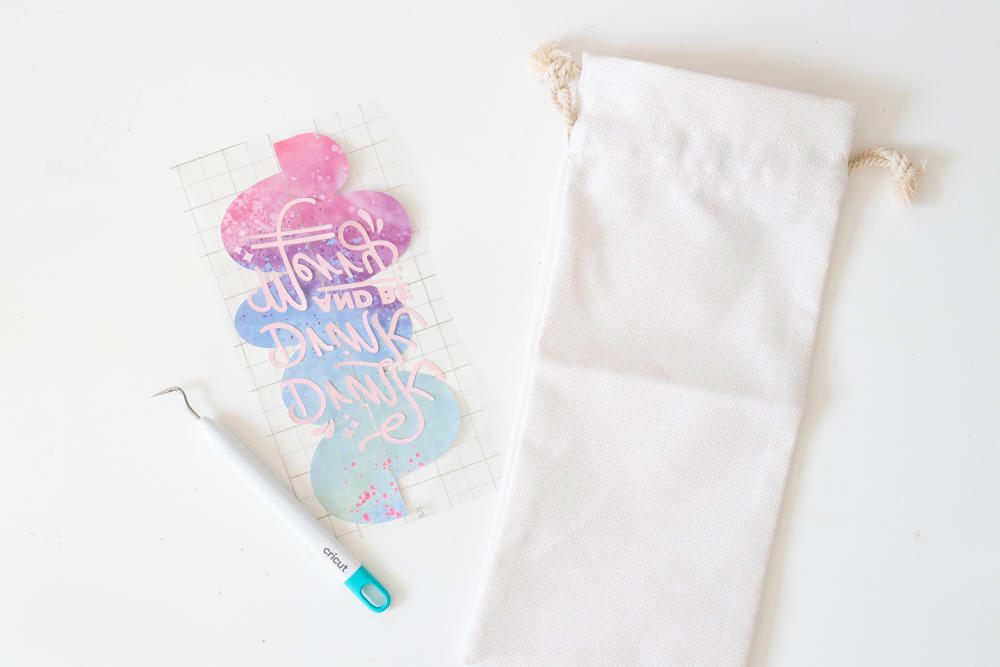
Step 4: Use a weeding tool to weed each piece, leaving only the transferring design on the backing. Then carefully move the cut design into the sliced area of the second design (see above).
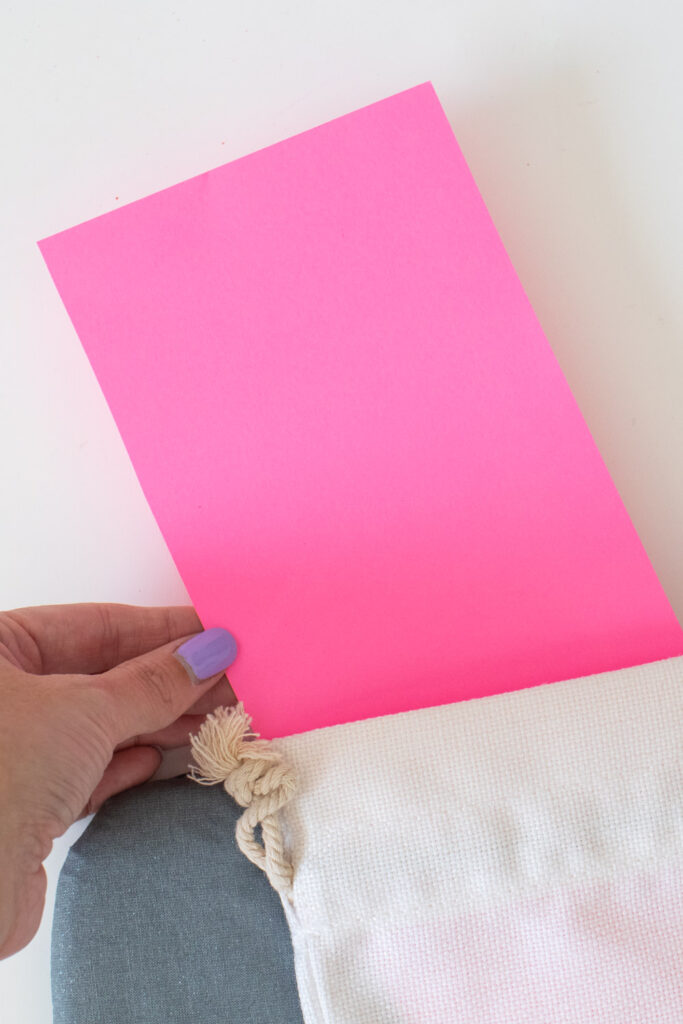
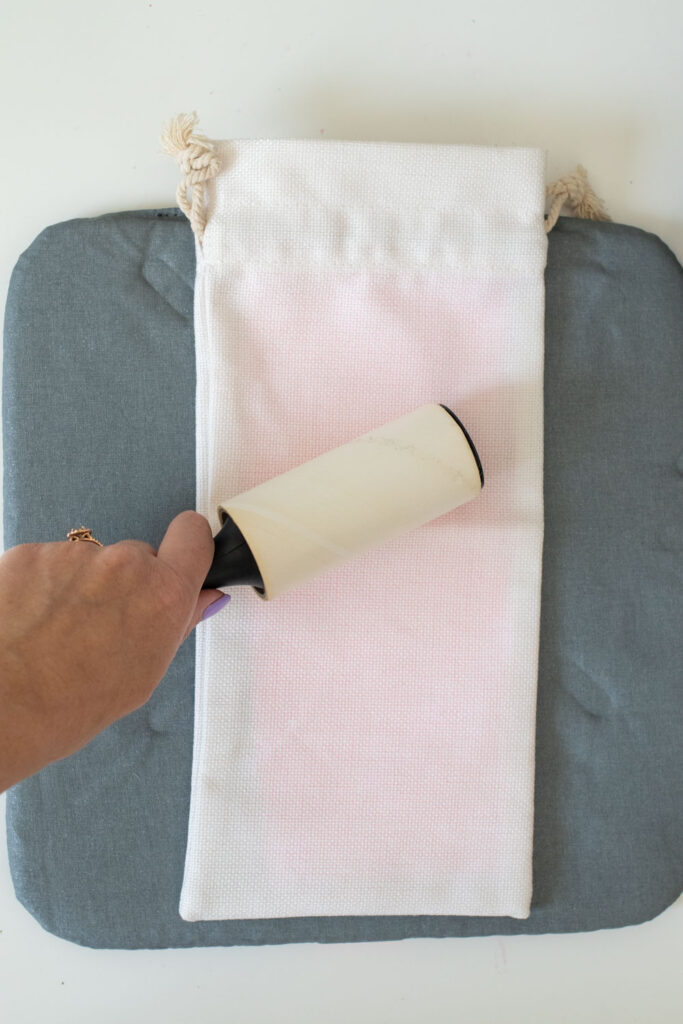
Step 5: Lay the wine bag or other fabric bag flat. Insert a piece of cardstock to prevent any ink from bleeding through. Then use a lint roller to ensure the front of the bag is clean. This is VERY important to achieve a clean finish!
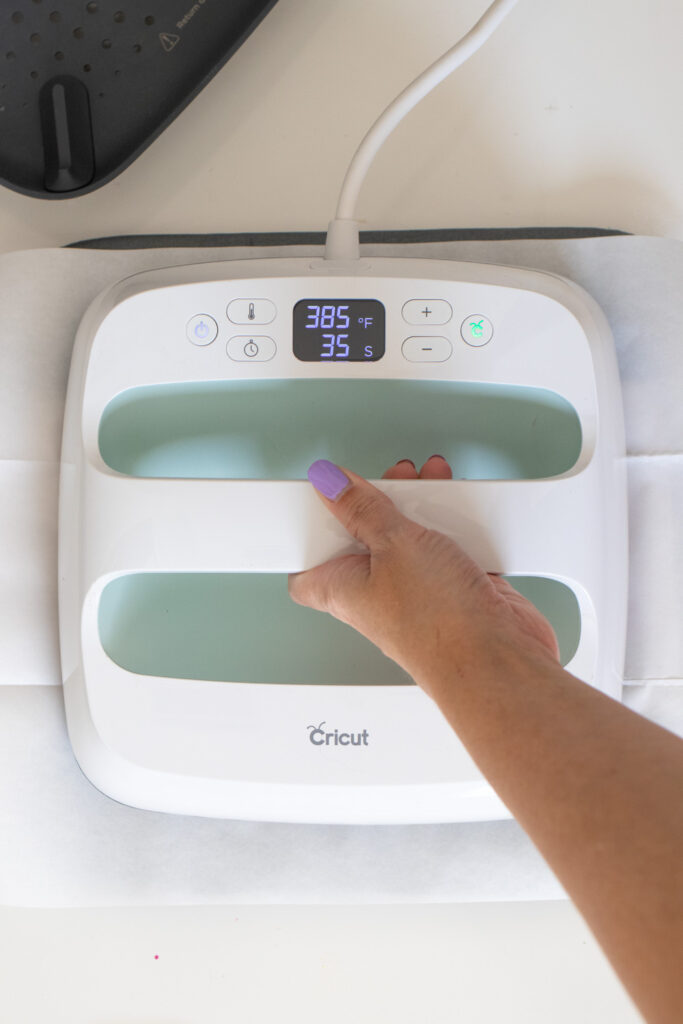
Step 6: Place the included butcher paper from the Infusible Ink over the bag. Preheat the Cricut EasyPress to 385 degrees F and press on the plain bag for 15-30 seconds. Heating and smoothing out the bag before applying the ink will give you a cleaner finish.
Step 7: Then carefully place your design ink-side down on the bag. Place the butcher paper on top and set the heated EasyPress on top with even pressure. Adjust the timer for 45 seconds.
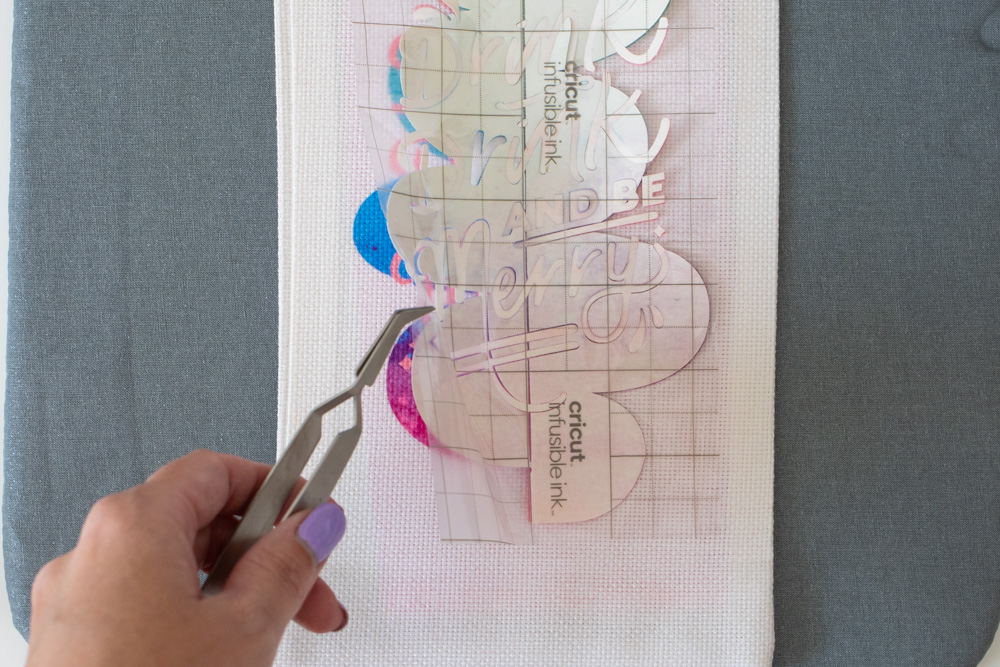
Step 8: Return the EasyPress to the base. Use tweezers to remove the sheet backing and reveal the vibrant design!
Alternative Ways to Layer Infusible Ink
Alternatively, you can create the first design and layer a different one on top. To do this, complete the first layer normally. Remove the blank sheet pieces but keep the plastic backing. Then place the second layer of your design and top with the extra plastic to cover the entire first layer. Top with the butcher paper and apply heat for an additional 45 seconds.
This method does work (as you can see above), but it will reduce the vibrancy of the bottom layer, and the top layer will be somewhat transparent to reveal the layer beneath. Covering the foreground AND background with plastic before using the butcher paper prevents unwanted shapes from forming around the plastic.
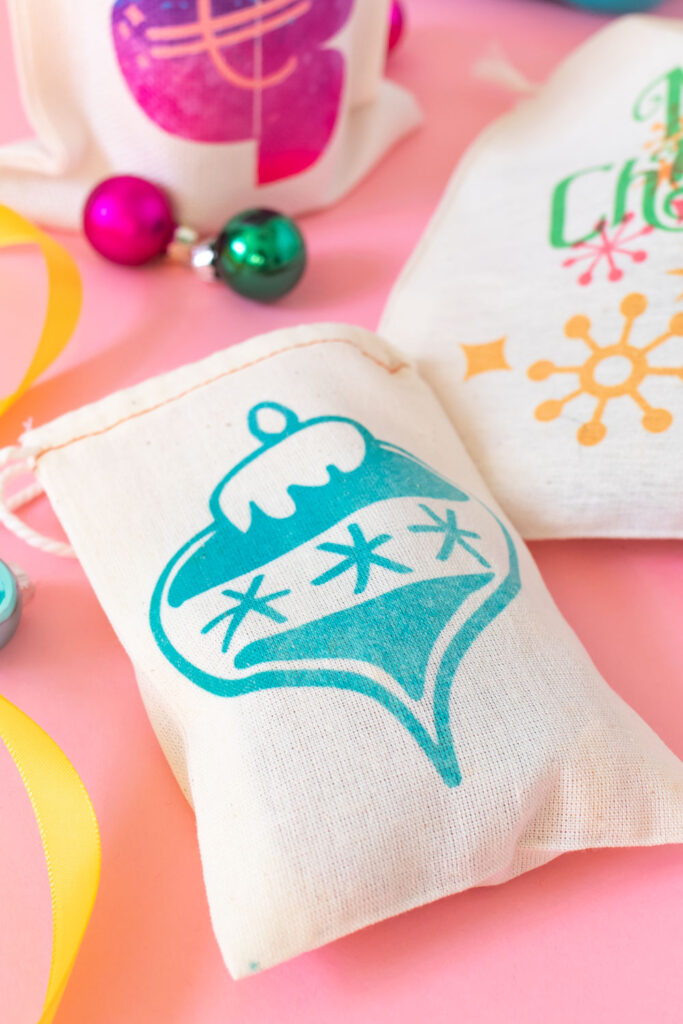
I don’t think I can bare to give away this wine bag…I’ll just have to keep it for myself, ha! These holiday gift packaging ideas are the perfect way to add personality to plain fabric bags that are 1. eco-friendly! and 2. adorable! Fill them with everything from food to garments to hardgoods for thoughtful gifts everyone will love. Don’t forget to snag the Cricut Joy as the perfect gift for all the crafters on your list this year!
Thank you to Cricut for generously sponsoring this post. All opinions are my own. Please note this post contains affiliate links from which I may collect a small profit should you choose to make a purchase. Thanks for supporting the brands that keep Club Crafted making!
