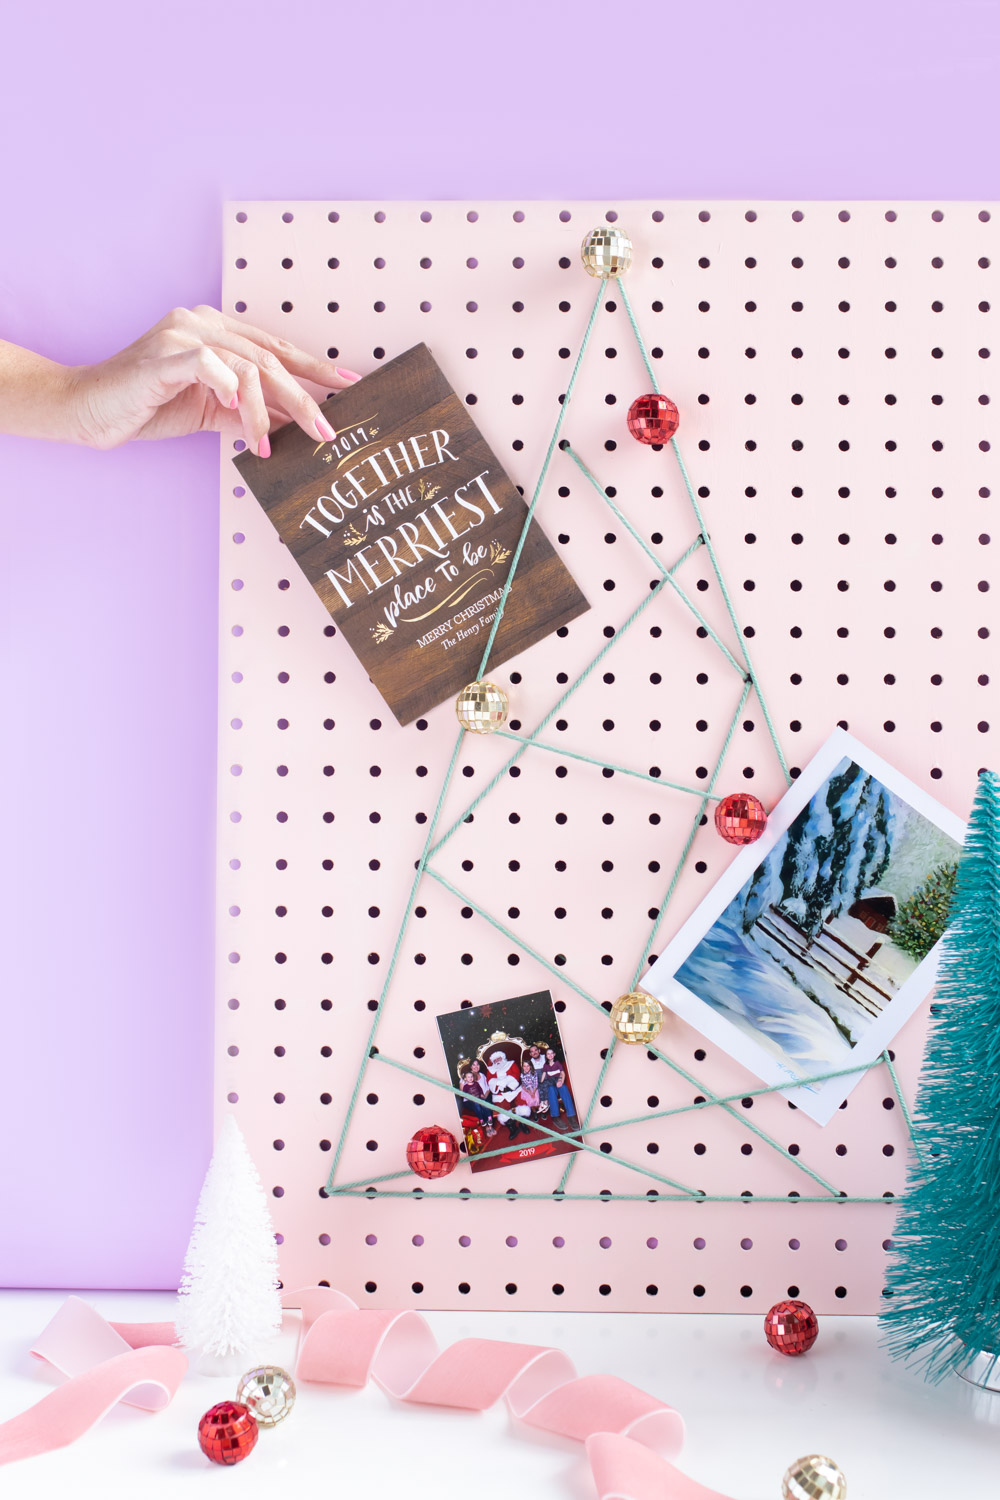
One of the fun parts about getting older is receiving Christmas cards. I honestly really love this fact about the holidays and getting older, and I hope that next year, Andrew and I can send out our first holiday card. Of course, cards come with the dilemma of where to display and store them. That inspired me to make a holiday pegboard card holder inspired by string art!
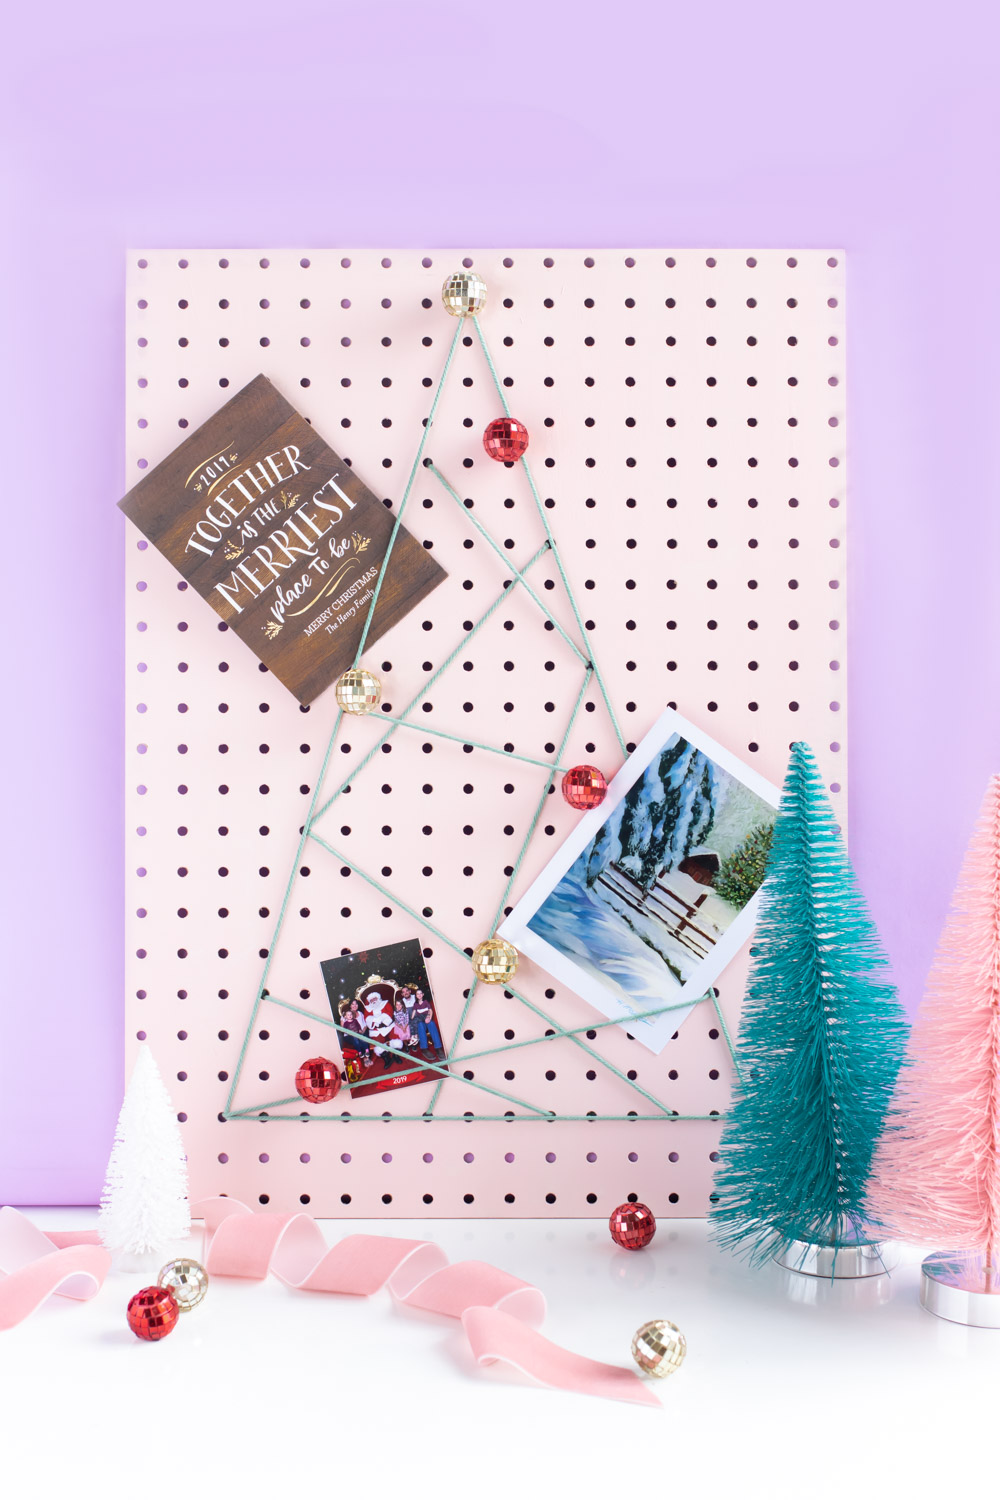
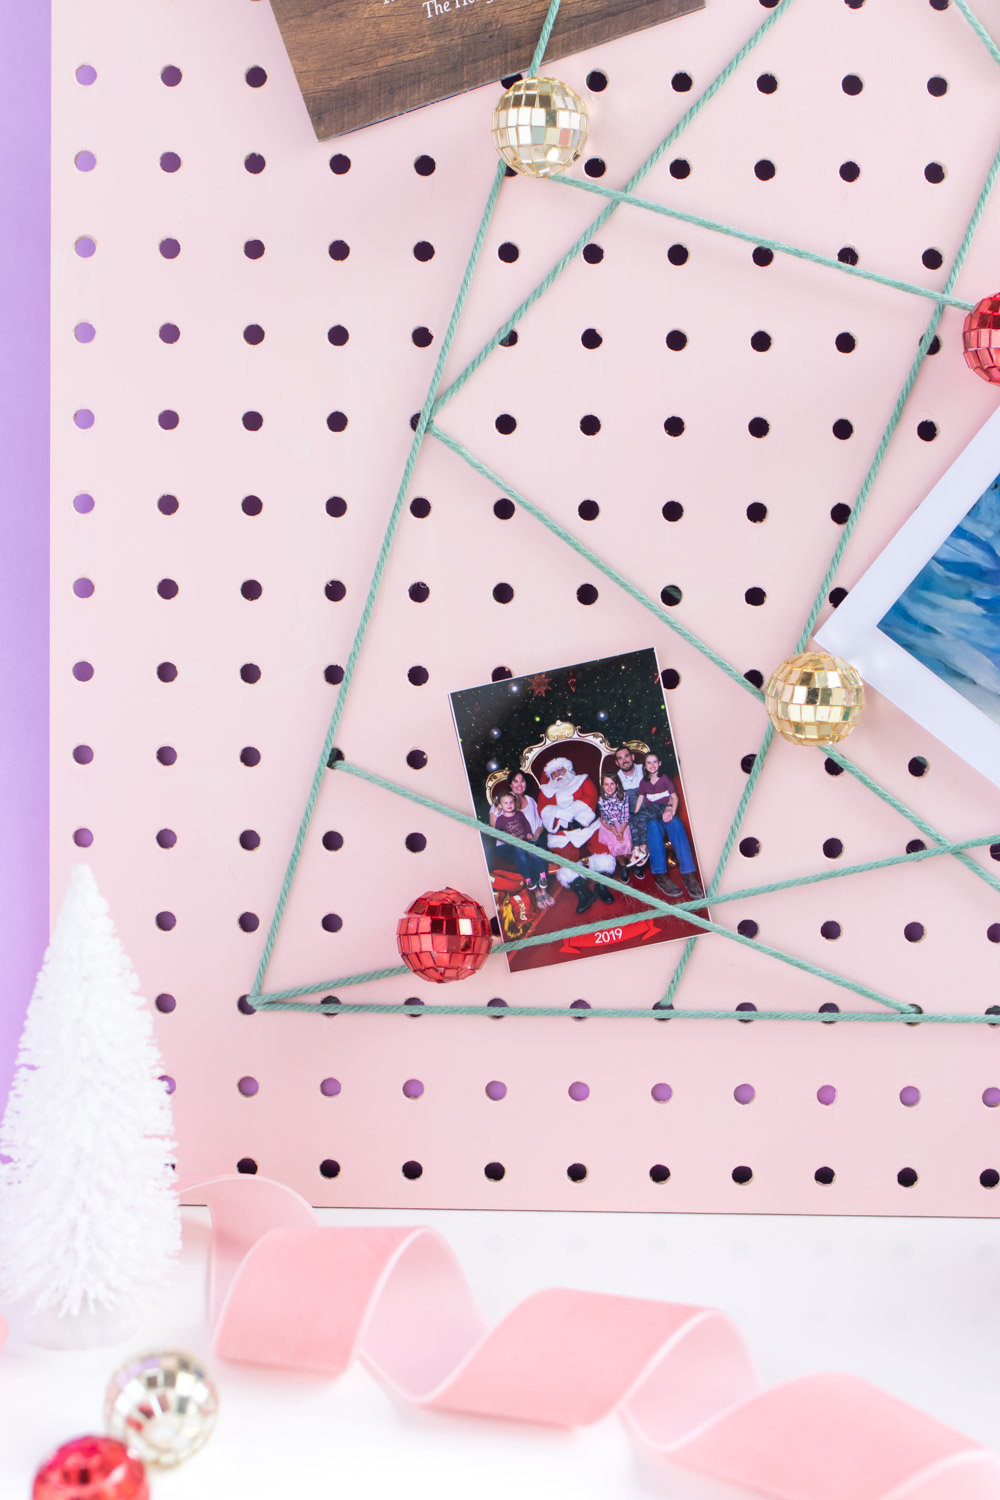
Earlier this year, I installed a large pegboard in my office and had pieces leftover. It was the perfect supply to create a new pegboard card holder so I can easily store any cards we receive throughout the season. Because we have cats AND limited shelf/table space, the cats always knock them over if we try to display them on a surface. Despite Penny already trying to chew the disco balls off of the pegboard card holder, it seems like a much better solution! You can make one in any combination of colors to fit your style.
PS, how cute is my sister’s family in that Santa photo?!
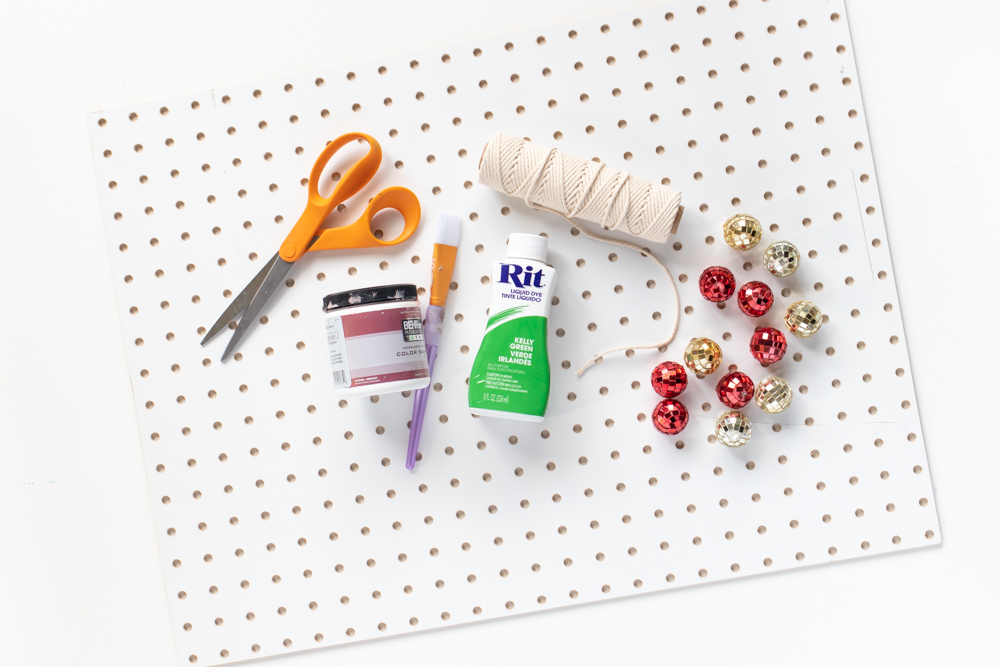
Supplies:
- Pegboard slap (mine is approx 18 x 24 in)
- Paint
- Paintbrush
- Thick cotton string
- Green dye
- Mini disco balls or ornaments
- Glue gun
Note, you can skip dyeing the string if you can find green string to begin with.
How to Turn a Pegboard into a Holiday Card Holder
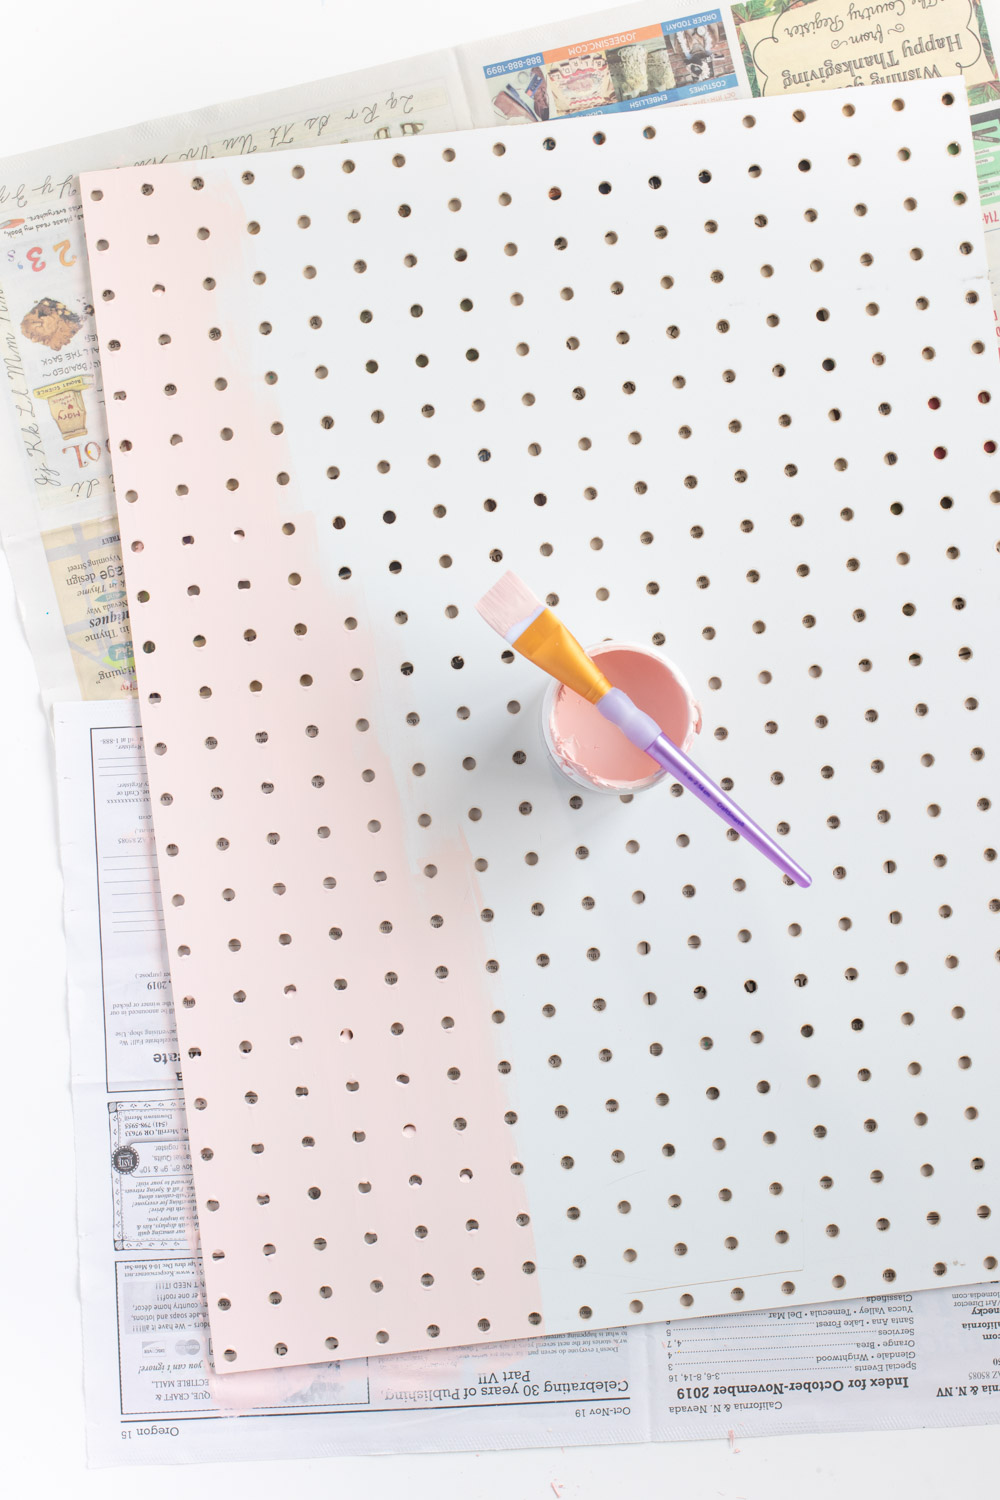
Step 1: Paint the background your desired color using either a brush or a roller. Add multiple coats of paint as needed. Then let the paint dry completely.
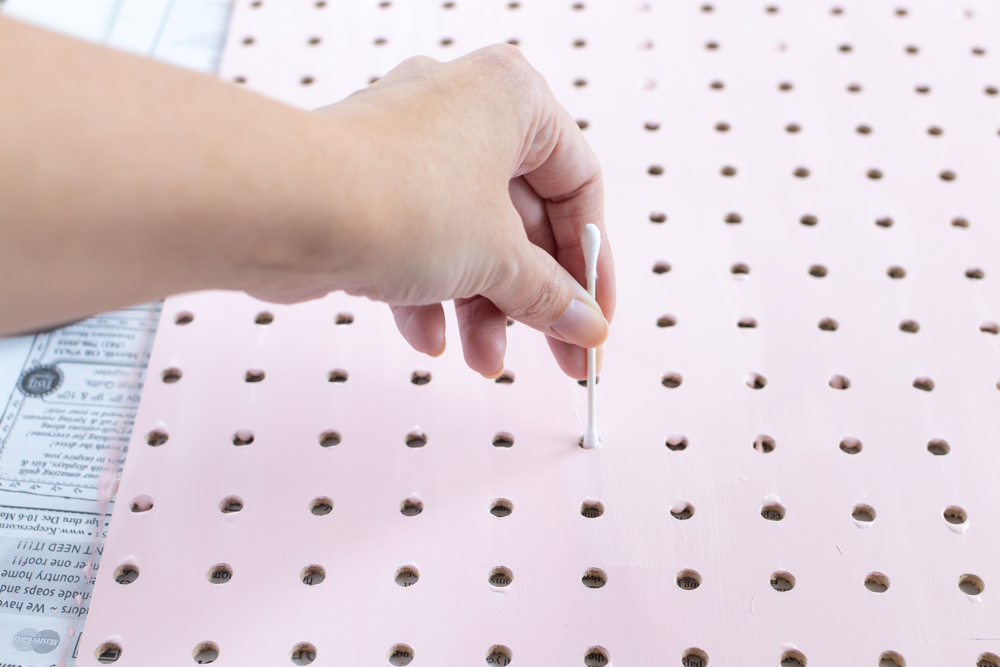
Quick tip: I use Q-tips to clear paint drips from the holes in the pegboard. It helps to do it while it’s still very wet.
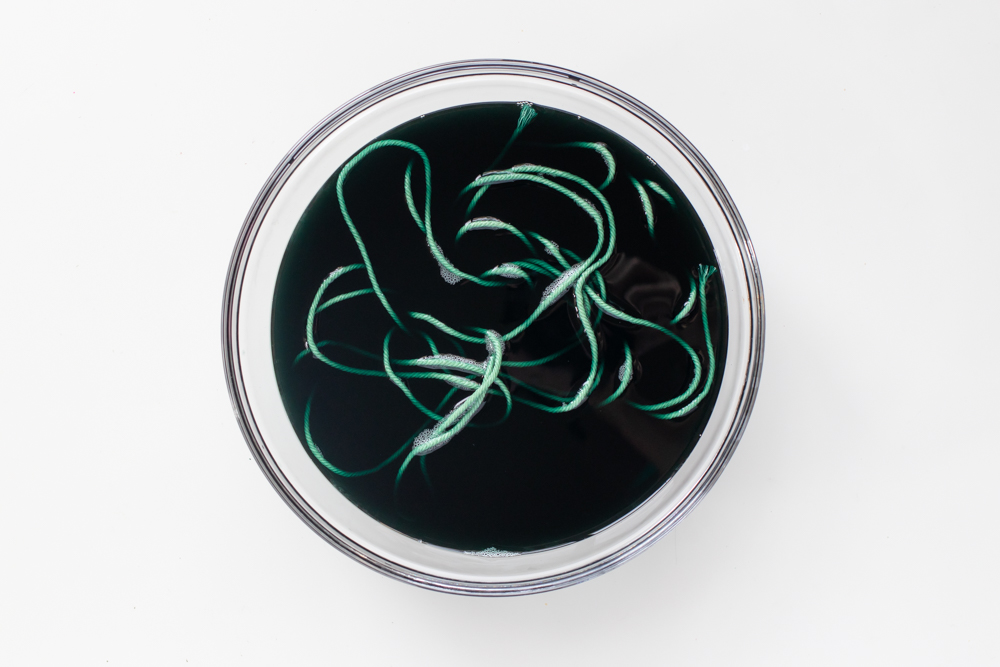
Step 2: Cut the string to approx 2 yards. Dye the string according to package instructions. Rinse and dry when you reach your desired color. I sped up this process by drying the string in a small laundry bag in my dryer.
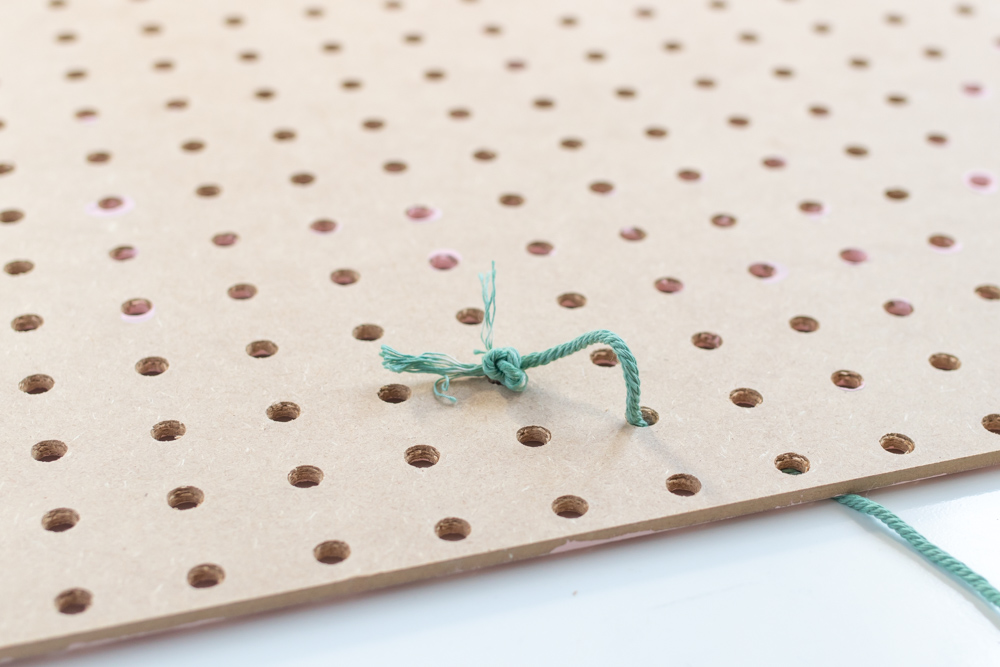
Step 3: Once dyed and dry, it’s time to start creating the pegboard card holder design. Measure the approximate middle of the board (shorter side) and thread the string through the middle hole, 1 row from the top. Tie a thick knot at the back.
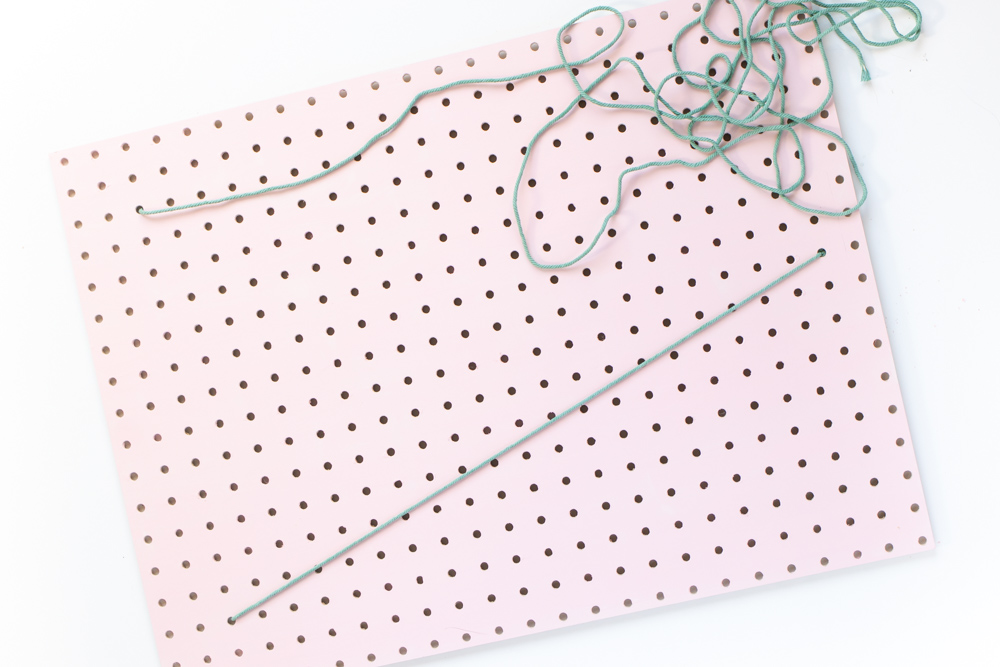
Step 4: Tightly pull the string at a diagonal. Thread through a hole near the bottom. Pull the string up and down through the holes in the pegboard, pulling the string very taught. Create a triangle shape with zig zags so there’s space to insert cards.
Step 5: When you finish the shape, tie another thick knot at the back of the board. Trim loose string.
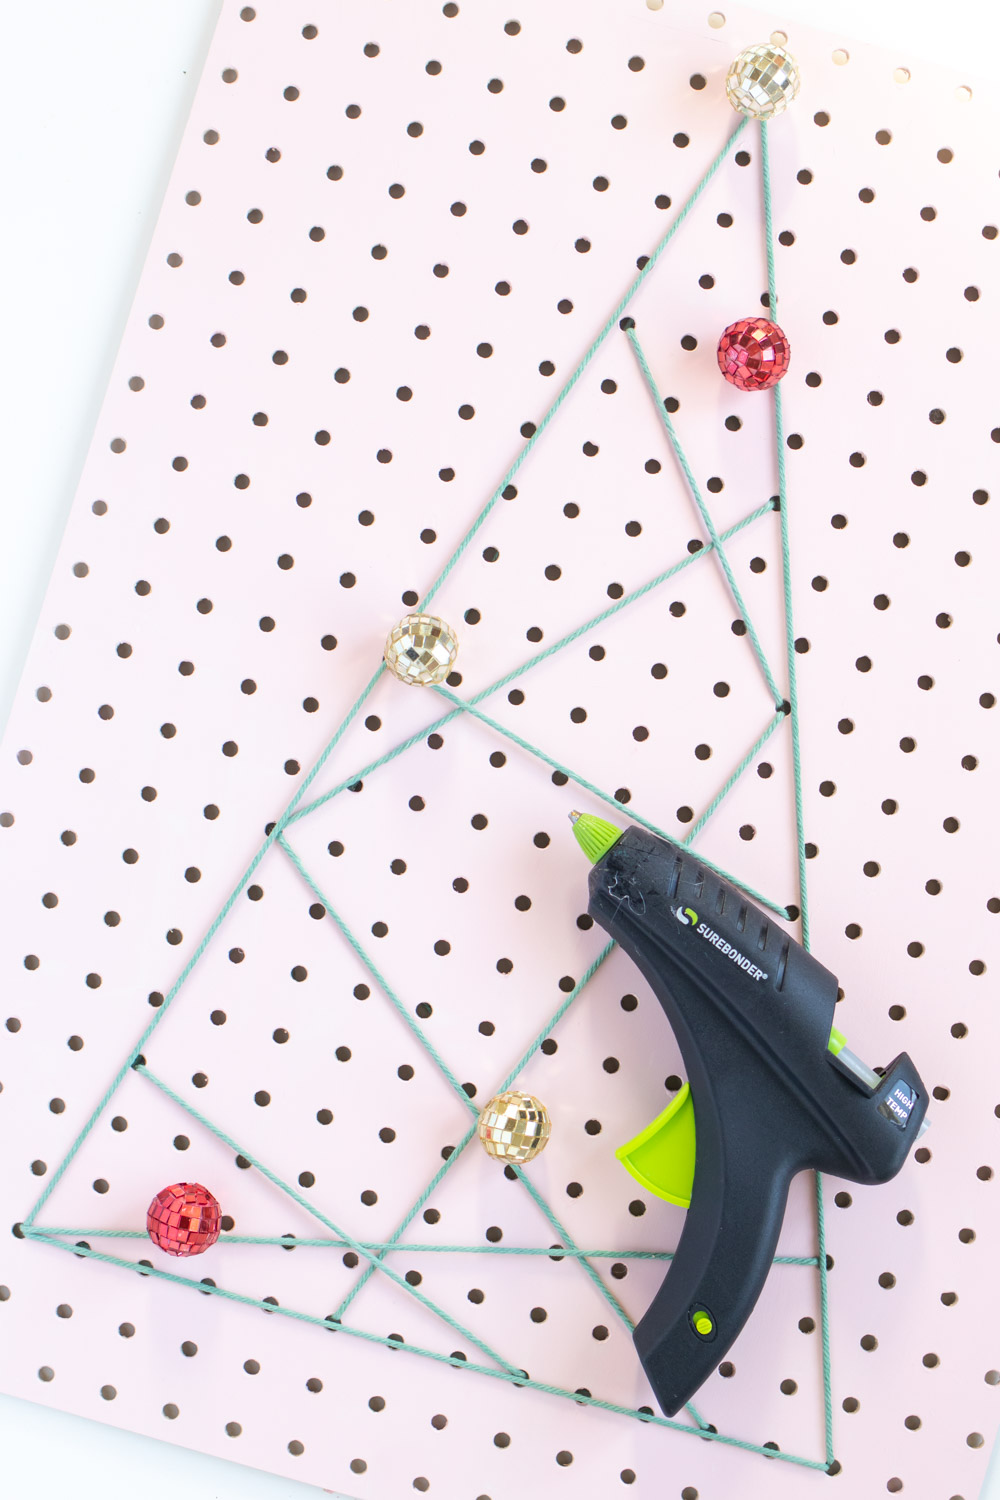
Step 6: Glue mini disco balls or ornaments around the design. For best results, don’t let them block where you may put a holiday card.
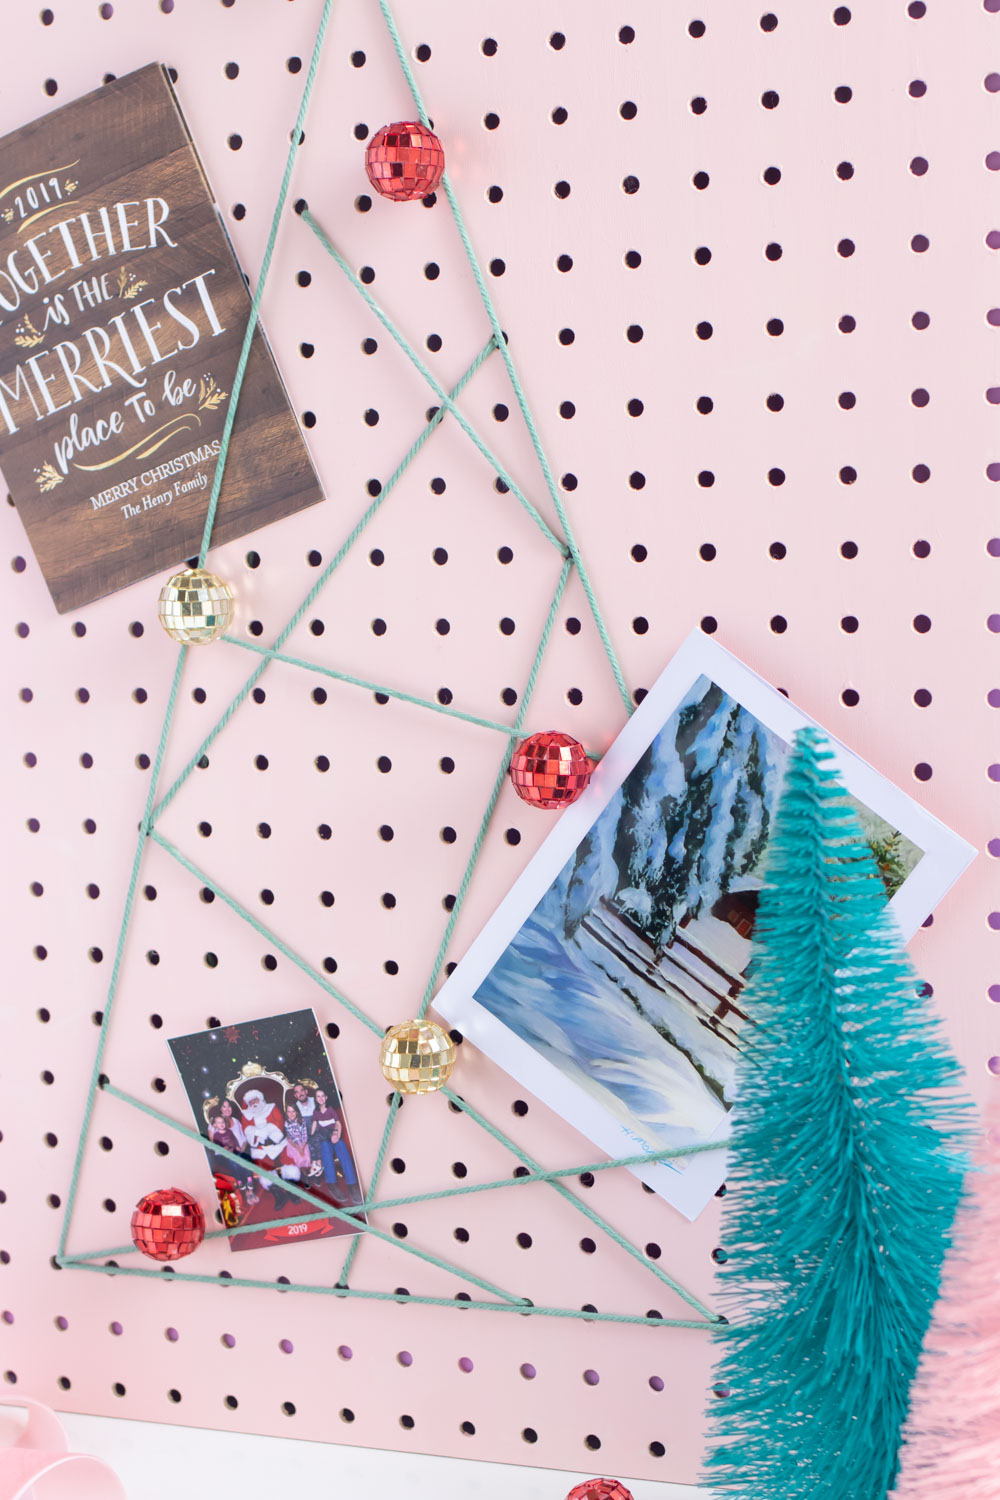
Now you can prop up the holiday pegboard card holder on a table, or add pegboard hanging brackets to display on a wall. It’s the perfect way to enjoy all those holiday cards for the rest of the year!
