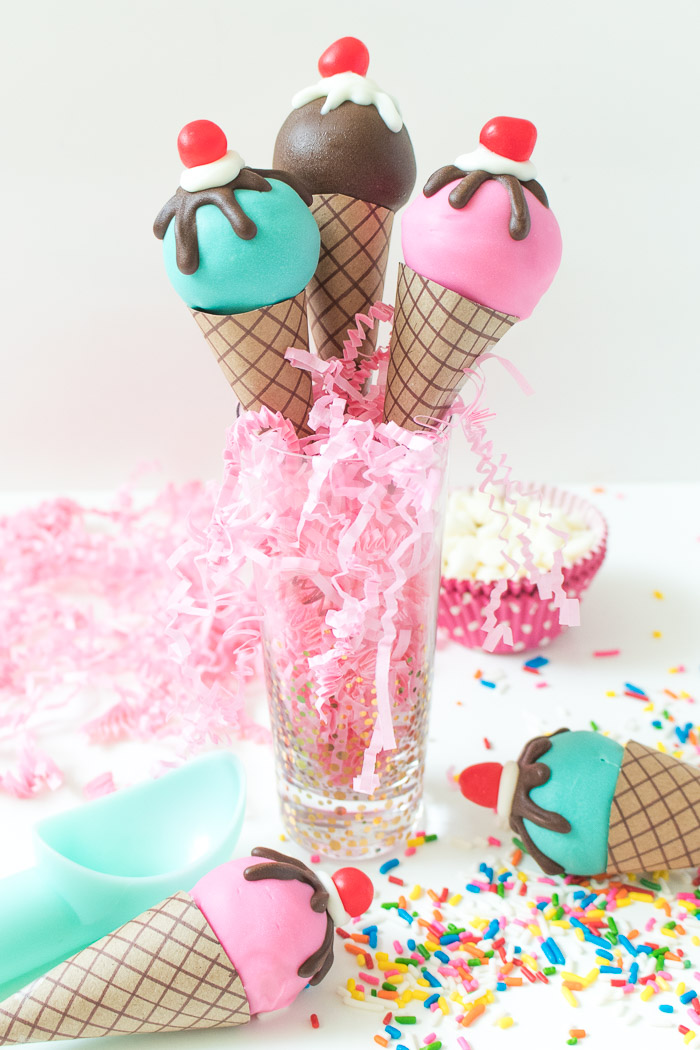
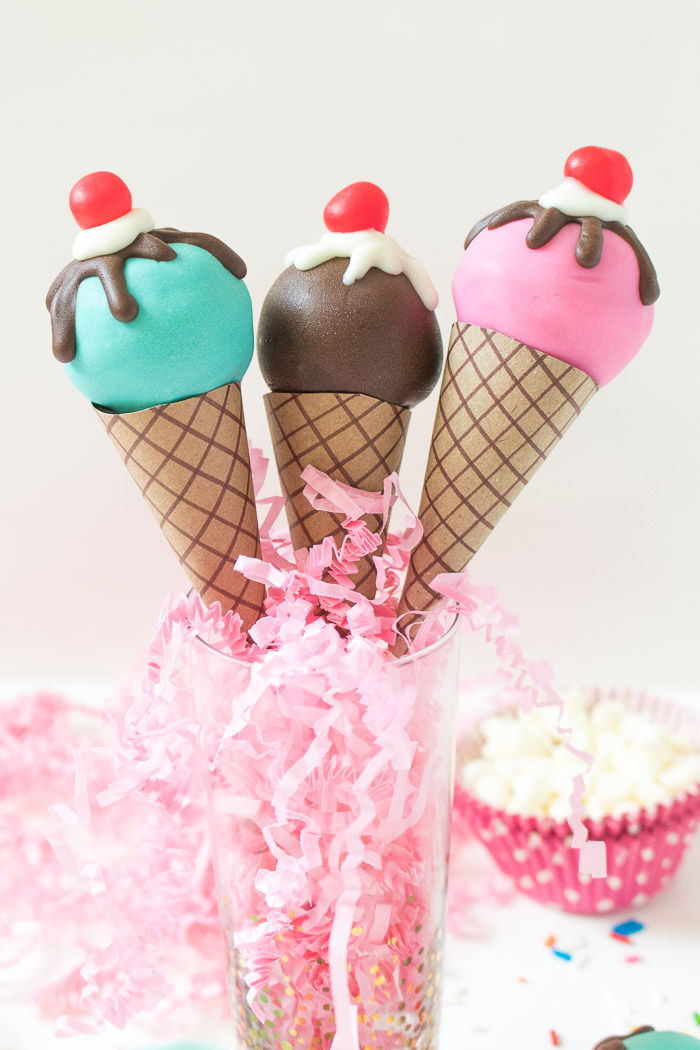
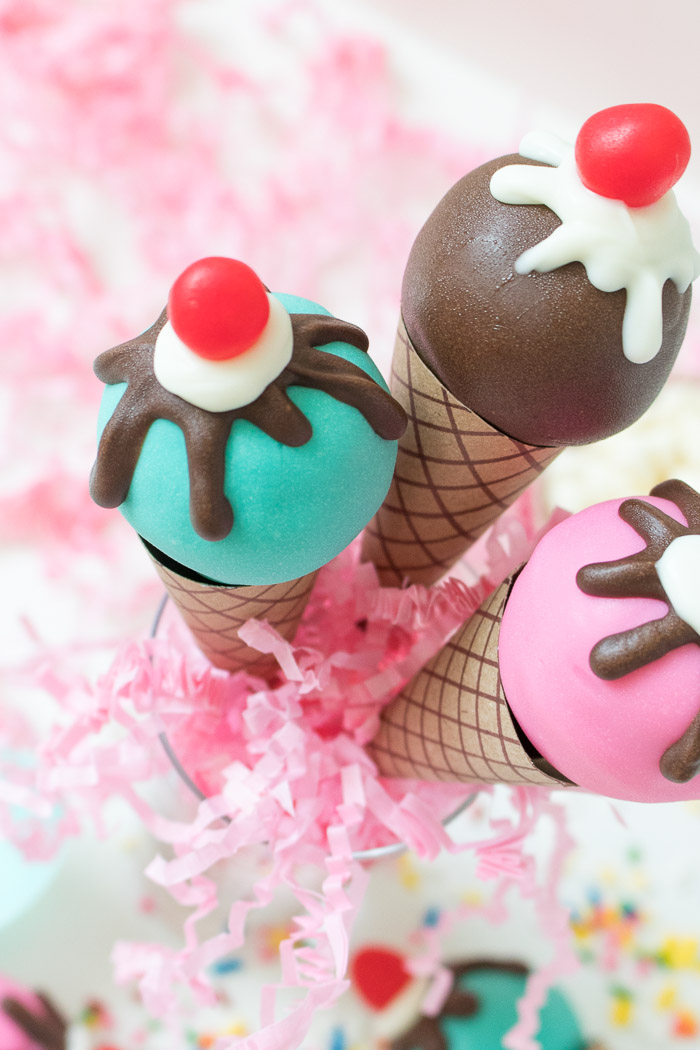
 Truthfully, I’ve always had trouble mastering cake pops. It’s my mom’s territory. I tend to stick to cakes and cupcakes, but after a few years, I definitely feel more confident coating my cake pops with a smooth layer of candy melts. This time, I made ice cream cone cake pops that look like mini sundae ice cream cones!! I have to admit this is one of my favorite projects from the past month, and topped with a drizzle of chocolate, white “whipped cream” and a sour cherry candy, they really do look like little ice cream cones. I bet you’d never know they were cake pops from a distance! They’re not much work compared to any other cake pop, and the best part is it doesn’t matter how messy the bottoms are because you can wrap a paper cone around it to hide imperfections.
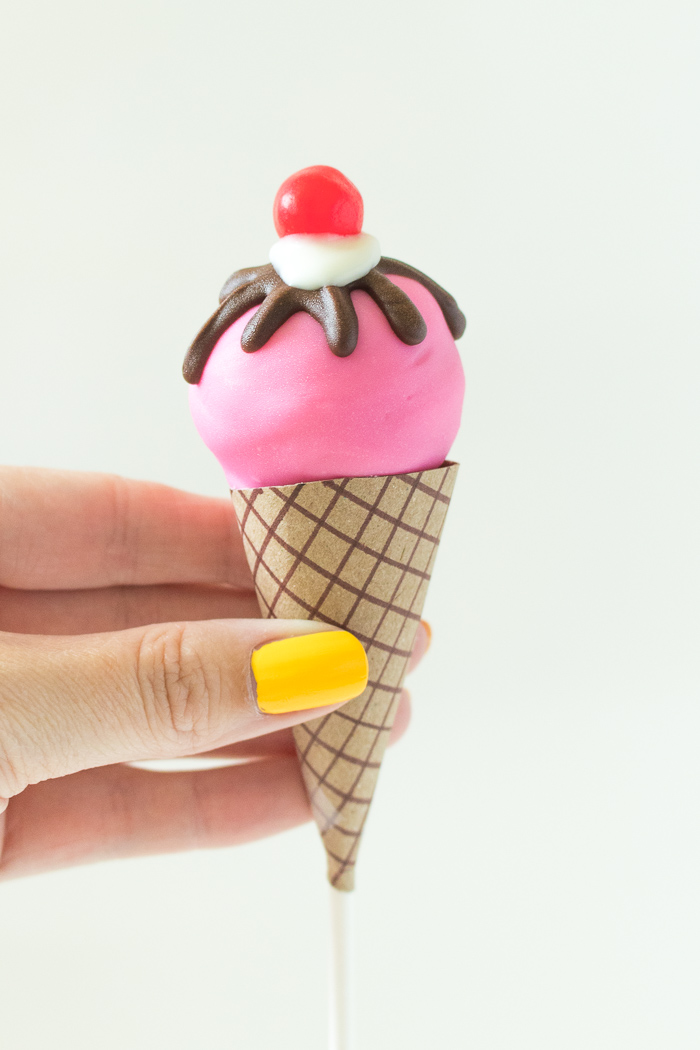
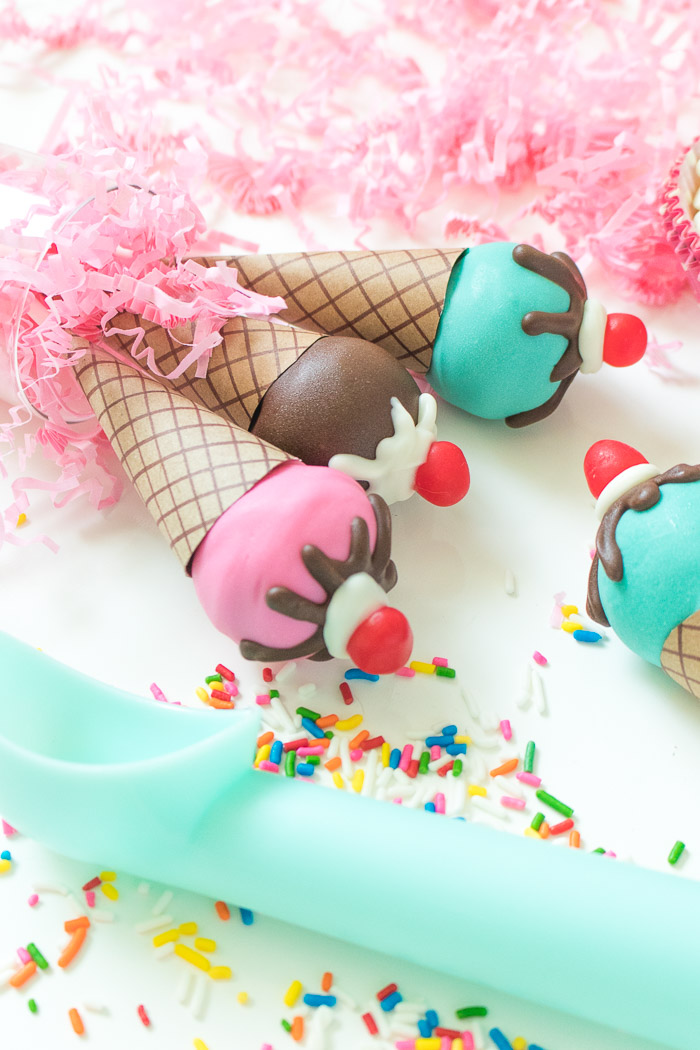 Even before adding the cones, I felt like my ice cream cone cake pops were pretty clear, but the waffle printed paper cones really took them to the next level.
I like to save the domes from my cakes and freeze them to make cake pops, so this simple vanilla cake was actually leftover from one of my cakes a couple months ago. I froze the extra cake fresh and left it to freeze for almost three months. Once thawed, you’d swear the cake was freshly made! Freezers are a godsend, guys.
Scroll down for the quick tutorial! 👇🏼 You can use any baked cake recipe to make your cake pops.
I used three colors of “ice cream” for covering the cake pops. The pink is for strawberry, the brown for chocolate and the teal for mint, but it’s a little darker than what you’d usually find. I added white chocolate to each of the colors to lighten them just a little. Remember, you can mix and match candy melt colors!
How to Make Ice Cream Cone Cake Pops
Supplies:
- Leftover cake, desired flavor
- Leftover frosting, desired flavor
- Colored candy melts
- Brown candy melts
- White chocolate
- Sour cherry candies
- Pastry bags or plastic ziplock bags
- Cake pop sticks
- Light brown paper
- Dark brown marker
- Scissors
- Tape
Step 1: Combine crumbled cake and a small amount of frosting in a bowl. Squish with you hands until the cake is just moist enough that you can form shapes. Do not add more frosting than necessary.
Step 2: Form the cake mixture into 1-inch balls and place on a parchment lined baking sheet. Refrigerate for about 20 minutes to harden a bit.
Step 3: Melt the colors you want to coat the ice cream cone cake pops with in separate bowls deep enough to dip.
Step 4: Dip the cake pop sticks in the melted chocolate, then insert into the balls of cake. Refrigerate 10 minutes.
Step 5: Once the sticks have set in the cake pops, carefully dip the cake pops into the melted candy coating. If needed, use a spoon to drip the candy onto the cake pops so that you don’t risk breaking them off the sticks. Allow excess to drip off, then stick into styrofoam or an upside down colander until the candy hardens.
Step 6: Move the remaining melted brown and white chocolates to pastry bags or ziplock bags and cut a very small amount off the tips. Once the first layer of candy has hardened, use the pastry bag to make a drizzle pattern on the tops of the cake pops with brown or white chocolate.
Step 7: Then, pipe a dollop of white chocolate on top and press a cherry candy into it. Allow to dry and repeat with all cake pops.
Step 8: To make the paper cones, cut 3-inch squares out of light brown paper and cut a curve along one side to connect the corners. Draw a criss-cross pattern with a dark brown marker. Then curl the shape into a cone and tape in place, leaving a small opening at the bottom so that you can slide it up the cake pop stick. (Psst, I have a similar template here!)
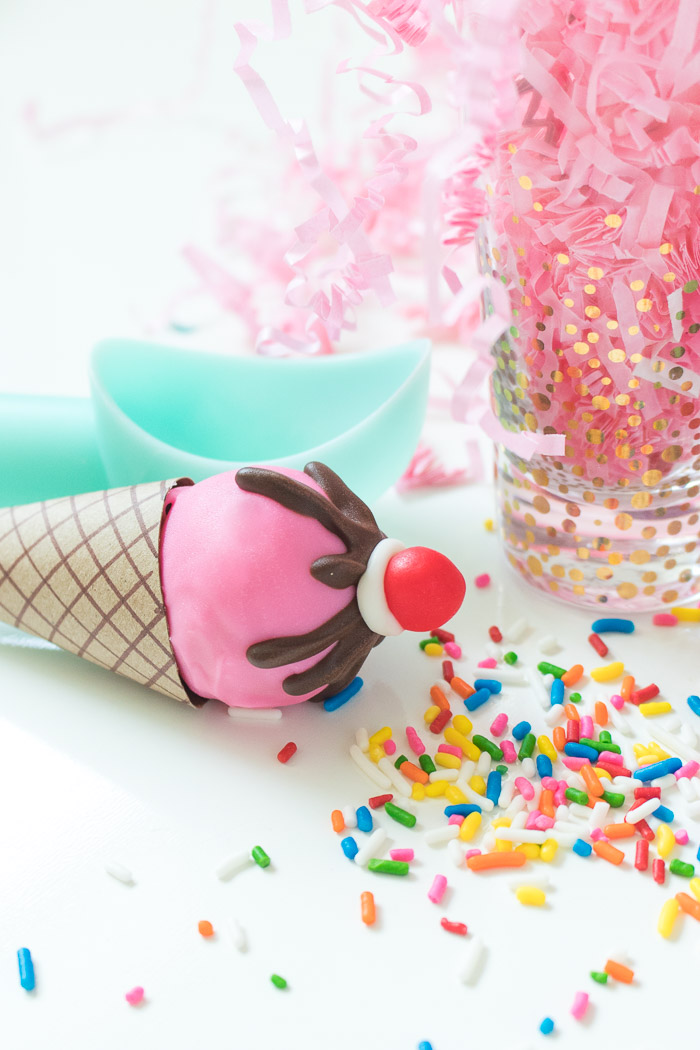 Now your ice cream cone cake pops are ready to serve! Slide on the paper cones and serve by sticking them in styrofoam or prop them in a tall glass. You’re sure to deceive everyone! Are they ice cream cones or cake pops?! This will be such a fun addition to any ice cream party or other party this summer.
PS, want more cake pop practice? Check out these eyeball cake pops that I made for Halloween!
Please note this post contains affiliate links from which I may collect a small profit should you choose to make a purchase. I only like to products I personally use or recommend.

Lisa
Hi! How far in advance can you make these cute little treats?
Wondering how long the vine will stay crisp.
Thanks!
Lisa
Holly Wade
LisaHi there! As long as they’re refrigerated, they should last about a week. The longer they sit, the more likely it is that they could fall off the sticks though.
Karly
These are the cutest cake pops ever!
Holly Wade
KarlyThanks Karly!!