The following post is in collaboration with Sherwin-Williams
 Today’s post was a doozy to plan, guys. I have a bone to pick with IKEA after they suddenly discontinued the RAST dresser that I had been looking forward to DIYing for ages. WHY?!?!?! Nonetheless, I persevered and reworked my idea to update my bedroom with a set of brightly colored “nightstands” using this simple IKEA IVAR dresser makeover with the help of Sherwin-Williams. I wanted to brighten up our bedroom with a pop of color and thought it would be perfect to incorporate a color inspired by Pantone’s Color of the Year, Greenery.
If you follow along on my journey of decorating our apartment, AKA The Shire, you know that Andrew and I don’t always agree on decor. It certainly takes some compromise, but we’ve adapted and he tends to agree with me a lot of the time now that he’s liked other chances I’ve taken. That being said, choosing Sherwin-Williams Organic as the color for our two dressers/nightstands was definitely a hard sell. Luckily, he liked it!…unless he’s lying to me, in which case, thank you Andrew.
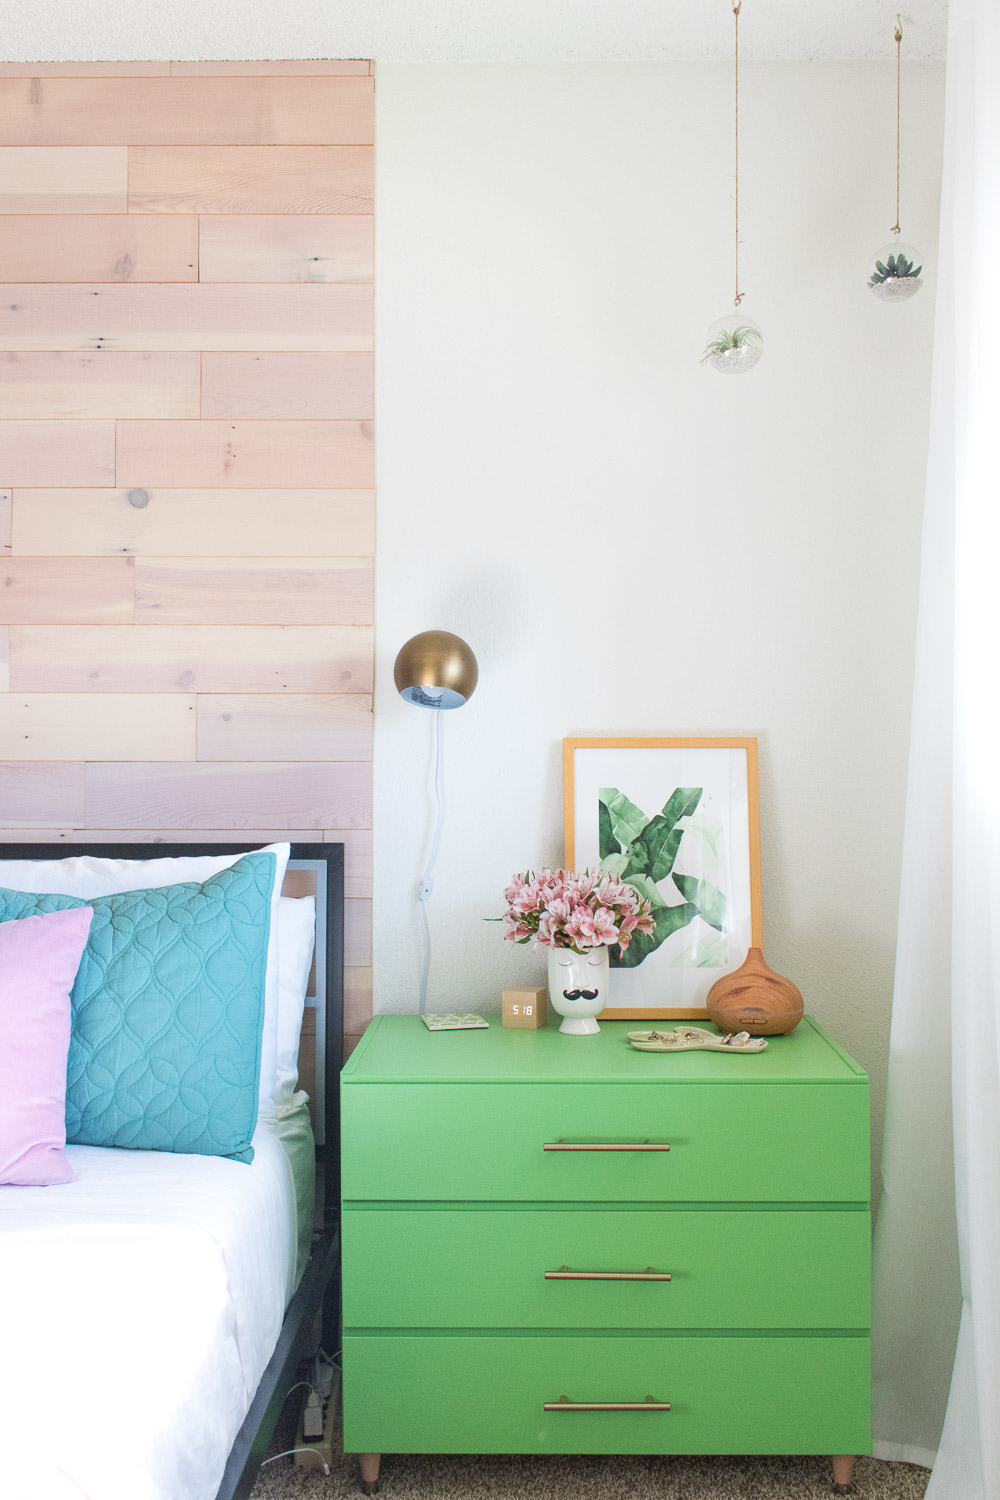
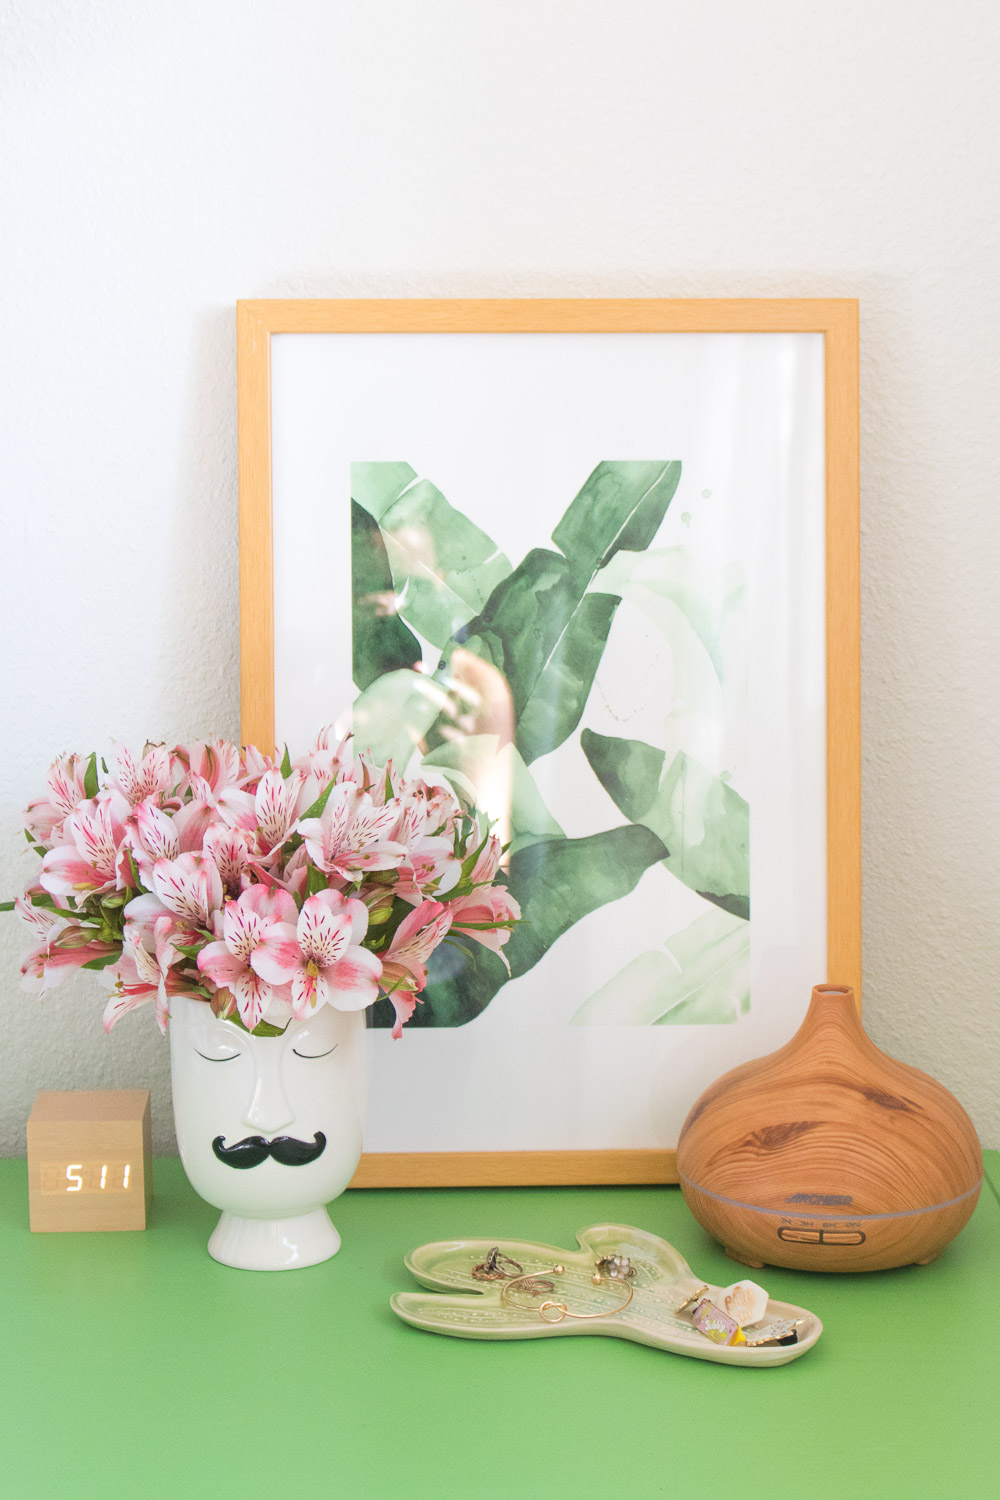
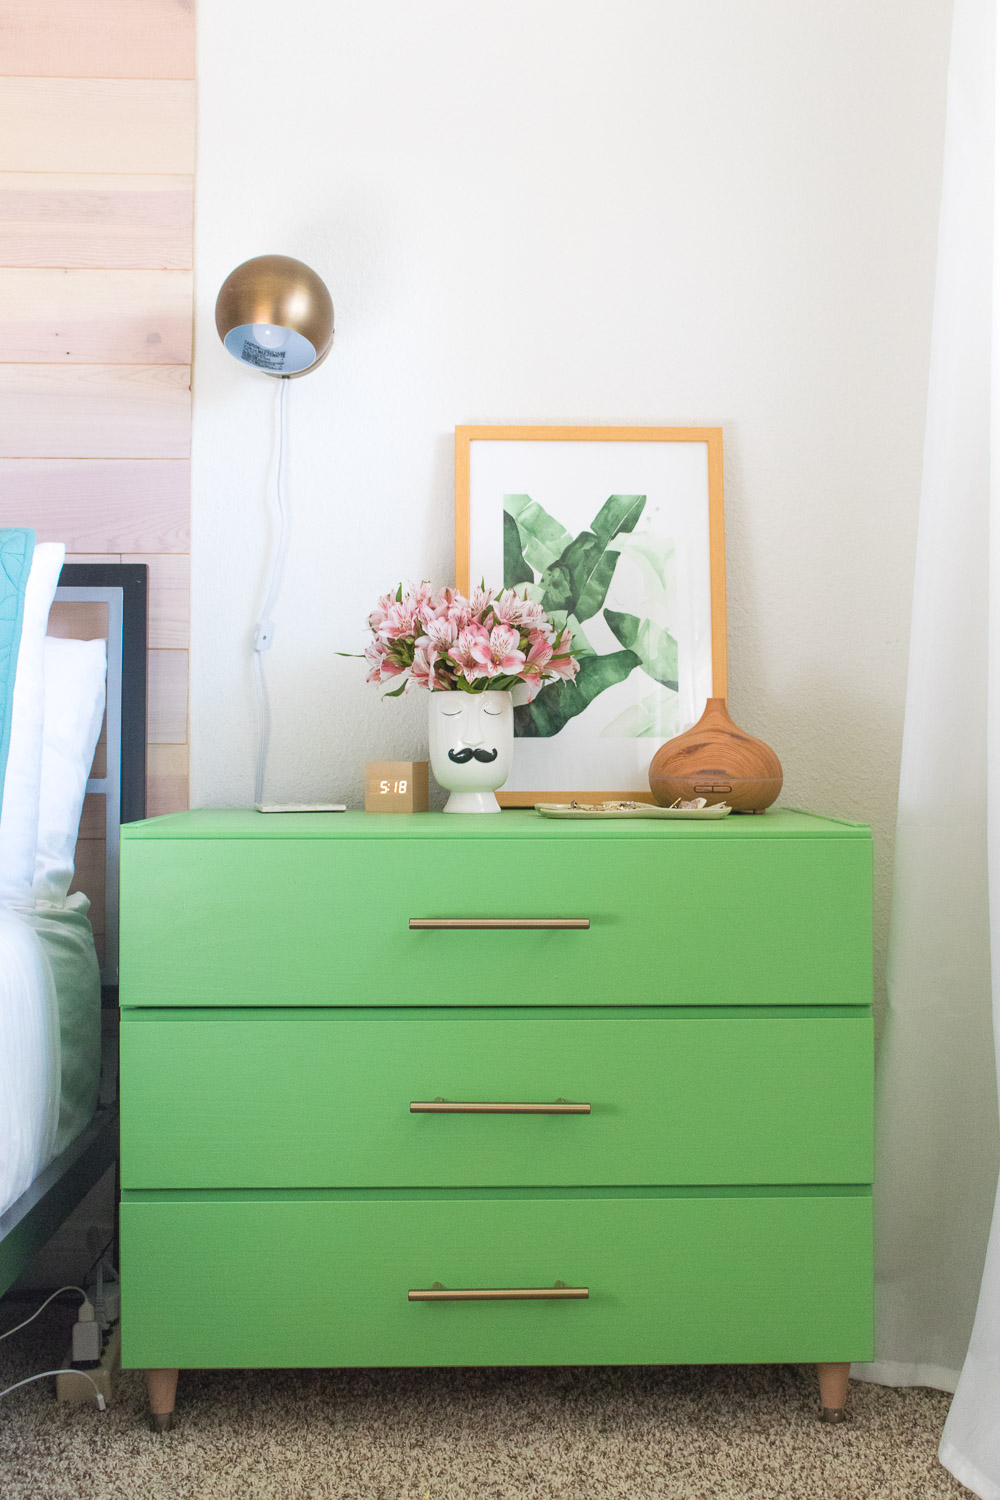
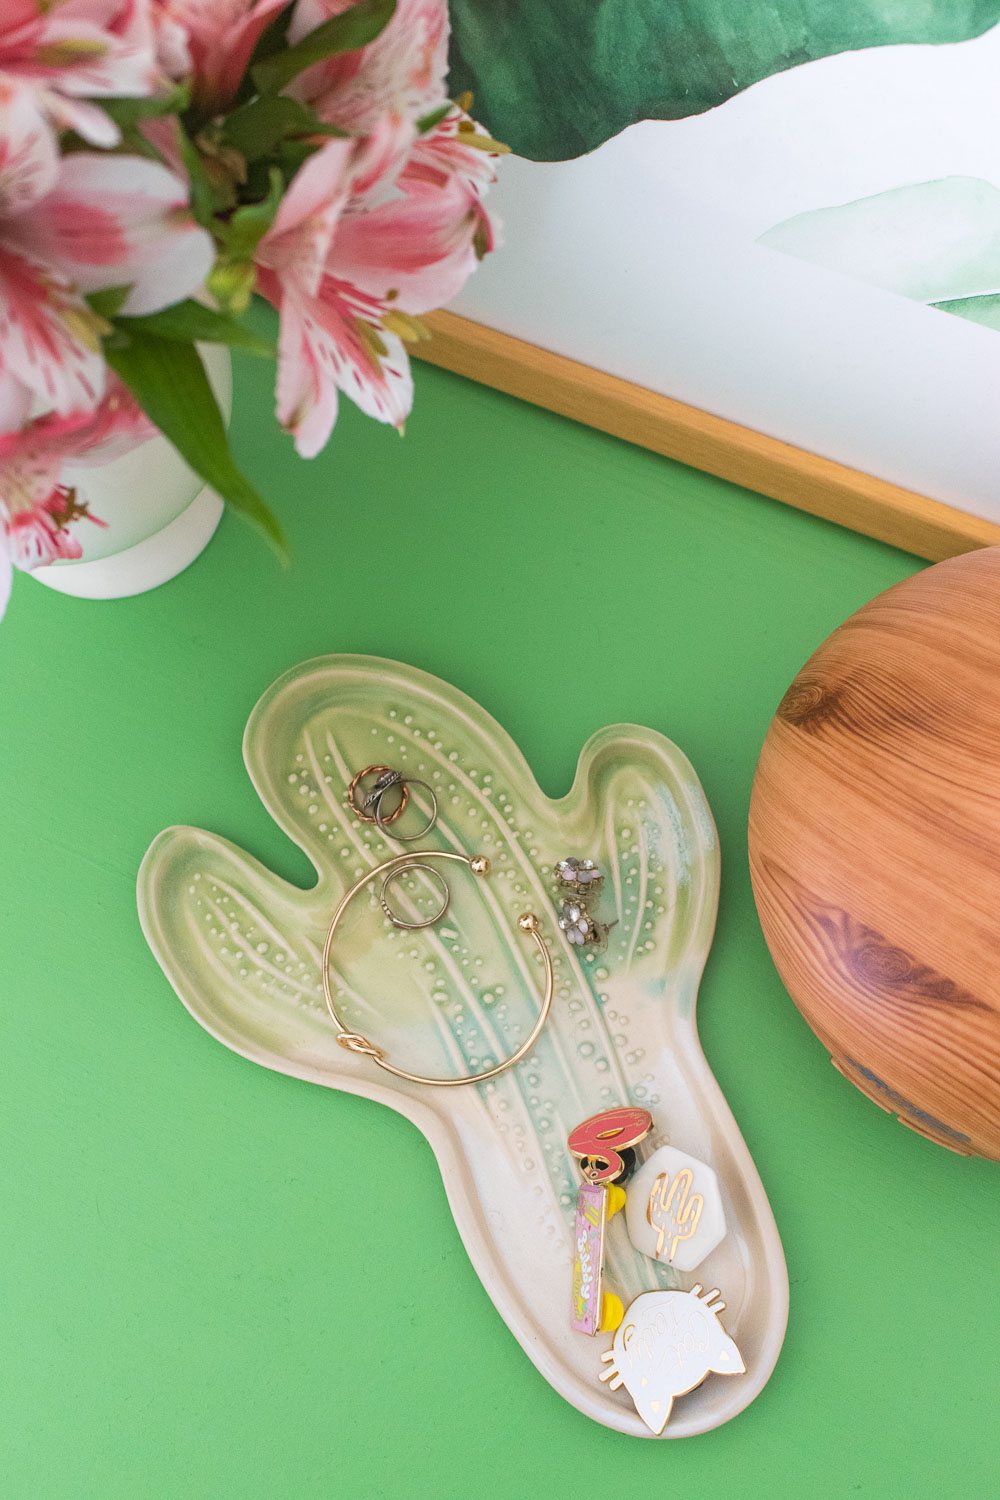 My boring bedroom got the best upgrade with these bright additions. Plus, who doesn’t love a good IKEA hack?!
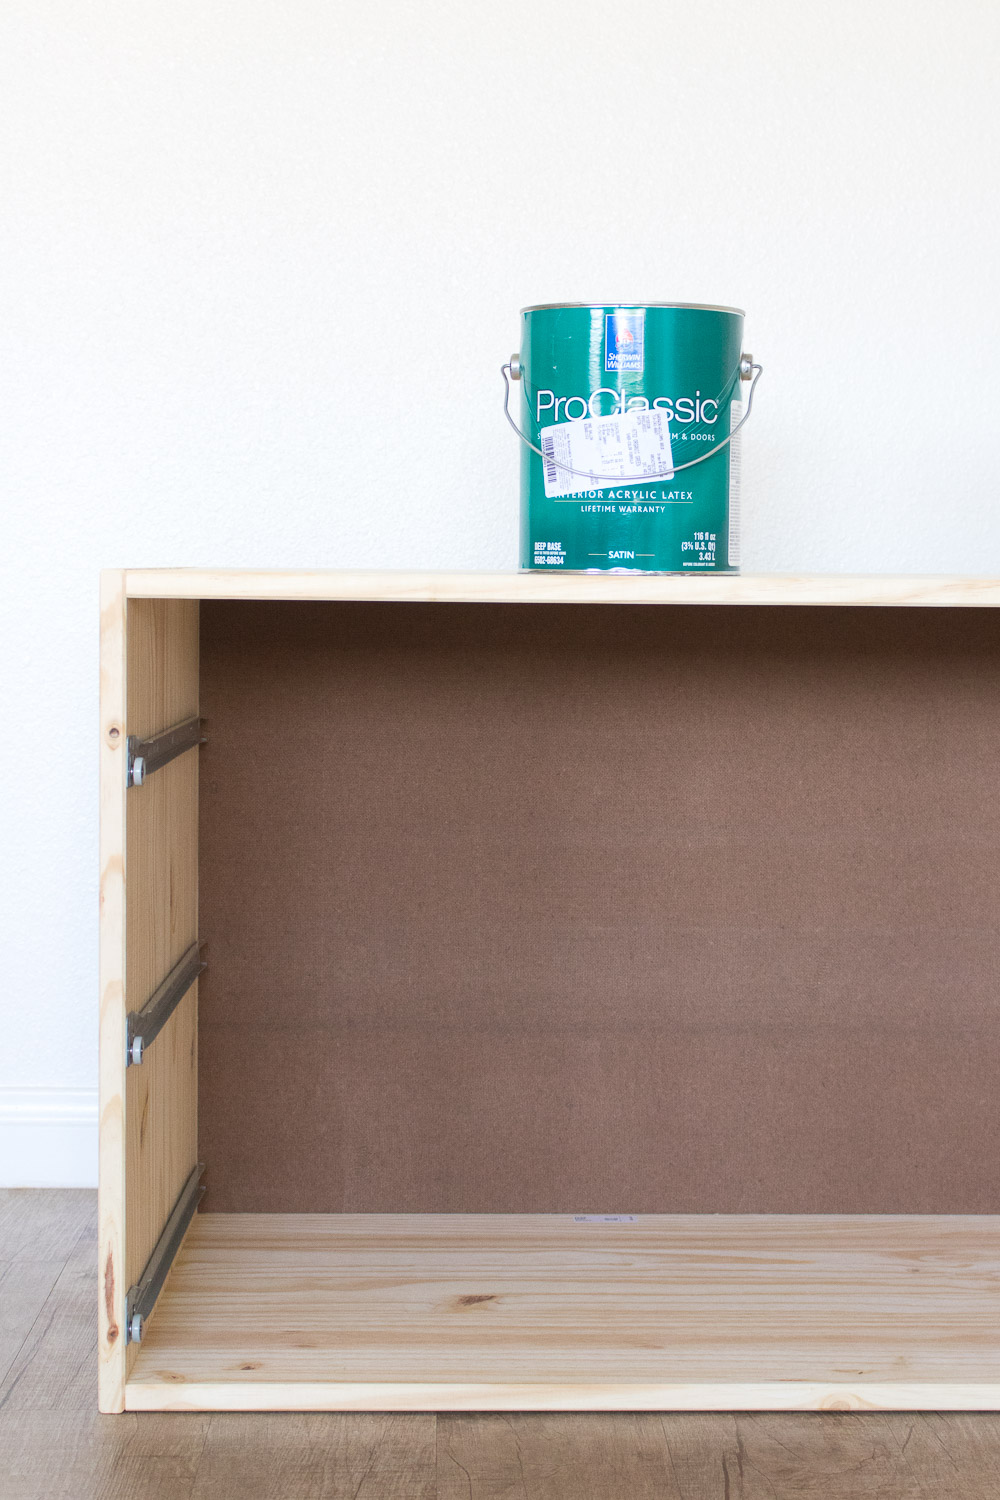
We have a decent sized bedroom, but we’ve struggled to make the best use of the space. Our old nightstands (you can see a peek here) belonged to my parents, and although they served us well for several years, they just aren’t my style. I wanted to swap them for larger pieces that could be used as much-needed dresser space, but that was proving costly, so I decided to DIY my own. Using the IVAR units from IKEA, which are made of unfinished pine, I painted two coats of Sherwin-Williams Pro Classic paint in Organic satin finish using Mandi’s tips for painting furniture. (She’s brilliant if you don’t already know that.)
Then I added brass hardware handles and mid-century modern-style peg furniture legs to complete the dressers. I love them and the freshness it brings to the room. Plus, these are actually heavy-duty dressers that don’t feel like cheap IKEA furniture at all!
Here’s how I DIYed these IKEA hack dressers! Note, I do recommend this as a two-person job as assembling IKEA furniture is difficult and these pieces are very heavy.
- IKEA IVAR 3-drawer chest
- Sherwin-Williams Pro Classic paint
- Paint roller
- Paint brush
- Power drill with drill bit
- Measuring tape
- Pencil
- Level
- 3 brass drawer handles, screws included
- 4 3-1/2-inch mid-century furniture legs
- 4 triangle furniture leg plates, screws included
Step 1: Remove all pieces of the IVAR unit from the box and assemble according to IKEA instructions. (Note, try not to destroy your relationship in the process, as assembling IKEA furniture tends to have this effect on people ?)
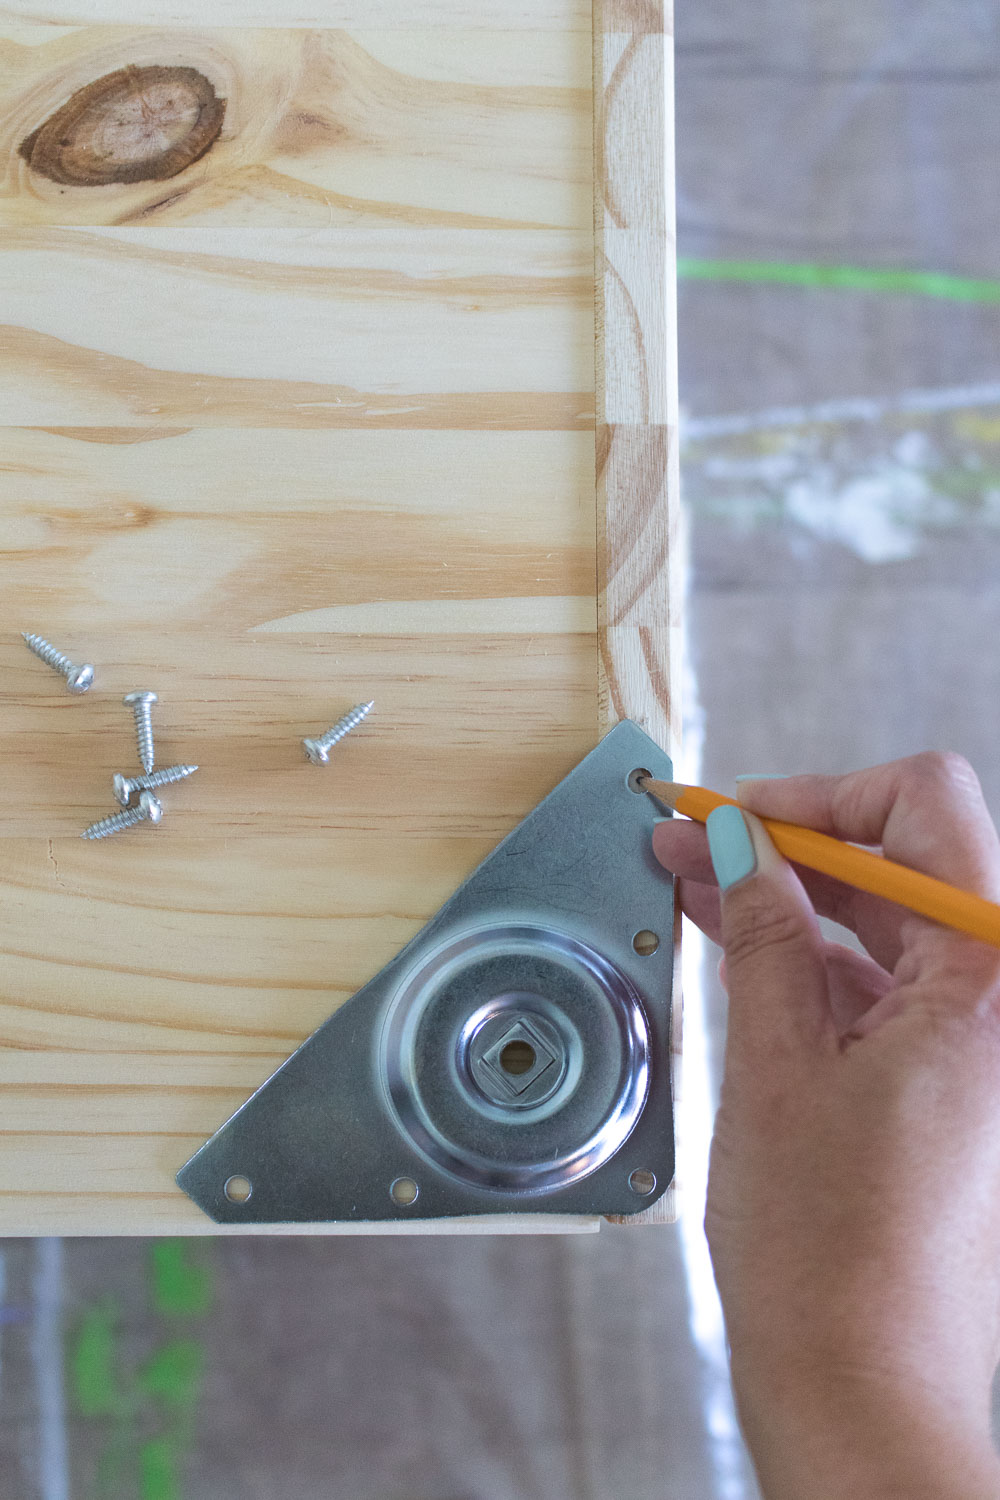 Step 2: Once assembled, very carefully turn it upside down on a clean surface covered with a drop cloth to protect both the floor and the furniture. Place the corner leg brackets on each corner of the bottom of the dresser and mark the holes with a pencil so that you know where to drill.
Note, make sure you are drilling the BOTTOM of the dresser. The hardware that holds the drawers in place will determine which side is up or down.
 Step 3: Attach a drill bit to your drill and drill at each mark. Then drill the brackets in place with the screws provided. Screw in the furniture legs and carefully turn the dresser right side up.
Note, I attached the legs before painting so that the dresser would be elevated from the ground and therefore easier to paint the bottom portion.
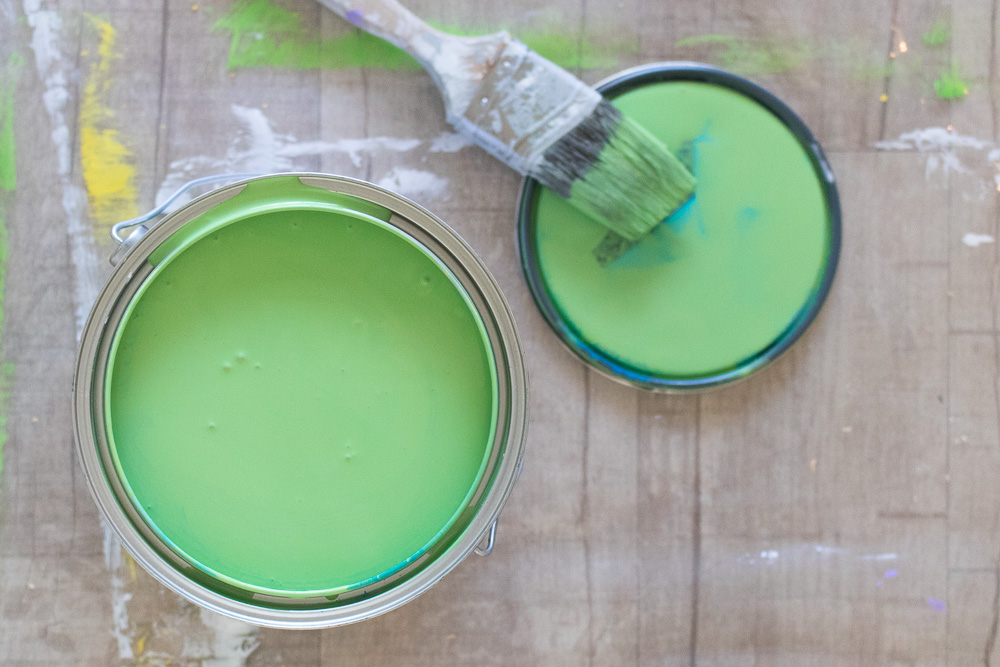 Step 4: Once the dresser is fully assembled, stir and pour the paint. Use a roller to paint each side with only a few passes as well as the fronts of the 3 drawers. Seriously, 2 to 3 passes is perfect! Then step away and let them dry completely.
Note, I followed Mandi’s tips and I can attest to how well the process works. Do not be tempted to roll it over and over, and make sure to wait until the first coat is completely dry before painting the second.
Step 5: Use a high quality paintbrush to paint any smaller edges of the furniture, including the divots of drawers and any crevices that the roller may have missed.
Step 6: Once dry, paint the second coat the same way and let dry completely.
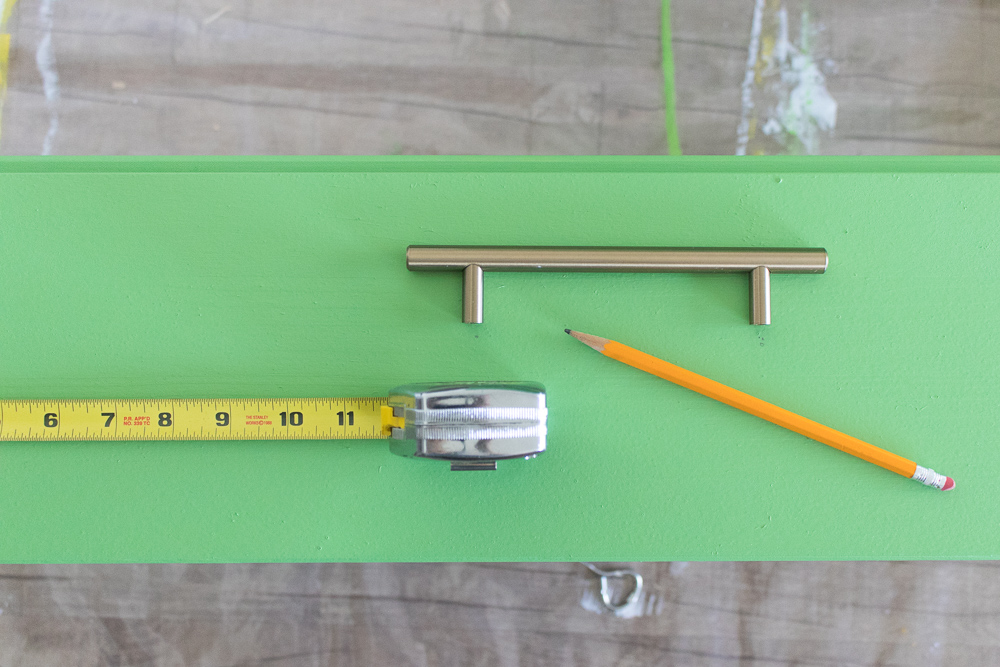 Step 7: Once the drawers are fully painted and dry, use a measuring tape to determine the middle of the drawer. (Measurements may vary according to the hardware you use.) Place the drawer pulls in the middle based on your measurements and carefully mark where to drill the holes.
Note, for best results, you should also use a level to ensure the holes for the hardware are straight before drilling.
Step 8: Drill a hole at one of the marked points and attach one side of the hardware. Then double check that the second hole is still marked correctly before drilling through the drawer and attaching the other side of the handle. Screw the hardware in tightly. Repeat with all 3 drawers and ensure that the handles line up as you go.
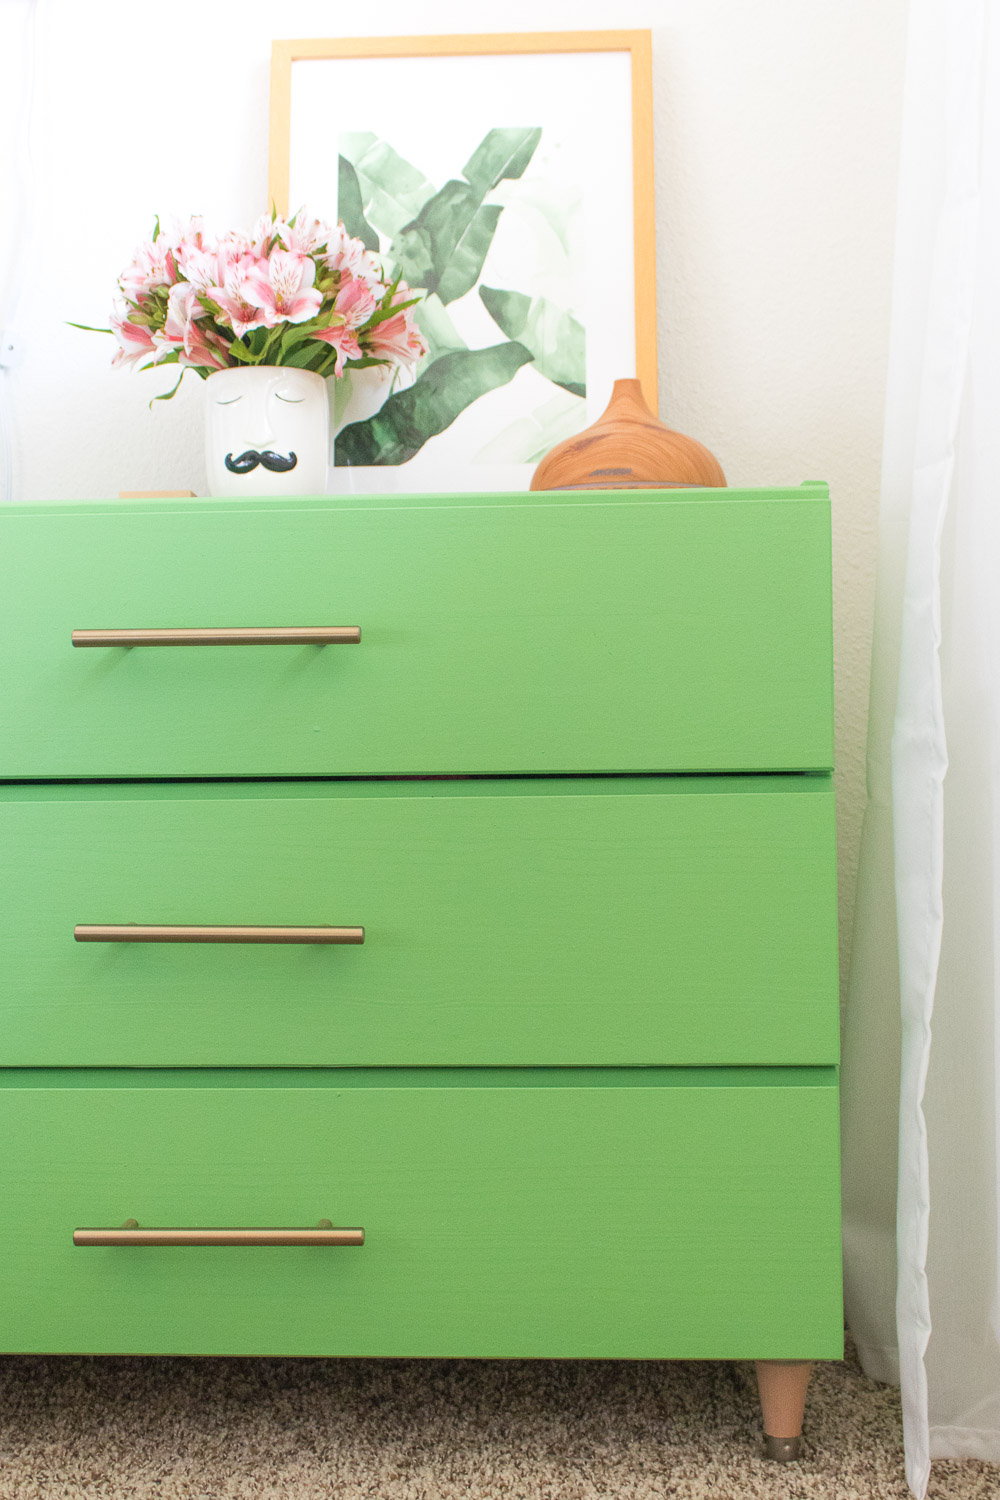
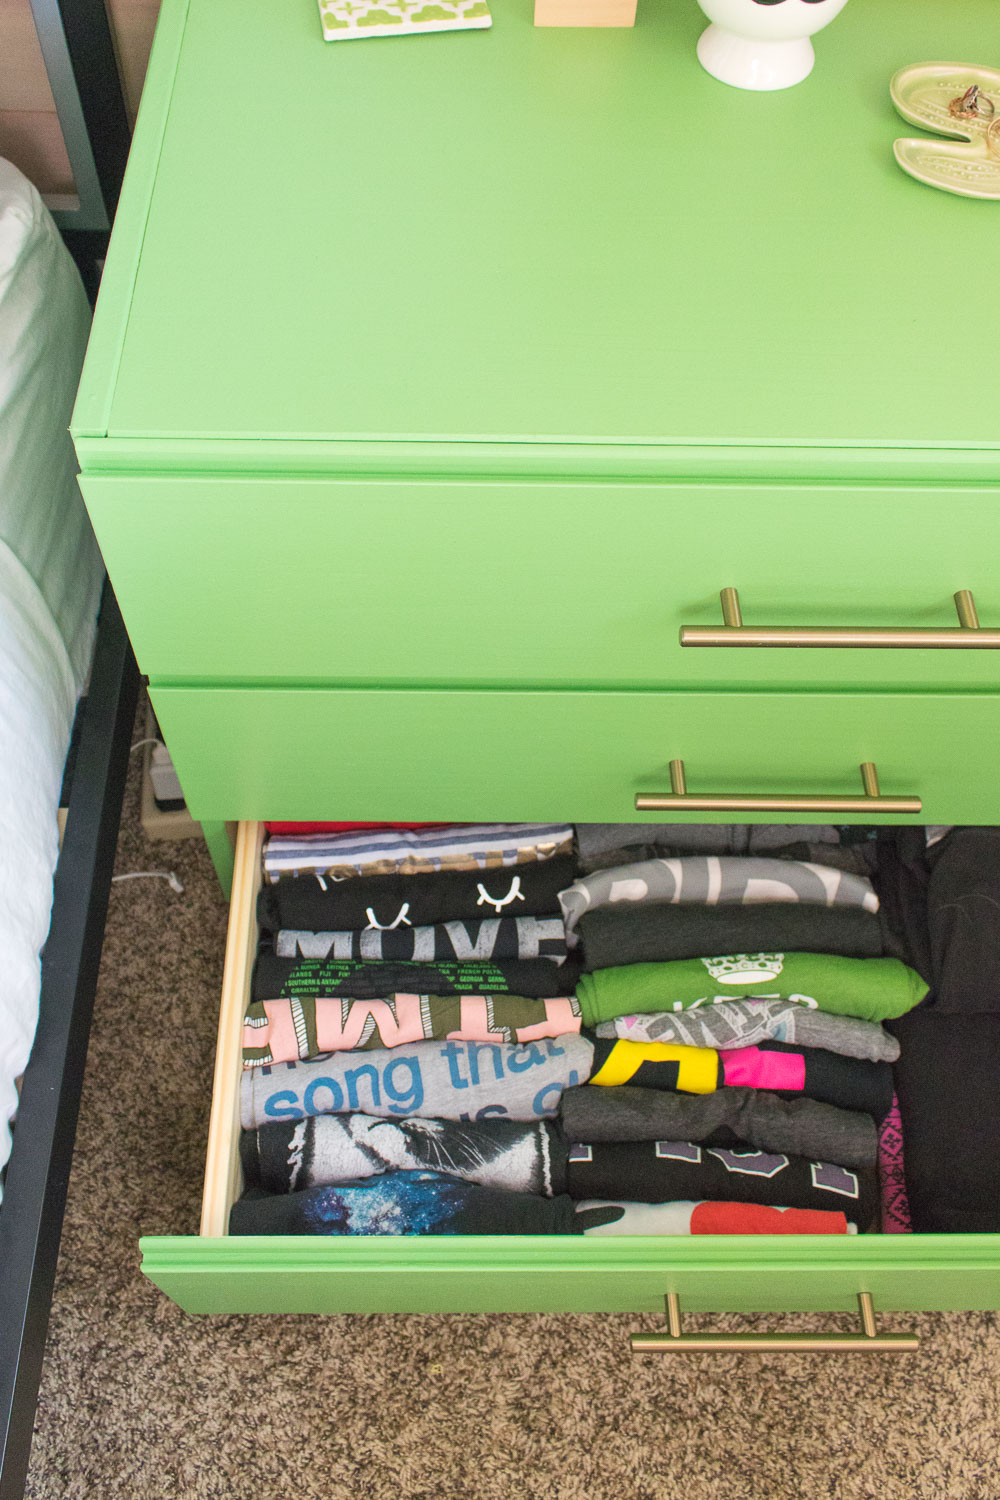 Once the hardware is attached and the paint appears finished, you’re ready to move your furniture to its new home! I made two of these pieces and they have replaced our old nightstands on either side of our bed. Although I was tentative about adding such a bright color to our bedroom, I love the color and personality it adds to our space. Plus, the light wood legs match our new Stikwood plank wall, and the brassy hardware matches our new sconces.
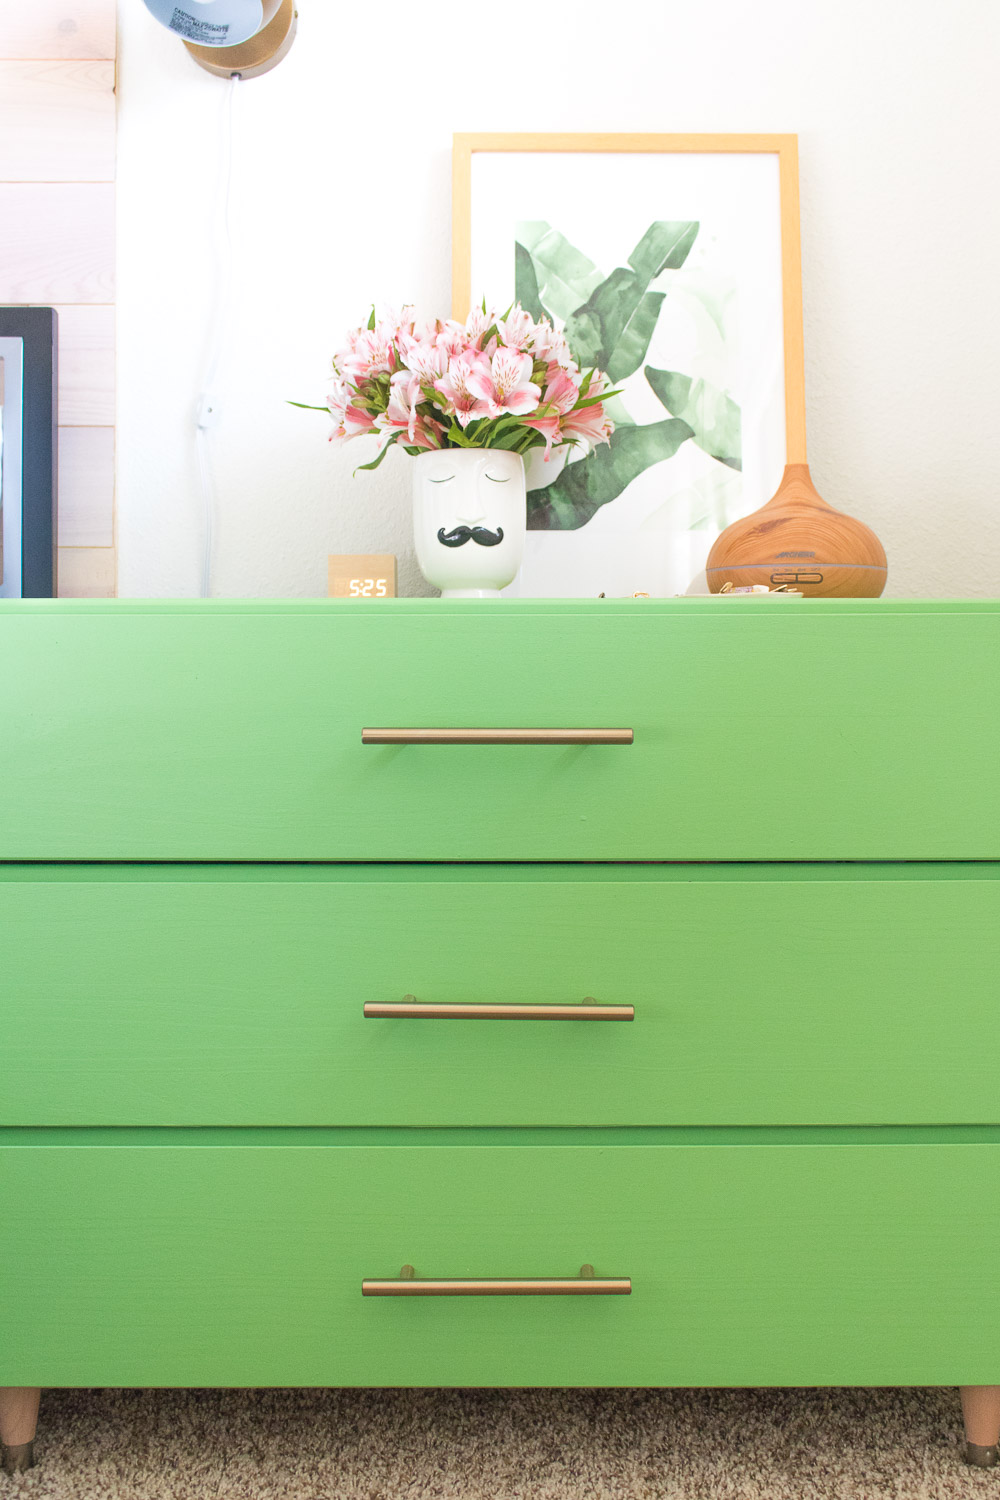
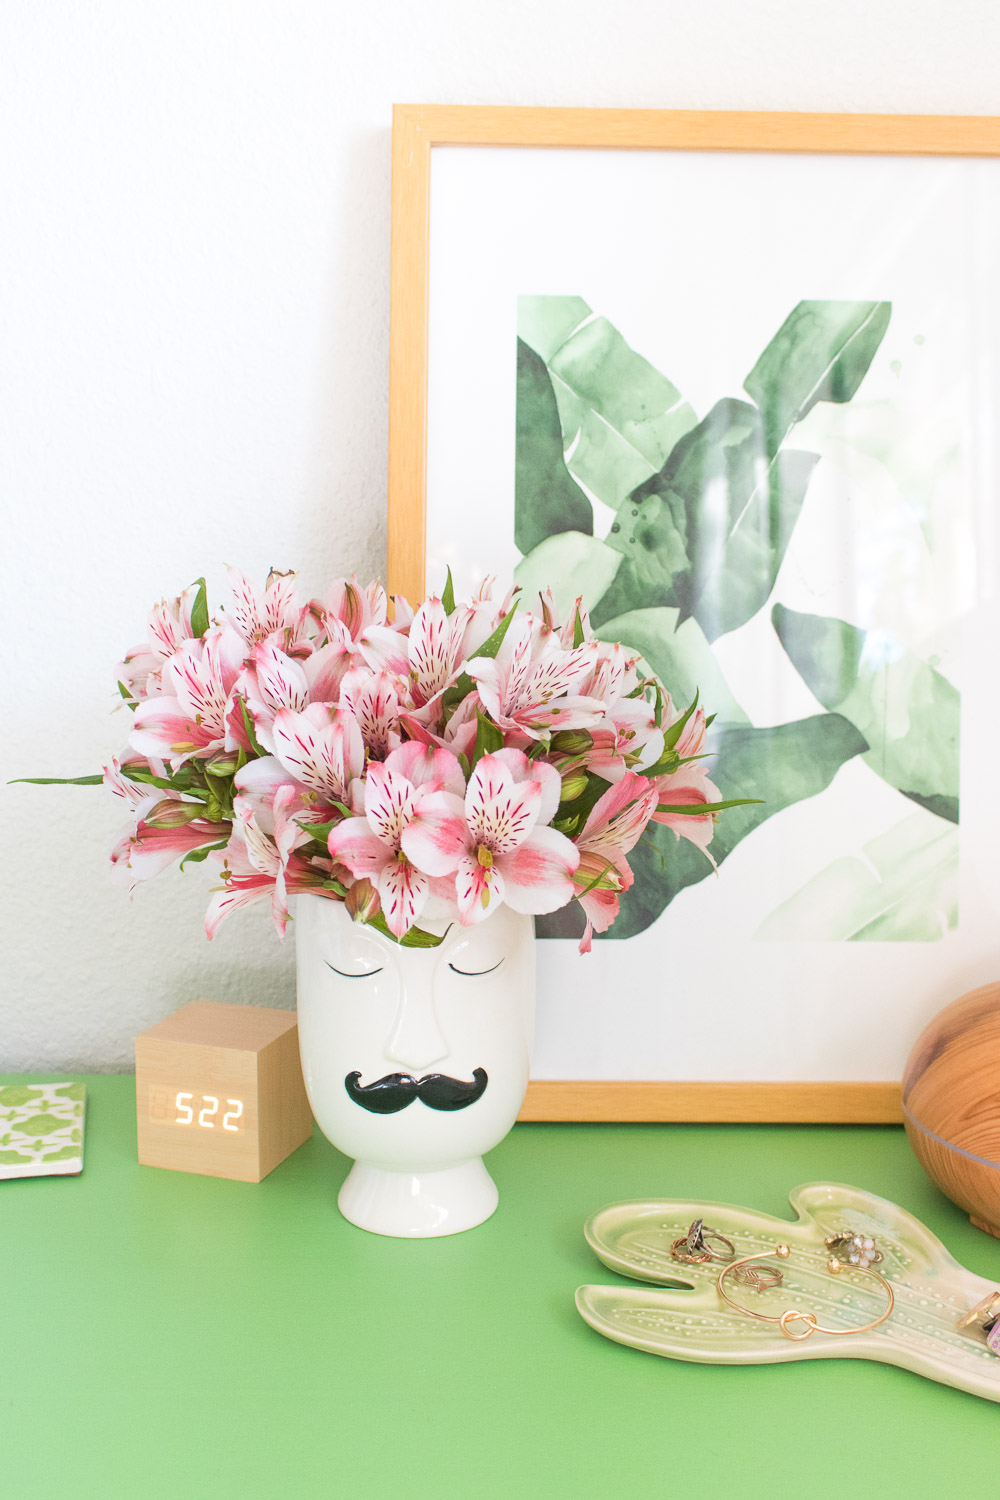
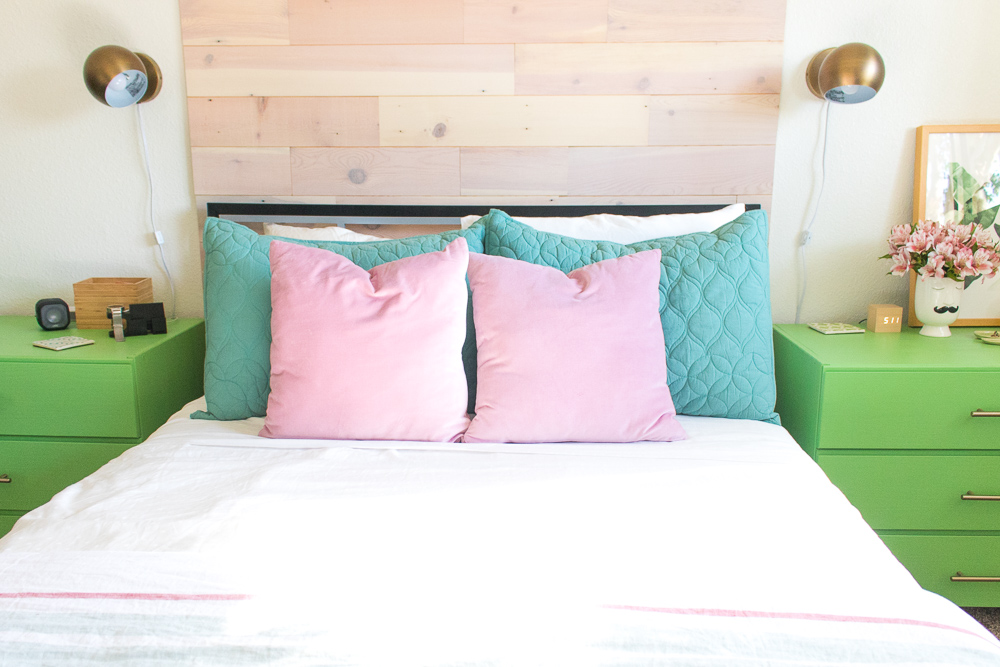 I’m so happy to see this room taking shape, and I just have a few more changes to make before I share a bedroom reveal here on the blog, so stay tuned!
Thank you to Sherwin-Williams for generously providing their product for this post. All opinions are my own. Please note that this post may contain affiliate links from which I may collect a small profit if you choose to make a purchase. I have linked to the specific items that I used in this project. Thanks for supporting the brands that keep Club Crafted sharing!

Sharon S.
I purchased this same drawer and have some concerns about painting the raw pine. Research recommends using a primer as to not have the wood absorb lots of paint. How was your experience? I’m thinking of using Fusion Mineral Coal Black paint.
Holly Wade
Sharon S.Hi Sharon! Using a primer first is always a good choice! I actually found that without a primer, it didn’t absorb the paint too much and was a very smooth painting process.
Kate
Sharon S.Hi Sharon! Did you use Fusion Mineral paint on the dresser? I am thinking about doing the same and would love know how it worked out. Has the paint held up well? Or does it scratch easily? Thanks for your help!
Rui Marques
i
Really loved your hack.
Where can i get the clock?
Holly Wade
Rui MarquesThank you! It is from Amazon
https://amzn.to/2MaeMAc