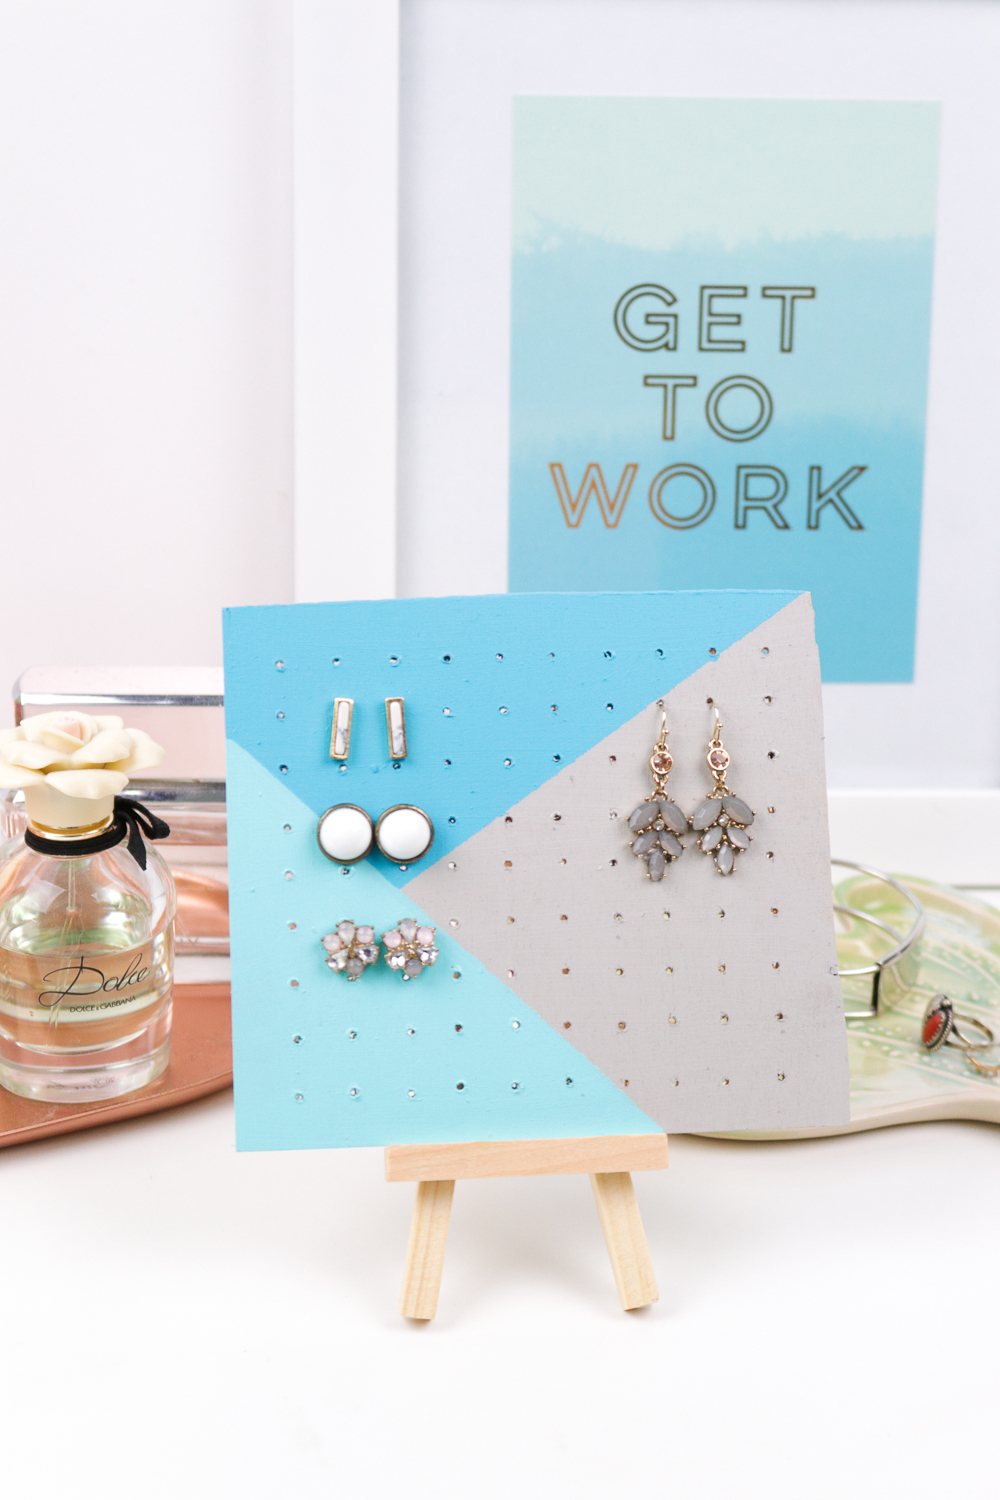
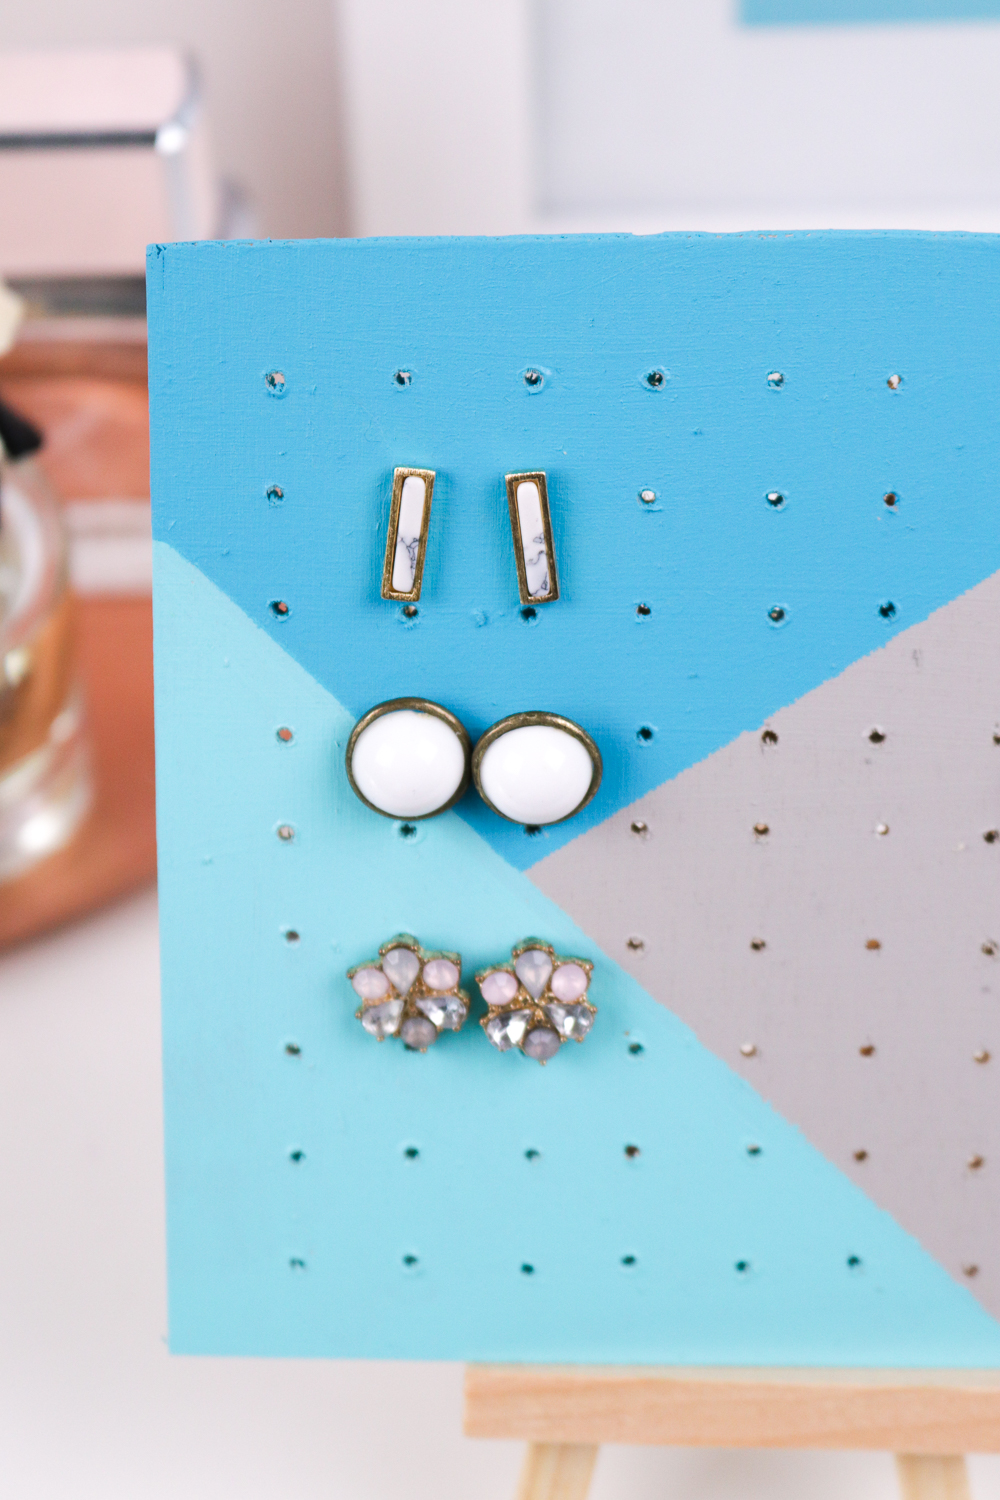
 I’ve only had my ears pierced for a few years because of an allergic reaction when I was a kid, but since then, I have LOVED buying earrings. They’re just so fun and easy to add to every outfit, but I’ve developed quite the storage problem trying to keep all of my earrings organized. Most of them end up thrown in a bowl on my dresser…oops. To finally solve my sad organization issue, I made this simple wood earring storage board that props up on an easel on my dresser for easy access to my stud and dangling earrings. It’s been the greatest addition to my life!
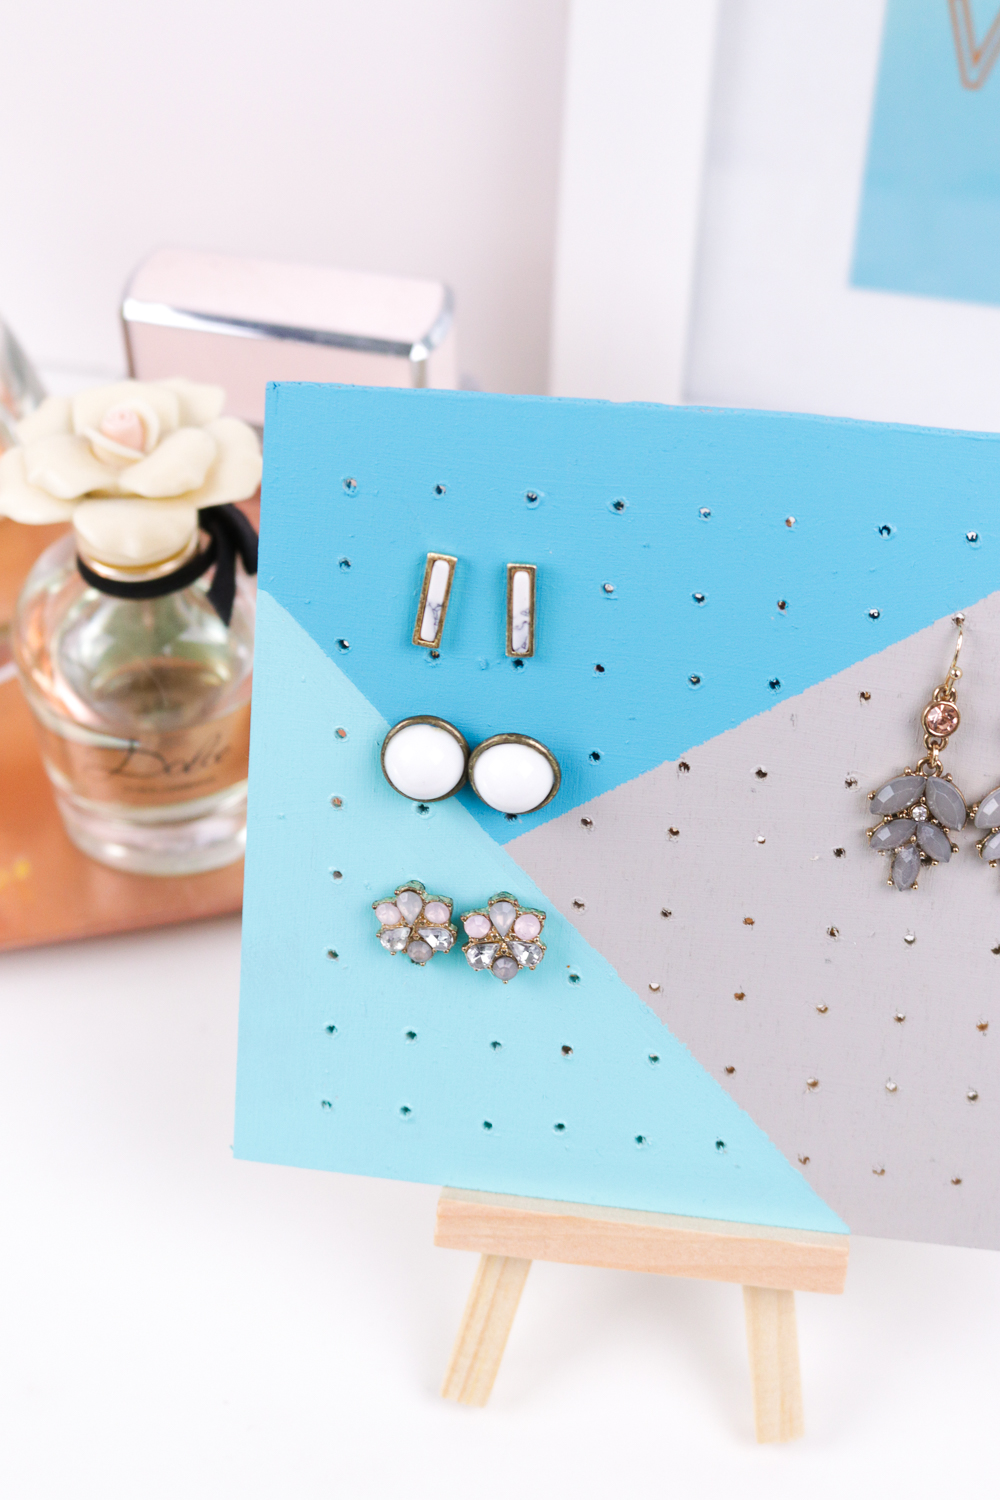
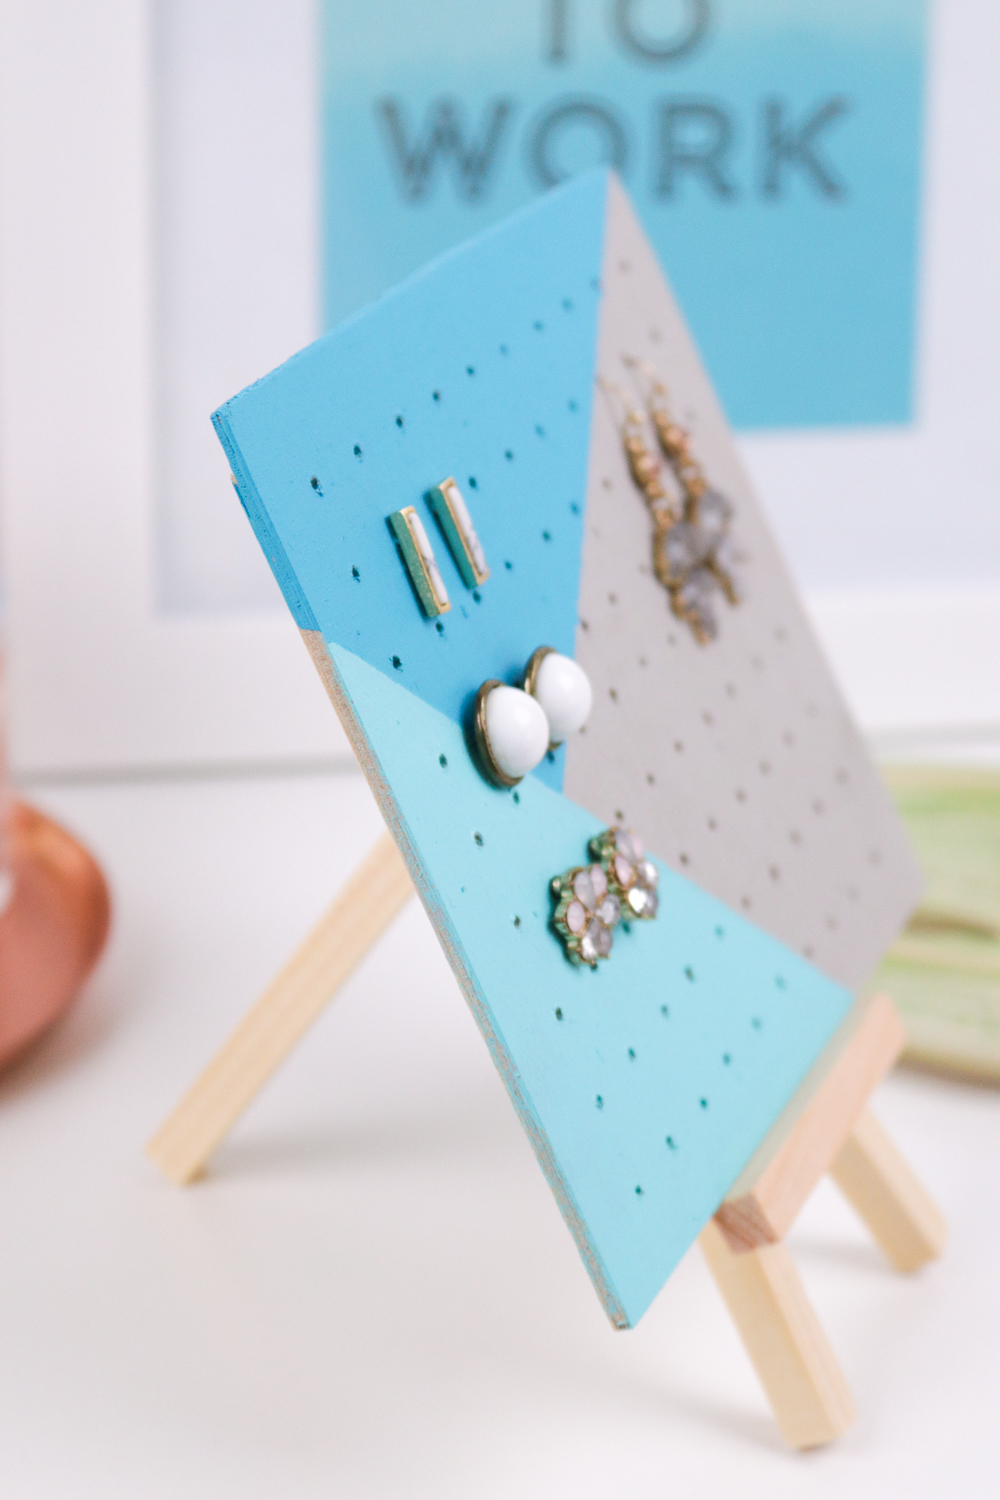 A few years ago when I first began blogging for my old website Revamperate, I made this earring storage box that worked really well for me for a long time (still a fun DIY if you want to check it out, but please don’t judge my terrible photography circa 2014!) but it only stored studs and over time, the felt became dusty. This wood earring board has been a great alternative and it’s much easier to display them like this than to dig through a bowl to try to find two matching earrings to wear.
It’s not too difficult to make, but it will take some patience to drill all of those little holes! Take your time, and then decorate with fun colors and patterns to customize it to your taste.
Supplies:
- Mini easel stand
- 1/8 inch thick birch plywood, cut to about 5 x 6 inches
- Power drill
- Very small drill bit (smallest available)
- Ruler/measuring tape
- Pencil
- Acrylic paint
- Stencil or tape
- Paintbrushes
Step 1: Cut the wood to size as needed. I used a jigsaw on a low setting to do this, but a knife can work with a lot of careful effort. Note, using a jigsaw may still cause some damage to the backside of the wood, but the backside does not matter in this case. Sand the wood as needed to smooth after cutting.
Step 2: Use a ruler or tape measure to lightly mark lines across the wood at every 1/2 inch. Repeat both vertically and horizontally so you have a checkerboard pattern.
Step 3: Drill holes at every intersection of the lines across the board, leaving you with many equally spaced holes. Note, when drilling, I found it best to drill from the front of the board so that any damage appears on the backside.
Step 4: Wipe off dust and erase the remaining marks if possible. If painting, erasing is not as necessary.
Step 5: Once the wood is clean, use tape or stencils to block off designs on the wood and paint with your desired colors (or leave plain).
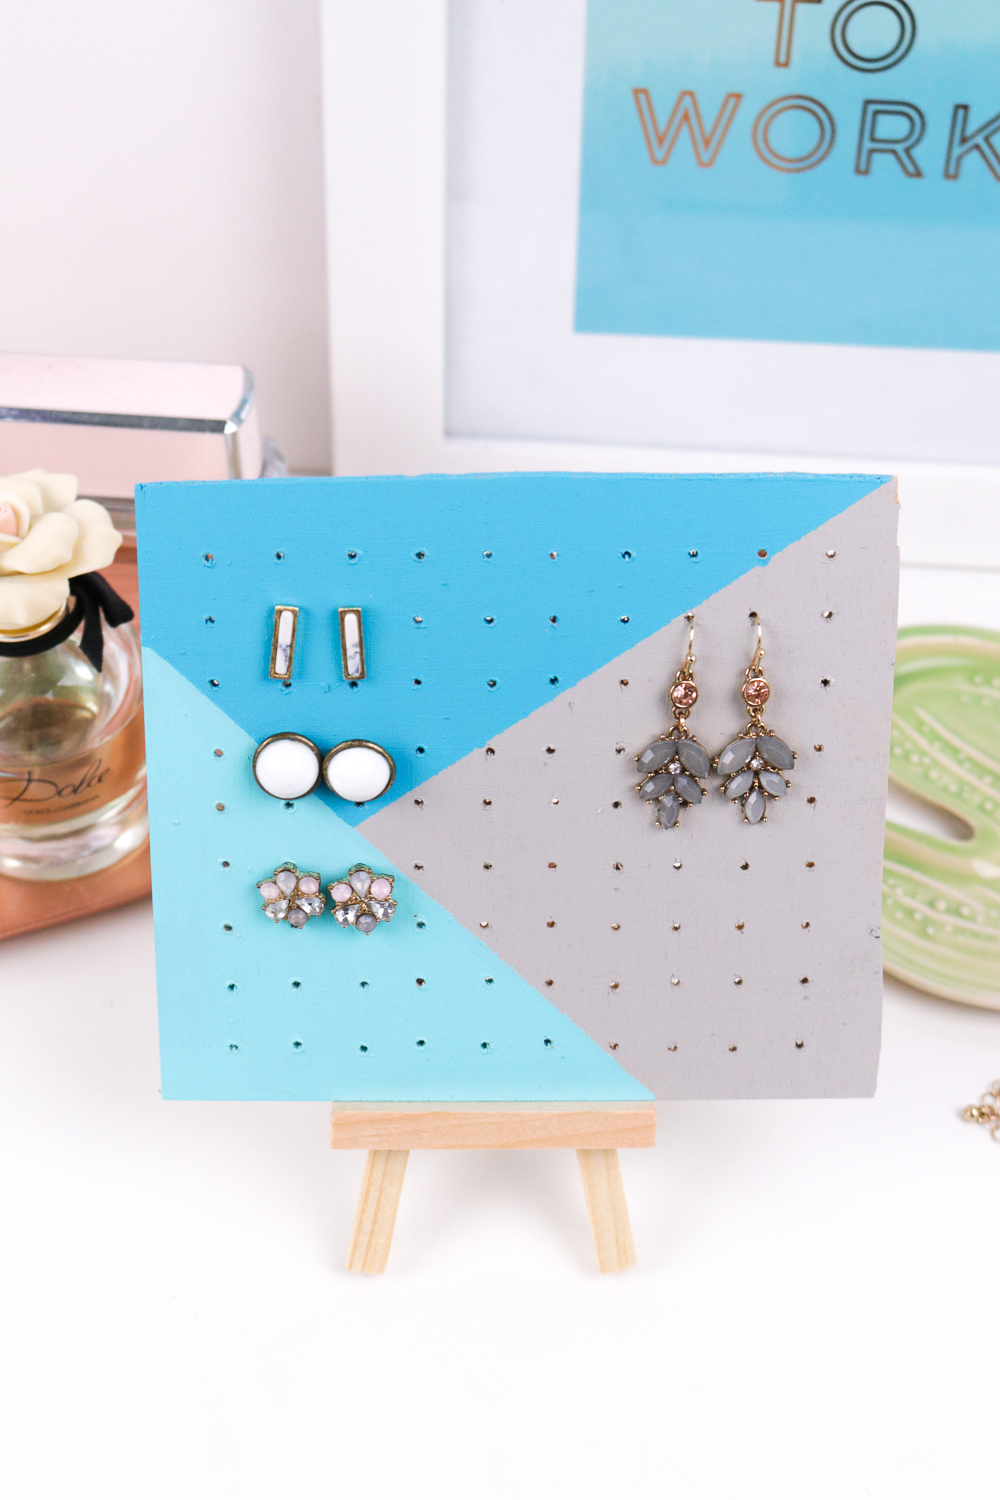
Step 6: Let dry and paint additional coats as needed. Once completely dry, prop the board on the easel and slide your earrings through the holes, securing studs in the back and you’re done!
Cheers to actually knowing where all my earrings are now! It’s proved easier for my morning routine and I still think it looks nice on my dresser, so I’m thrilled I finally got around to making it.

Erin
This is brilliant!! I’ve been using a plastic Tupperware dish!! 🤦🏼♀️ Oye vey!
Daniela
Love this idea, so simple and cute. Will share it on Pinterest.
curlymade.blogspot.pt
Holly Wade
DanielaThanks so much Daniela!