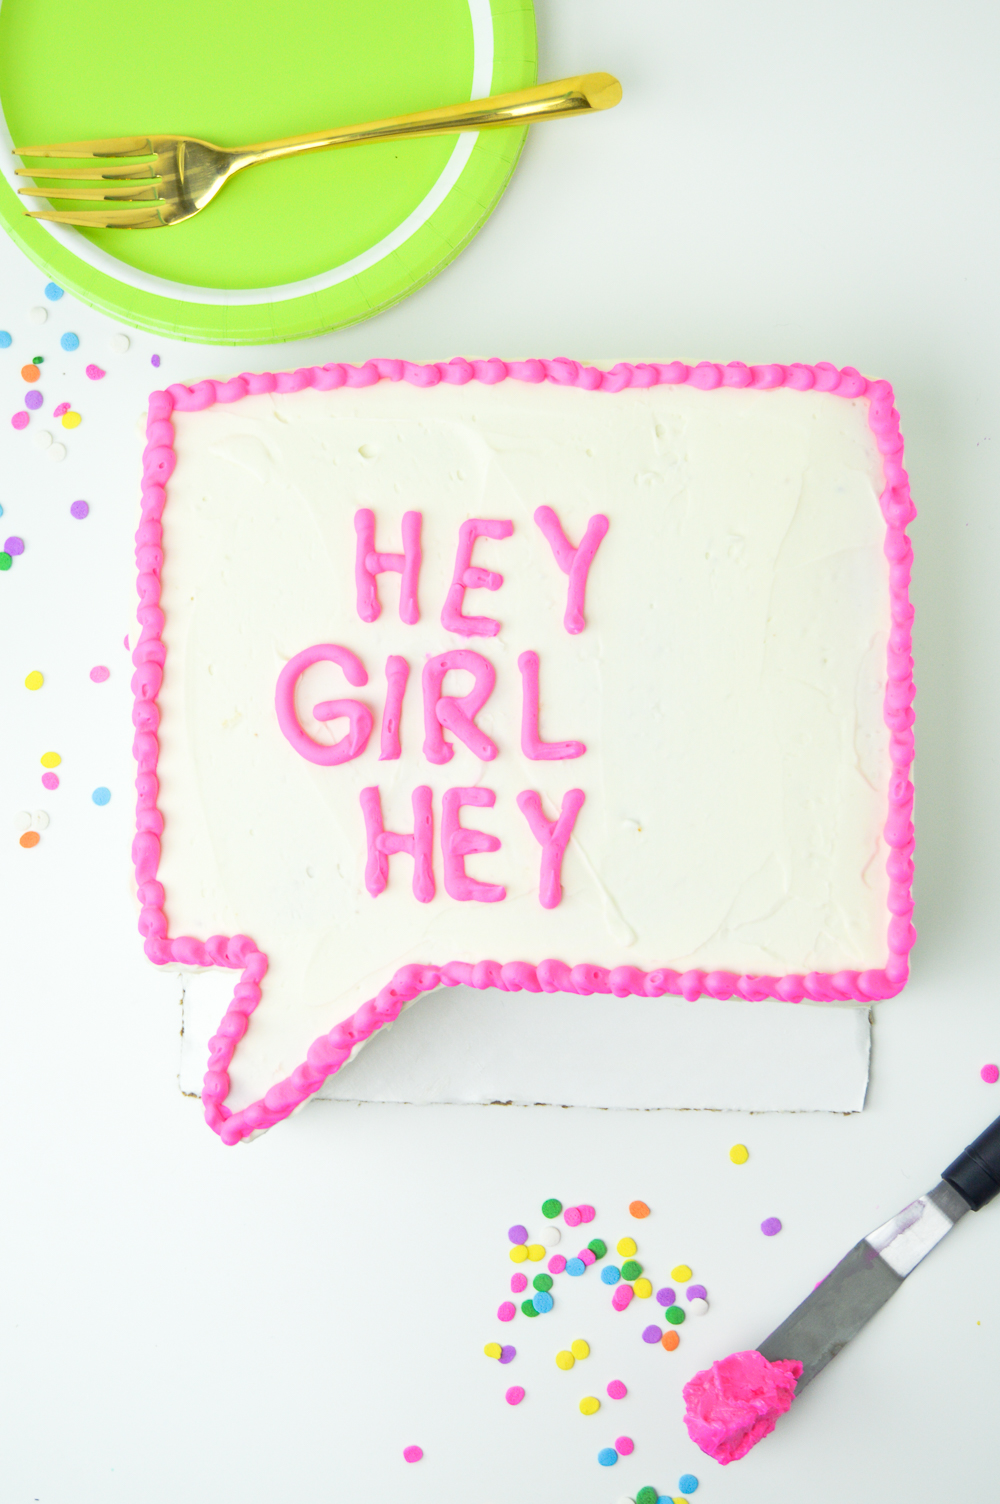

I’ve been on a cake hiatus while the weather cools down, and finally I got so fed up with the hot weather that I just DID IT. I baked a lot of cake and my house felt like the inside of my oven, but it was totally worth it to bring this idea to life. For whatever reason, I decided that I just HAD to make a DIY quote bubble cake, but the struggle was real when I had to figure out what to actually write on the cake.
It seriously took me days to decide…
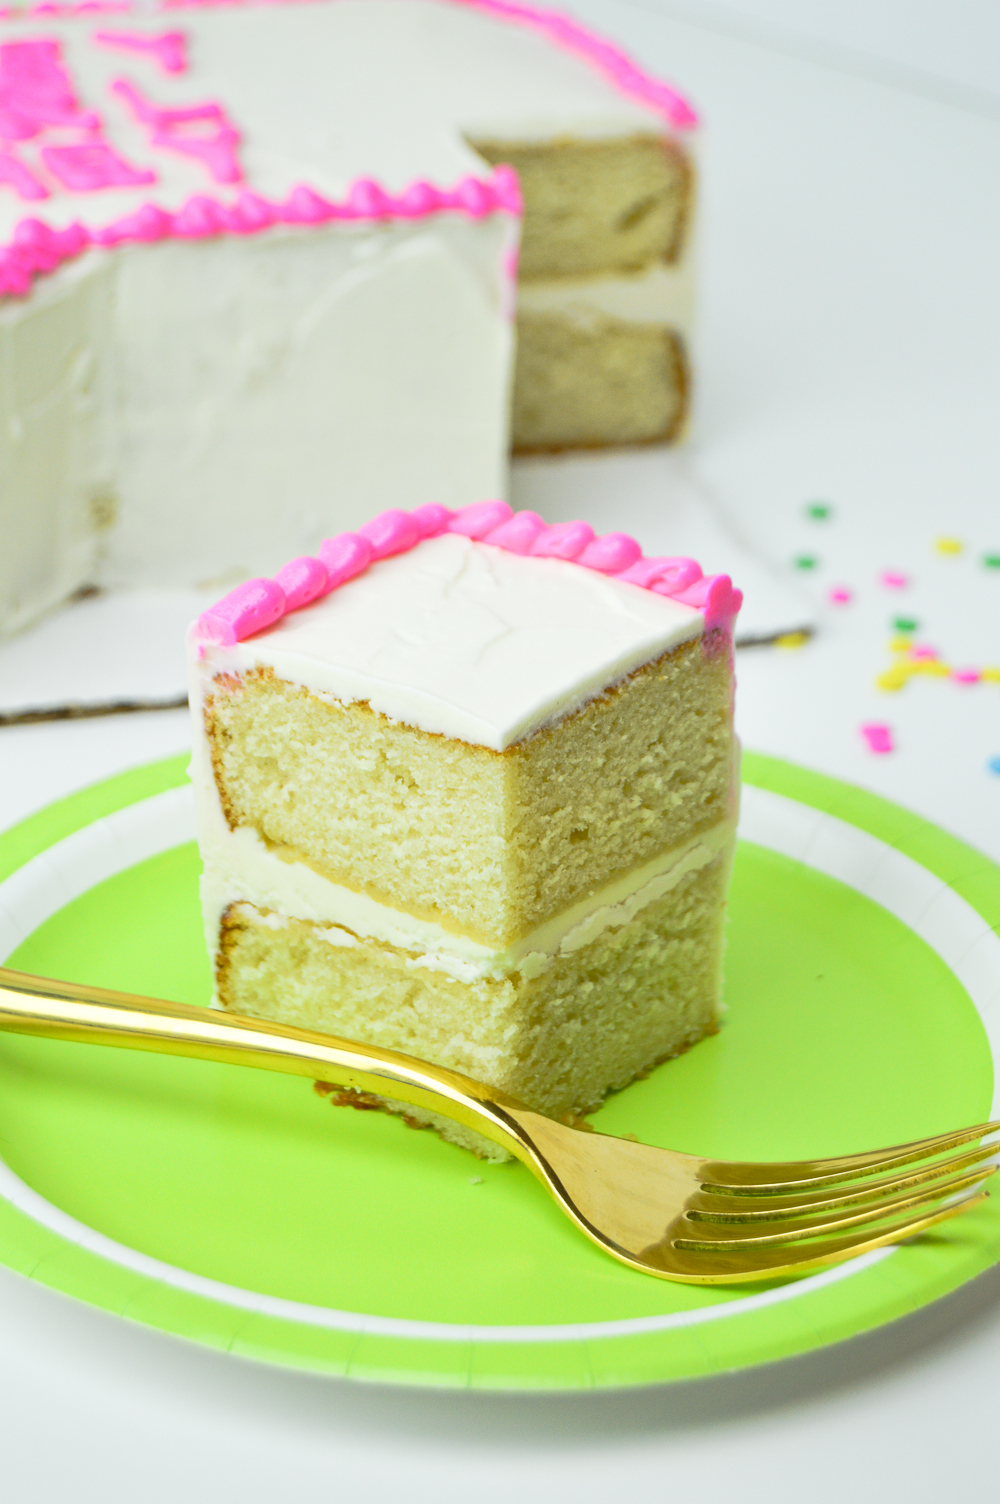
But I settled on my favorite “hey girl hey” line to go with my bright pink frosting accents. Seriously, this was really fun to make, and I’m really grateful it came out like I planned so that I didn’t heat up my apartment for nothing. I mean, I would have had delicious cake regardless, especially since this is my absolutely FAV vanilla cake recipe!
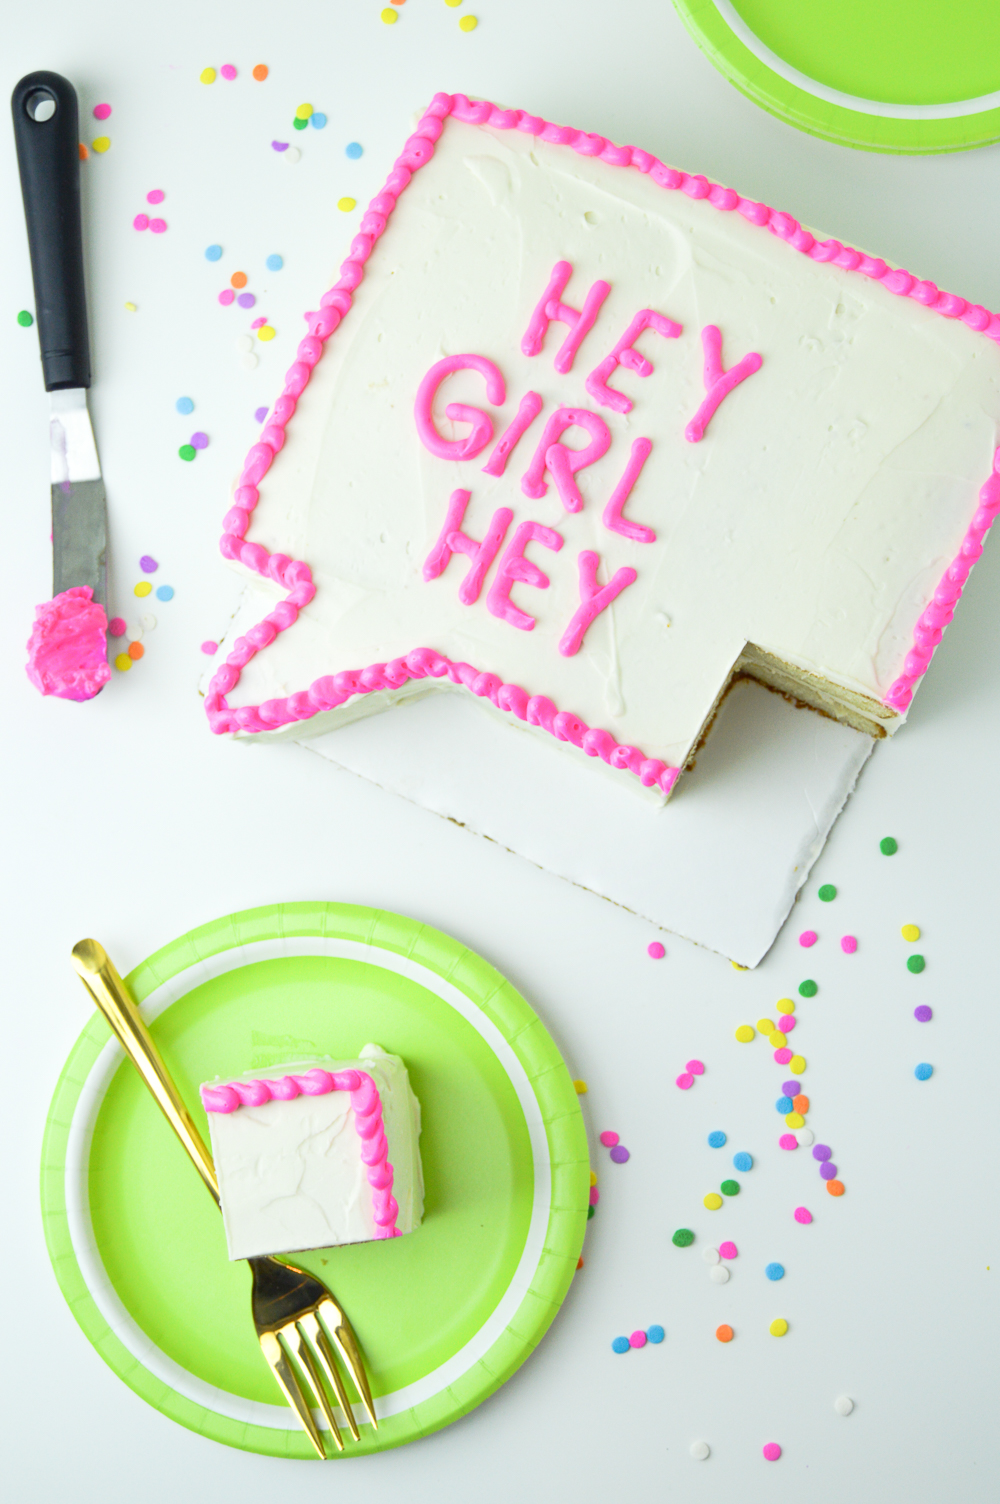
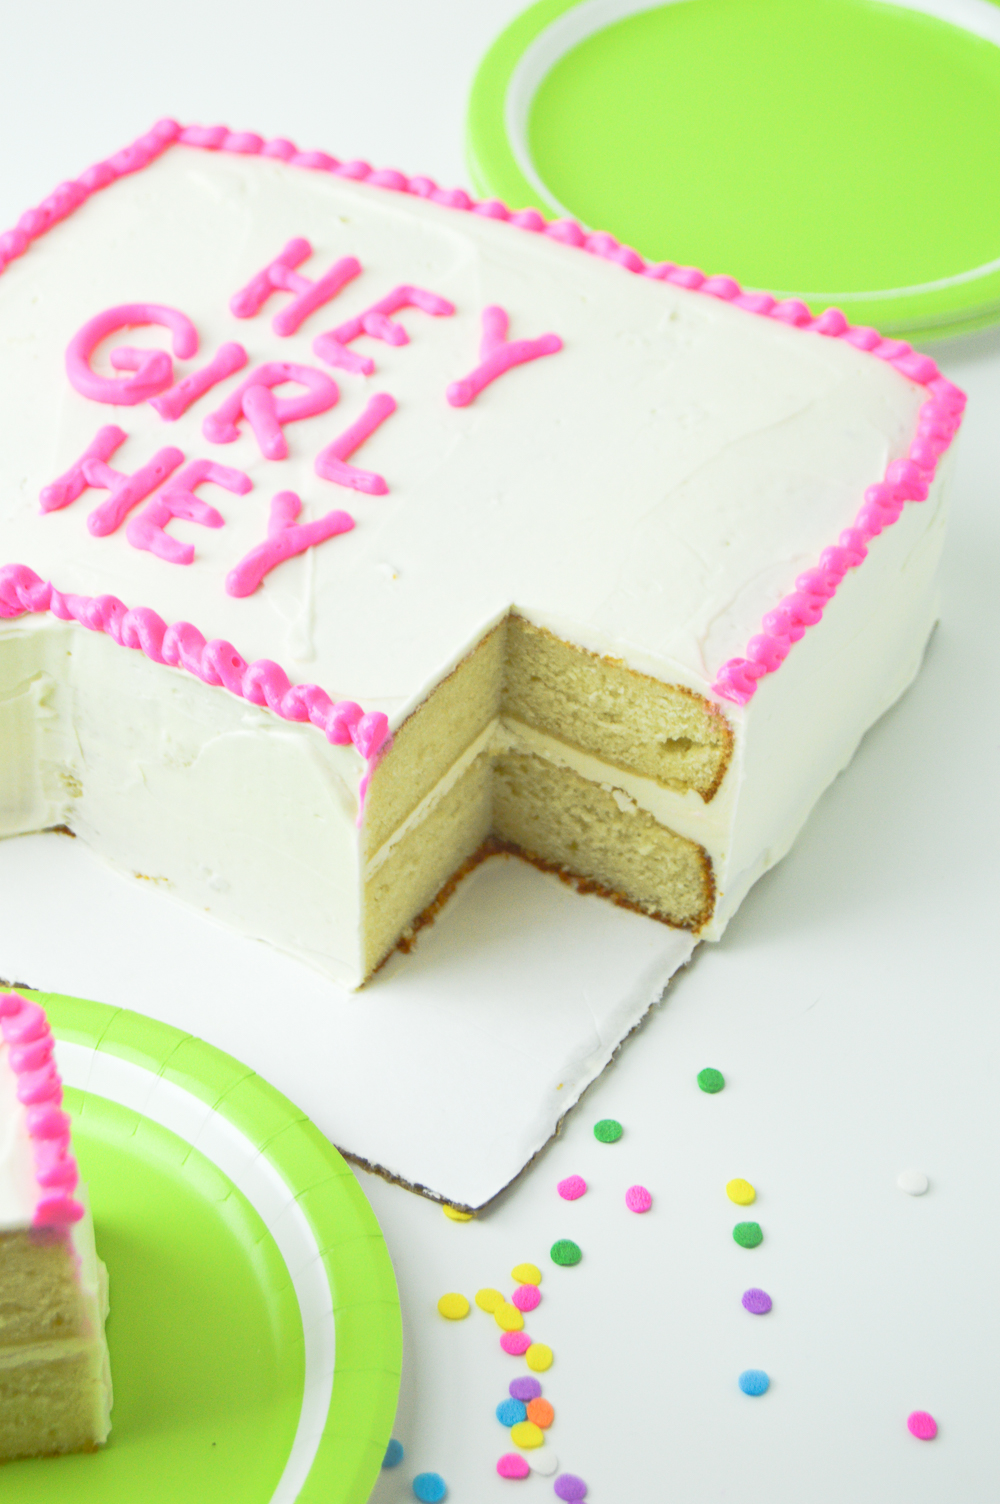
This is a really simple vanilla cake recipe but it’s my go-to one for many cakes because it uses simple ingredients I always have in the house (in this case, milk) and it comes out perfectly soft and moist. Covered with a good ‘ol fashioned vanilla buttercream, this is basically the only cake I ever need. Sometimes the simple recipes are the best ones! Anyway, I just layered two square cakes on top of each other, made a few cuts and frosted and piped it with fun colors.
But the most fun part is the saying itself because you can write it out in frosting, use alphabet cookies, letter candles or spell it out in candies – whatever you want!
Scroll down for the full recipe card! ??
Once you’ve whipped up the batter, bake two 9×9 inch cakes or similar square pans and let cool completely. Make the vanilla frosting and divide about 1/4 of it into a separate bowl. Once cool, level the cakes if needed.
Assemble the cakes with a layer of frosting in the middle, and before you ice the outside of the cake, use a sharp knife to cut a 2 inch knick in the bottom left side (the point of the quote bubble). I recommend cutting a basic template out of a piece of paper. Cut carefully and remember you can always cut off more cake, but you can’t put it back on, so make adjustments as needed.
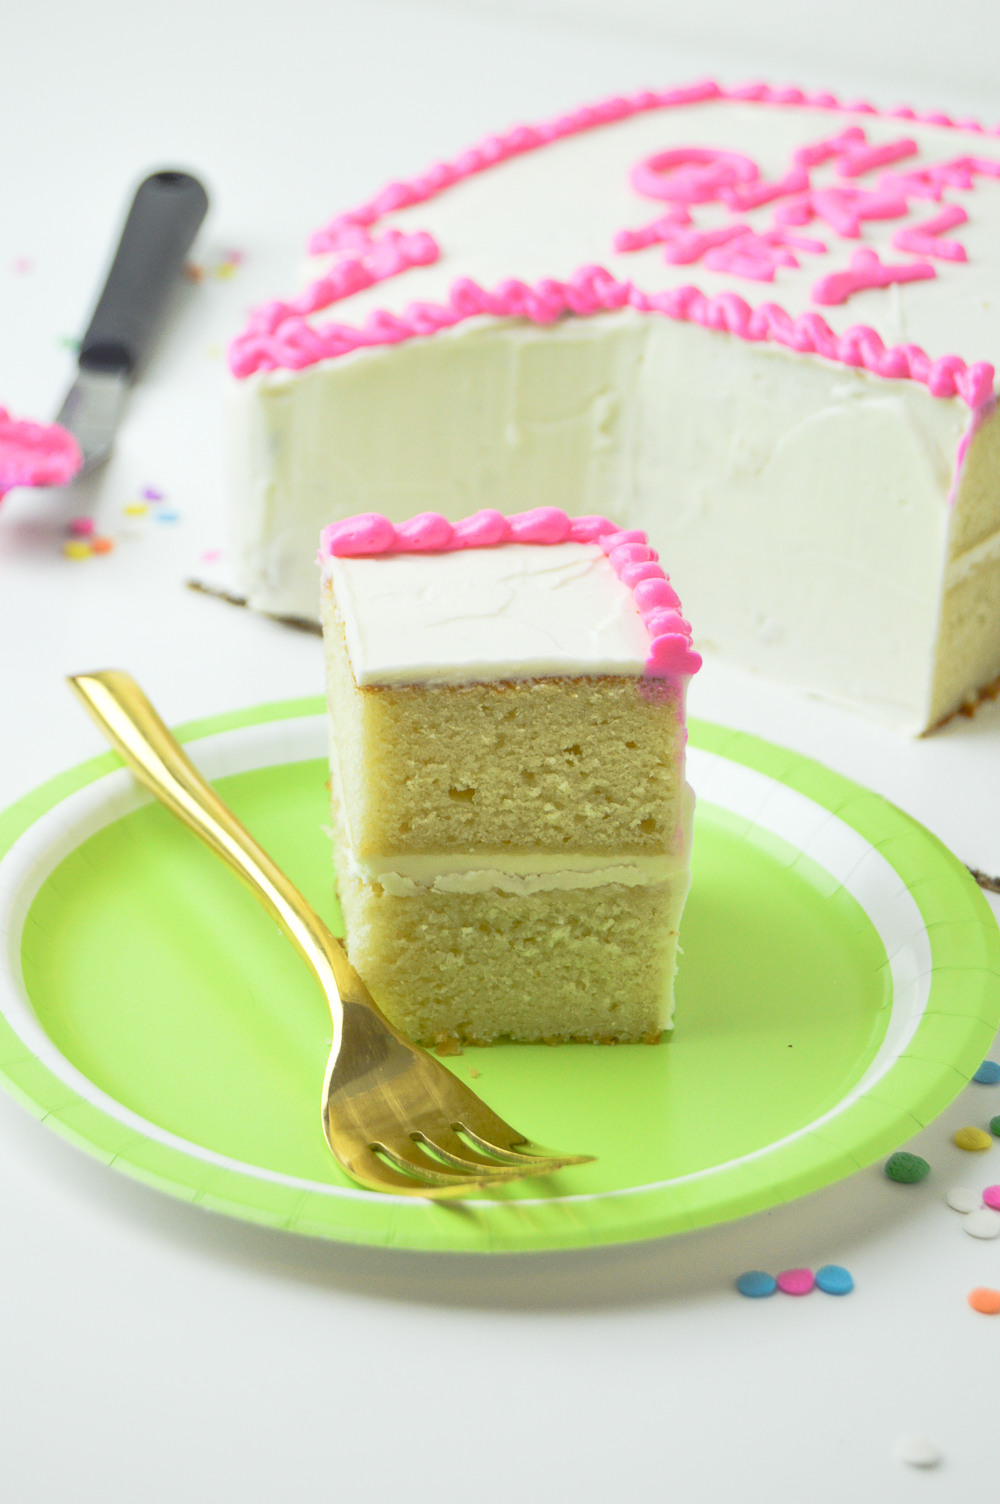
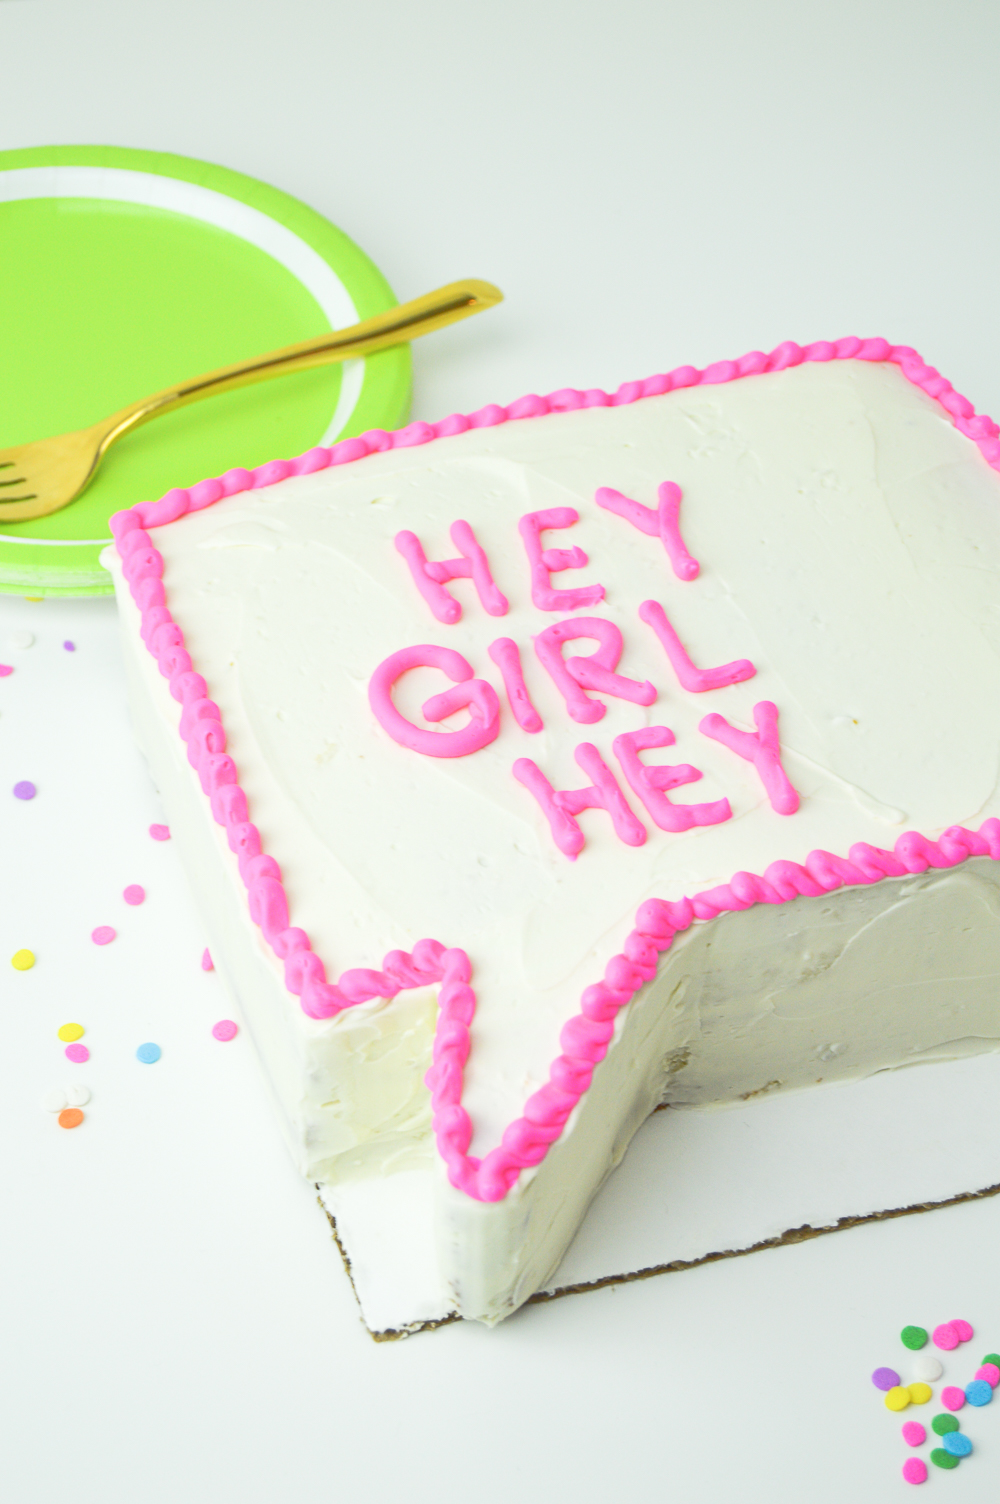
Once you’re satisfied with the shape, ice the outside of the cake with the frosting and move to the refrigerator. In the small bowl of frosting you set aside, and a few drops of your desired food coloring and mix well. Move the frosting to a piping bag fitted with a small round tip. Depending on your experience level with writing in icing (mine is limited), you can either write directly on the cake or practice on a piece of parchment paper. I recommend slowly writing out your saying on parchment paper, refrigerating it until solid and then carefully moving it onto the cake.
Use the remaining colored icing to pipe a basic border around the cake for some added flair and you’re all set! Get creative with it too! Next time I make one of these I think I’ll write out a saying in alphabet cookies instead!
Have fun making your own DIY quote bubble cakes!

- 3 cups all-purpose flour
- 5 tsp baking powder
- 2 cup granulated sugar
- 1 teaspoon salt
- 1 1/3 cup milk, room temperature
- 8 egg whites, at room temperature
- 4 tsp vanilla extract
- 1 cup butter, room temperature
- 2 1/2 cups butter, room temperature
- 4-5 cups powdered sugar
- 2 tsp pure vanilla extract
- Food coloring, optional
- Preheat the oven to 350 degrees and spray two 9-inch square cake pans with cooking spray and set aside
- In the bowl of your mixer fitted with a paddle attachment, beat the butter until smooth and fluffy (about one minute)
- Add the sugar, flour, baking powder and salt and mix on low until it forms a crumbly mixture
- In another bowl or a measuring cup, whisk together the milk, vanilla and egg whites until fully combined
- Slowly add the wet mixture to the dry ingredients, mixing on low speed. Scrape the bowl and continue to mixing for about 30 seconds until batter is smooth
- Distribute among the greased cake pans and bake for about 30-35 minutes until an inserted toothpick comes out clean. Let cool completely in the pans.
- In your mixing bowl fitted with a paddle attachment, beat the butter until smooth and fluffy (about 3 minutes)
- Add powdered sugar one cup at a time and scrape the bowl as you go
- Mix in the vanilla and continue beating for another minute until the frosting is smooth and fluffy
- Level and fill the cakes and place the second layer on top
- Use a sharp knife to cut the bottom left corner into a point and level the bottom accordingly (see note)
- Frost the entire outside of the cake with uncolored frosting
- If desired, pipe colored frosting around the edges and write a message in the middle with frosting, cookies, candy, etc.
- When shaping the cake, remember that you can always cut more but you can't take it back! Start a little at a time and cut more as needed, and try outlining first with a very light cut.

Chanel Nguyen
I have a huuugee sweet tooth! I need to make and eat this ASAP!!
Holly Wade
Chanel NguyenThis will definitely satisfy your sweet tooth! 🙂 It’s one of my favorite recipes.