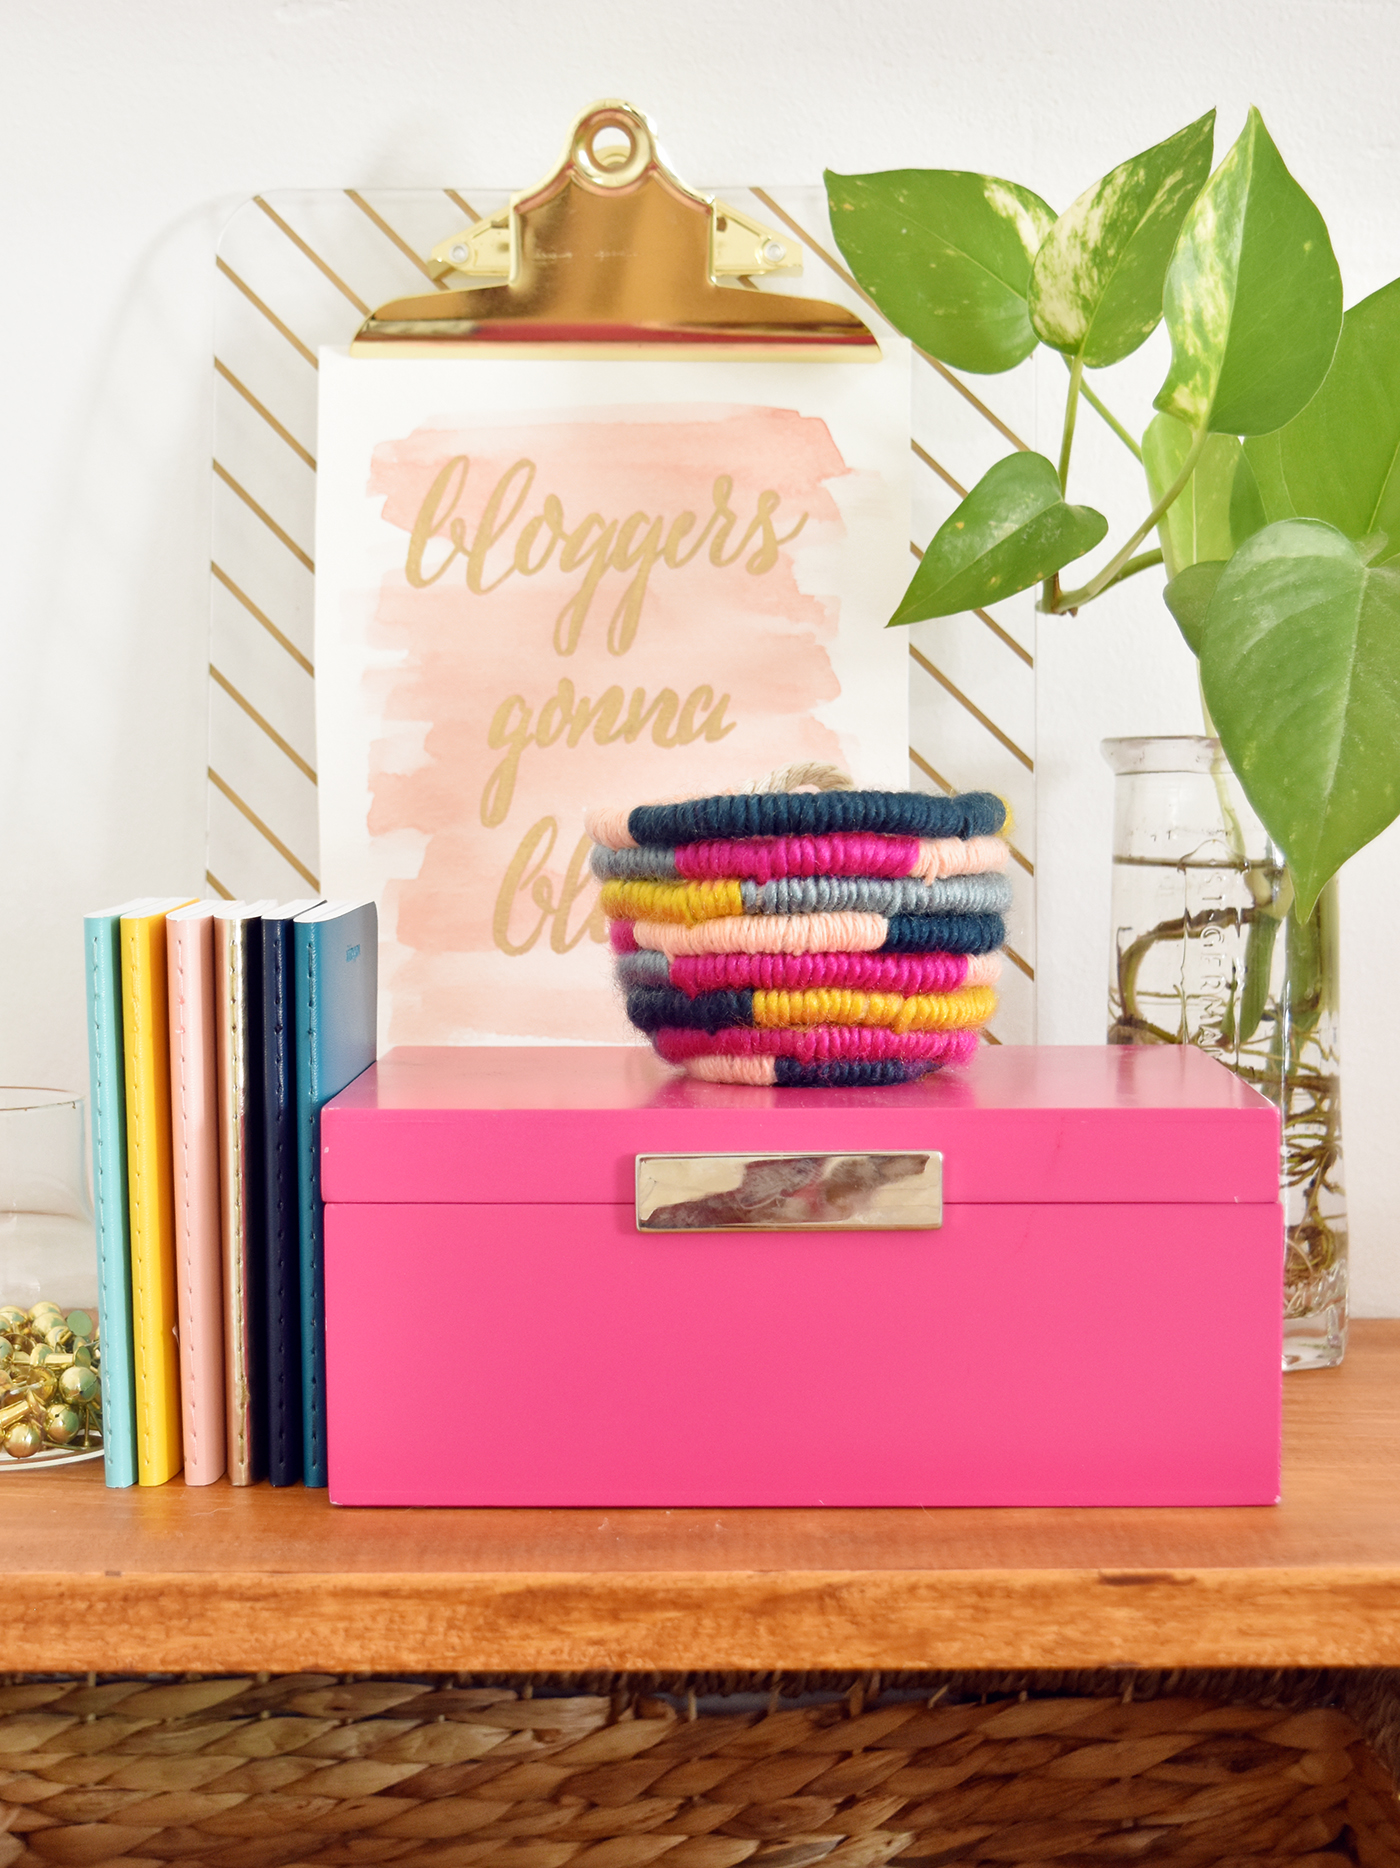
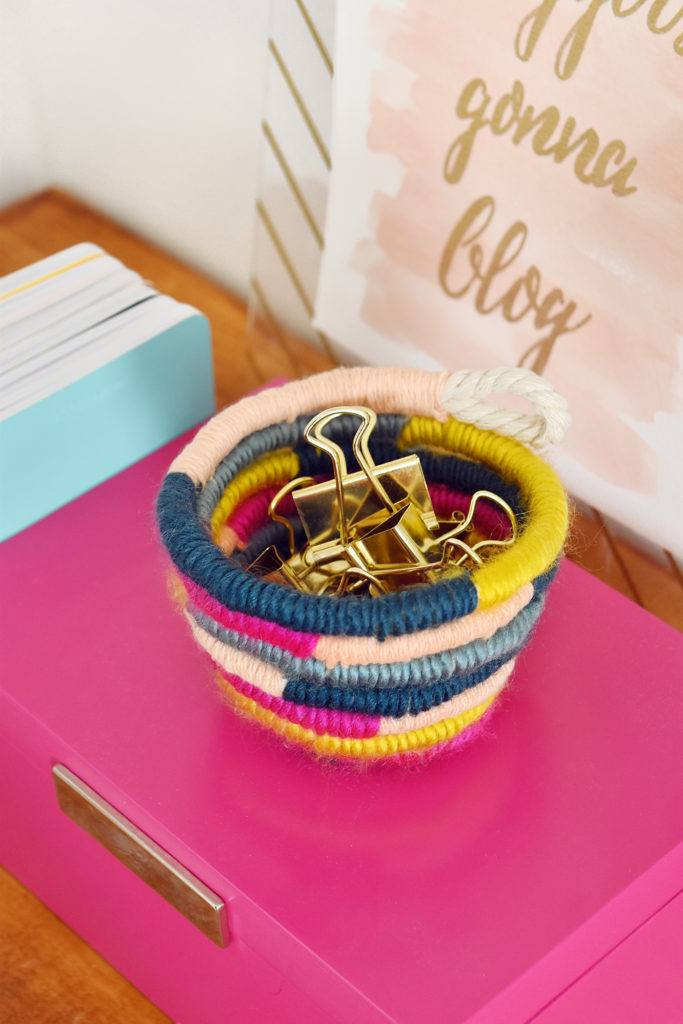
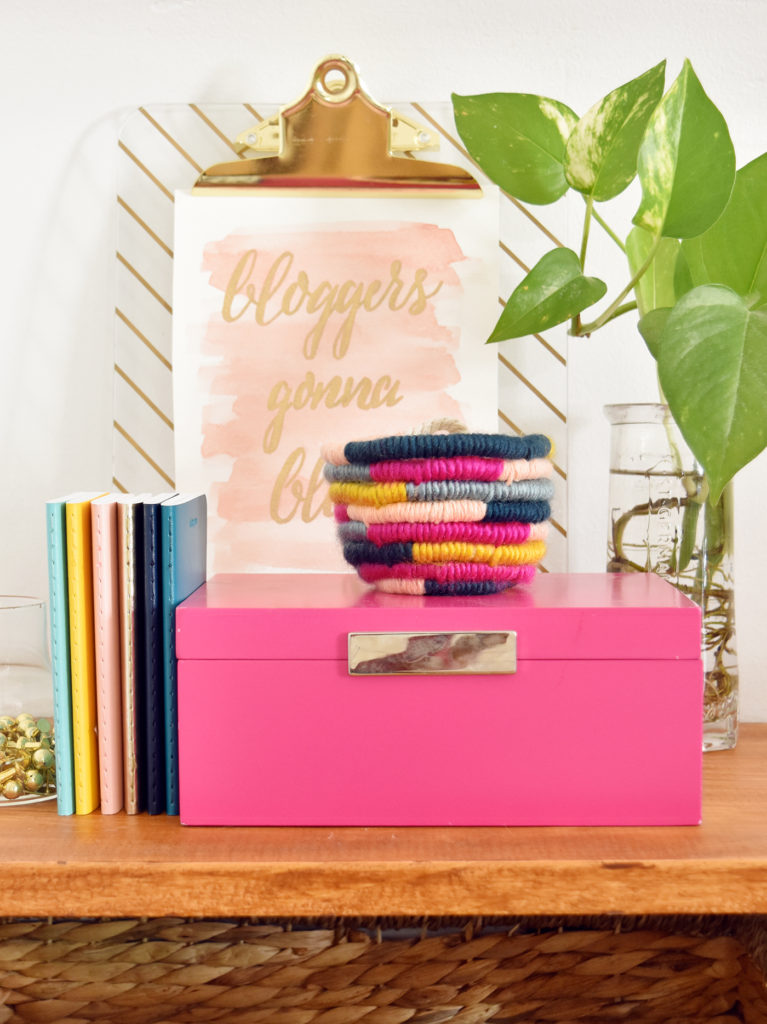
Get ready to welcome a guest blogger today! My friend Faith will be sharing how to make a DIY mini yarn wrapped rope bowl with your favorite colors perfect for holding small items like clips and pins! I know my office could use a few of these to hold my crazy abundance of craft supplies.
Hey there guys, I’m Faith from Design Fixation! Today I’m dropping by Club Crafted to share an easy rope bowl tutorial that will use up all of those yarn scraps that you probably have laying around (if you’re anything like me). So let’s get started!
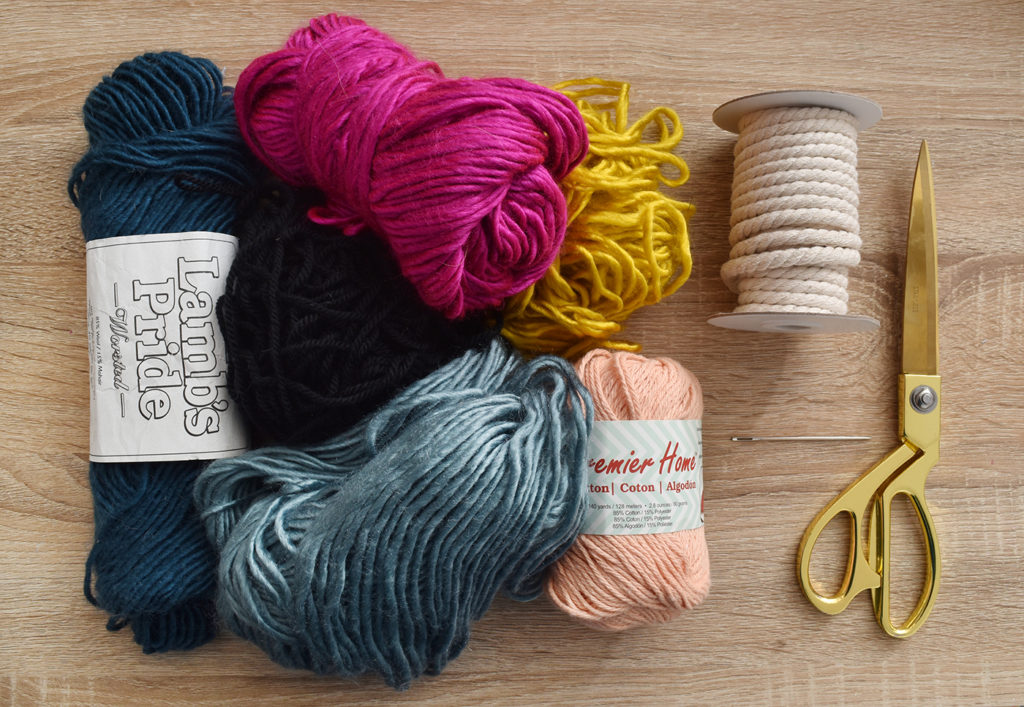
Here’s what you’ll need for your yarn wrapped rope bowl:
- Rope (⅛ – ¼ inch in diameter)
- Yarn variety in 5-7 colors
- Scissors
- Embroidery needle
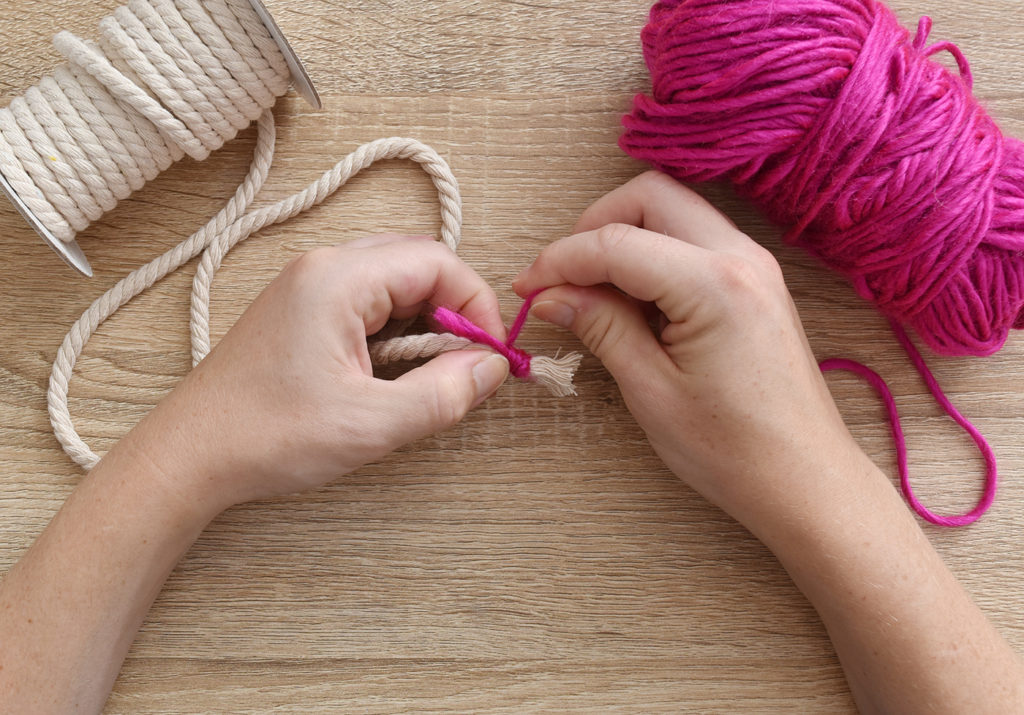
Begin by tying a double knot around the end of the rope using your first yarn color, leaving the rope attached to the spool. Position the yarn tail along the rope and wrap the yarn around both the rope and the tail. Keep wrapping until you’ve done an inch or two.
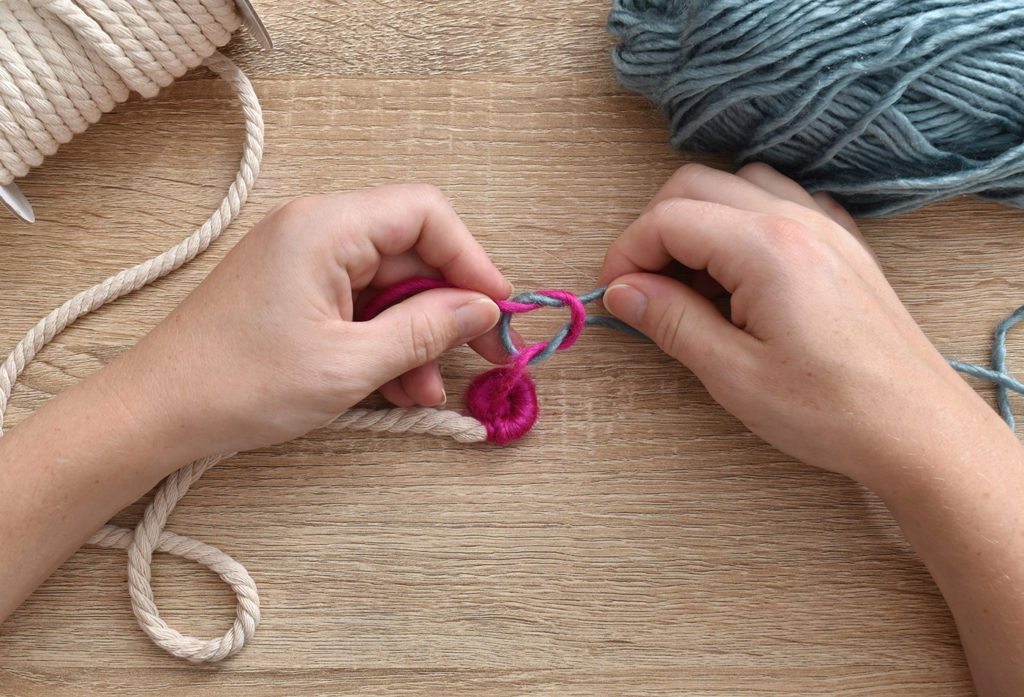
Thread the needle onto the yarn. Begin coiling the yarn wrapped rope. Poke the needle down through the inner part of the coil so the outer part is attached to it. Next, tie a second color to the tail of the first one.
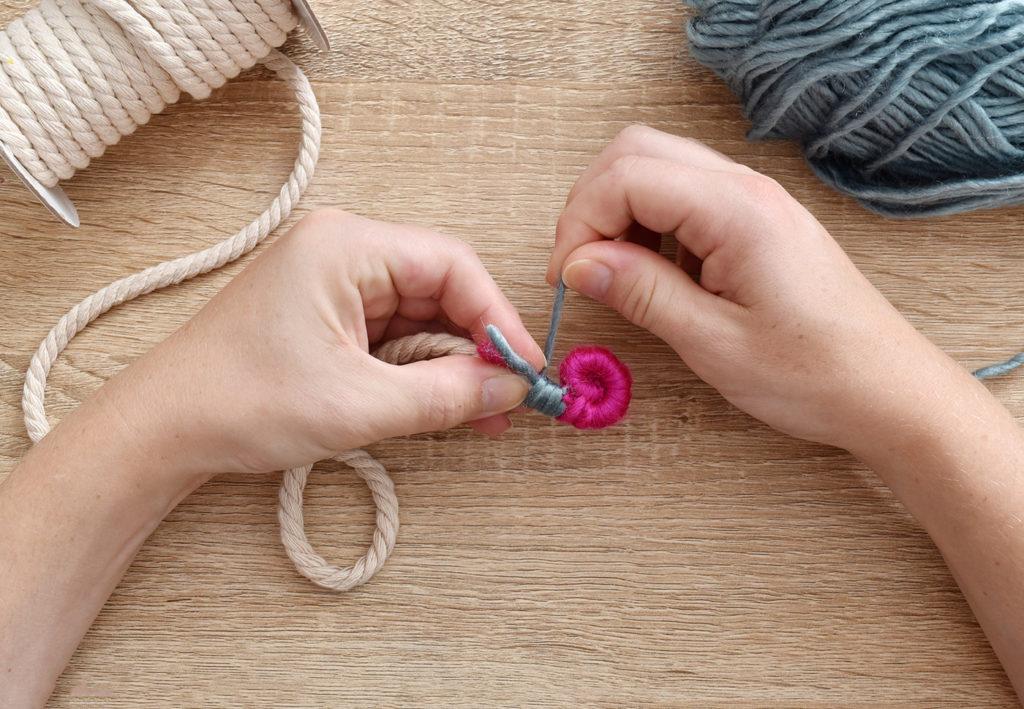
Position both tails along the rope this time, and again wrap the yarn around the rope and the tails.
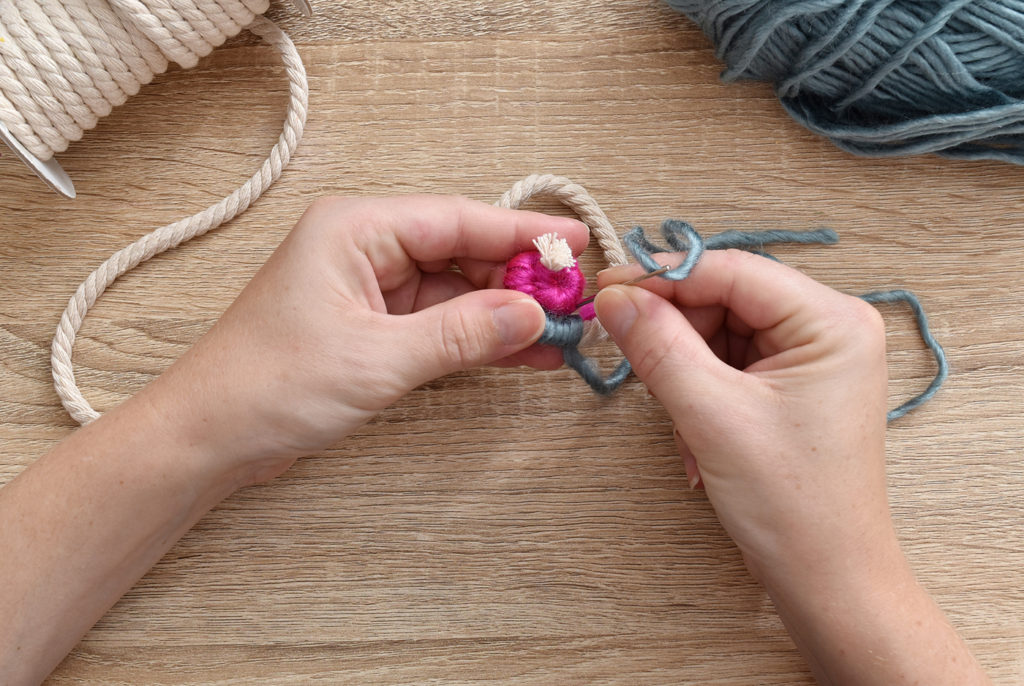
After you’ve wrapped about an inch of the second color, thread the needle again and insert it down through the edge of the previous yarn wrapped rope section. Pull it tight and then keep wrapping the yarn around the rope. Sew through the previous rope section every inch or so.
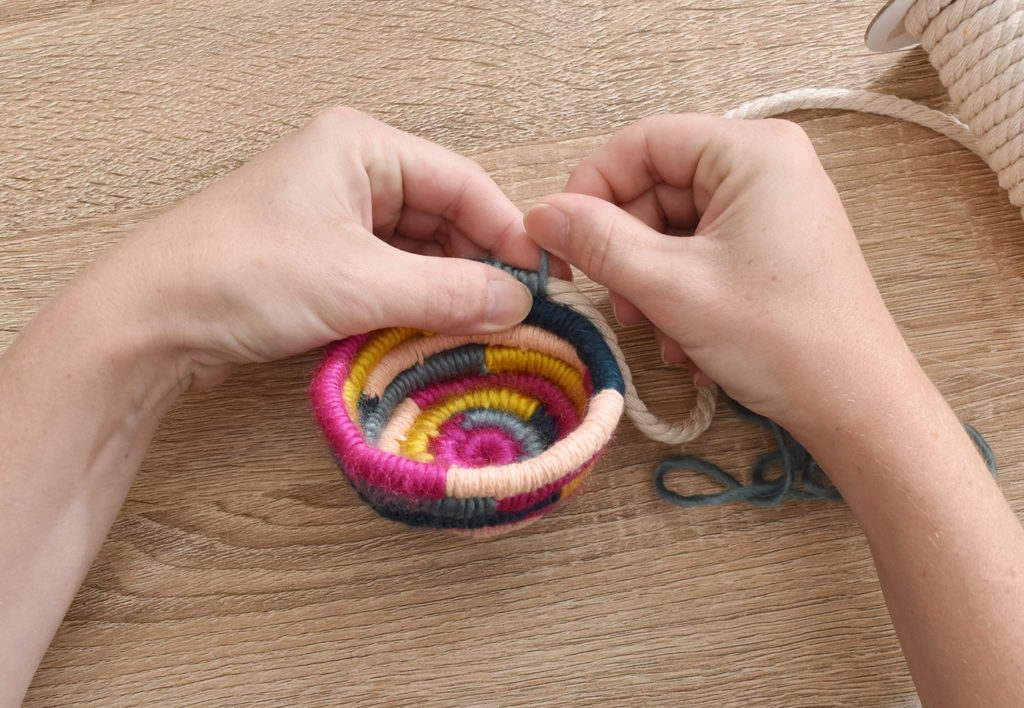
Continue in this manner until you’ve reached your desired size, alternating through all of your colors. Keep the first couple of coils flat to create a stable bottom for your bowl, but then begin building the walls of your bowl by stacking the coils more vertically. To finish the bowl, create a loop with the end of the rope and tuck the loop underneath itself and wrap the last yarn color around the two pieces together. Use the yarn to sew it to the coil before it and tie a double knot. Thread the needle if it isn’t already. Feed the yarn tail through the previous yarn wrapped piece and trim the end.
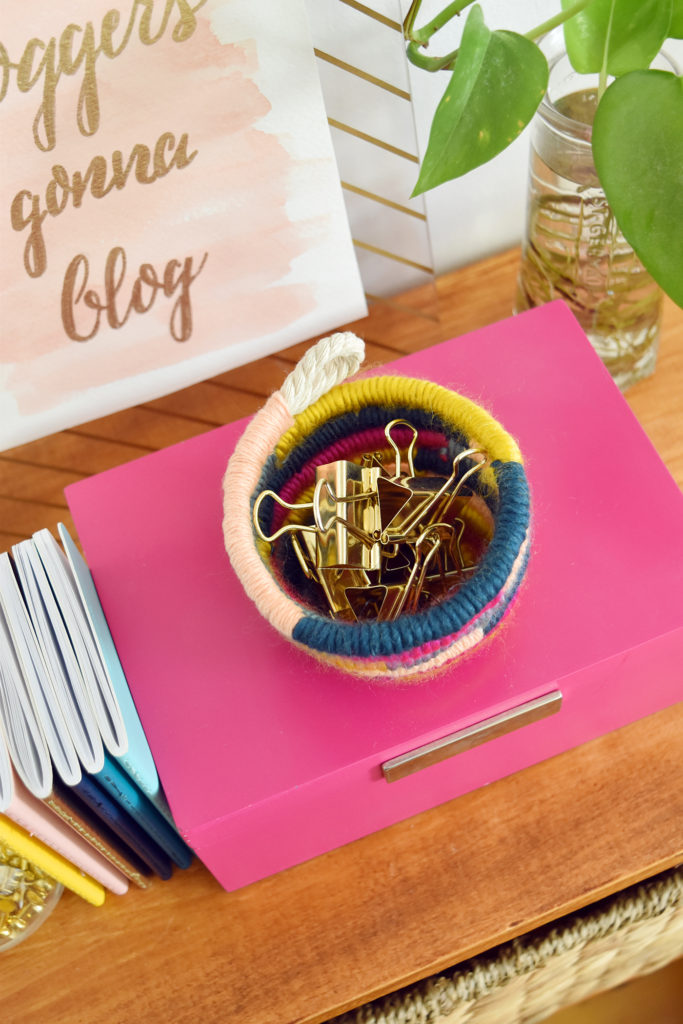
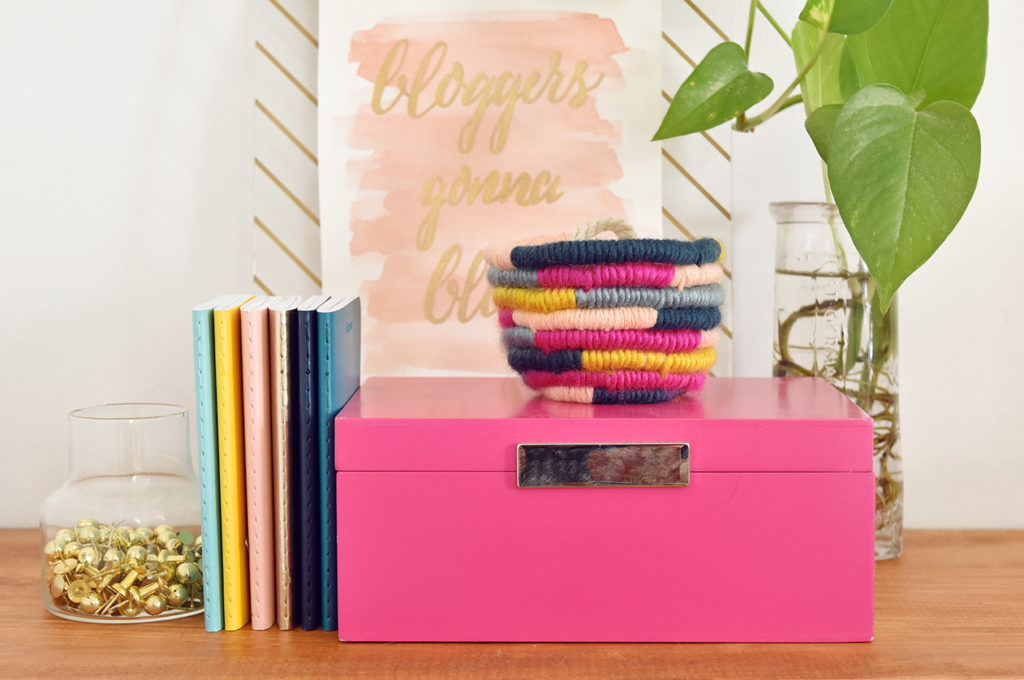
And your yarn wrapped rope bowl is finished! I like to use mine in my studio for office supplies, but it could be useful for all kinds of things. It would be perfect for holding cotton balls in the bathroom, hair ties or even things like safety pins.
Hope you had a blast creating your rope bowl with me today… be sure to drop by Design Fixation for lots of other colorful home decor DIYs and inspiration!
*Please note this post contains affiliate links from which I may earn a small profit should you choose to make a purchase.
