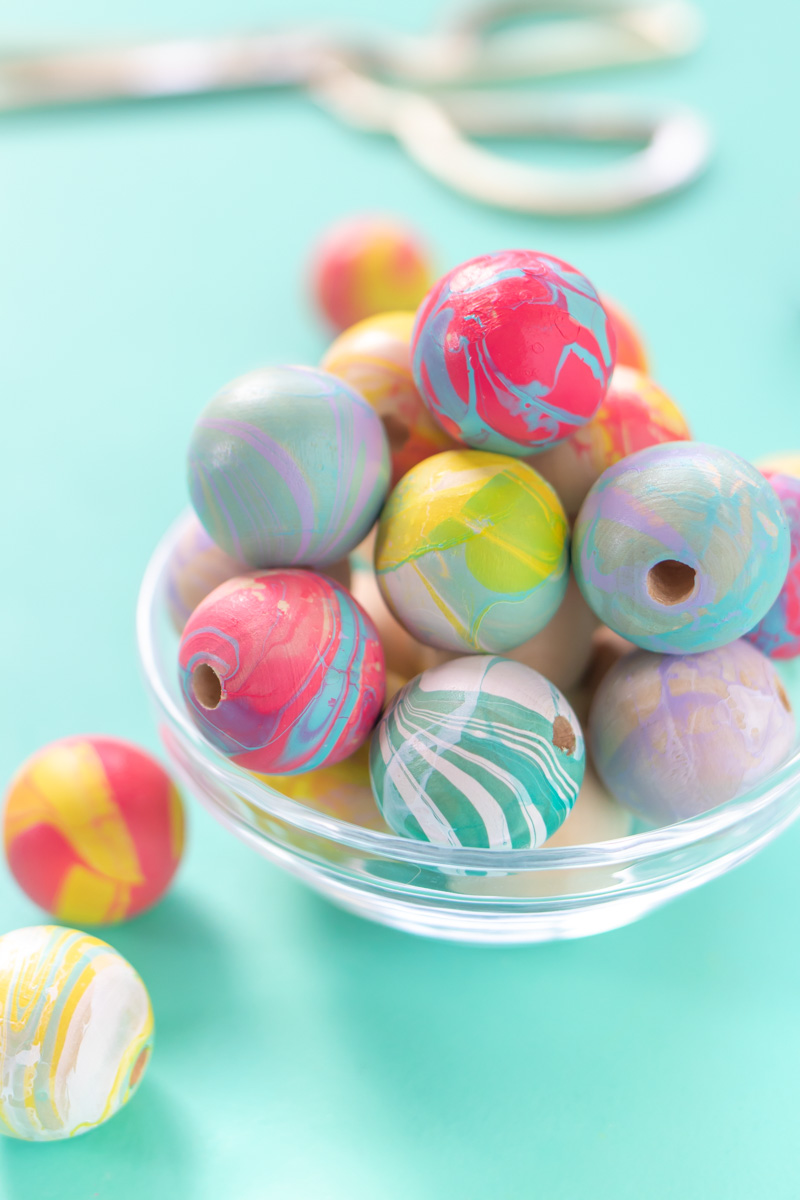
By now, you may have seen tons of DIY articles about how to create a marbled look with nail polish. Truly, you can marble almost ANYTHING! Using this nail polish marbling technique, I taught a class at STORY at Macy’s about marbling mugs. It’s easy enough for even the most beginner DIYers make marbled objects with nail polish, so I thought I’d do a deeper dive into the technique with my tips to nail polish marble beads for jewelry, garlands and other purposes. Large wooden beads are a really versatile craft supply, and this simple but beautiful marbled look takes them to the next level! It’s easier than you’d think.
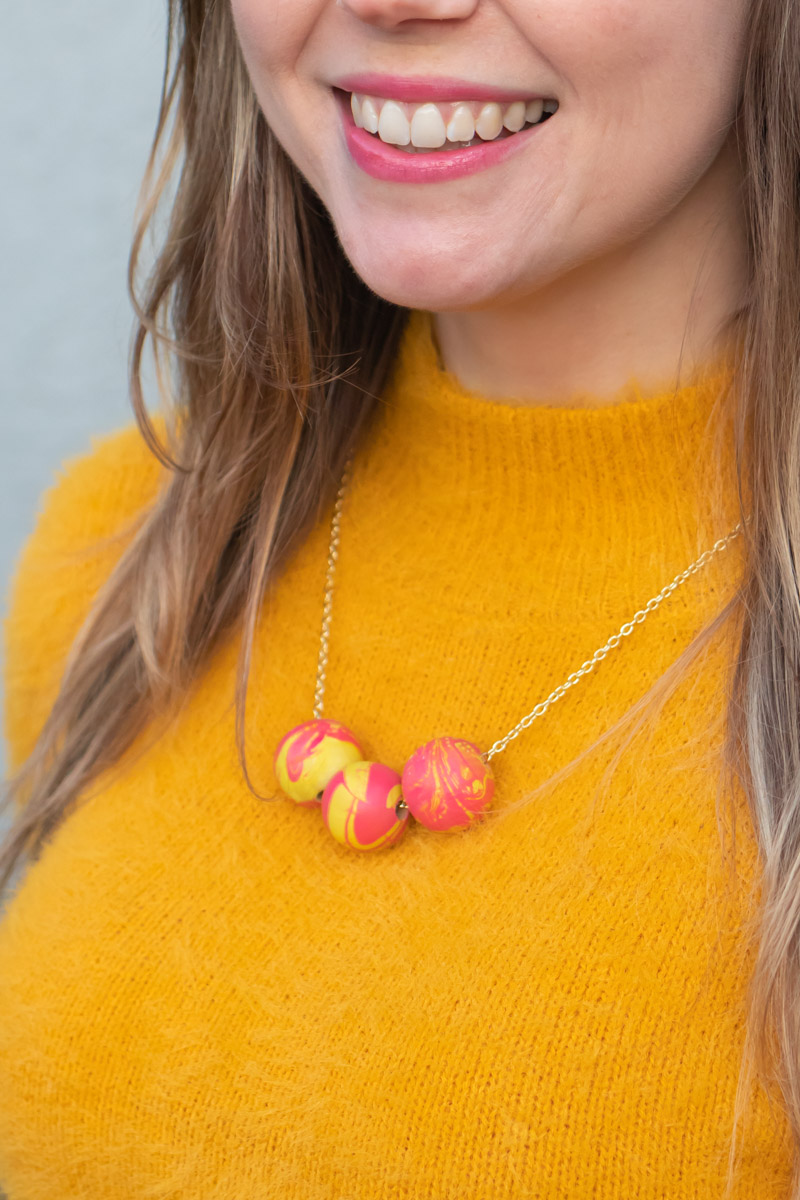
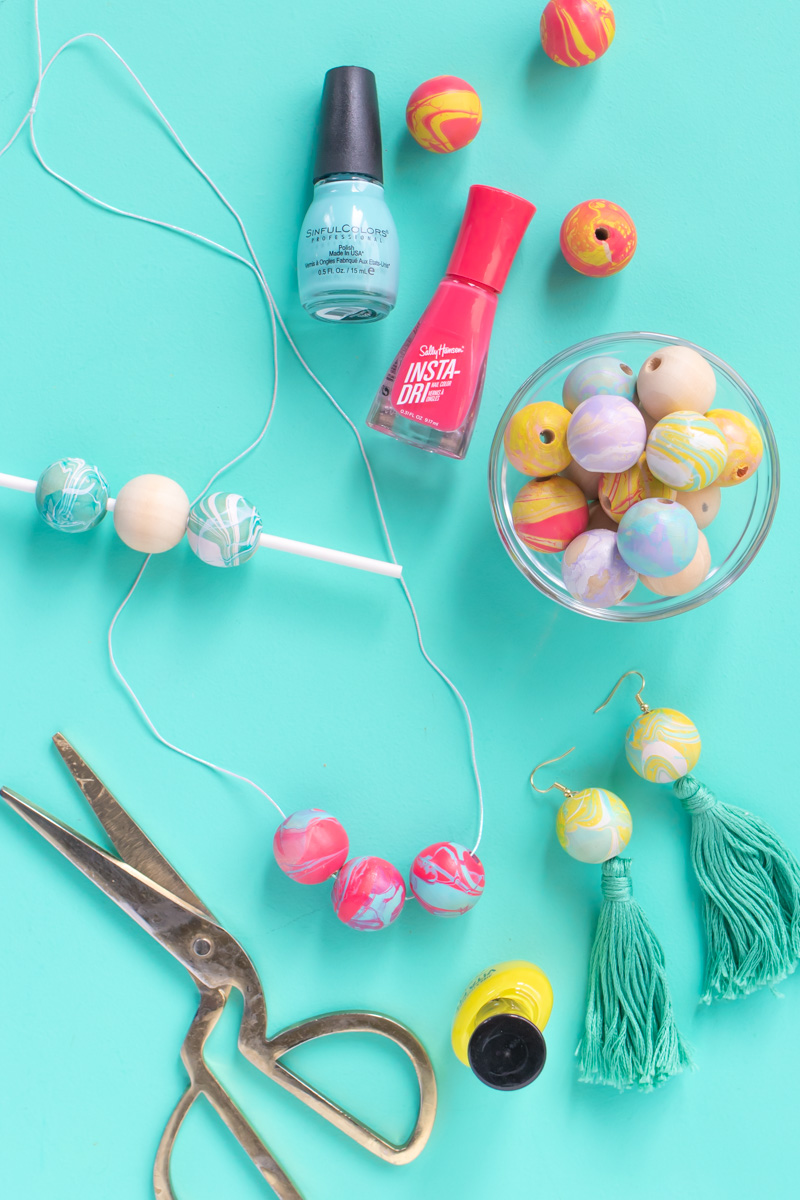
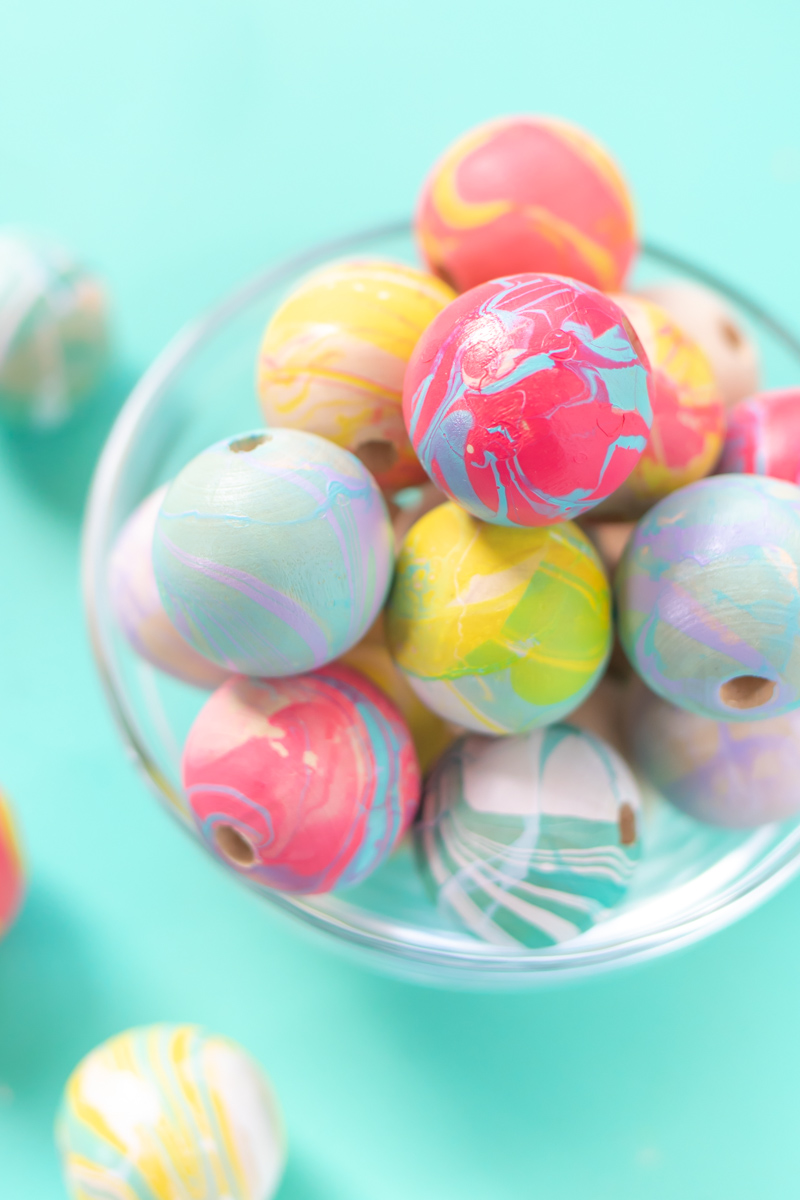
First of all, what is the deal with marbling with nail polish? I’m not sure who discovered this technique, but it’s as simple as pour, dip, repeat. You can marble everything from paper to fabric to wood to ceramics with nail polish, but some objects work better than others. Because there are multiple ways to marble, I’d primarily recommend using nail polish to marble wood and ceramics. Paper and fabric are better colored with other techniques, such as the shaving cream method or paint pouring. Here you can see how I marbled wooden beads, which you can use to make jewelry, garlands and even these bead and tassel drink stirrers.
How to Marble Objects with Nail Polish
Before we go over how to nail polish marble beads, let’s start with the basics. Here’s what you need to marble almost ANY object with nail polish:
- Distilled or filtered water, room temperature
- Disposable tub/container
- Disposable sticks
- Nail polish
- Desired object, such as beads
Step 1: Fill a tub with distilled or filtered water. It must be deep enough for whatever you want to marble.
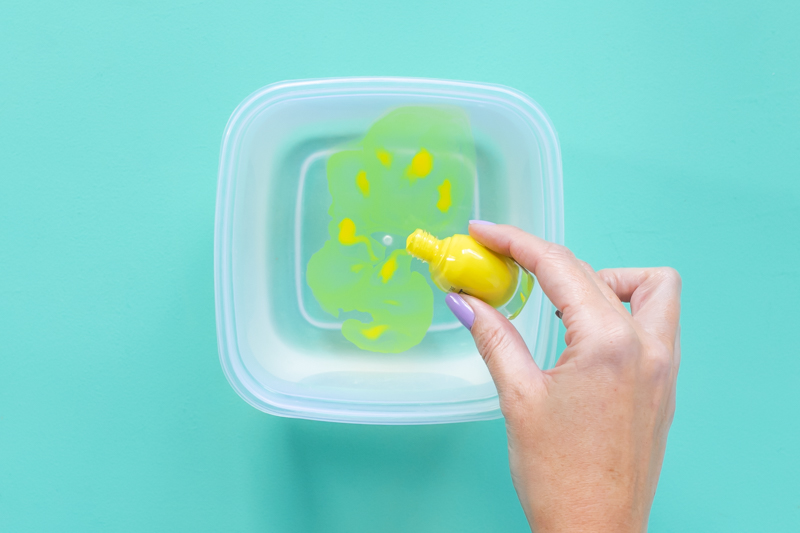
Step 2: Then pour some nail polish onto the water, pouring from just a few inches above the water. This allows you to control the look easier. You can experiment with different marbled designs!
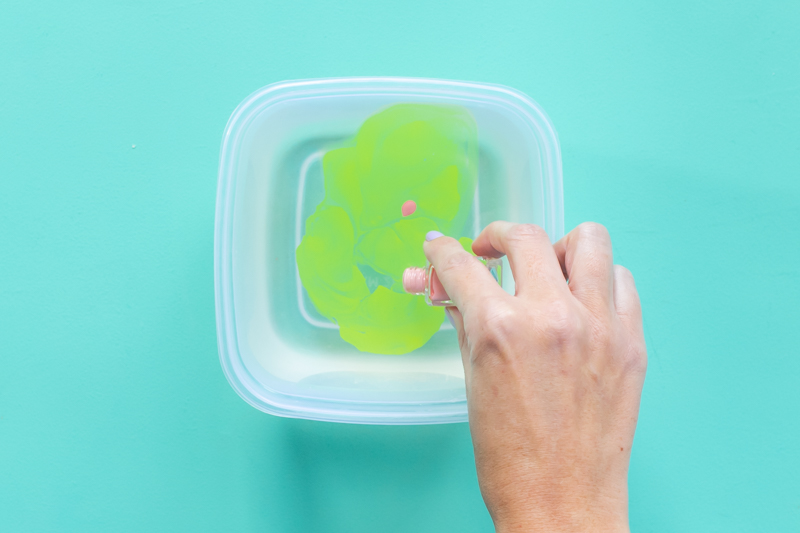
Step 3: If desired, add more colors. For best results, work quickly so that the nail polish does not sit for too long or begin to dry. I’d recommend no more than 3 colors. Less is better in order to ensure a clean design!
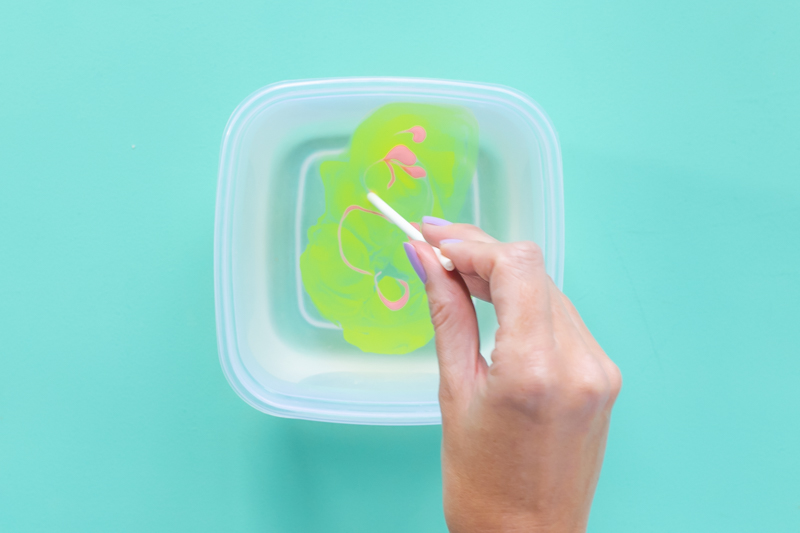
You can use a disposable stick to swirl the design if needed. Otherwise, you can dip right in – it depends on how your polish looks on the water!
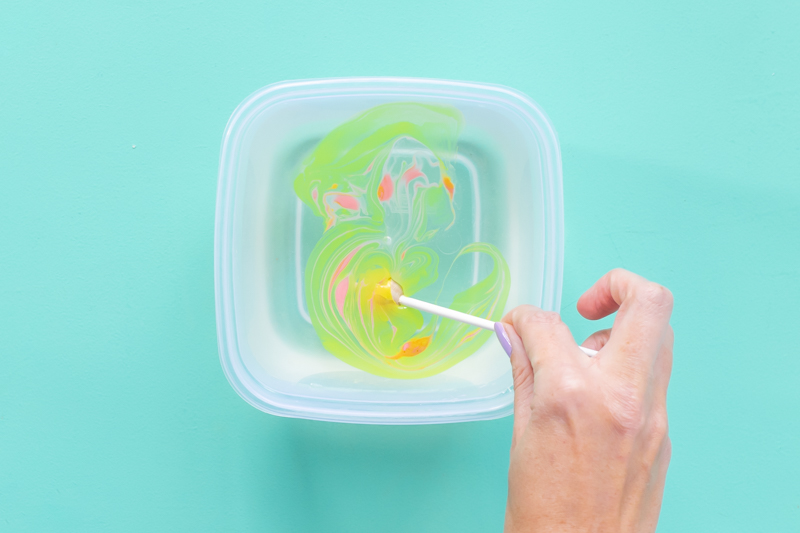
Step 4: Time to dip! You can dip objects straight down or at an angle. You can even block off sections with tape for straight edges.
Note, if you must dip it a second time, you can, but the more you dip it, the clumpier your design may become.
Step 5: Let dry about 5 minutes. It will be very fast! Depending on the object, you may want to seal the marbled design with a clear sealant spray or Mod Podge.
Tips for *Nailing* Nail Polish Marbling
Like anything, practice makes perfect. You’ll find that the first couple tries, your designs might not be perfect, but then you get the hang of it. Here are a few tips and ways to troubleshoot any nail polish marbling problems:
- Use filtered room temperature water – Room temperature distilled/filtered water allows the polish to spread on the surface perfectly for marbling. In my experience, regular tap water doesn’t work as well and cold water can cause the polish to thicken or dry too fast.
- Do a test run – Use any disposable object to test your nail polish marbling technique if you’ve never tried this before. It helps you get the hang of it and deal with any worries about messing up. Because some nail polishes are better than others, this is a great way to see how it will look.
- Pour close to the surface – When pouring, keep the nail polish bottle right above the surface of the water. Too high and the polish will just sink to the bottom. It also gives you more control.
- Don’t over-dip – If you miss a spot when marbling an object, you can dip it a second time to fill it in, but there’s always a risk. Always try to cover your desired space in one dip. Otherwise, more than two layers of polish could ruin your project.
- Re-use the water – No need to dump the water in between nail polish marbling! Use a stick or extra sheet of paper to remove any polish on top of the water. You can reuse one container of water over and over, even when changing colors.
What Kind of Nail Polish is best?
All kinds! However, not all nail polishes are created equal. I’ve used everything from Sally Hansen to OPI to Essie to Dollar Store nail polish to create successful nail polish marbling designs. Although you don’t need expensive polish, you do want to use new-ish ones. Over time, nail polish becomes clumpy or too thick. This keeps it from spreading normally and could mess up your designs. A creamy polish is best. You can often tell if it will work the second it hits the water.
Tips to Marble Wooden Beads
When I was brainstorming how to nail polish marble wooden beads, the first step was figuring out how to hold them for dipping. After all, it’s a sphere, and you want the whole bead covered in the design! My solution is hot glue. As you can see, I added hot glue to one end of a stick (drink stirrer, lollipop stick, etc). It becomes a stopper so that when I thread on a bead, it won’t fall off the other side when I tip it. I found this to be the perfect way to marble beads!
Here’s a step-by-step based on the nail polish marbling tutorial above.
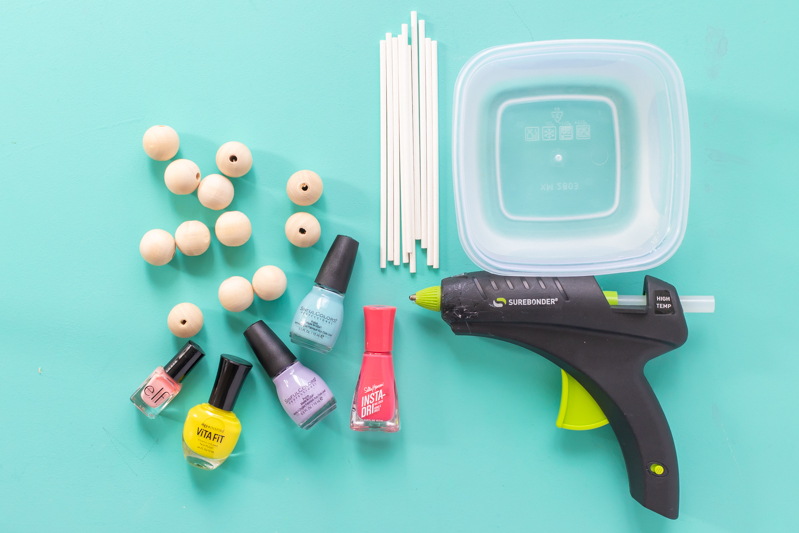
Supplies:
- Distilled or filtered water, room temperature
- Disposable tub/container
- Nail polish
- Large wooden beads
- Hot glue gun
- Disposable sticks (drink stirrers or lollipop sticks)
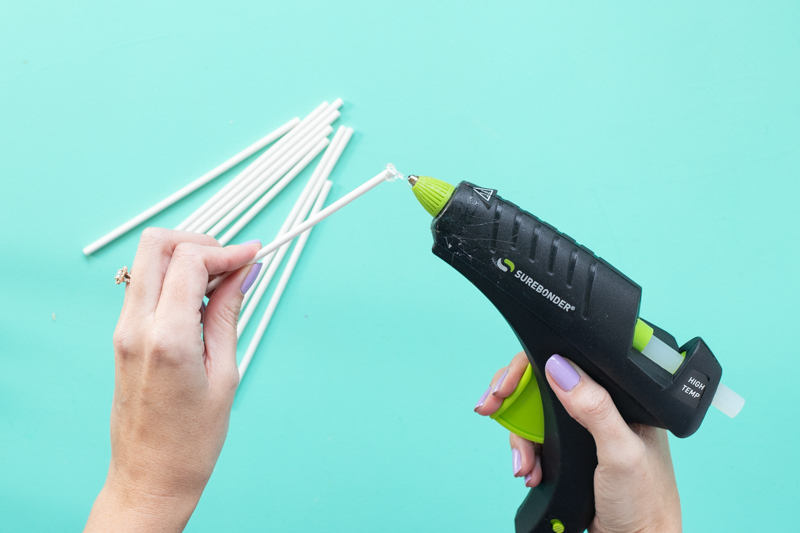
Step 1: Use a hot glue gun to create a thick stopper at one end of the disposable stick. Repeat with each stick and let dry until hardened.
Step 2: Prepare the water and nail polish(es) according to the above tutorial. For such a small object, stick to 1-2 colors.
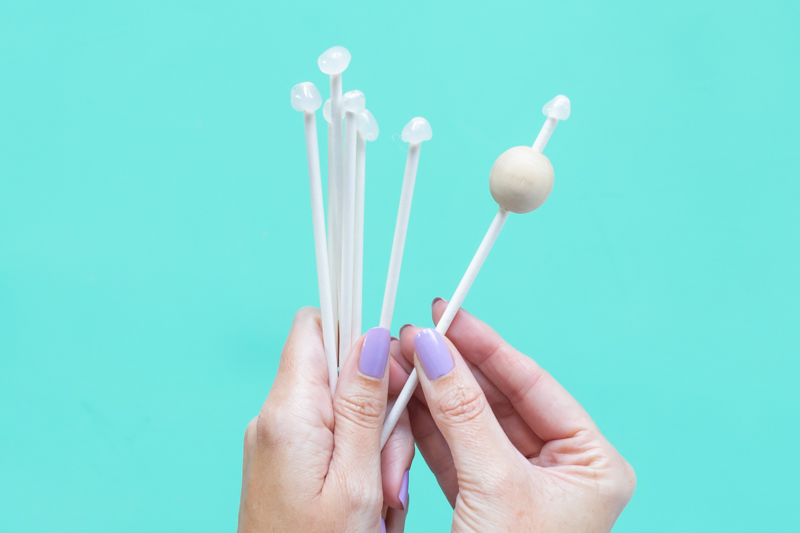
Step 3: Thread one bead on each stick. The glue should prevent it from falling right off. Dip into the nail polish design with a light twirl in the water so the entire bead is covered with marbled color. Hold until dry or stand up in a cup.
Then use the nail polish marbled beads to make DIY jewelry or other projects!
I hope this was helpful if you’re interested in learning more about how to nail polish marble! This technique was really fun to try on wooden beads with a variety of color combinations. You wouldn’t believe all of the cool things you can marble with nail polish!

Sue Flynn
Wow this is amazing.I want to try this with my girlfriend.We are in the process of making wooden farmhouse beads and this may be an added delight
Thank you so much.
Holly Wade
Sue FlynnSounds great! I’m glad you enjoyed the project!