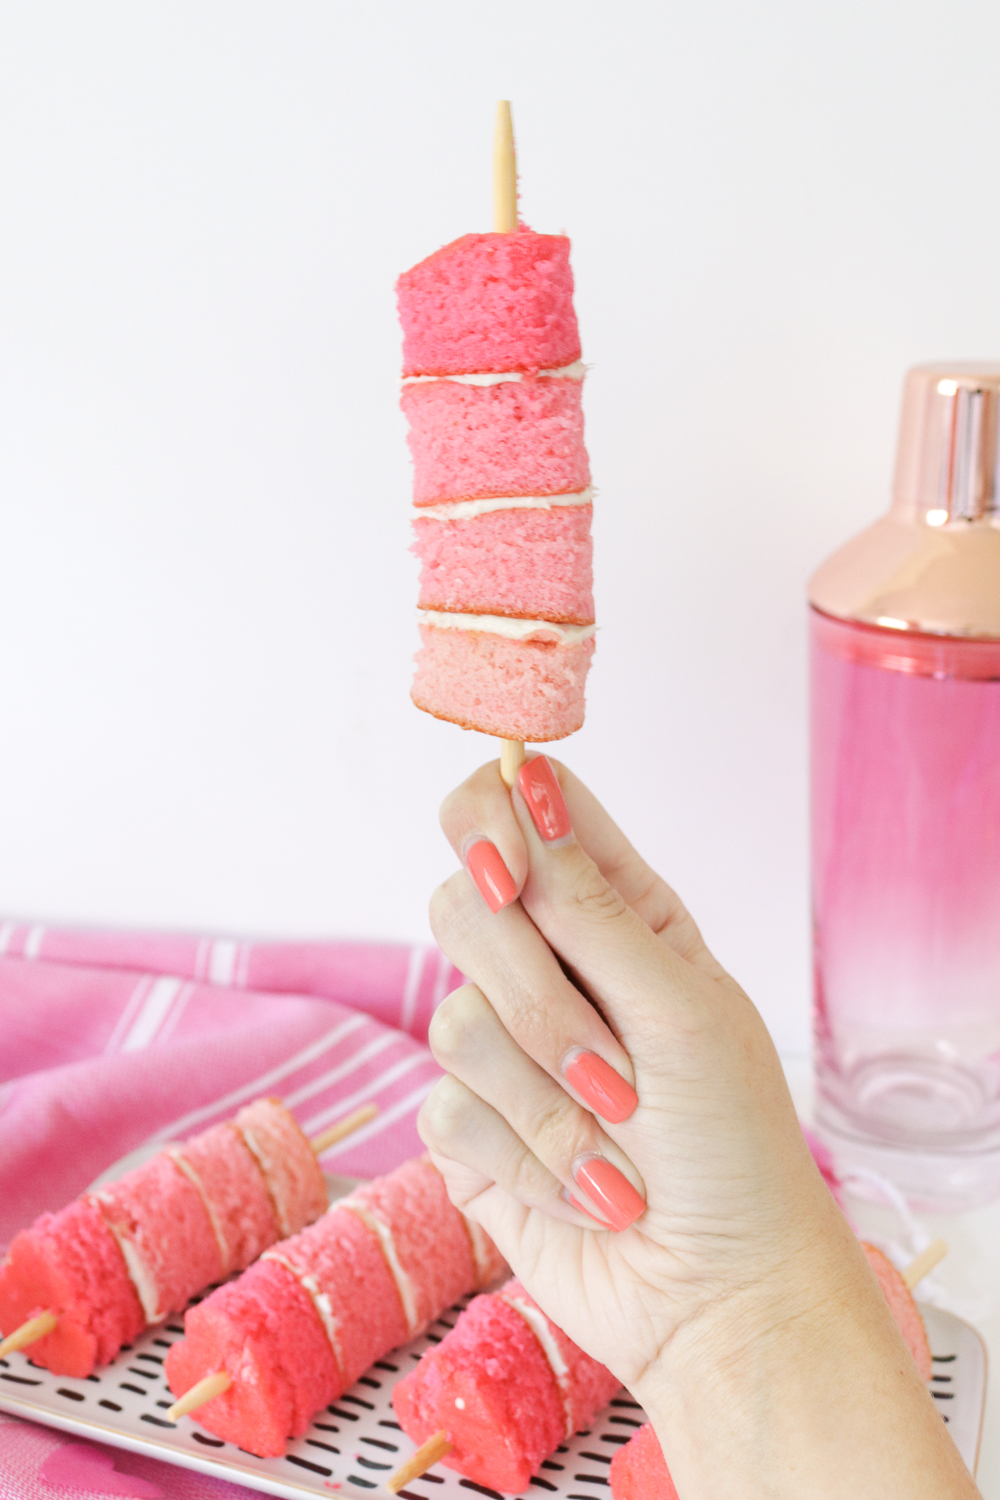
 Did you guys read that title and think UHH WHAA?
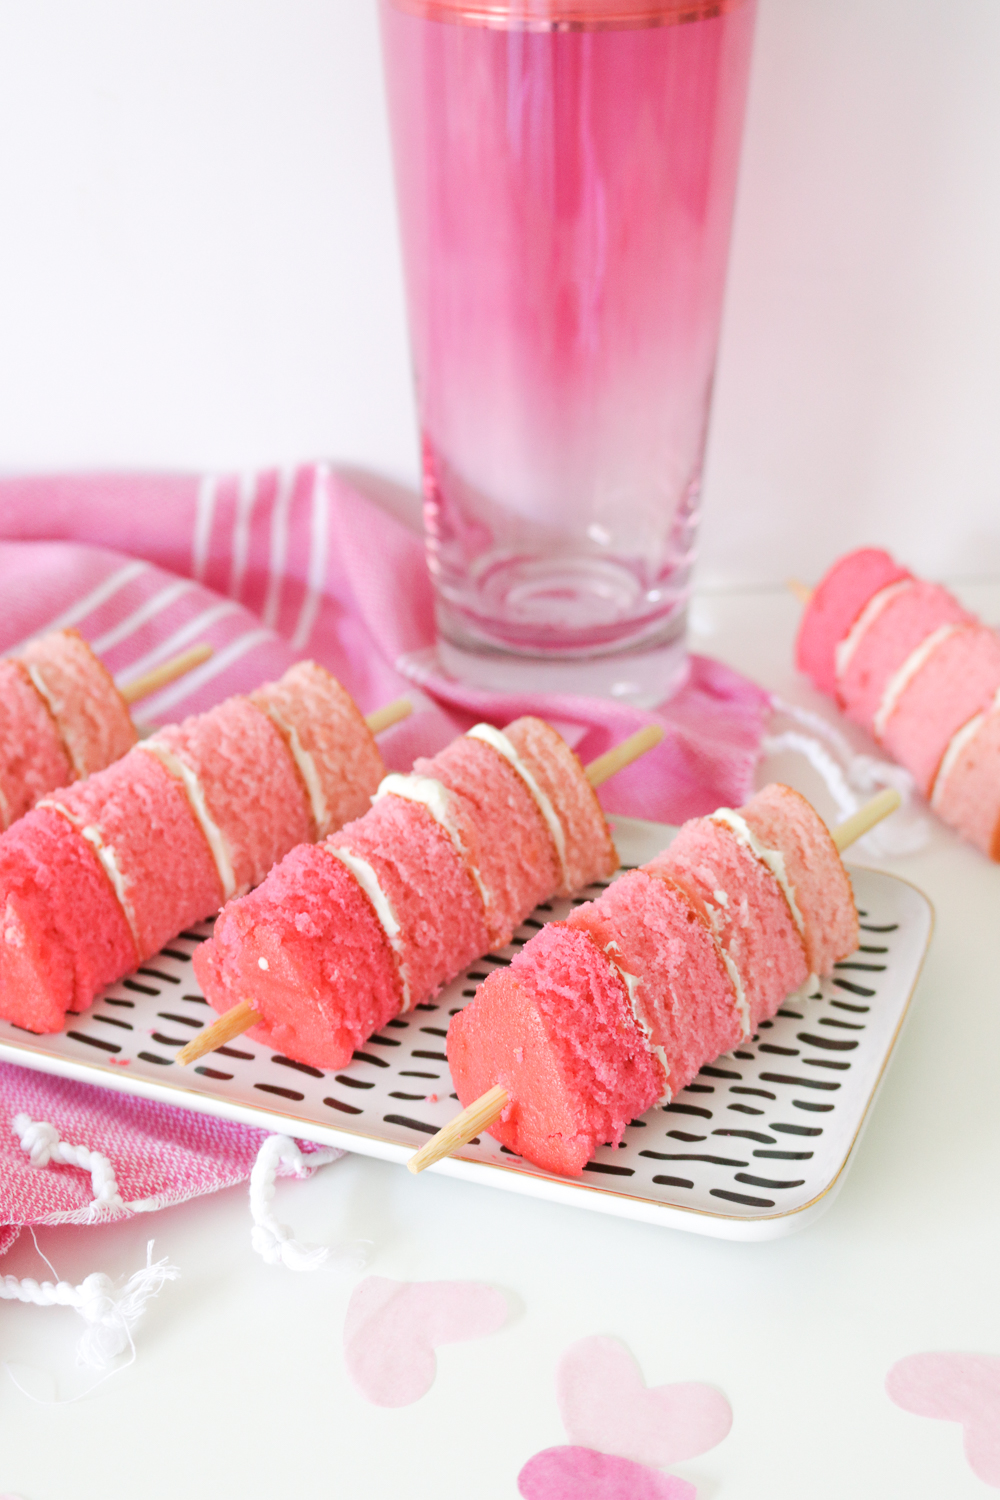
I know, cake kabobs probably sound strange but I swear they’re brilliant and you’ll want to make them all the time now. Just trust me! After seeing some fun recipes involving fruit on skewers, I couldn’t believe more people hadn’t tried to make kabobs using cake. My mind always looks for ways to turn things into cake, and this was no different. After struggling with the strangeness of the idea, I decided to just go for it and only share them if they came out well. Well, since I’m sharing my how-to for homemade ombre cake kabobs, you can guess they did turn out well!
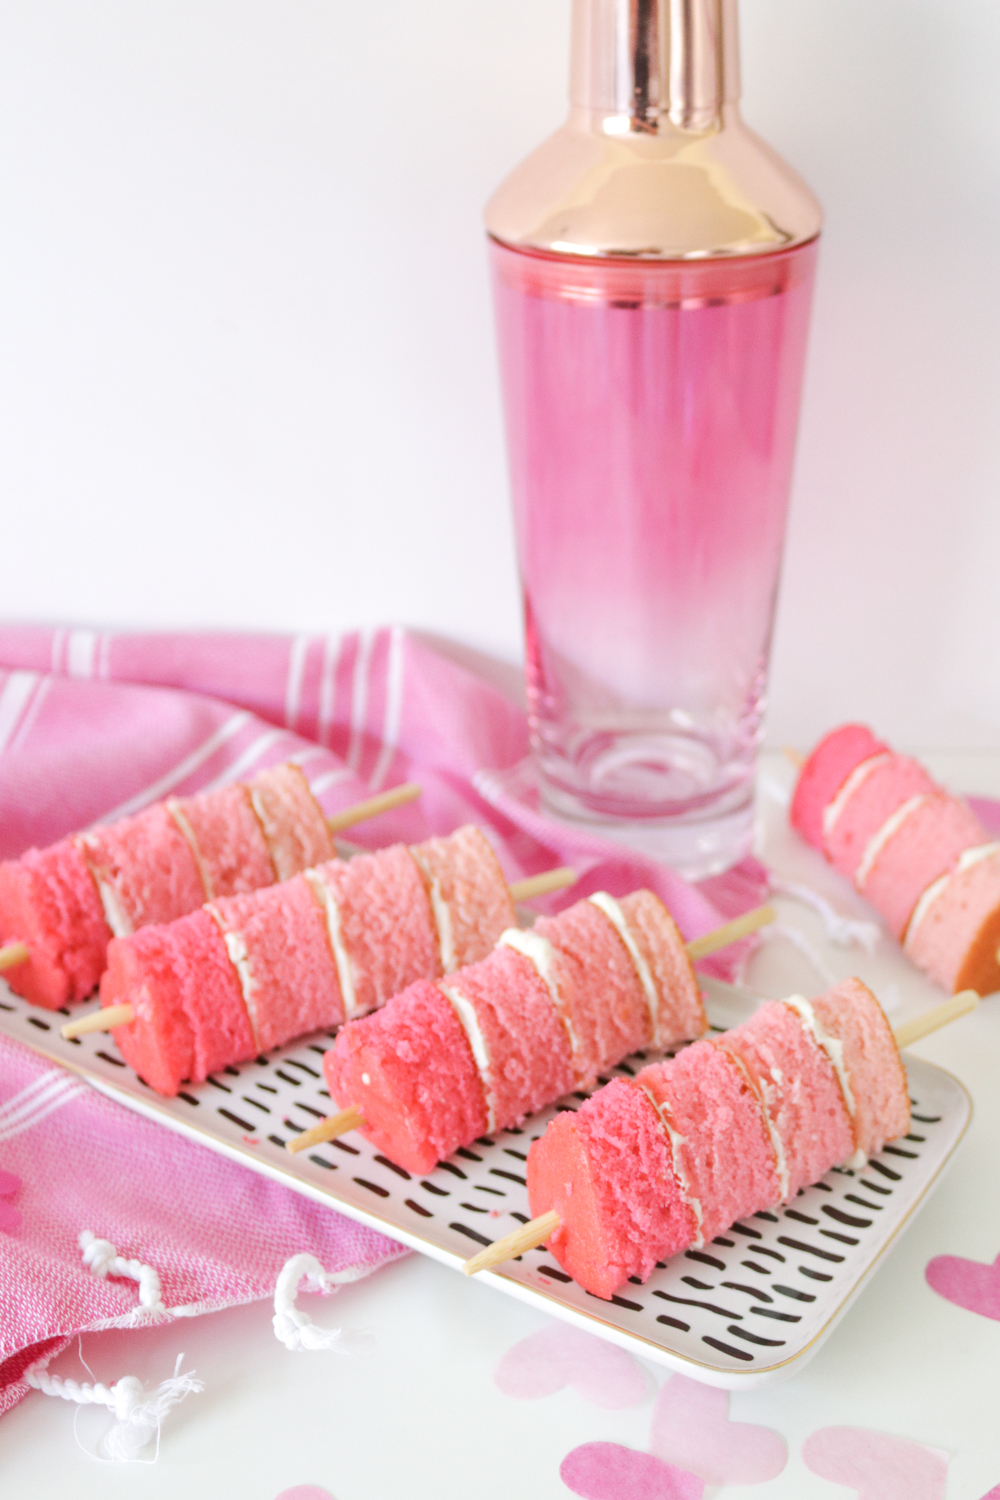
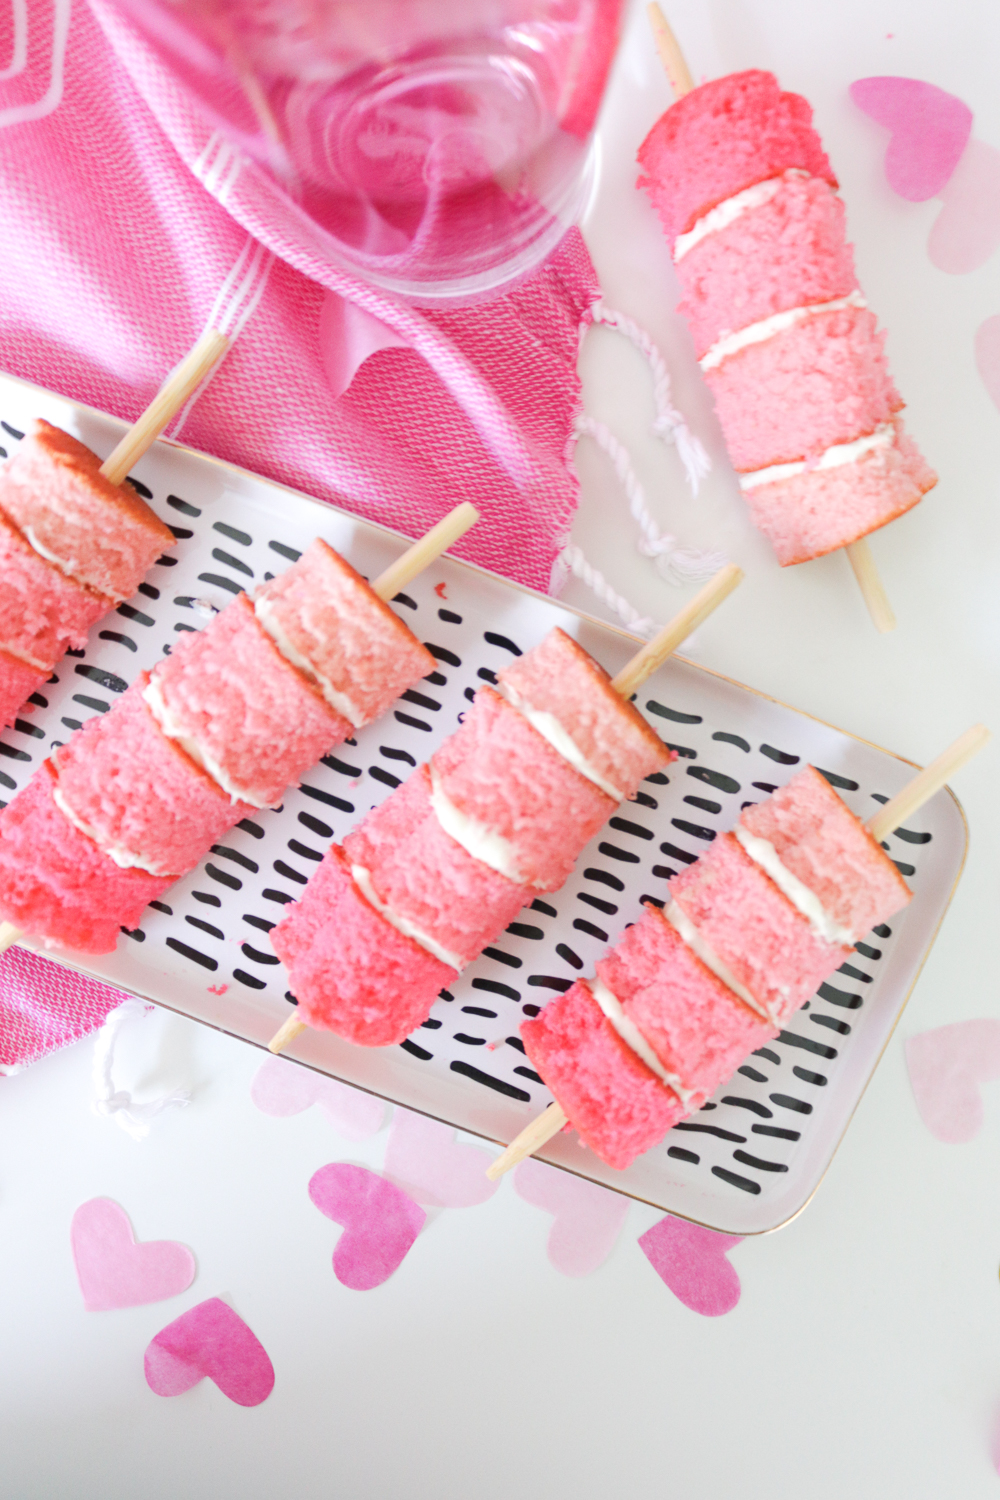
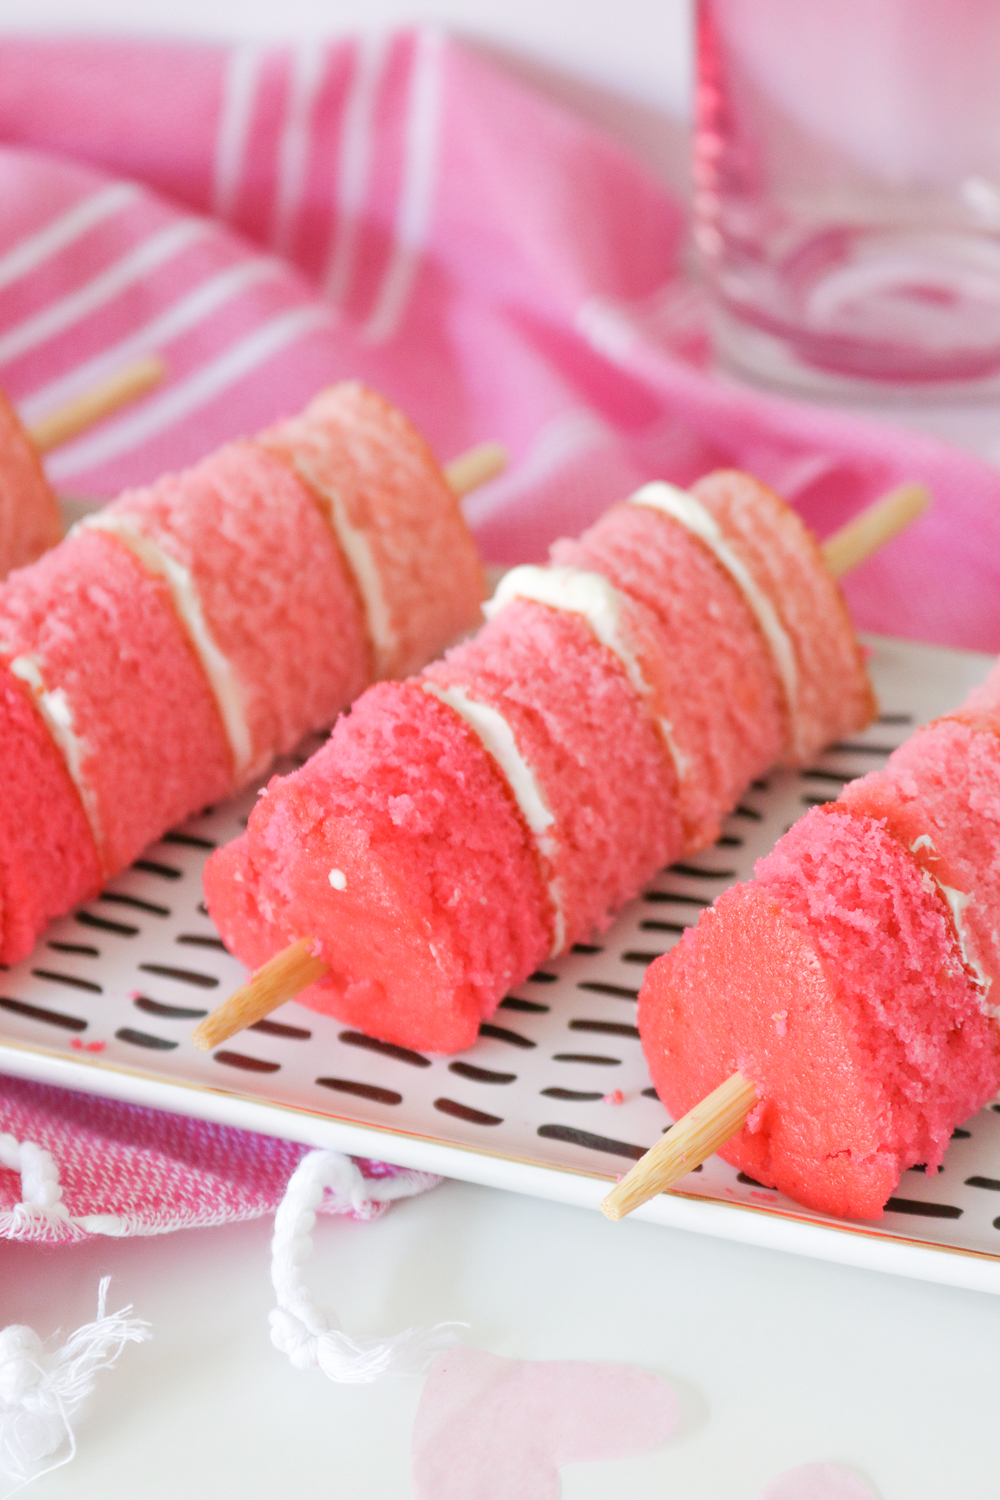 First, I’d like to point out that cake kabobs can be great for two reasons – they’re pretty and they can give you an opportunity to mix up the flavors. In this case, I made all vanilla cake and dyed each pan a slightly different shade of pink, but you can also mix and match flavors on each skewers so that each bite is different.
To make these, I simply prepared one batch of cake batter, dyed it 4 different shades of pink (you can dye it however many colors you want) and then cut out pieces to layer on a skewer with vanilla frosting. I went back and forth between rainbow and ombre, ultimately deciding to focus on ombre, but you can really do a lot with this general idea.
I used a small heart cookie cutter to cut out the cake, but this is also easily customizable for your project.
Here’s my recipe for classic vanilla cake with vanilla frosting. It’s my favorite, and you can never, ever go wrong with good ol’ vanilla. It can be easily cut in half to make smaller batches.
- 1 vanilla cake recipe
- 1 vanilla frosting recipe
- gel food coloring
- 4-6 small bowls
- 6-inch cake pans
- Small cookie cutter (optional)
- Wood skewers
Step 1: Prepare the cake batter according to the recipe. Separate into multiple bowls depending on how many varieties you’d like (in my case, four).
Step 2: Mix the colors in each bowl to reach desired colors. To make ombre, add one drop of food coloring to one bowl and add one additional drop as you go to create varying shades of the color.
Step 3: Separate each shade into its own greased cake pan and bake according to the recipe, noting correct time for the size of the pan.
Step 4: The cakes are done when you can insert a toothpick into the center and the toothpick is clean. Remove from the oven and let the cakes cool completely before removing.
Step 5: Remove each cake from its pan. Depending on thickness, use a knife or cake level to cut cakes in half so that each piece is about an inch thick. Use a small cookie cutter to cut out pieces from each layer (alternatively, you can use a knife to cut equal sized squares).
Step 6: Prepare the frosting and dye if desired (I used natural white vanilla). Spread frosting onto the top of each piece that has been cut to size and stack together from light to dark as if making a small cake.
Step 7: Assemble the kabobs. Poke a skewer through the center of the bottom piece and carefully poke all the way through to the top so you have a clear color gradient.
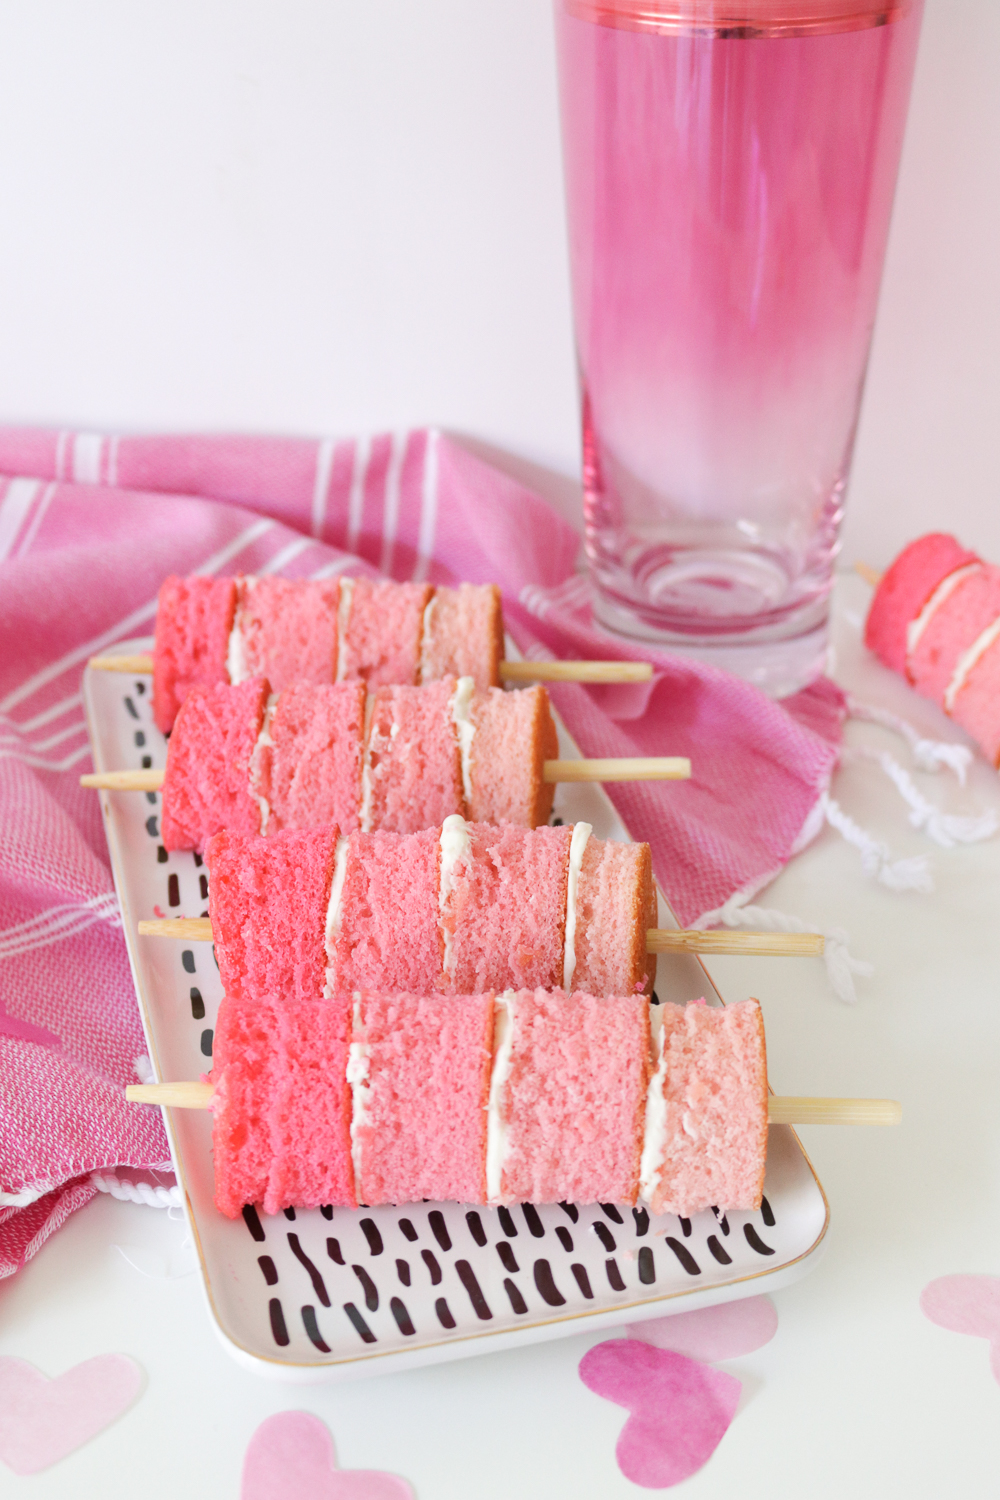 Serve on a tray for guests to easily grab a skewer.
I just thought cake kabobs would be a fun new way to serve cake, and I love a good ombre project! Next time, I want to make several different types of cake/frosting to assemble on a skewer so you can have a bite of each. Happy baking!

Roger E Lutz
What’s up, I log on to your blog daily. Your writing style is witty, keep doing what you’re doing!