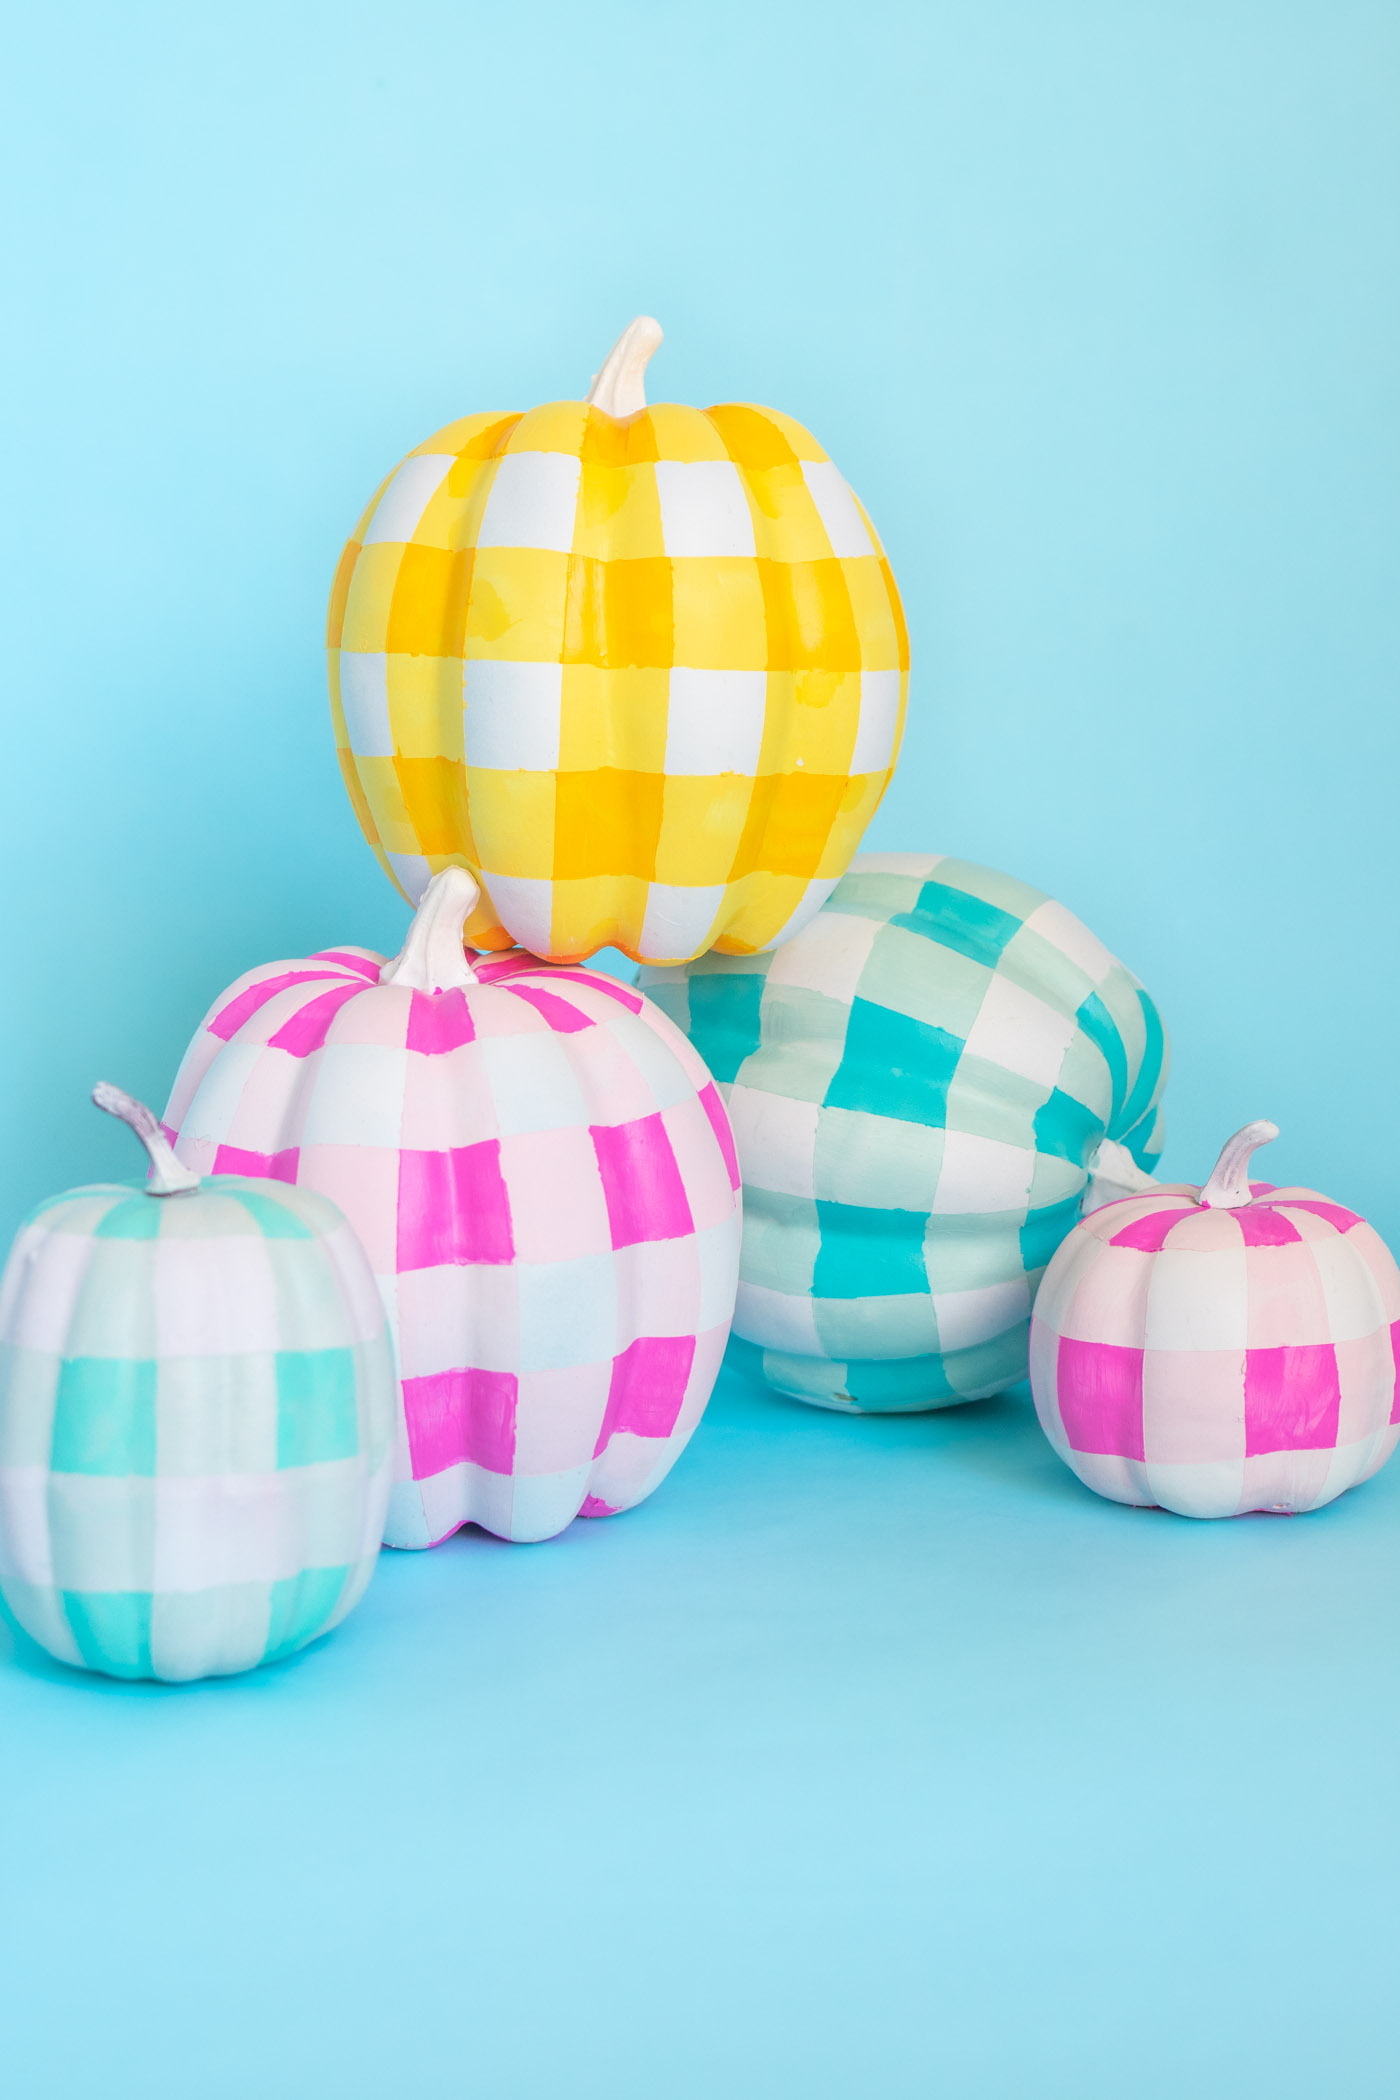
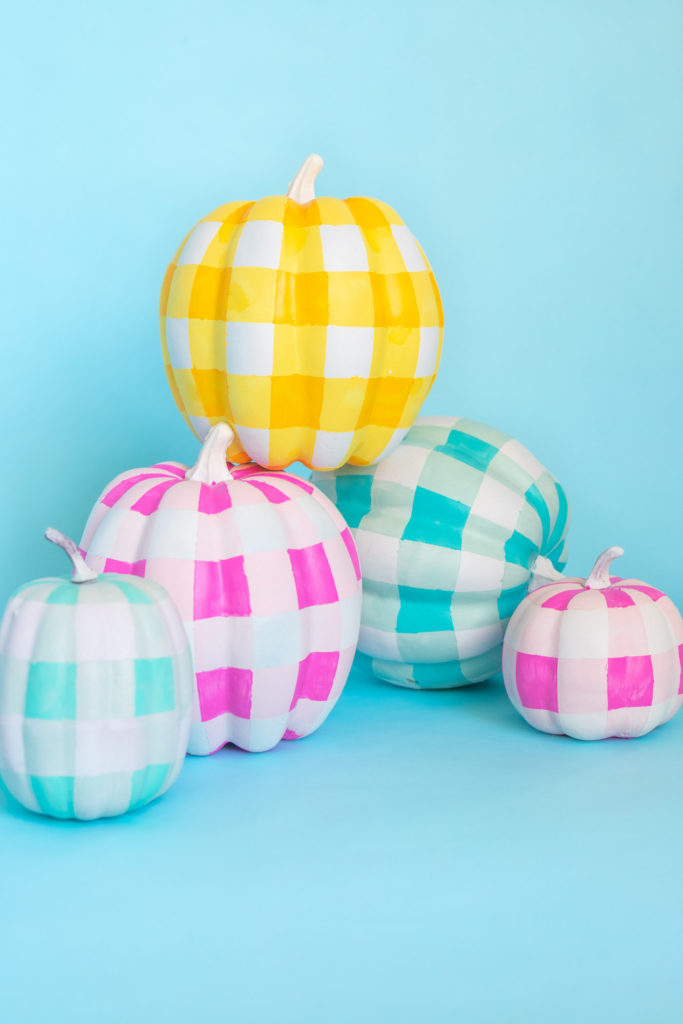
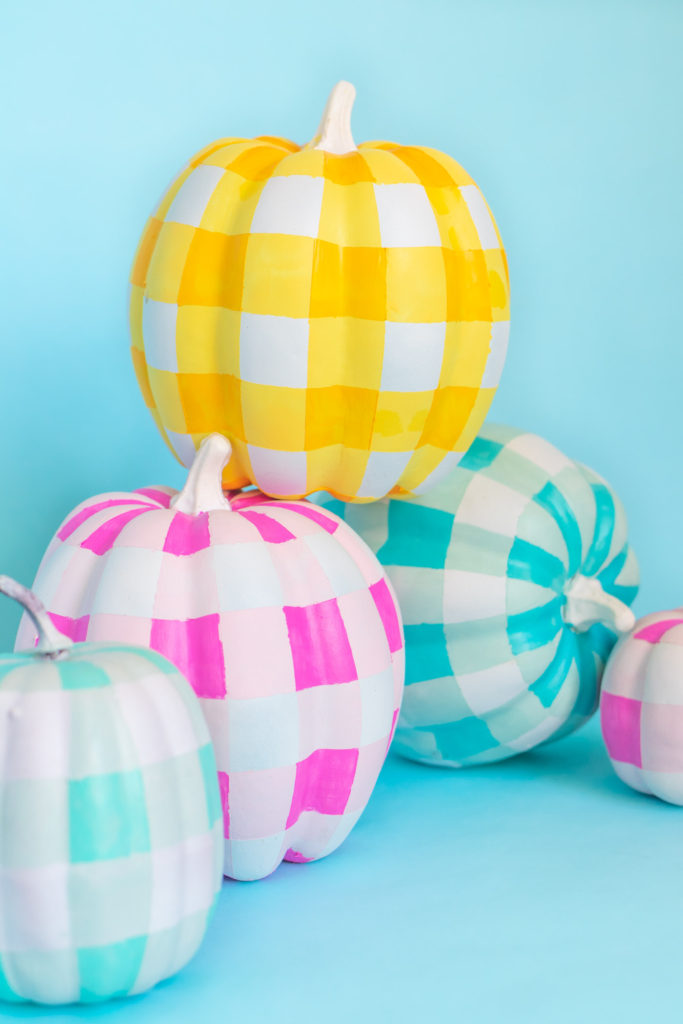
Gaga for gingham! Even though gingham is often associated with tablecloths and summery outfits, I love it year-round, so I wanted to share the DIY for these fun, colorful painted gingham pumpkins! Admittedly, painting gingham is a bit of a brain teaser. Don’t worry though, I’ll walk you through it! Painting gingham pumpkins is a little more difficult than painting it on a straight surface due to all the curves. Luckily, a good tape makes it possible. Make these gingham patterned pumpkins in multiple colors and sizes and decorate the house with them for Halloween and fall!
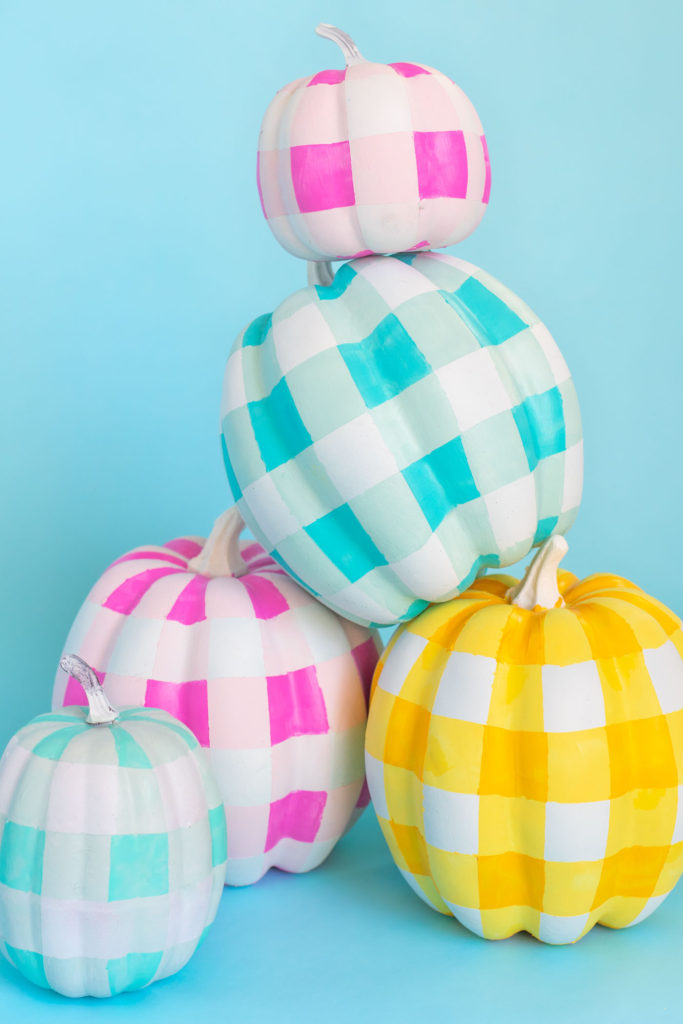
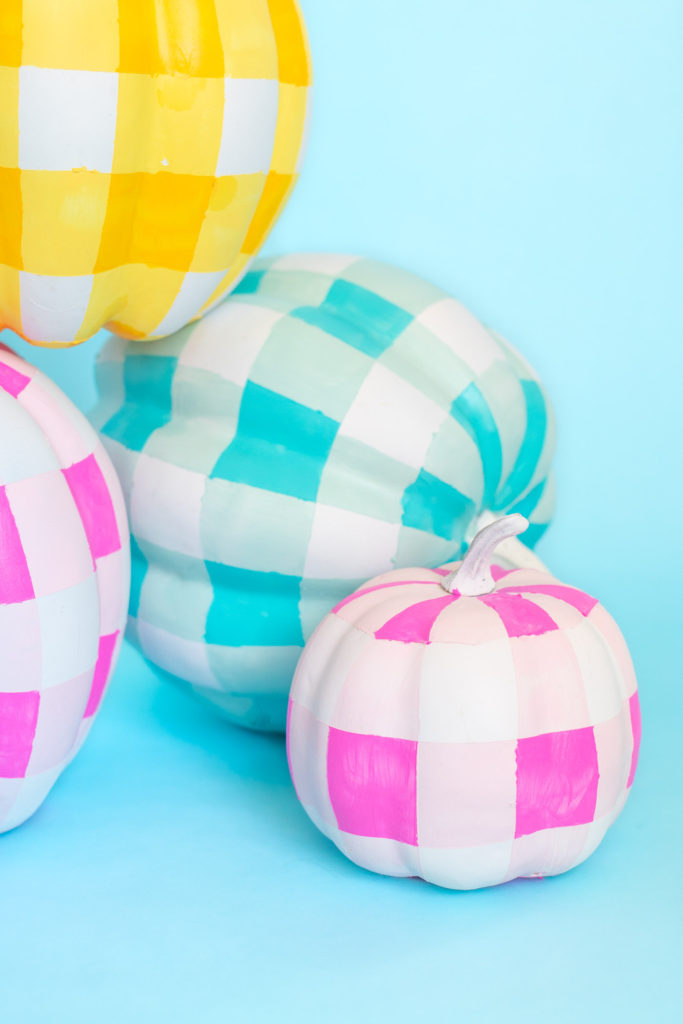
Guys, I really love gingham, especially when I can find it in less traditional colors! Have you seen my gingham donuts tutorial?? Give me all the pink and blue gingham, please!
You may have noticed that I’m not one for scary Halloween decor. Instead, I choose colorful and lighthearted (often punny!) decor like these gingham pumpkins to celebrate the season. More to come, of course!
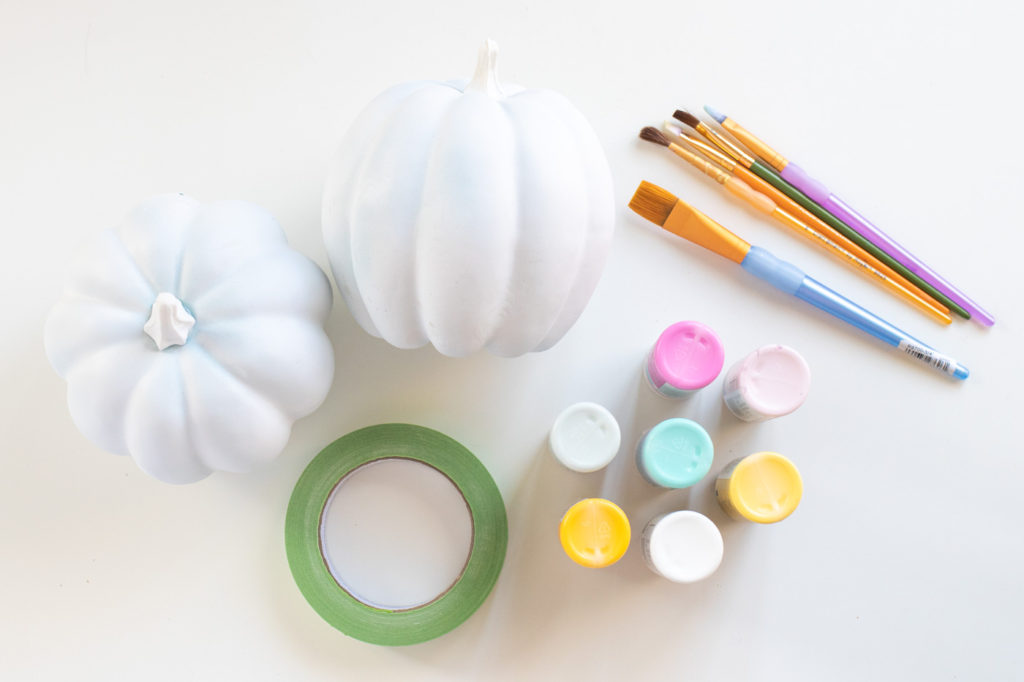
Supplies:
- Faux pumpkins, variety of sizes
- White spray paint
- Two tones of acrylic paint
- Painter tape (Frog Tape recommended)
- Paintbrushes
How to Paint Gingham on Pumpkins
Step 1: Paint the entire pumpkin white. Either with spray paint or traditional acrylic paint, make sure they are completely white for the base/background. Let them dry completely.
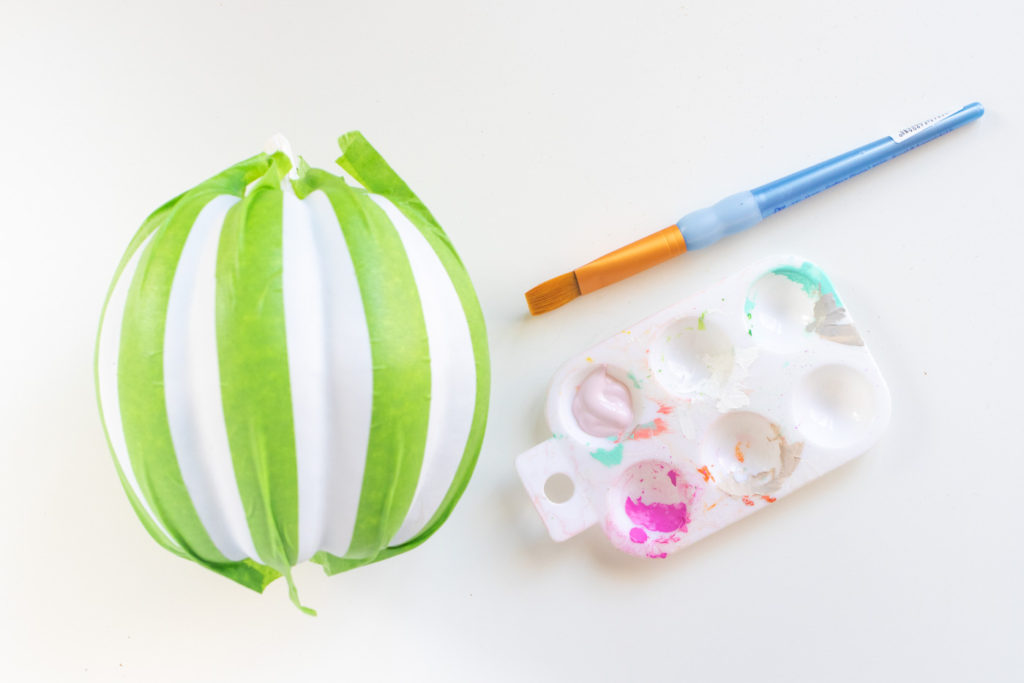
Step 2: Tear off large pieces of tape and adhere them vertically on the pumpkin. Depending on the size, you can position them on the “humps” of the pumpkin to distribute them evenly all the way around.
Most importantly, press the tape down well and pinch it at the top and bottom so that it tapers a bit. Due to the curves, the tape may be difficult to maneuver. Then paint with your light shade of color and let dry!
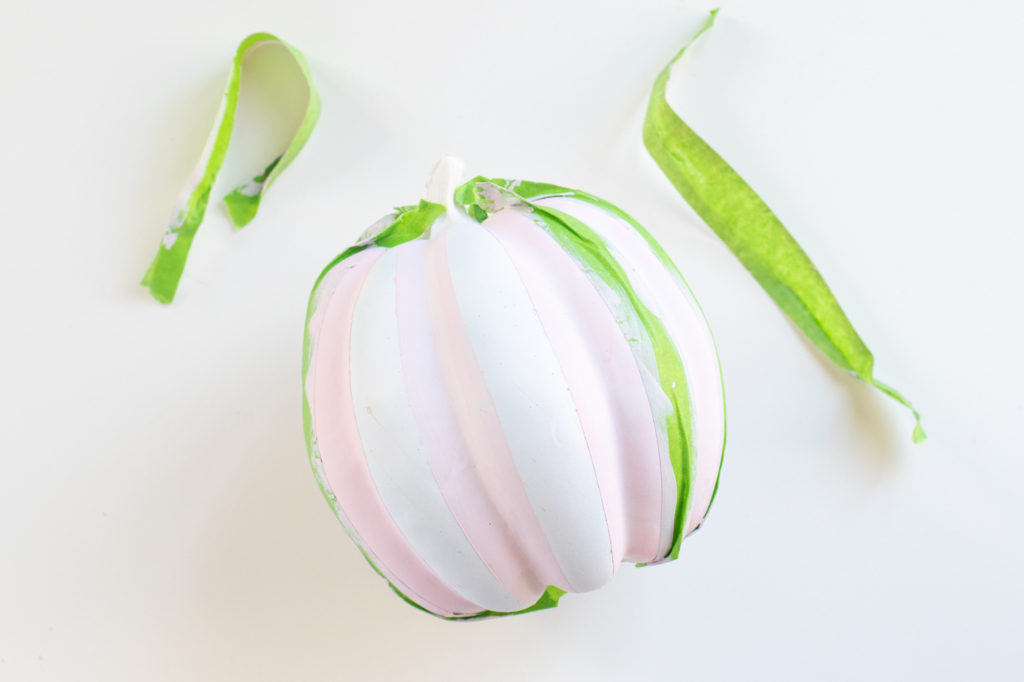
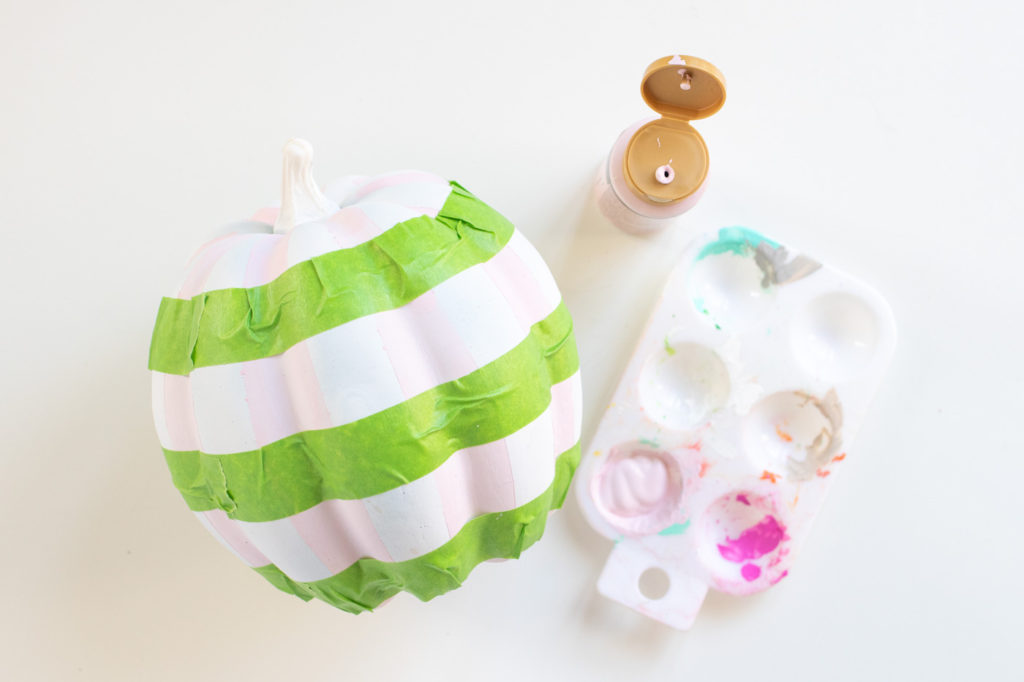
Step 3: Remove the tape once dry. Start adhering tape horizontally, leaving equal spacing between each line. It will crease due to the curves, but press the tape down firmly to prevent paint from seeping through. Paint with the same lighter shade of paint.
Note, it may help to mark on the tape where the vertical lines are because it will help you in the next step.
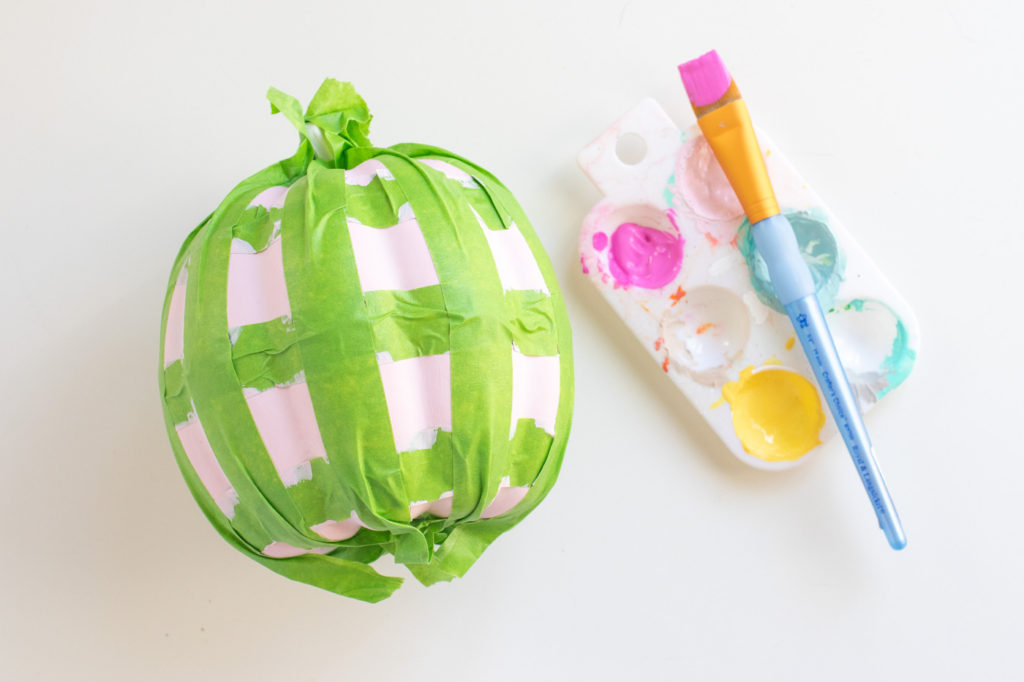
Step 4: Now put new layers of vertical tape on top of where the WHITE stripes were. Paint in the open squares with the darker shade of paint. Give it two coats as needed and let it dry completely.
Step 5: Peel off all the layers of tape and use a smaller paintbrush to make touchups, especially at the top of the pumpkin where the tape may have blocked off too much.
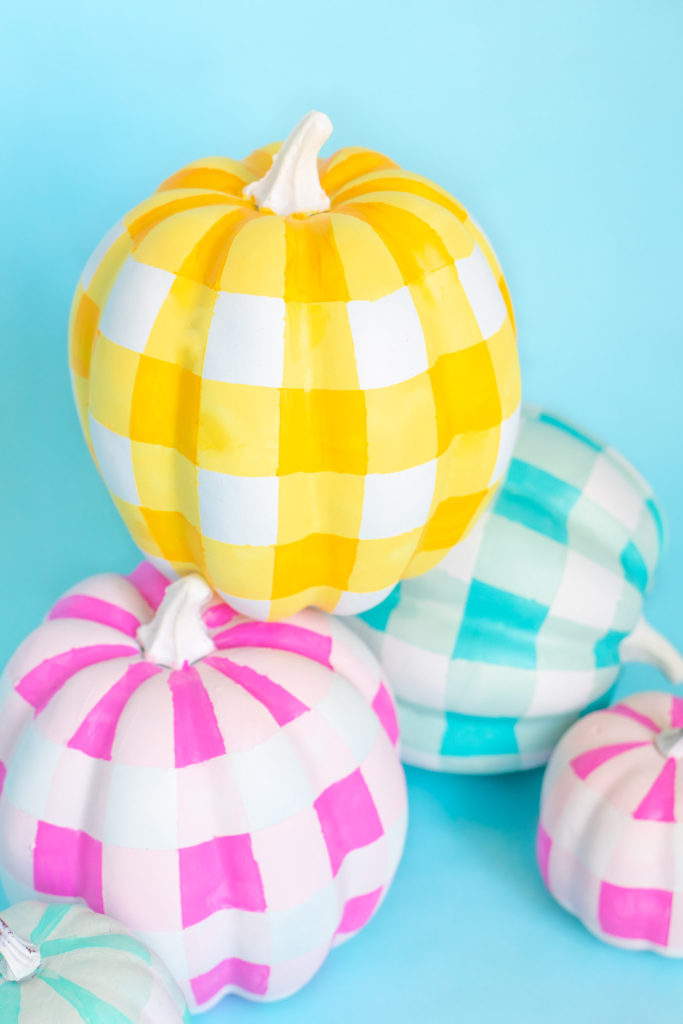
These painted gingham pumpkins are a labor of love! Honestly though, I’m so happy I took the time to make them and they’re filling the shelves in our living room now. You know I love a colorful Halloween!

Jeanine
These are GORGEOUS!!! I love these so much! I only hope mine turn out half as good as yours! Cheers! 🙂