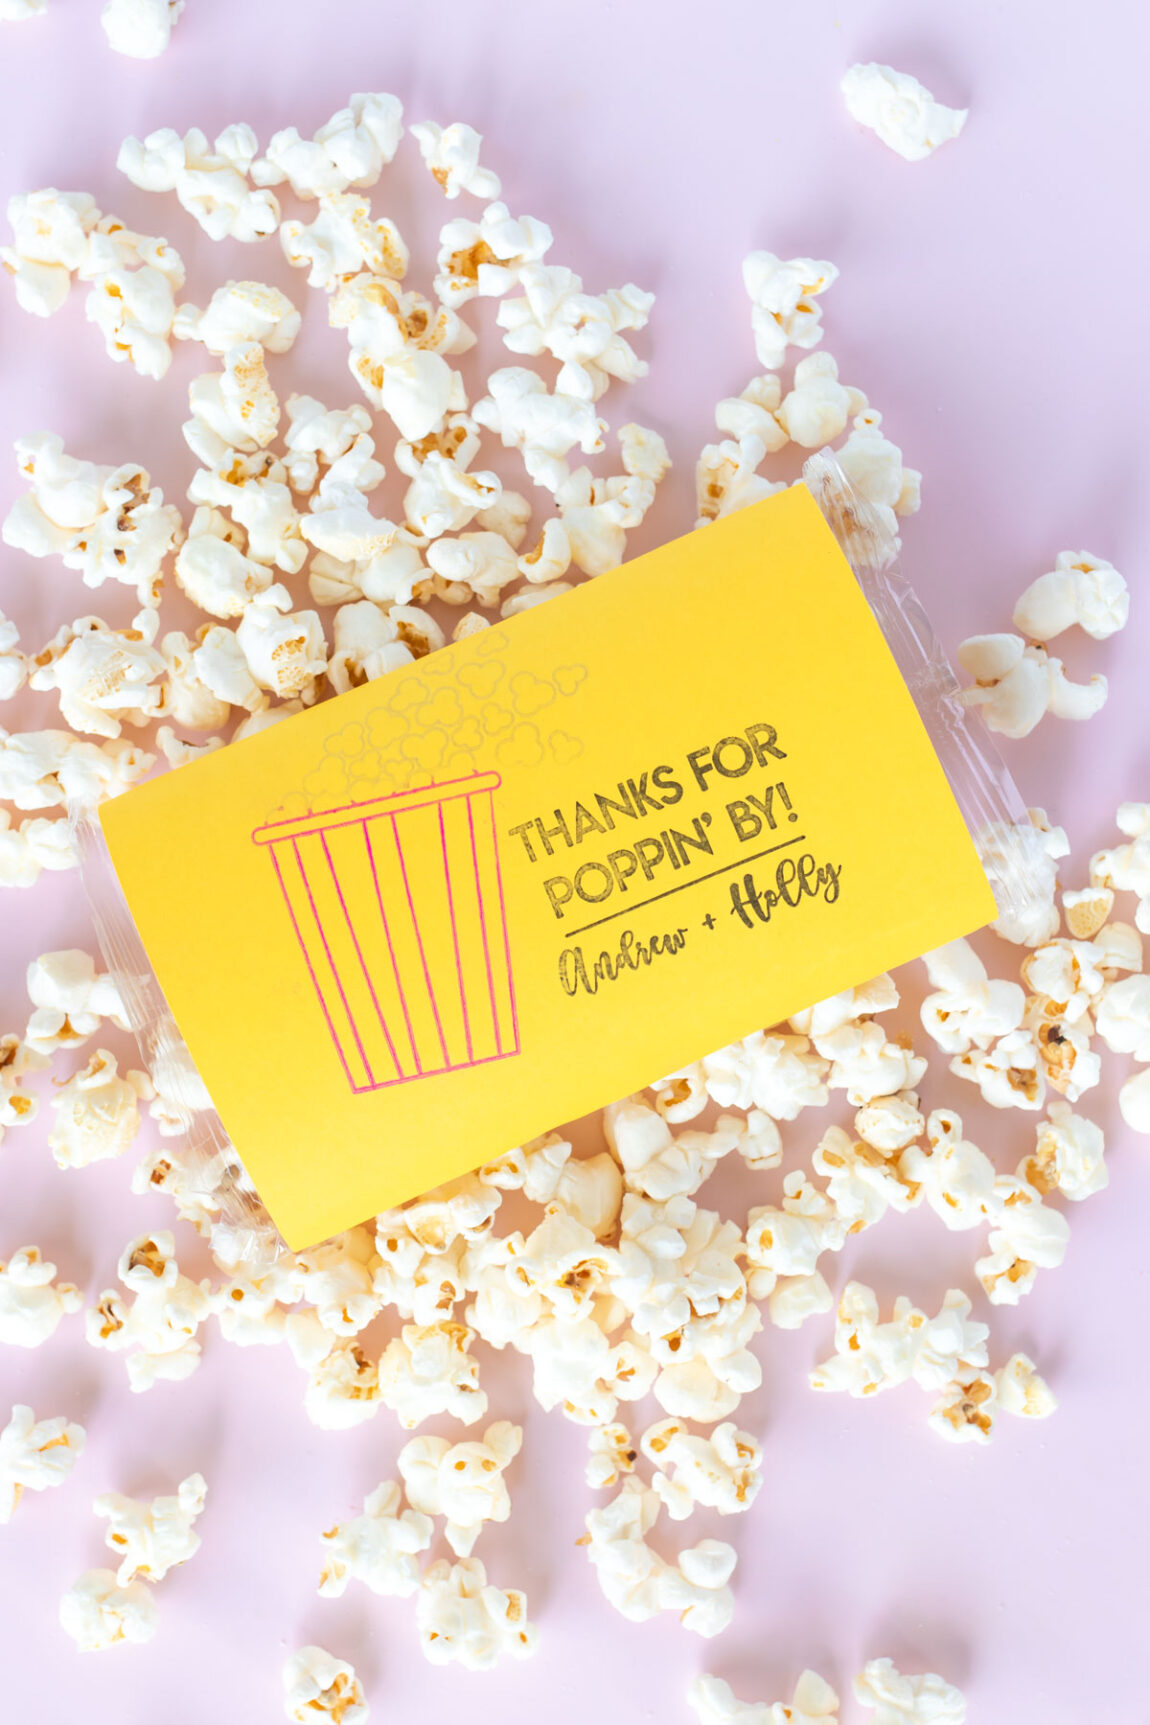
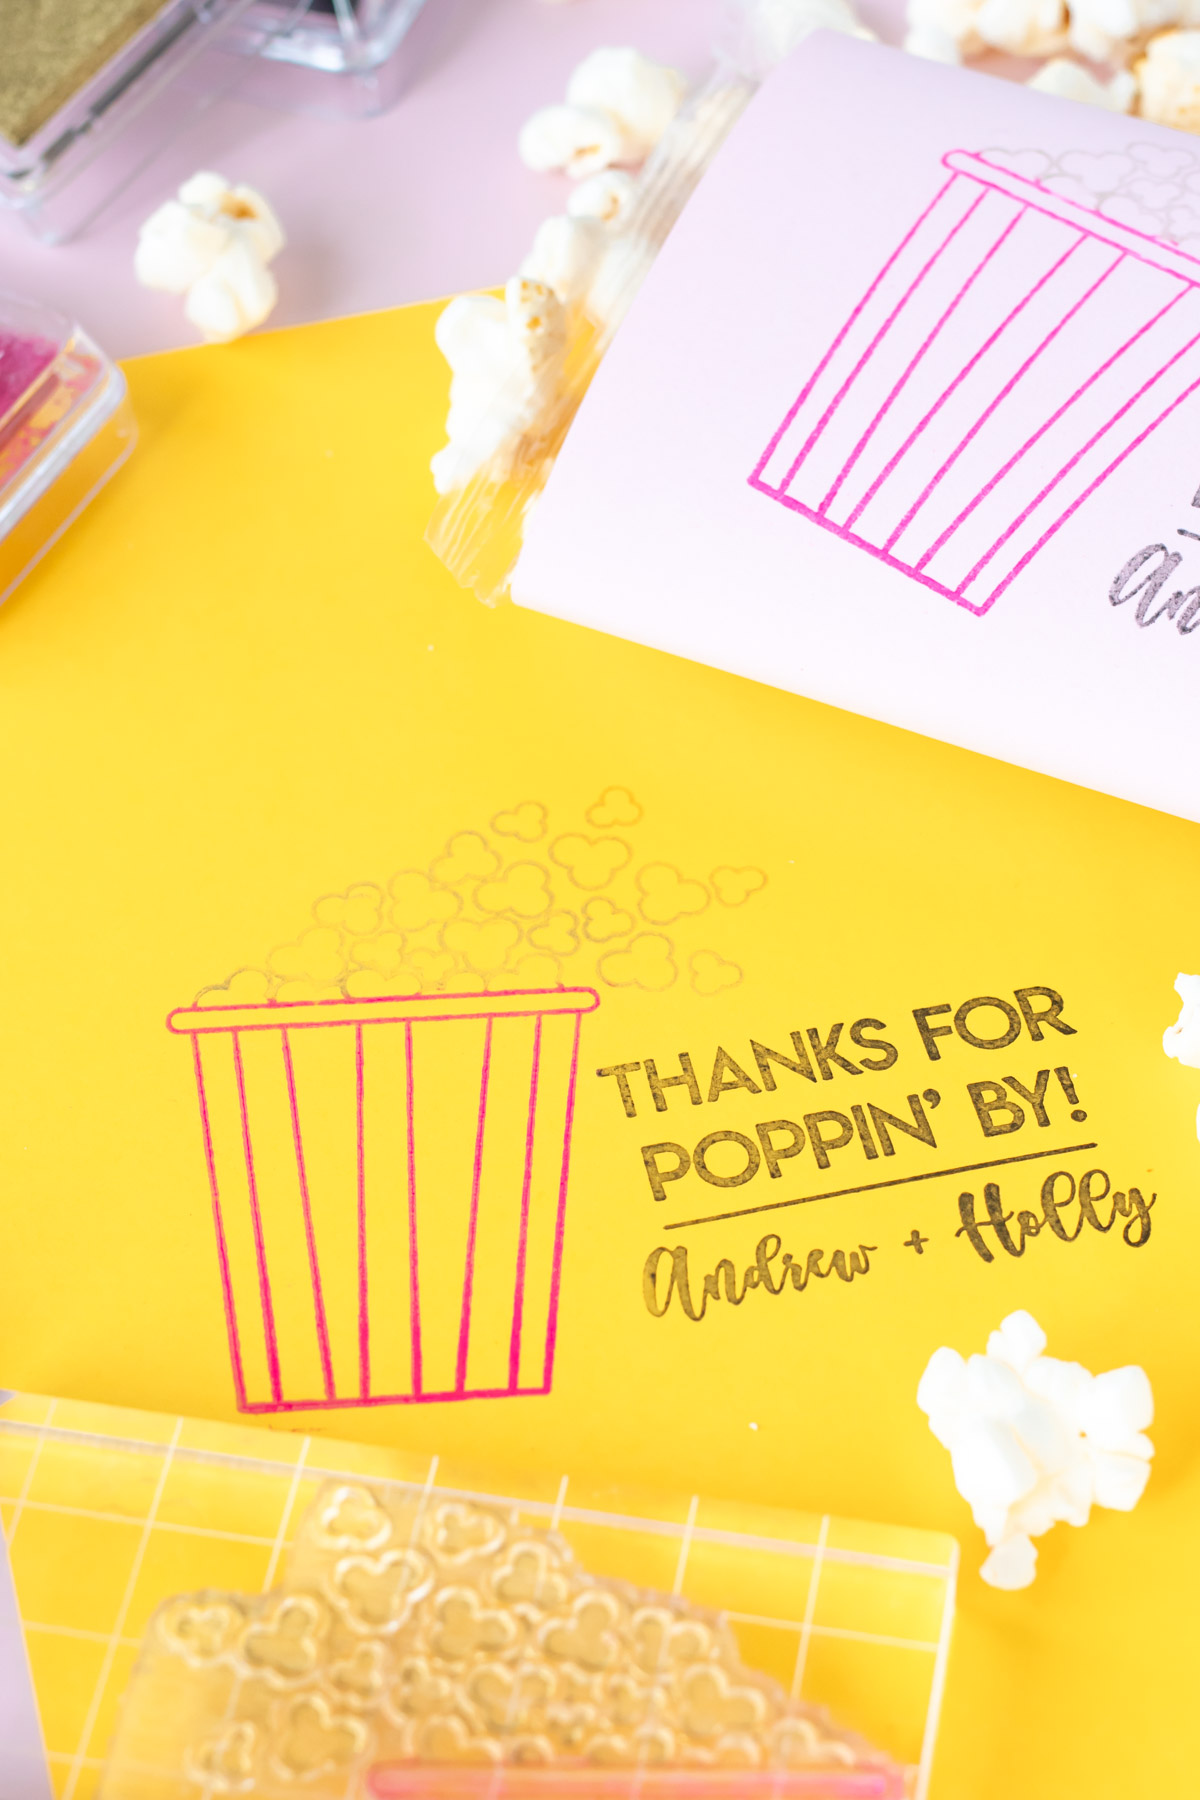
Let’s keep the wedding countdown going with another wedding DIY! With the help of RubberStamps.com, I made a custom stamp for making these DIY popcorn favors for our wedding guests to enjoy. (Sorry, spoiler alert to any of you on the guest list!) It’s pretty well-known that I am obsessed with popcorn, and because Andrew and I are trying to incorporate things about us into the wedding choices, this one was for me. As another example, Andrew has chosen all of the names of our tables based on something important to him – more on that later! There are a lot of ways to make popcorn wedding favors, but I chose to make custom stamped wraps for microwave popcorn bags so that it’s easy for guests to take them home and use them.
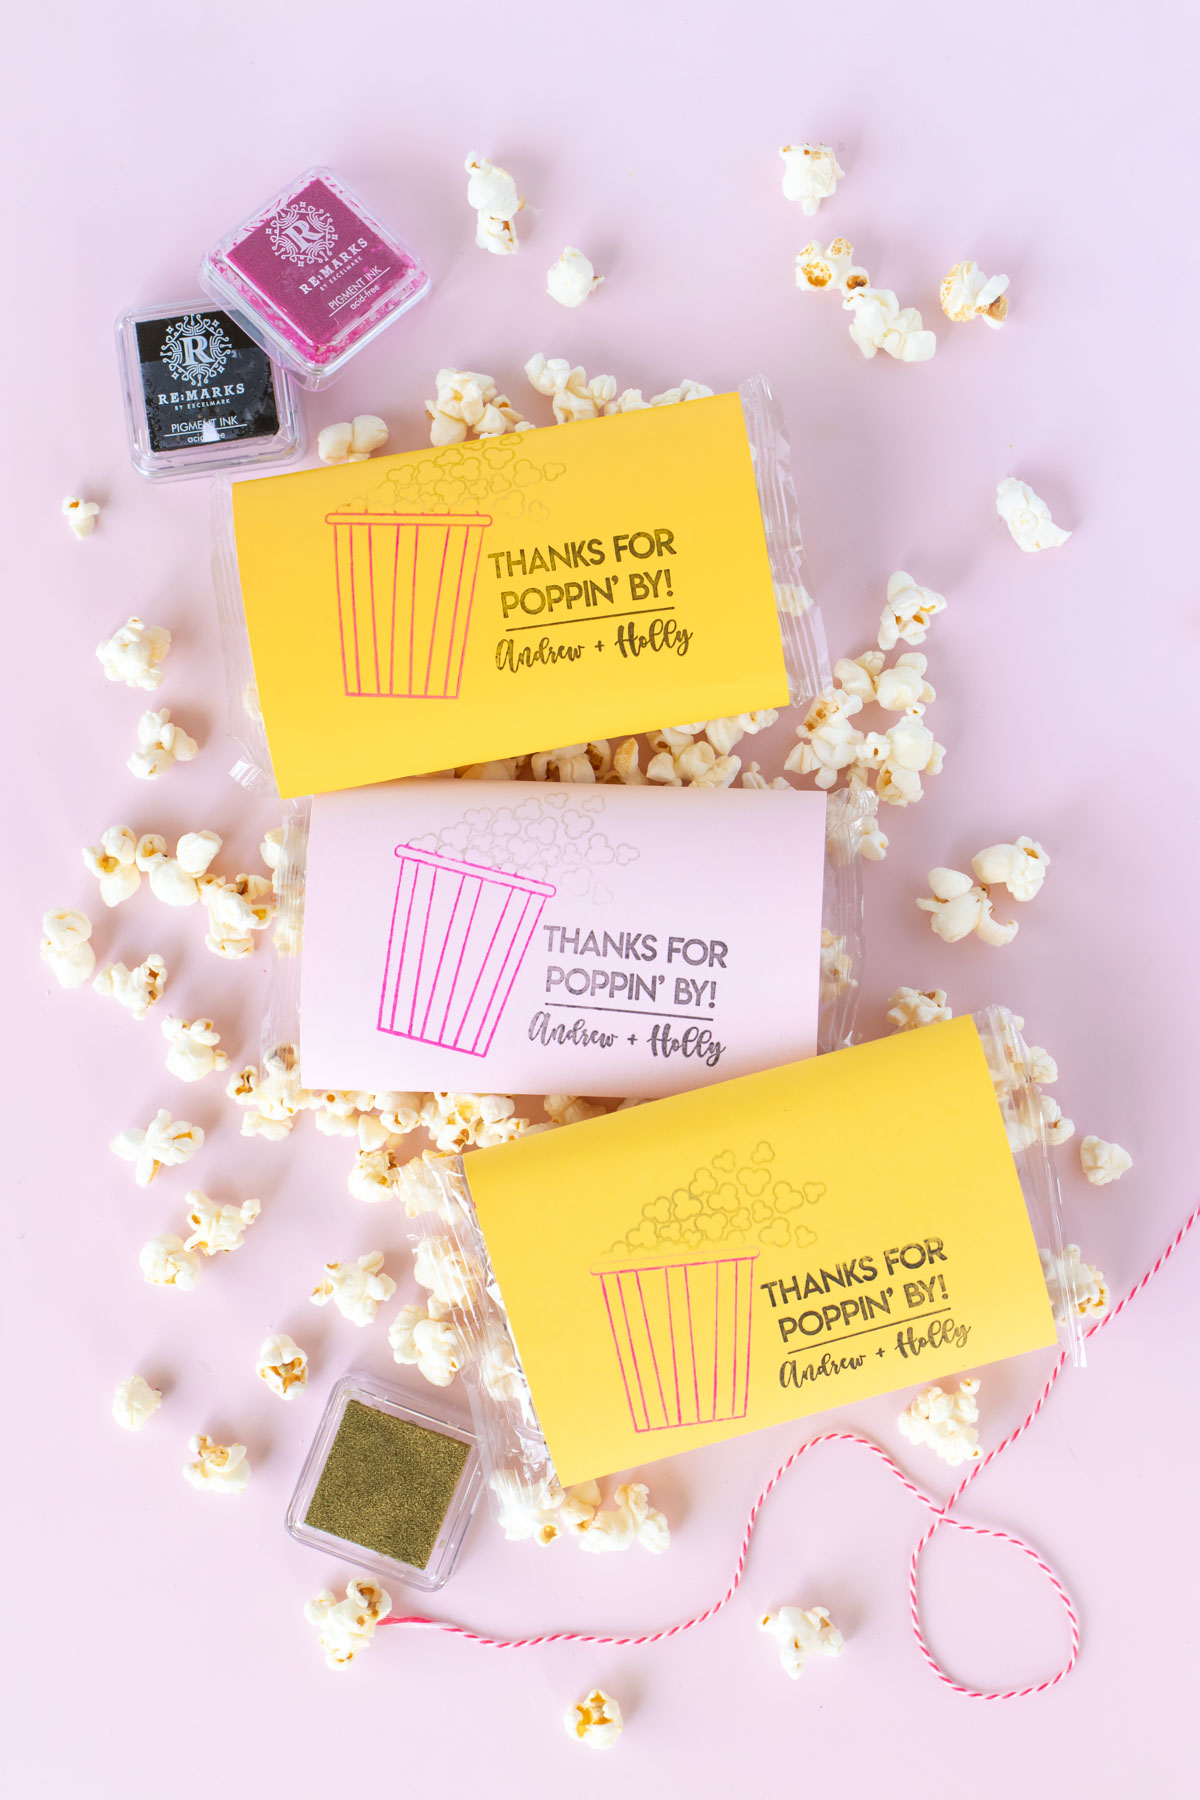
If you caught my last post about the wedding, you’ve read that we’re currently preparing invitations to go out. I used a gorgeous stamp from RubberStamps.com to make floral envelope liners. Now, I’m continuing that color palette with these easy popcorn favors using blush pink and bright yellow to offset the surrounding greenery.
How to Make a Custom Stamp for your wedding
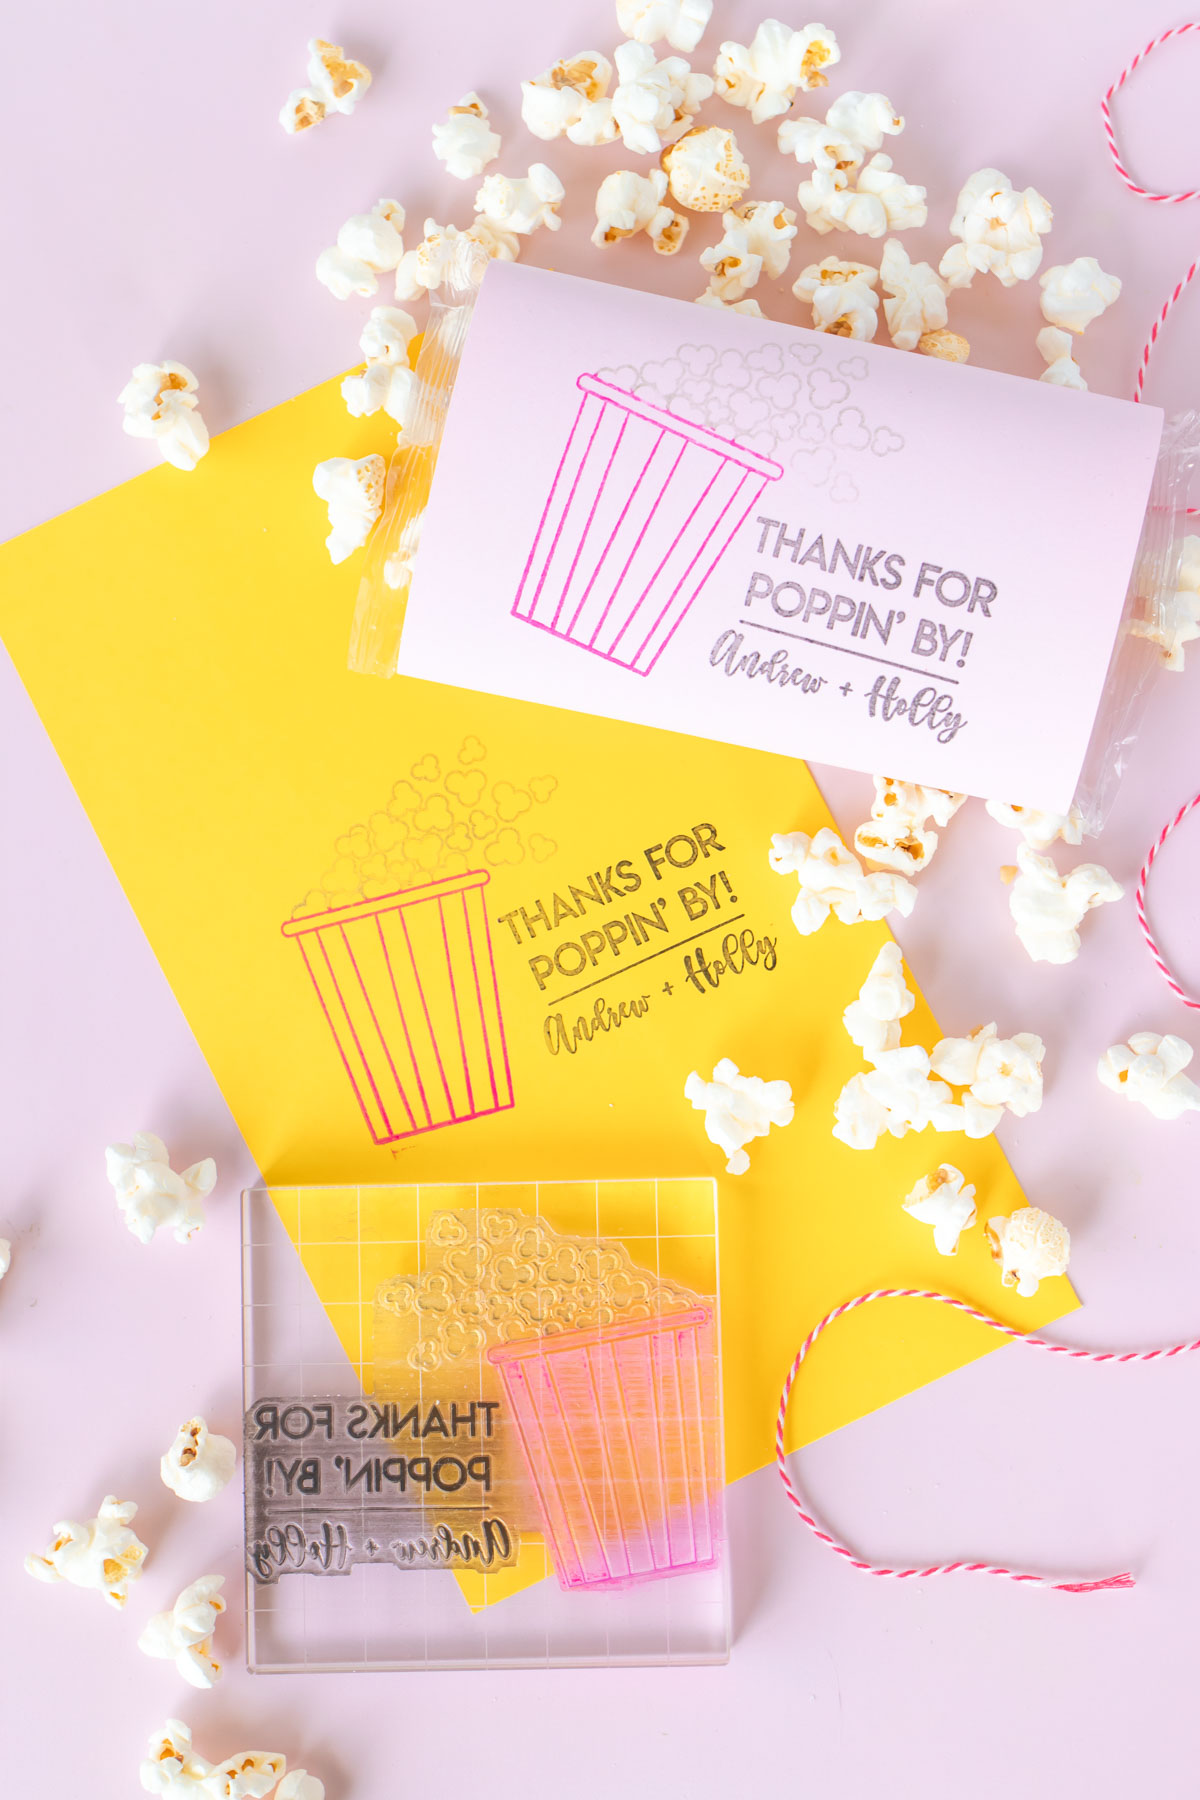
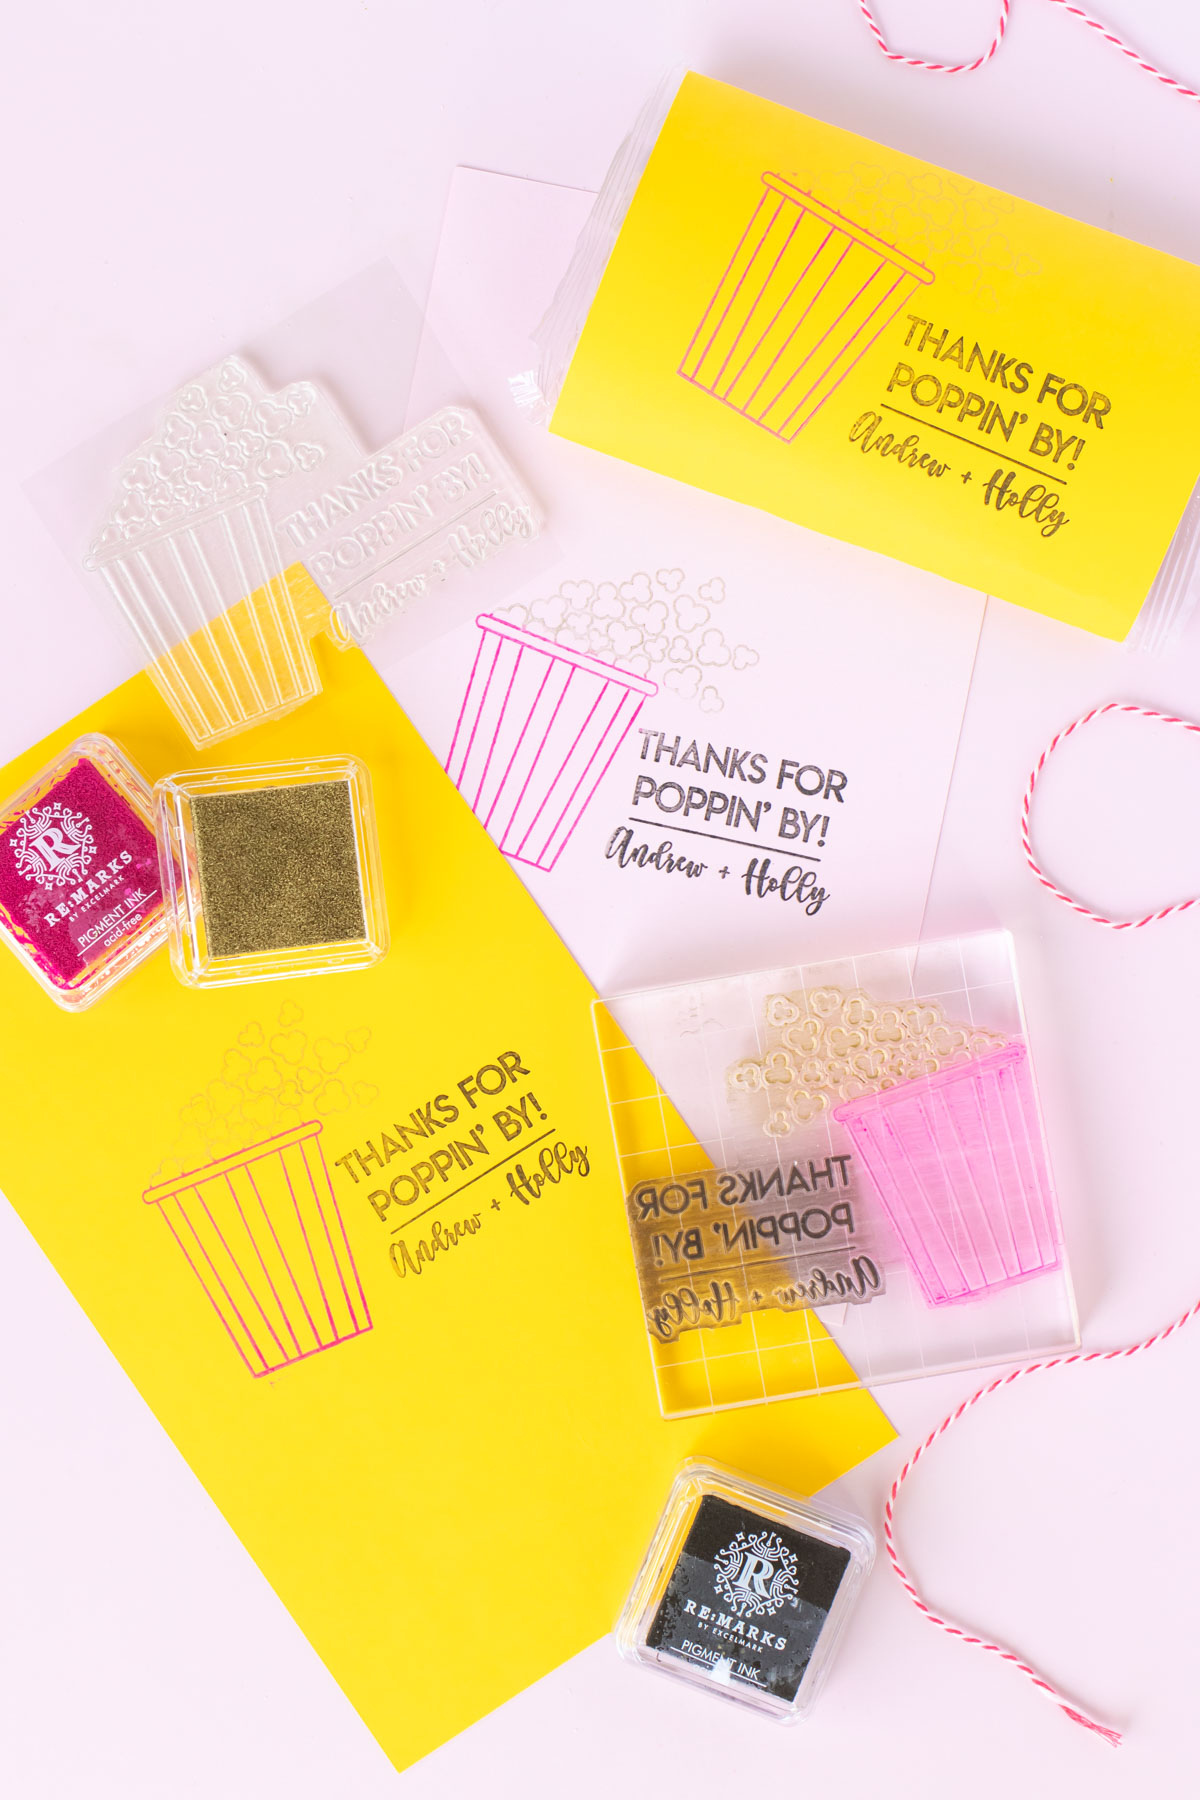
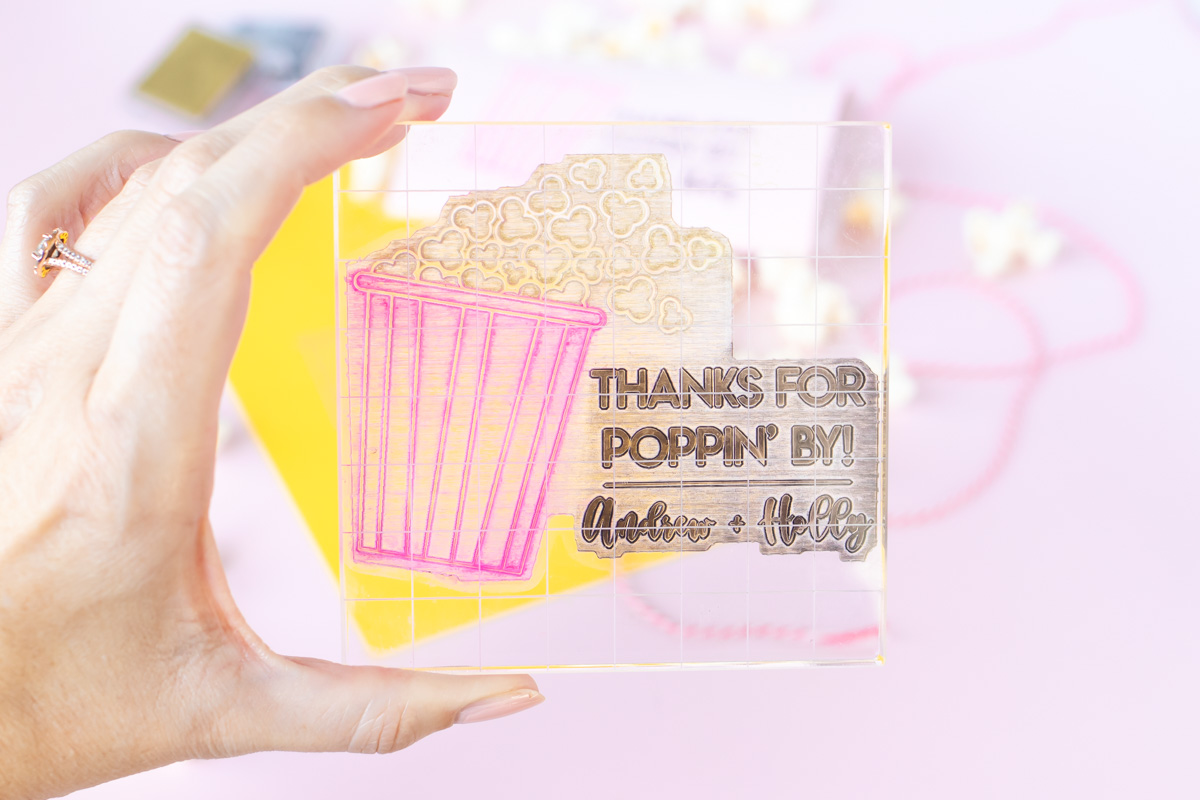
RubberStamps.com makes it very easy to create a custom stamp in your desired size! A custom clear stamp like the one I used to make my DIY popcorn favors is perfect because you can see exactly where you’re placing the stamp, guaranteeing accuracy. However, you can also create stamps in other stamp styles! Simply choose your desired stamp size (mine is 4 in x 4 in), click “personalize” and either add your designs or upload graphics from your computer.
My custom “Thanks for Popping by!” stamp came out looking exactly like the artwork I uploaded! However, if you don’t want to upload a completely custom design, it may be easier for you to make popcorn favors with a pre-made, customizable stamp like this one. Just click “personalize” to change the names and date for a custom looking design! Now, here’s how to use it to make popcorn favors for your wedding.
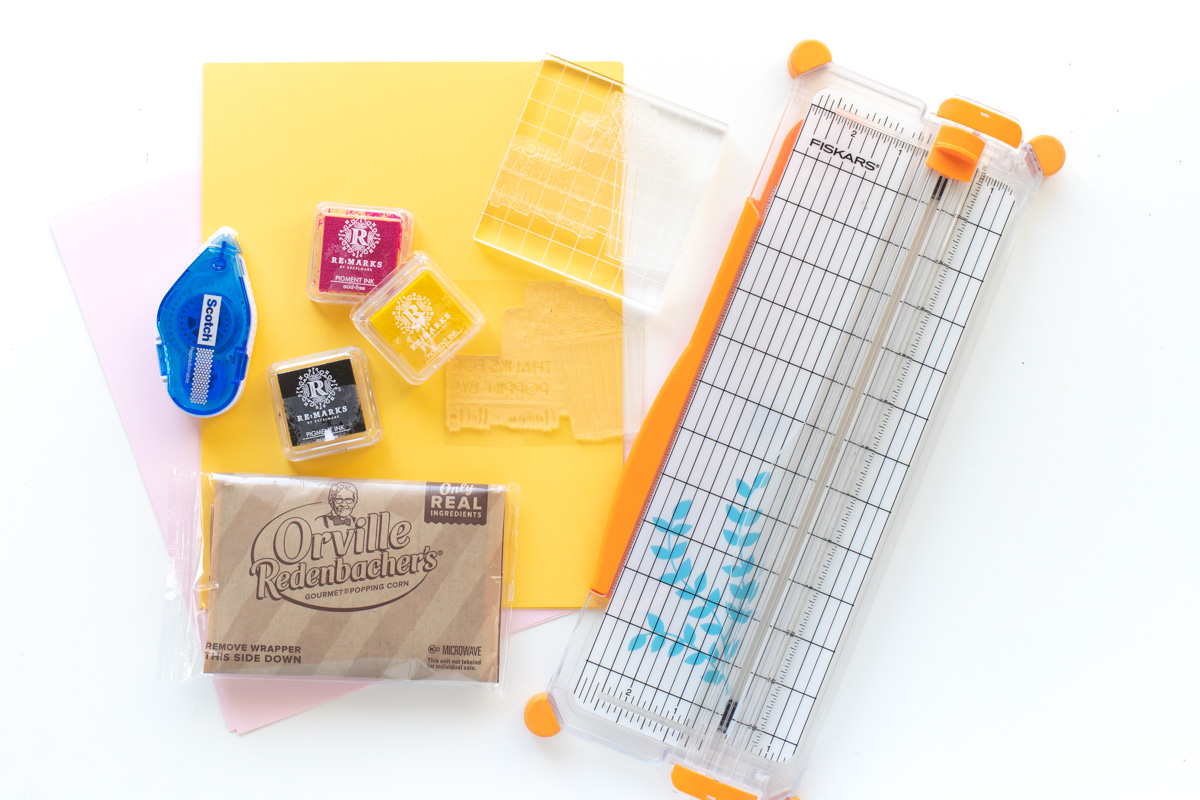
Supplies:
- Colored cardstock
- Pigment Ink Pads (I used Raspberry, Gold Metallic, Canary Yellow and Black)
- Custom Popcorn Stamp (OR personalize an existing stamp – see above!)
- Clear acrylic stamp block(s)
- Paper cutter
- Adhesive roll
- Microwave popcorn packages
- Cotton swabs (optional)
How to Make Microwave Popcorn Favors
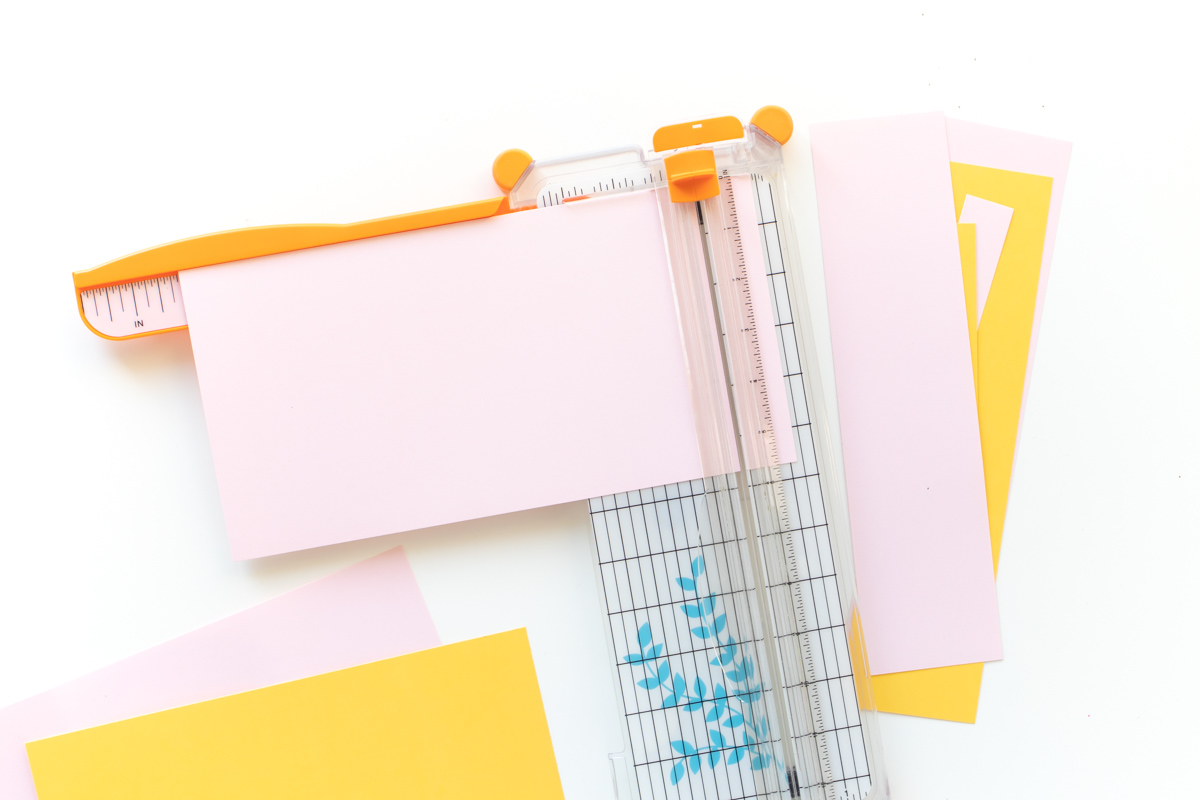
Step 1: Start by trimming cardstock to the size of the microwave popcorn bag. In this case, they are 5.75 in x 10 in.
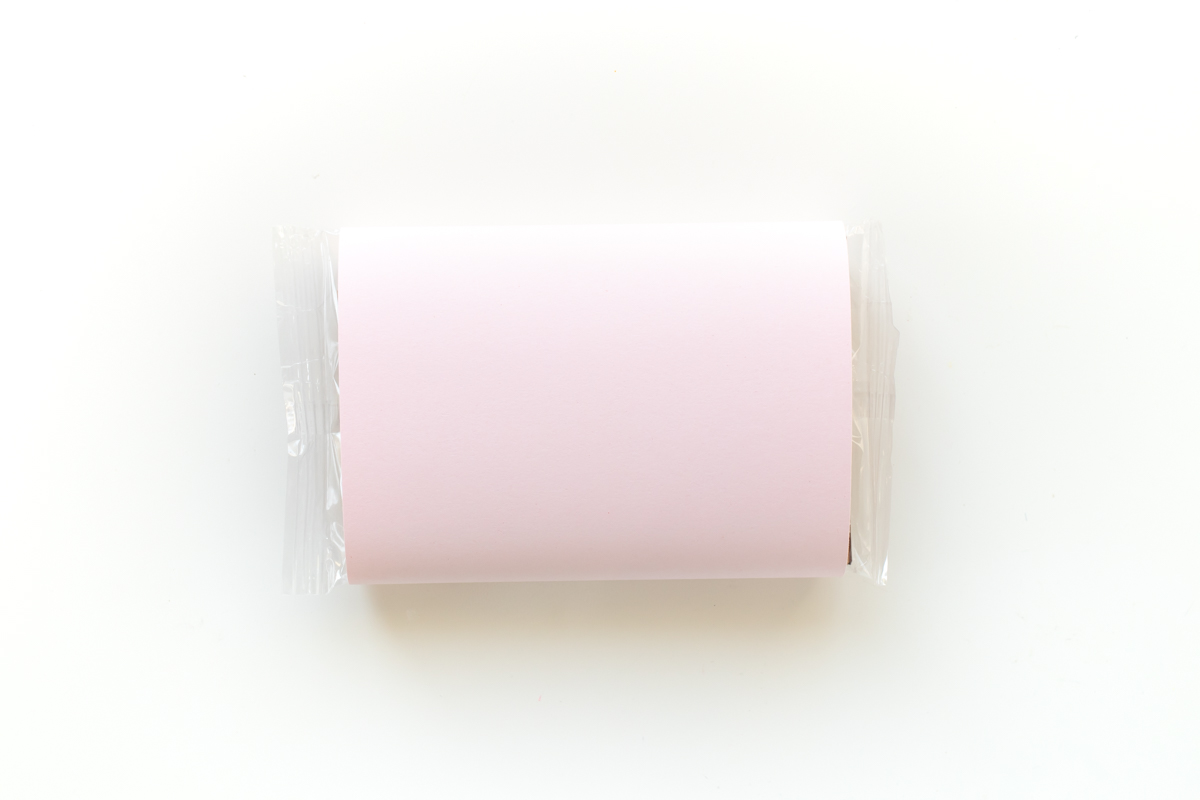
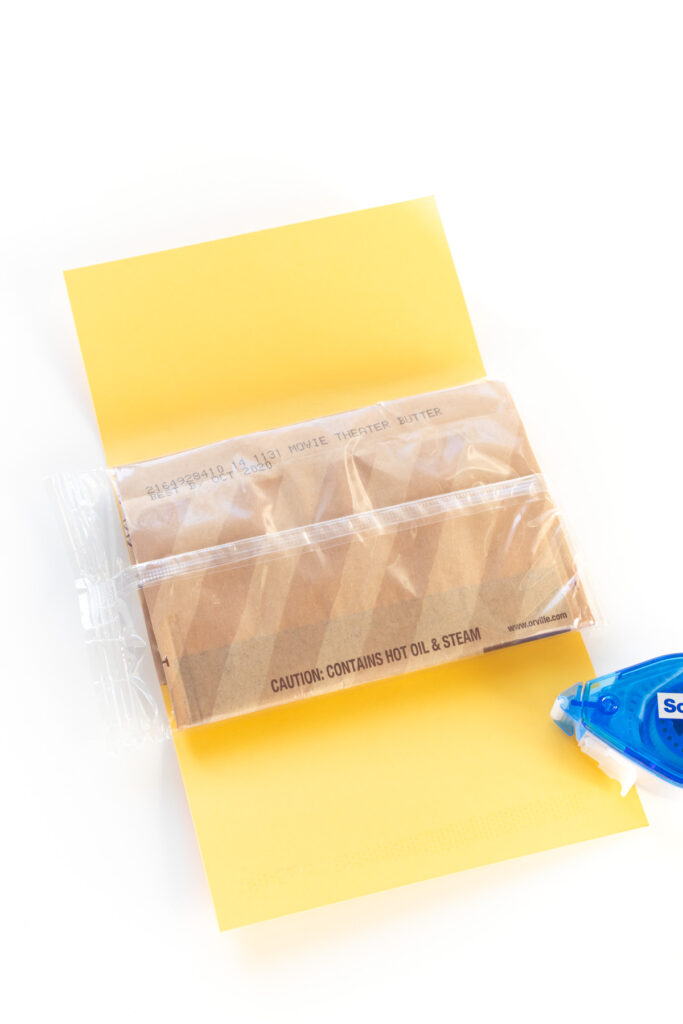
Step 2: Wrap it around a bag of microwave popcorn to make sure it will cover the label. By bending it around the wrapper, you can determine where the middle is and therefore where to stamp.
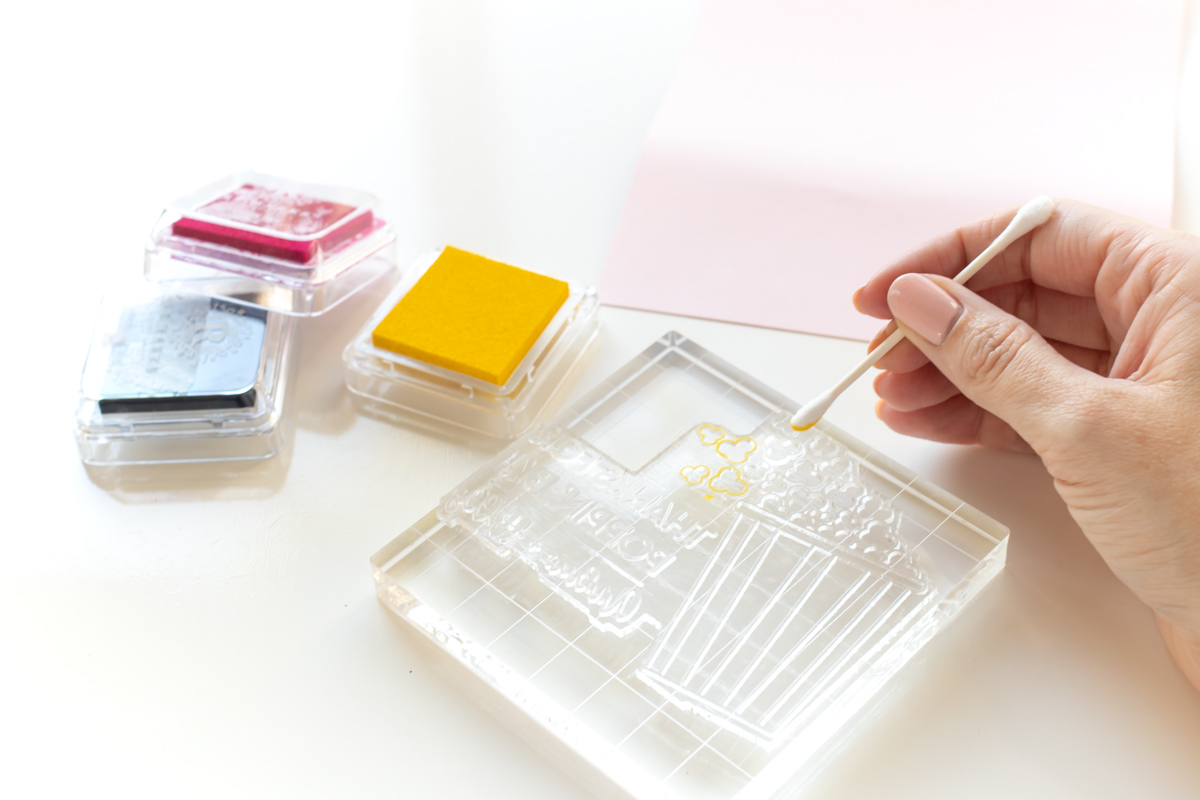
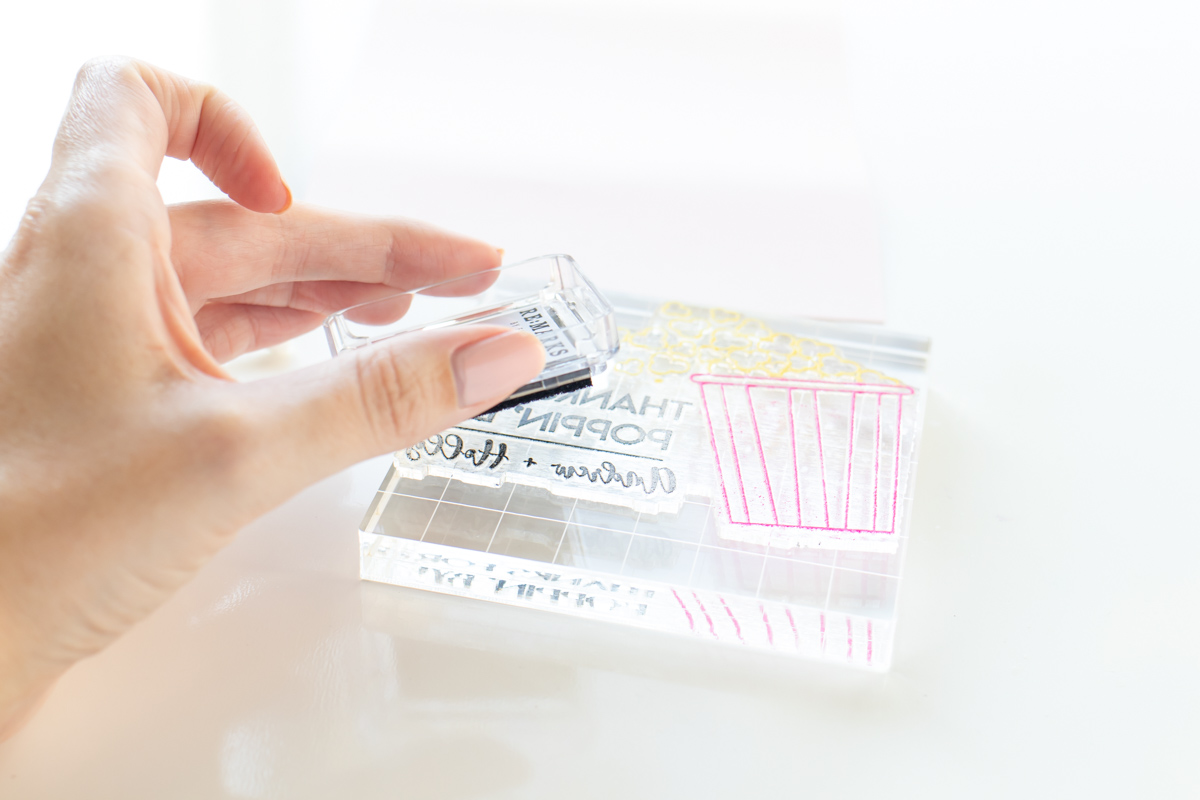
Step 3: Place the clear stamp on the acrylic block. Apply ink to the areas of the stamp you want to color. Where the two colors meet at the popcorn and bucket, I found it easiest to apply the ink with a cotton swab. This way, you can use multiple colors on one stamp!
Note, I inked some of the popcorn favors with yellow and some with gold. Because I used yellow paper for many of them, the gold really pops out more!
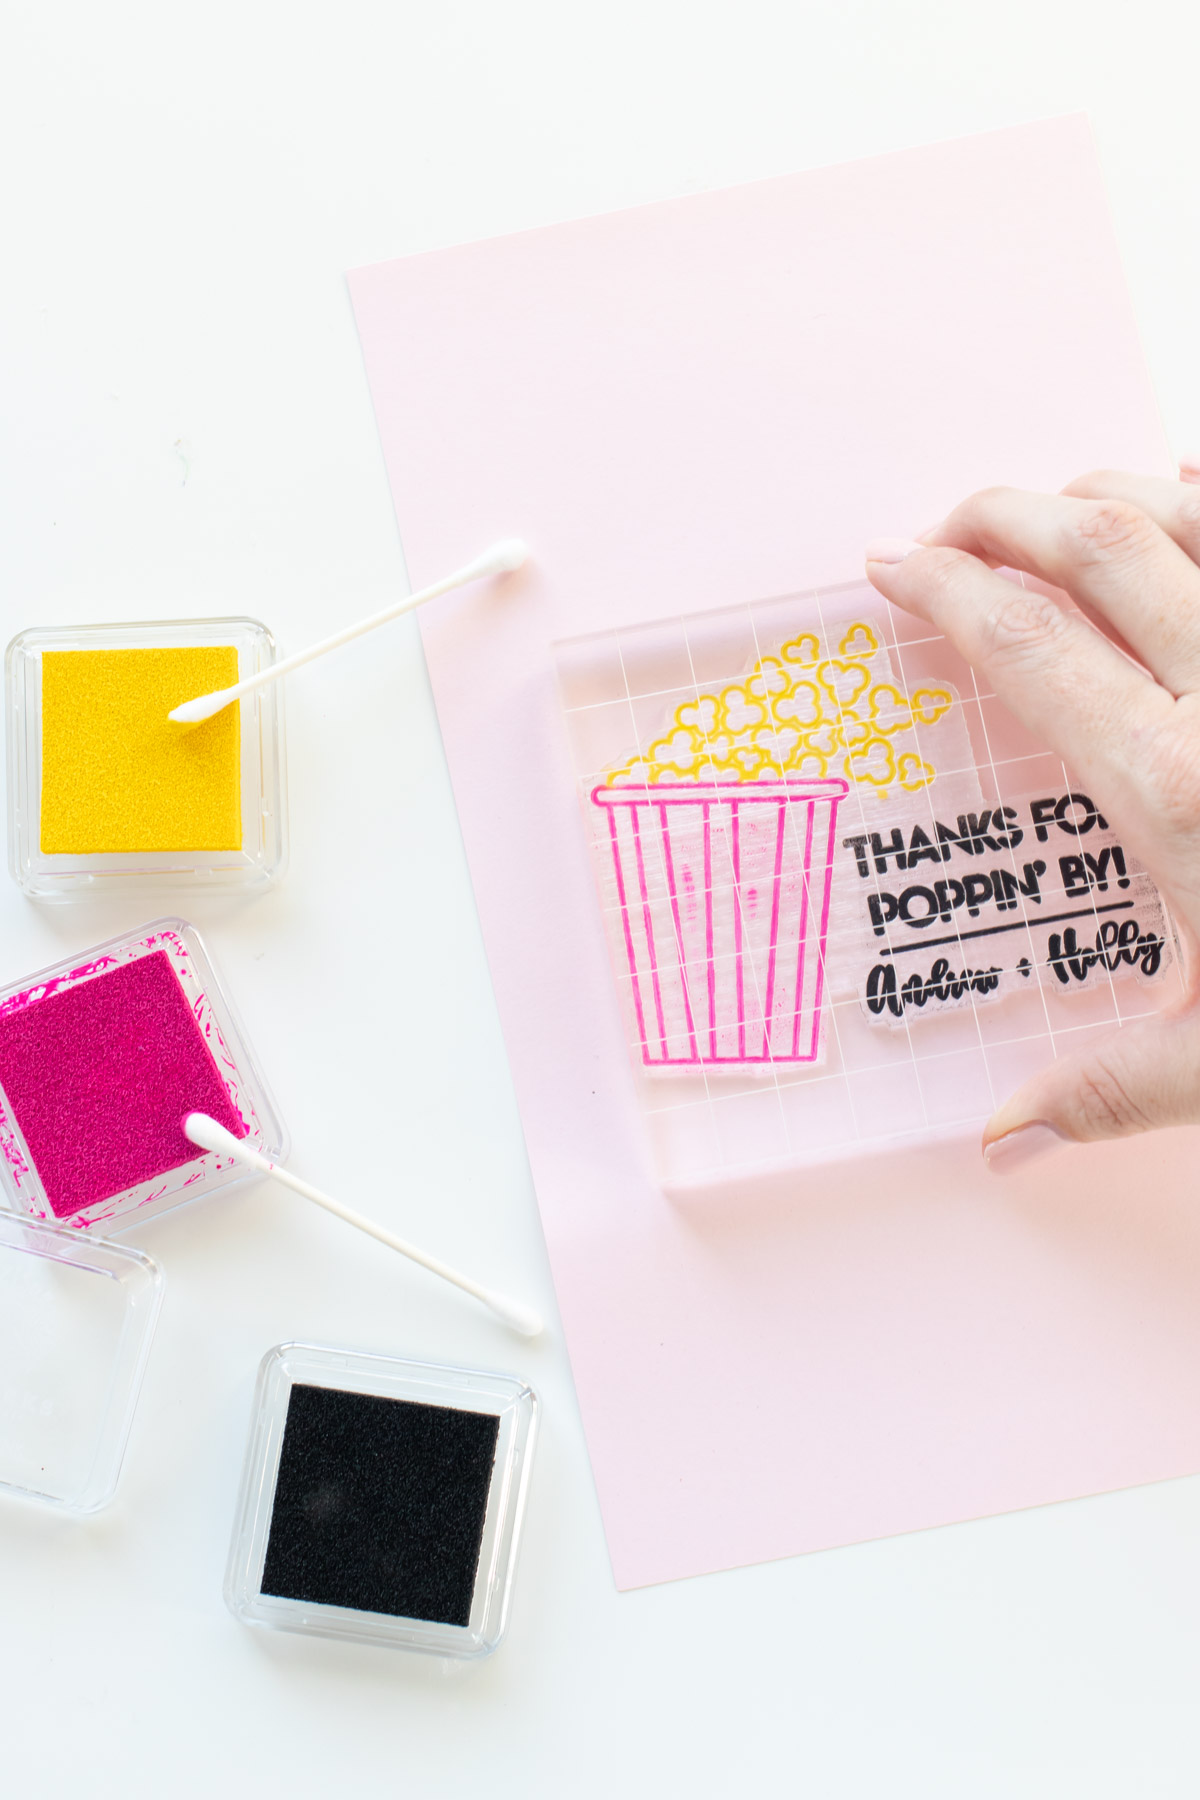
Step 4: Press down firmly on all sides of the stamp in the middle of the paper. Make sure you’re working on a hard, flat surface like a table (not on carpet, etc.)
Step 5: Remove the stamp to reveal the design for your popcorn favors! Repeat with multiple sheets of paper and give the ink plenty of time to dry in order to avoid smudging.
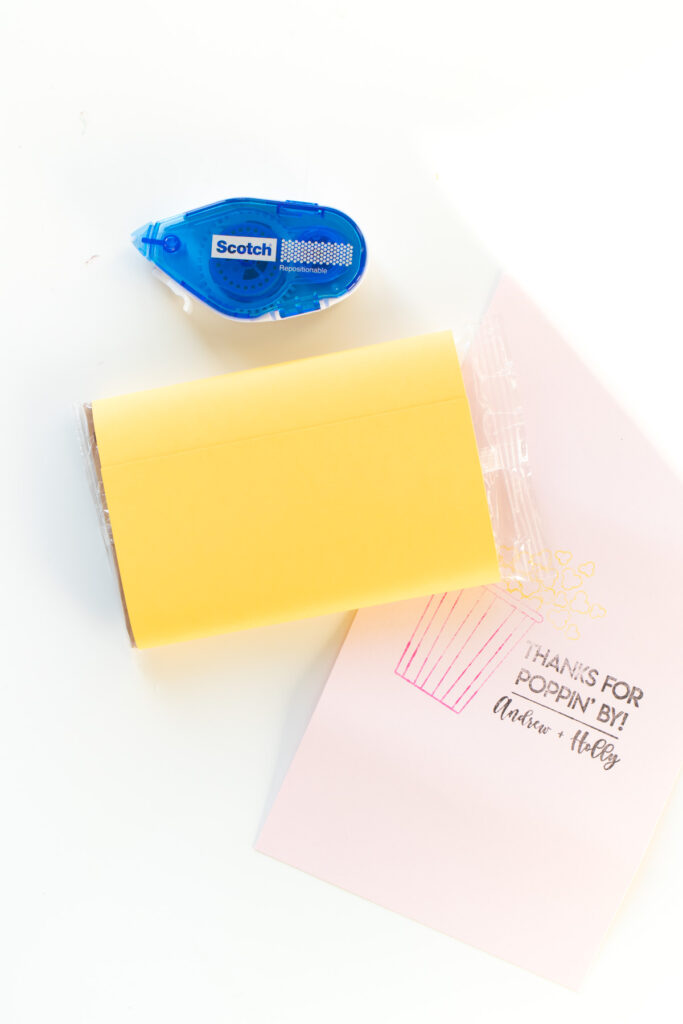
Step 6: Then wrap the stamped paper around the popcorn bag and apply adhesive to the plastic wrap. This prevents it from slipping off too easily. Wrap tightly and apply more adhesive to close the paper.
Be sure to clean your stamp after use!
Our DIY wedding is well on its way now! I feel like there’s still so much to do, but crossing these popcorn favors off my list feels like a big accomplishment. What would you make for your custom stamp with RubberStamps.com?!
Thank you to RubberStamps.com for generously sponsoring this post. All opinions are my own. Thanks for supporting the brands that keep Club Crafted making!

