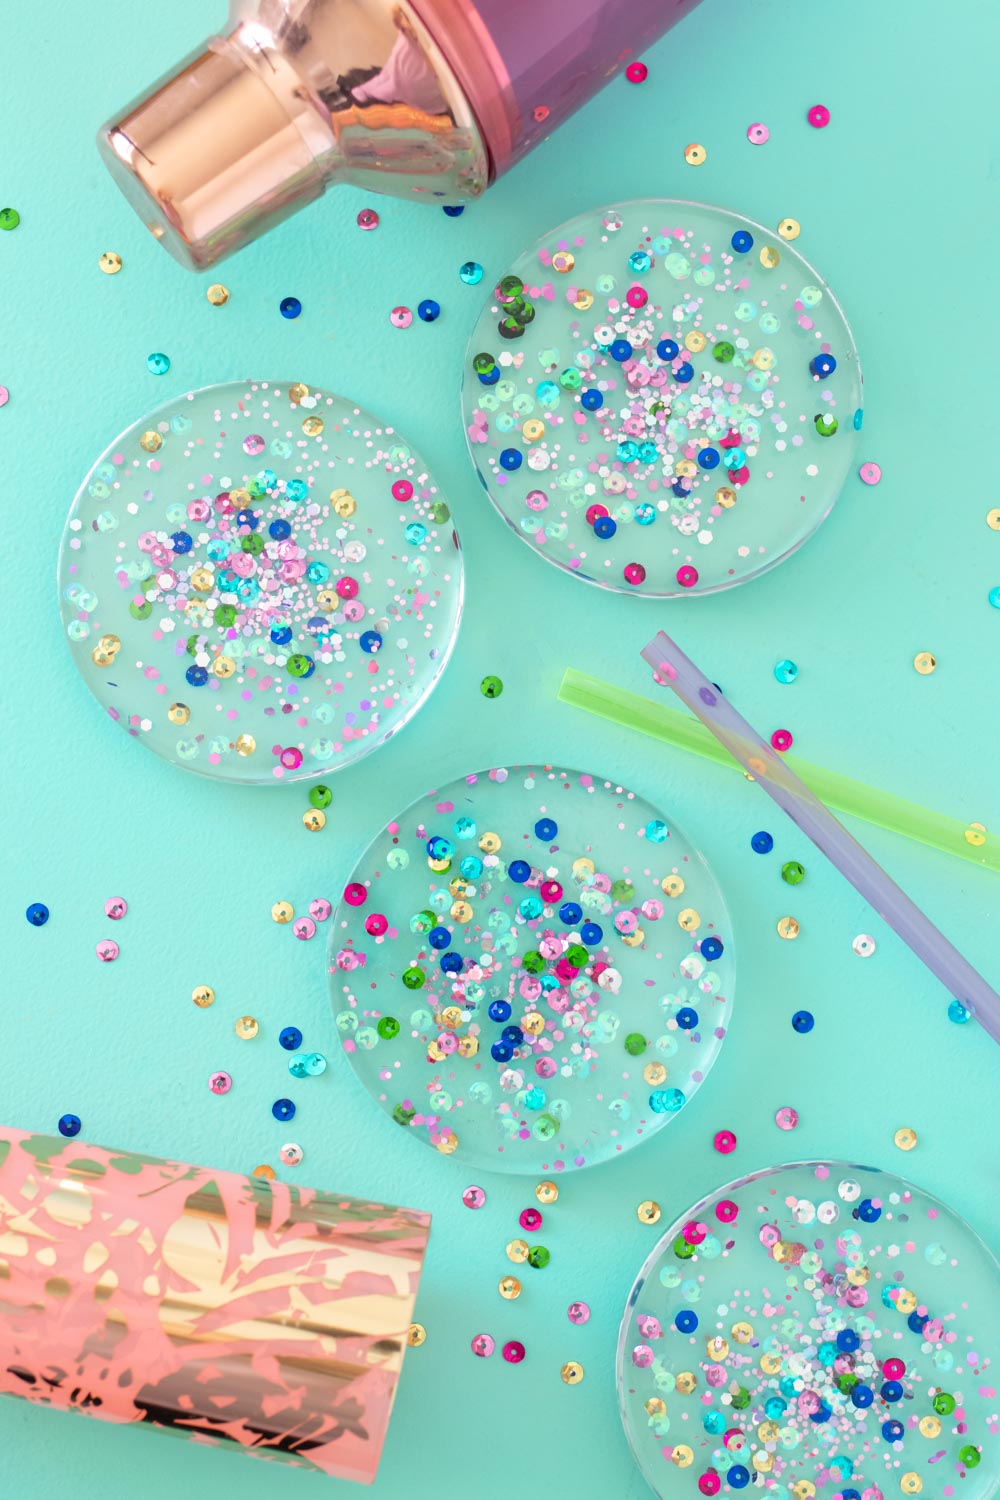
This is one of those posts that took me a year to write. For no other reason than laziness, it took me a year to re-do my DIY resin coasters after the first time failed! Why did they fail? I’ll touch on that below. I was so excited to try making resin coasters with confetti, so I decided to use a mixture of sequins and various sized glitter to make confetti coasters. We just purchased a new all-wood coffee table that I don’t want to ruin, so coasters were a must! It finally gave me the push to remake the coasters this year. I think they would make great DIY gifts for friends and family. Give them away as a DIY housewarming gift or a homemade gift for Mother’s Day or Christmas. You can customize them with any color scheme or confetti combination you can imagine! Here’s how.
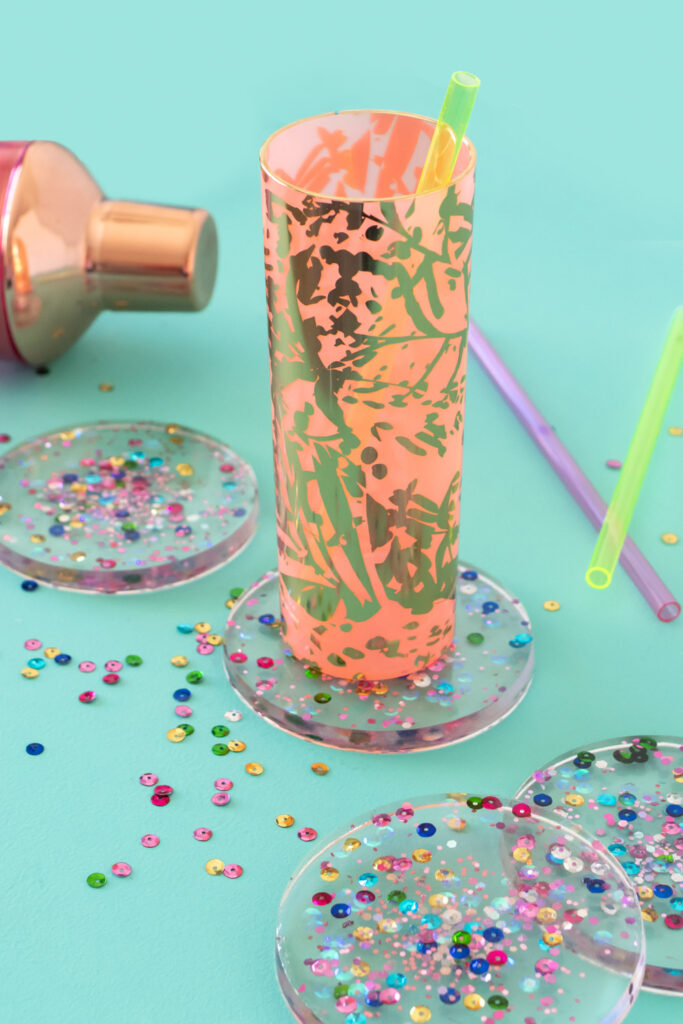

You can make these resin coasters in about 10 minutes! I know many people think of resin as an intimidating craft form, but it’s easier to use than most expect. Below is a quick tutorial on how to properly mix resin for making your own DIY coasters. I debated trying to paint the edges of the coasters when I was finished, but I thought leaving them entirely clear was the best way to show off the confetti. Have fun with making the project your own!
How to Properly Mix Resin for Coasters
This is why my first attempt at these sequin confetti coasters failed: my resin wasn’t mixed properly. Every brand of resin mix may have unique instructions, so always read them before beginning. Generally, mixing resin is as simple as combining equal amounts of part A and B and mixing well and slowly. When I say equal amounts, I mean it. Measure the amounts carefully in order to properly mix resin for your project, or you may end up with tacky sections on your sequin coasters. When mixing, it’s best to mix slowly. You’ll know it’s properly mixed when the swirl of the two parts has disappeared. The resin should be fully clear before pouring into your desired mold. It truly is an easy process as long as you follow the instructions!
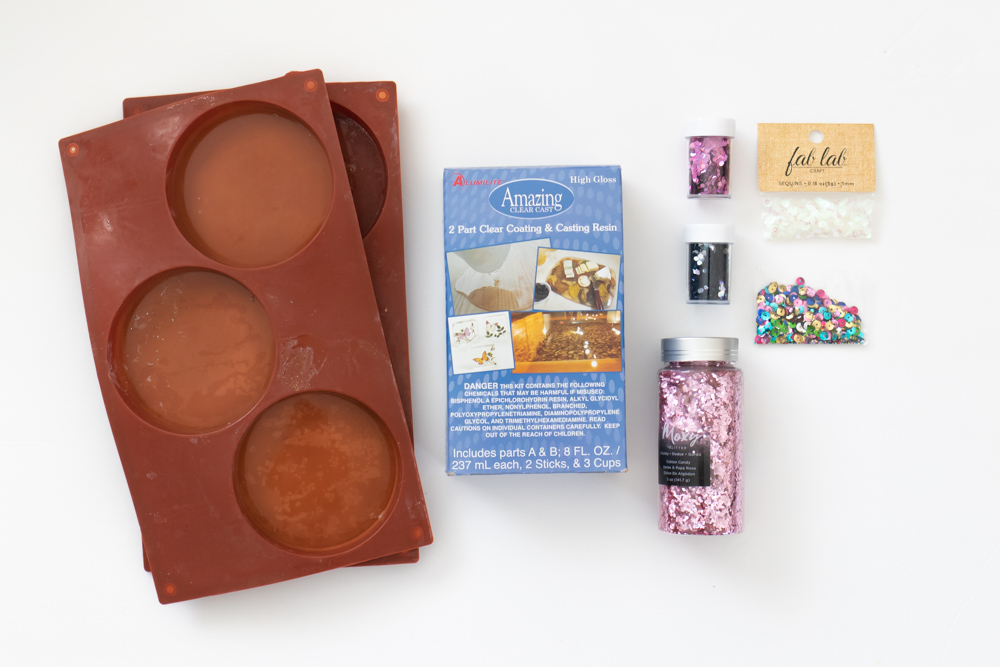
Supplies:
- Resin mix
- Coaster mold
- Sequins, choice of color(s)
- Glitter, multiple sizes and colors
- Disposable cup
- Popsicle stick
- Heat gun or blow dryer (recommended)
Tip: Make sure to wash and dry your silicone mold well before beginning.
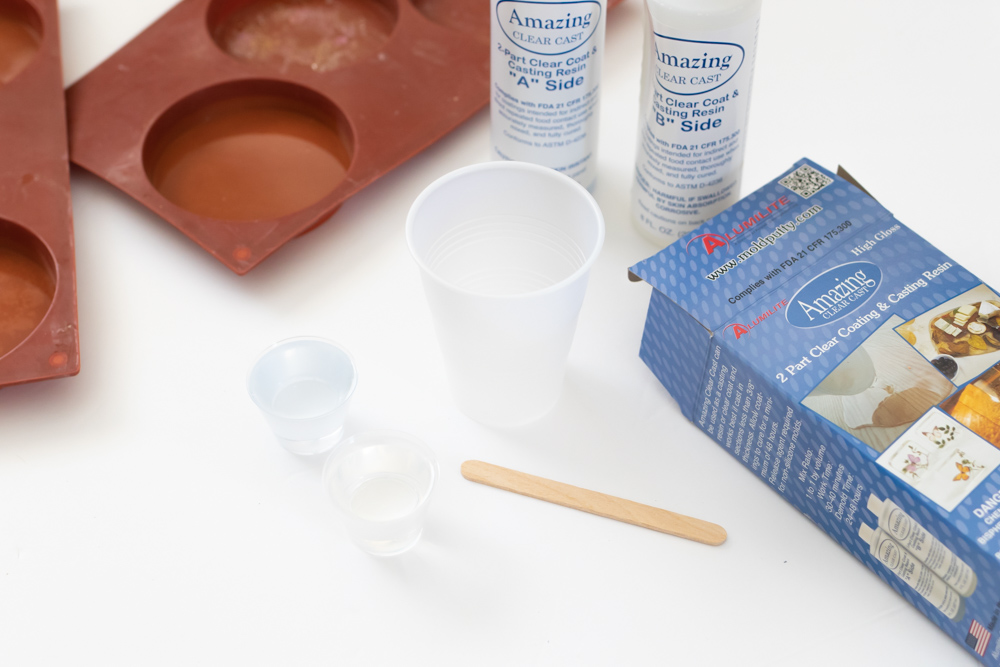
Step 1: Measure out equal parts of A and B from your resin mix kit. To make four resin coasters took about half a bottle of each mix. If a kit does not come with measuring cups (mine did), mark the measurements on a disposable cup using a ruler. You don’t want to ruin your measuring cups with resin.
Step 2: Slowly combine parts A and B in a disposable cup. Mix slowly with a disposable stick until it is clear and the swirl pattern has disappeared.
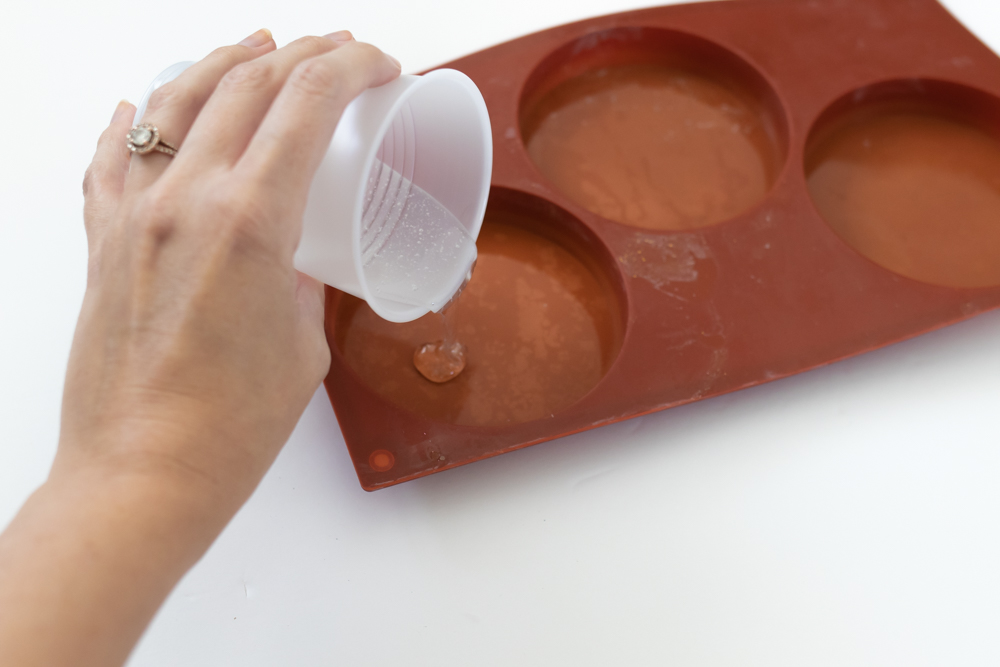
Step 3: Slowly pour a small amount of resin into each cavity of the coaster mold. Try to make the amounts equal.
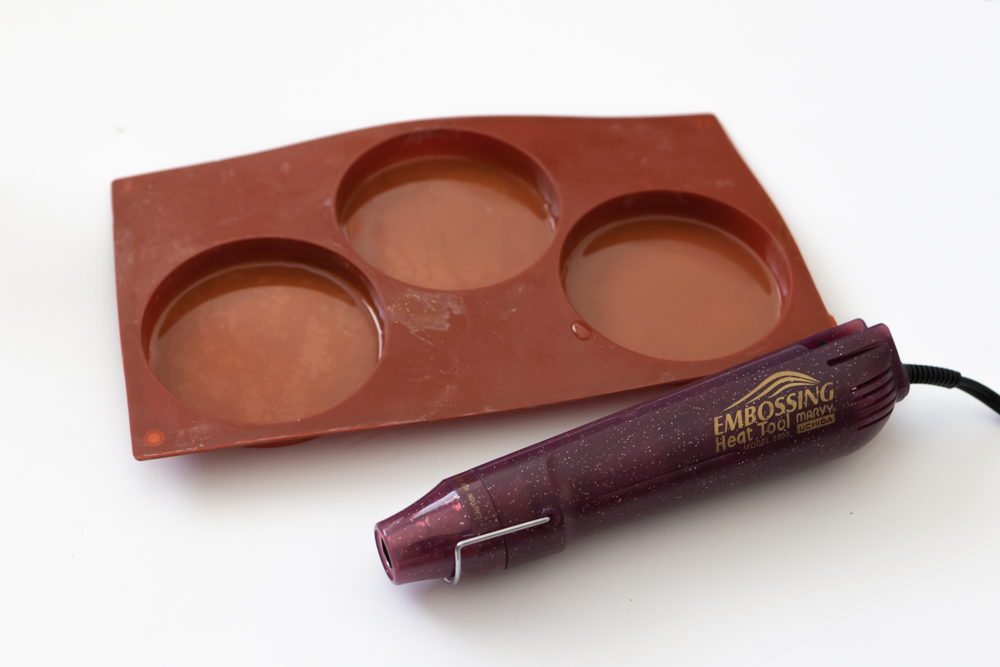
Step 4: Use a heat gun or blow dryer to lightly blow the top of the resin. This removes airbubbles immediately.
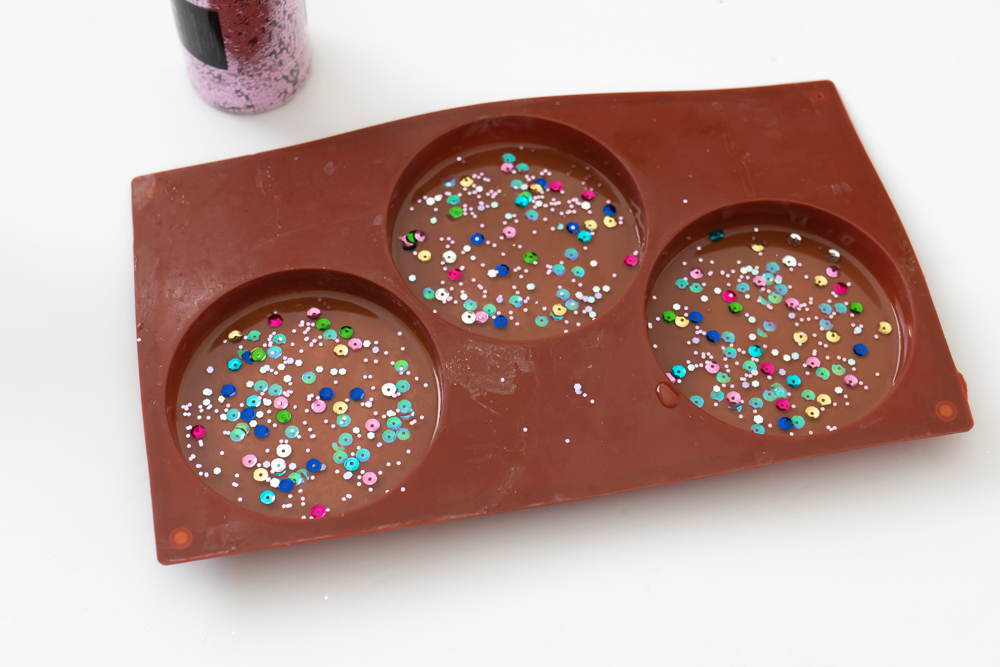
Step 5: Sprinkle confetti, sequins and glitter of choice on top of the first layer of resin. Make sure to spread the pieces all around the mold.
Step 6:Top with additional resin until about 1 centimeter thick. Pouring in the resin will displace the position of your confetti. Some will end up at the top (which becomes the bottom) and congregate in the middle. That’s normal and will look fine in the end, but you can adjust the placement with a toothpick if needed. Lastly, blast the confetti coasters with heat to remove bubbles again.
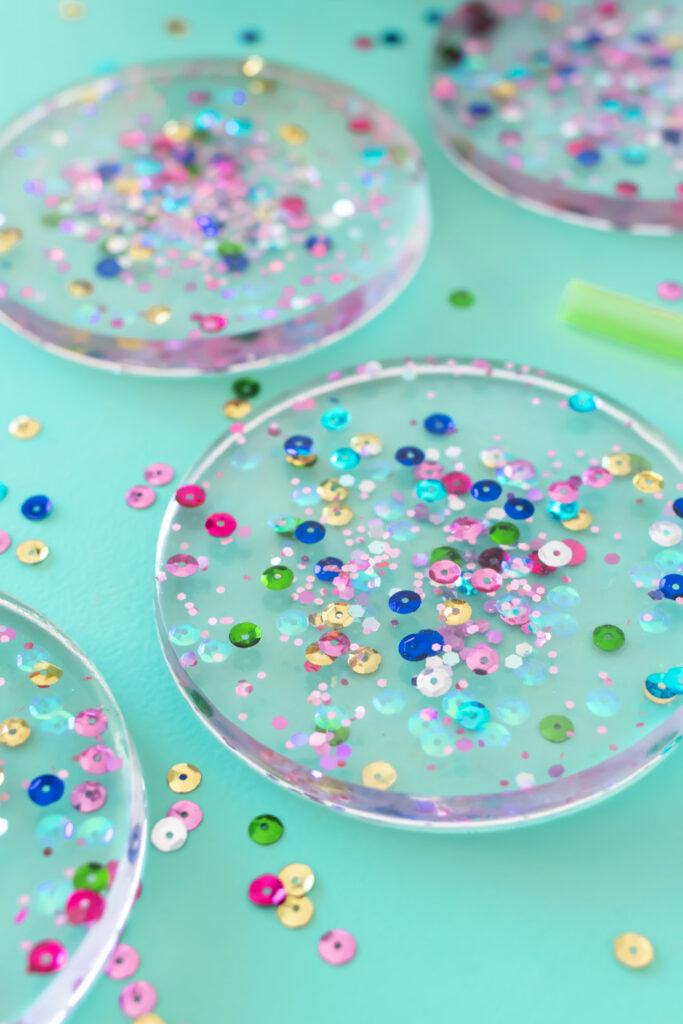
I love our new resin coasters! The confetti inside the clear resin makes them really fun without being too over-the-top for everyday use.
PS, check out more home decor DIY ideas in the archives!

Tom W.
These coasters are so cool!! I totally want to try making some now!
Holly Wade
Tom W.Thanks Tom! They definitely stand out on our coffee table!