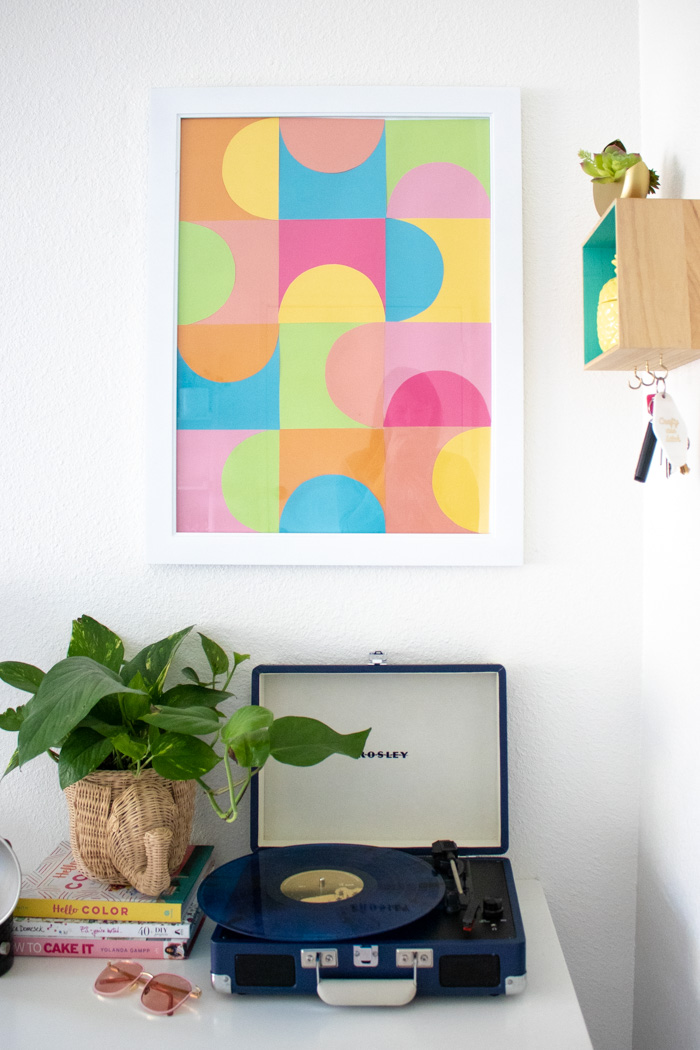
Oh, hey, that’s me! Maybe one day I’ll learn how to photograph wall art without capturing my reflection, but for now, you’re stuck with me, ha! Today’s DIY was actually inspired by a wallpaper I fell in love with on Pinterest once, and I decided it was just the inspiration I needed to jazz up the art in our entryway. This simple geometric paper wall art is easy to make with a simple paper cutter and scissors! Then it starts to fit together like a puzzle, taking the pieces from one square and replacing it with a piece from another square. Use your favorite combination of colors for something uniquely YOU.
(This post was originally published Jan 15, 2019)
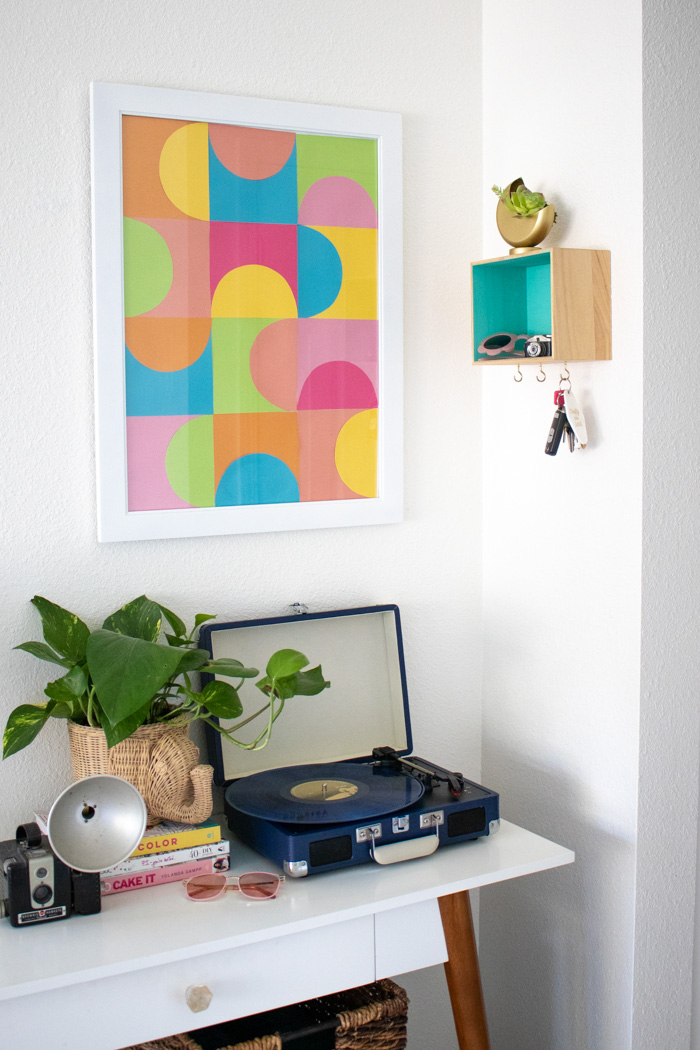
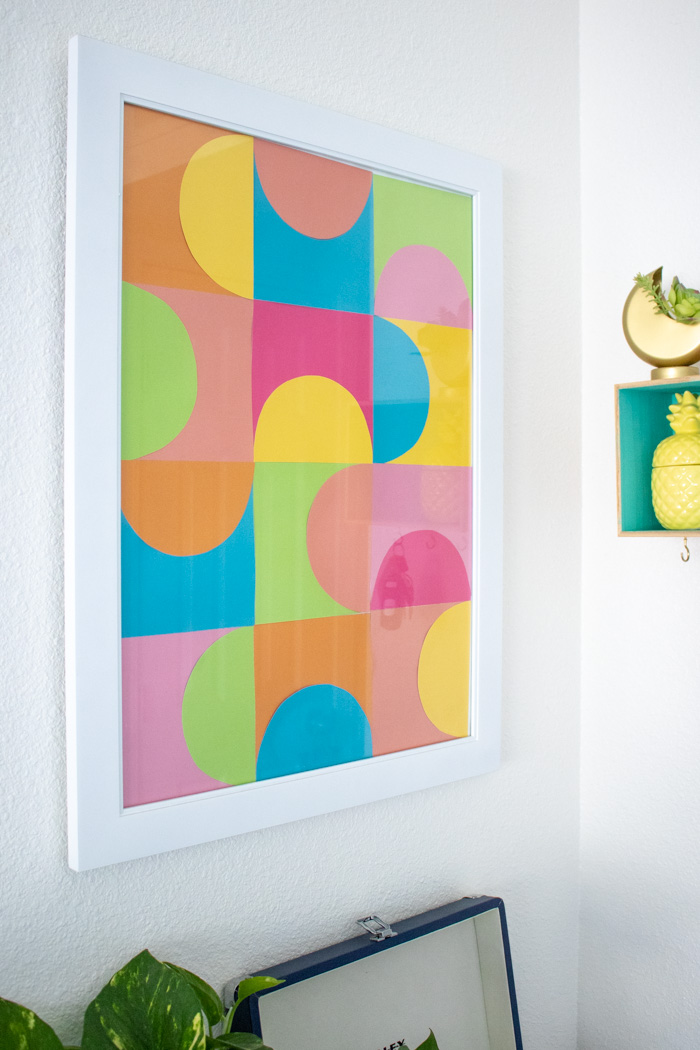
It’s amazing what you can do with a little bit of paper! This particular geometric paper wall art is easy to do without any special tools or punches, but it does require a little precision to make everything fit together like a puzzle. Use any combination of colors for a bright, muted or neutral look that fits your home! Obviously, I love my pops of color, and I especially love how they stand out against our all-white walls.
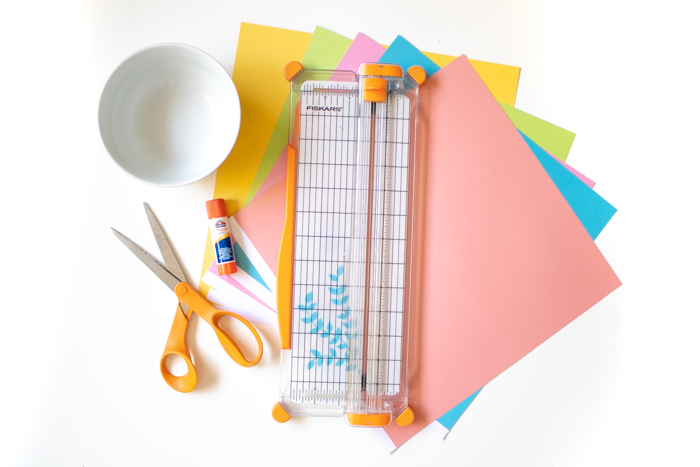
Supplies:
- Cardstock (I used two-tone, but this is optional)
- Thin posterboard, cut to size of frame
- Paper cutter
- Scissors
- Glue stick
- Bowl
- Pencil
- Photo frame (mine is 18 x 24 in)
Step 1: Measure the frame and determine the size of each square. For example, 18 inches wide meant I could fit three 6-inch squares across and four squares down on the 24-inch side.
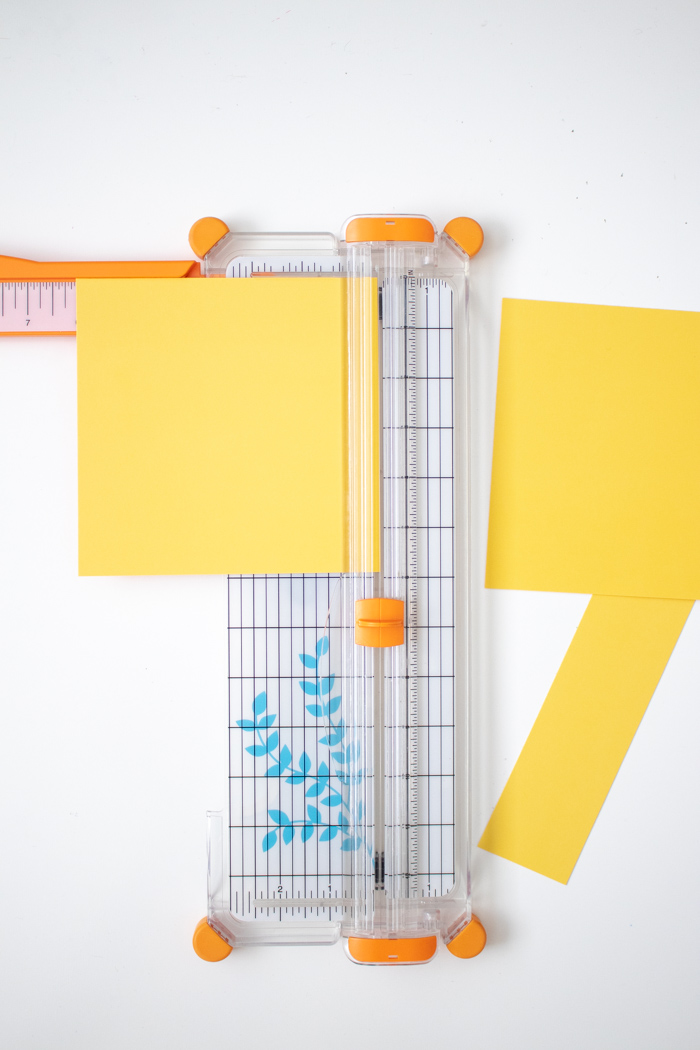
Step 2: Cut a variety of colored cardstock to size (6 inches in my case).
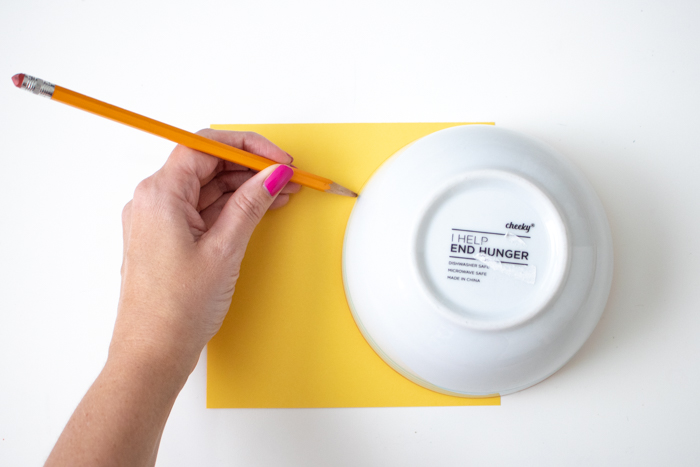
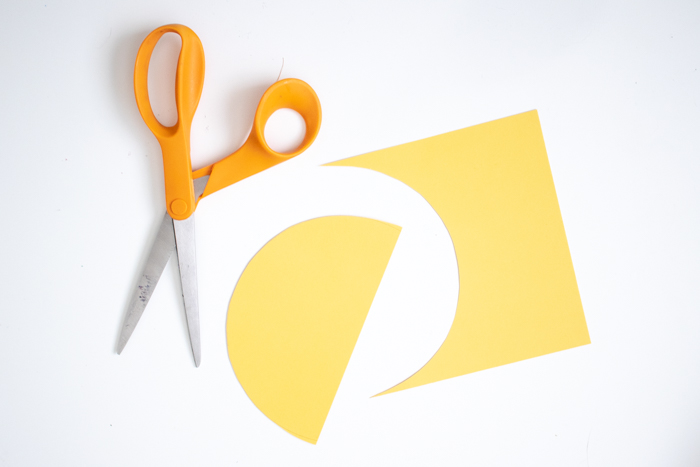
Step 3: Using a bowl that’s approximately the same diameter as the squares, place it on the edge so that it’s overlapping the paper by about half. Trace and cut out the half circle.
Note, I’d recommend doing this on the BACK of the paper to prevent pencil marks from showing.
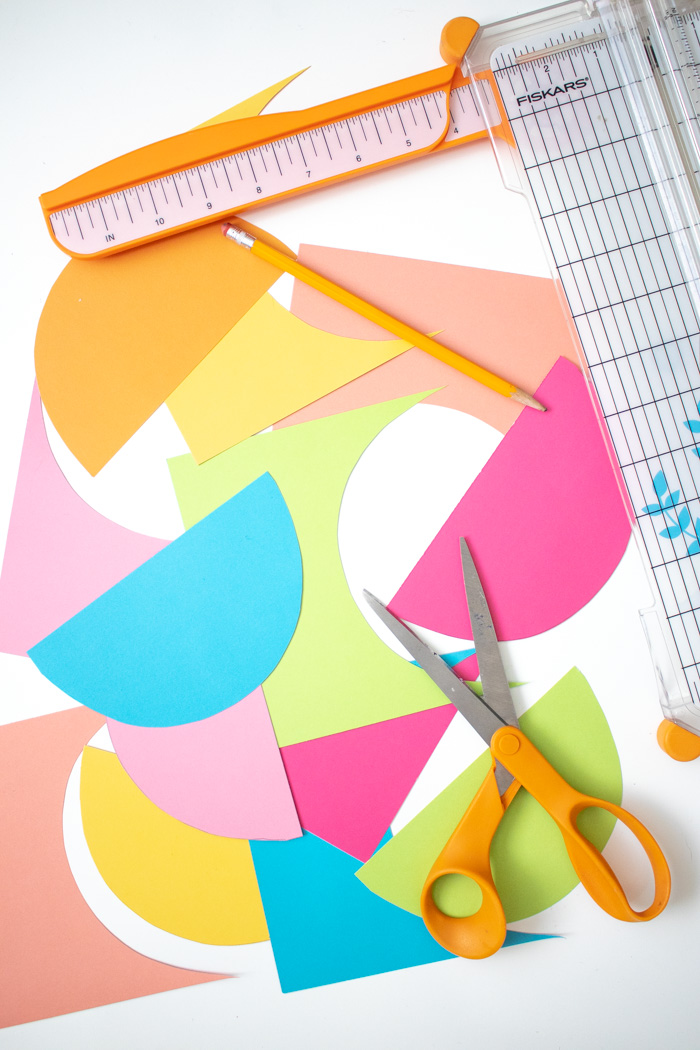
Step 4: Use the first paper as a template to mark and cut the other squares. Each one needs to be identical (or as close as possible).
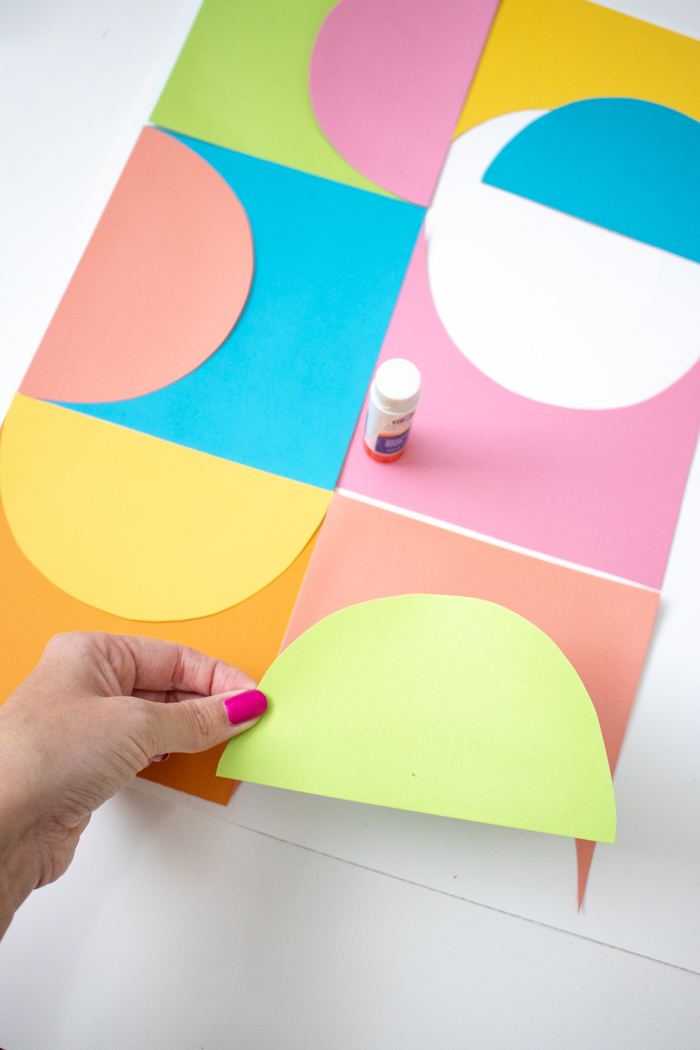
Step 5: Cut the posterboard to the size of your frame. Begin organizing the colored squares on top of the poster and mixing up the color combinations in each square. Glue in place with a glue stick.
Step 6: Once all shapes are glued in place and no white space remains, place the geometric wall art back in the frame. Then it’s ready to hang!
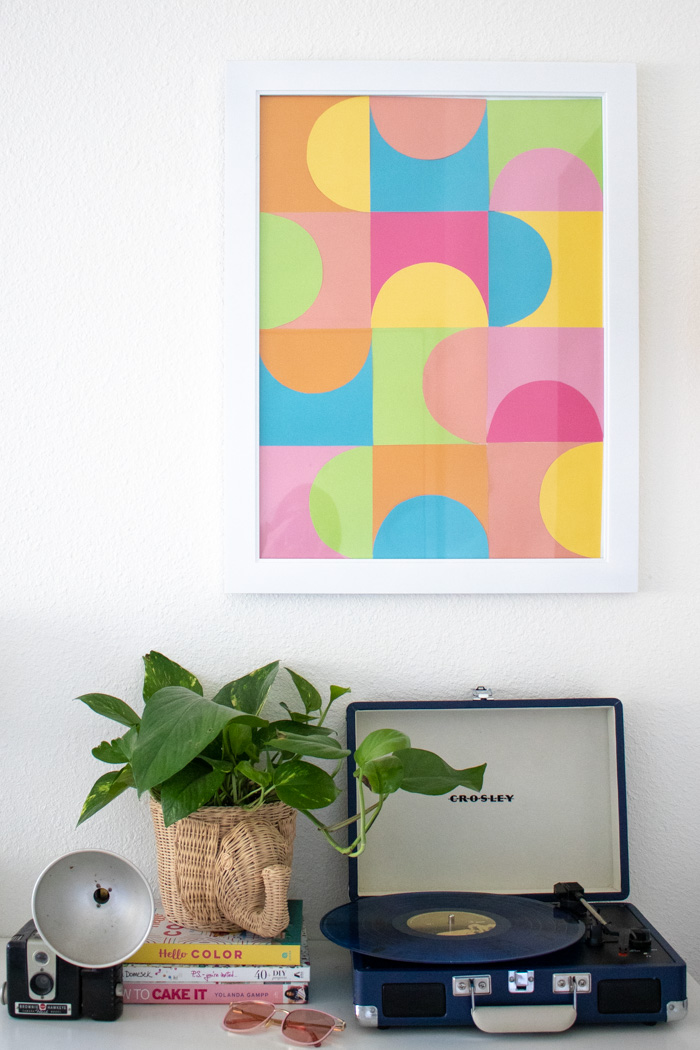
I love the color this added to our little corner. Anyone else in a redecorate-the-entire-house mood this month?!
Please note this post contains affiliate links from which I may collect a small profit should you choose to make a purchase. I only link to products I personally use or recommend.

Matty Feuer
LOVE IT. Being home I can use more of this. I would do some in Fabric