The following post is sponsored by Tulip
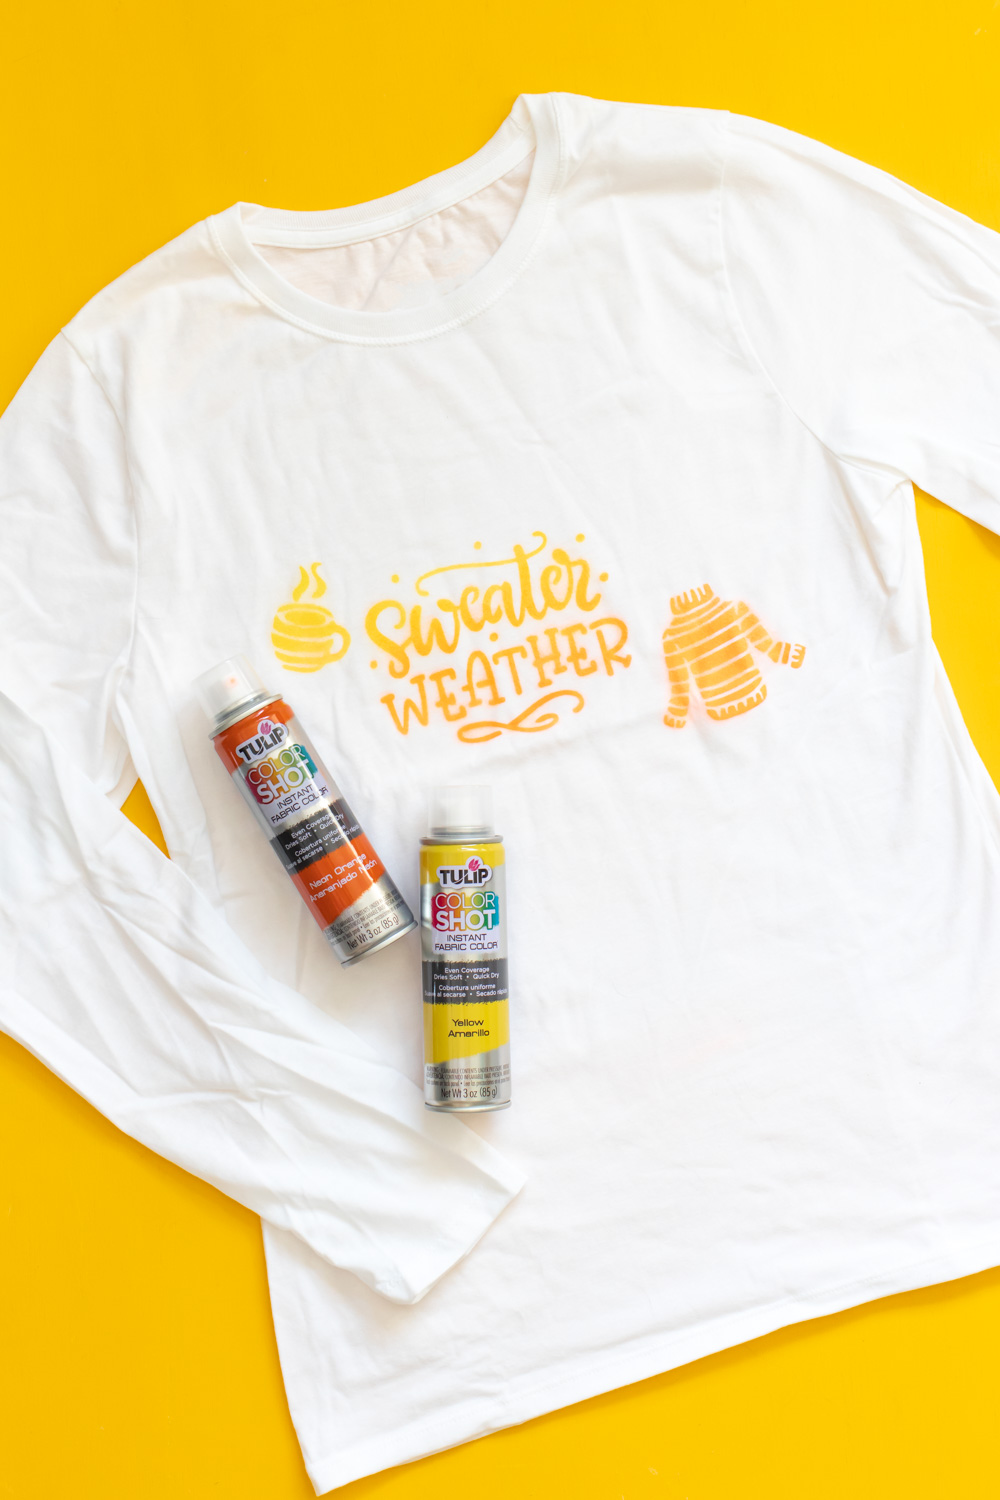
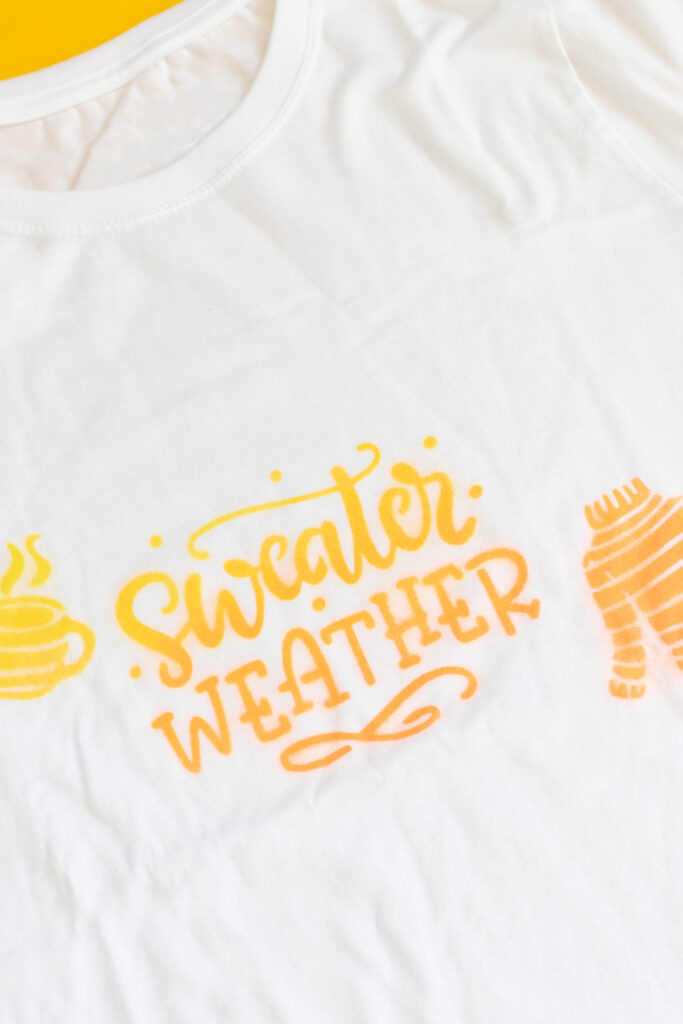
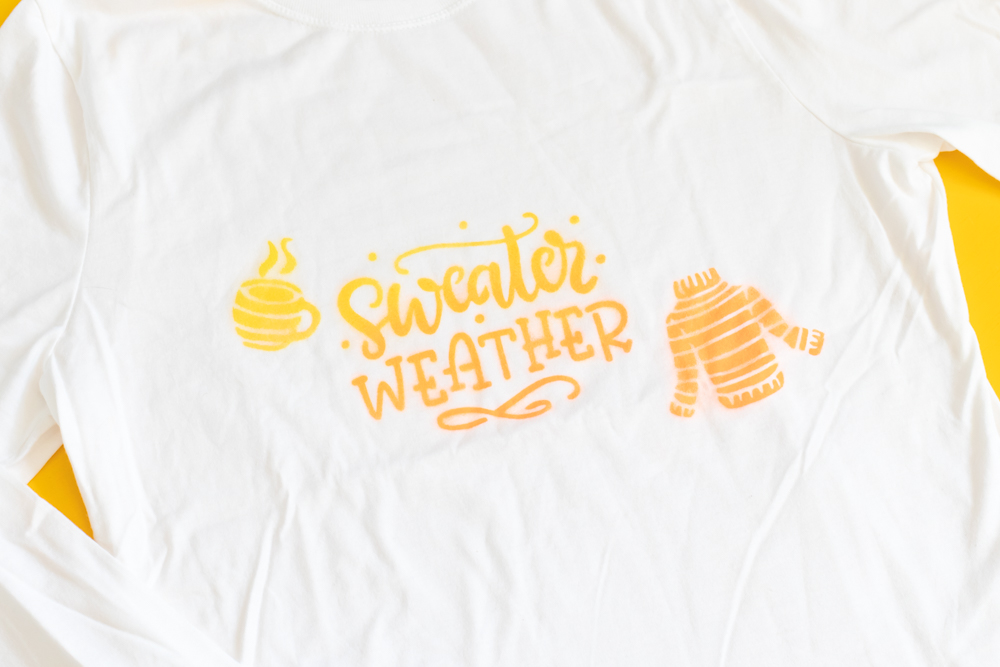
Strangely enough, it’s almost fall! I know I’m looking forward to cooler weather and comfy long sleeves again. To kick start the season, I partnered with my friends at Tulip to share how to make a spray painted stenciled t-shirt with NEW stencils available at JOANN and Tulip Color Shot spray paints! I used two vibrant colors to create this simple gradient effect for a simple fall t-shirt update. You can create this look on ANY fabric item, including a tote bag, sweatshirt and more! Who else is ready for sweater weather?!

This spray painted stenciled t-shirt has to be one of the easiest DIYs for making a graphic tee. After many years of decorating t-shirts, I can confidently say this is the quickest way to achieve a stenciled look on a shirt. Tulip Color Shot paints come in multiple colors – In fact, I’ve used Color Shot to make my chill pill tote bags that briefly sold in the shop! It’s easy to use and dries quickly.
Here, you’ll see I combined multiple stencils to create the graphic on the stenciled t-shirt. Simply cut them as needed to arrange them next to each other!
How to Spray Paint a T-Shirt
Watch the video for the quick DIY for making a spray painted t-shirt with new fall stencils!
Supplies:
- 100% cotton t-shirt (natural fibers recommended)
- Tulip Color Shot Stencil Pack
- Tulip Color Shot Instant Fabric Color, Neon Orange and Yellow
- Paper towels
- Painters tape/masking tape
- Scissors
Step 1: Lay the t-shirt out flat on a surface. Make sure to paint in a well-ventilated area! Protect your work surface and surrounding area from paint spray with drop cloths or plastic.
Step 2: Choose your stencils! Carefully weed the words or image to reveal the full stencil, and place on the t-shirt where you want to apply the paint.
Step 3: If using multiple stencils, trim around the edges so that the stencils can be layered. Make sure the stencil openings are still entirely visible.
Step 4: Place paper towels (or pieces of them) all the way around the stencils. Apply tape over the stencil edge to the paper towels to fill in all gaps. Make sure only the area you want painted is left showing.
Step 5: Shake the Tulip Color Shot cans well for one minute. Spray the first color in a sweeping motion across the top part of the stencils. Do not spend too long spraying or it may become oversaturated.
Step 6: Spray the second color along the bottom of the stencils, allowing them to overlap. Then apply more of the first color and fill in with the second to create a gradient effect. The stencil should appear completely filled.
Step 7: Immediately peel away the tape and towels to reveal the image. Set aside to dry completely for several hours.

I love how the gradient effect came out on this spray painted stenciled t-shirt, and it only tapes a few minutes! Have fun trying out these new Color Shot Stencils on different projects this fall!
Thank you to Tulip for generously sponsoring this post. All opinions are my own. Thanks for supporting the brands that keep Club Crafted sharing!
