 Raise your hand if you’ll be pigging out on tacos all week next week in honor of Cinco de Mayo!! You know I’ll be celebrating real hard.
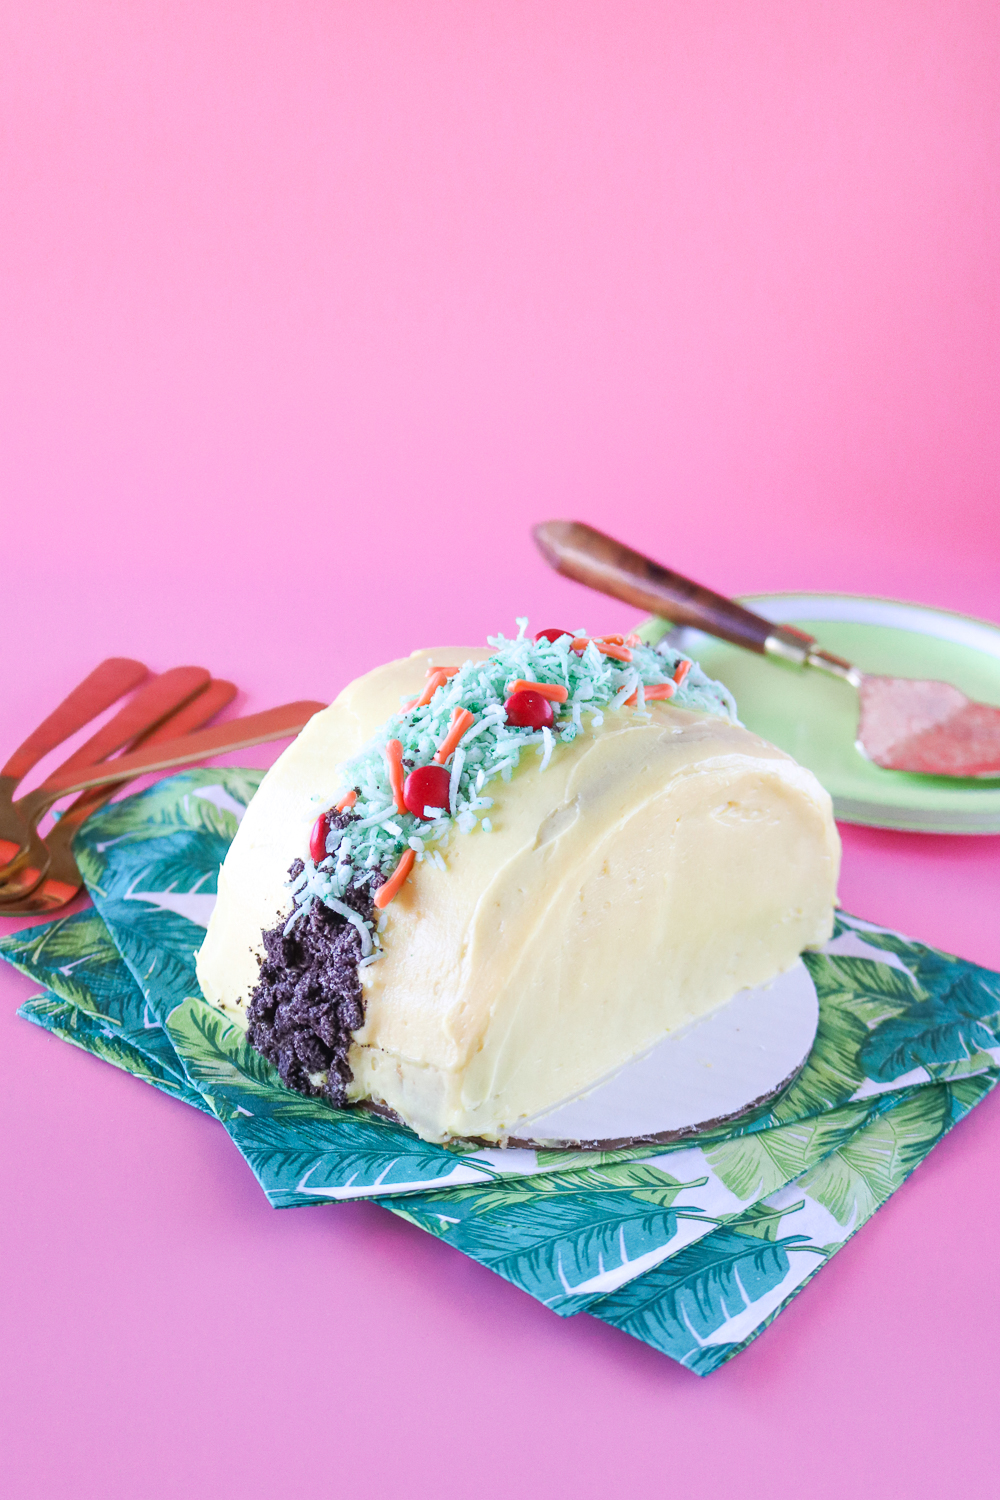
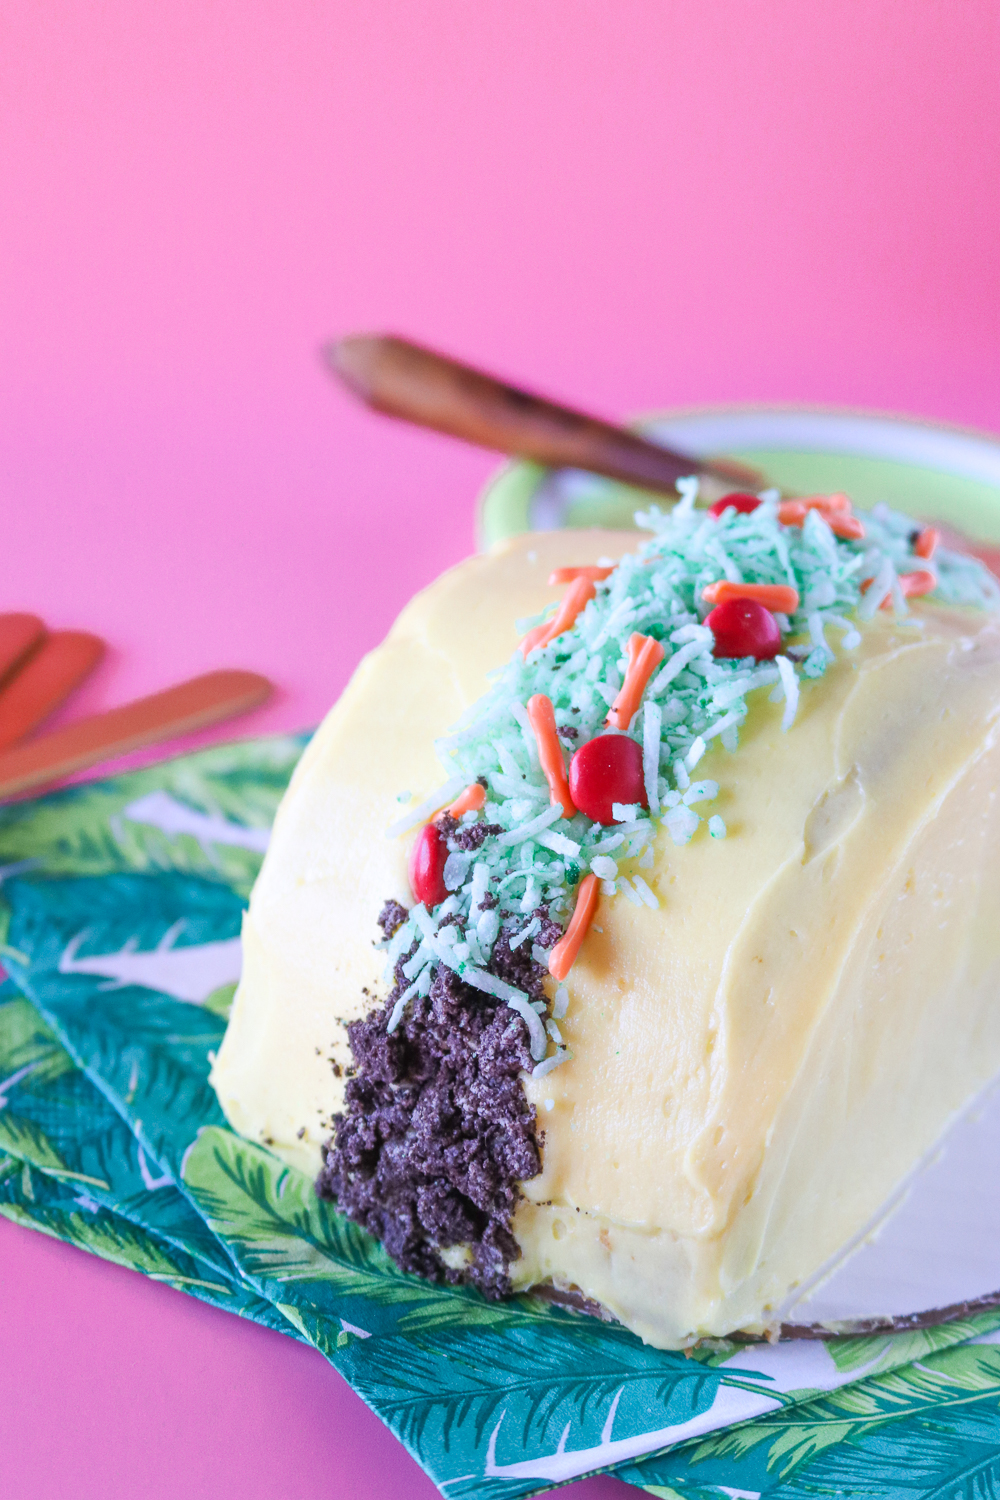
I’ve been waiting a long time for Cinco de Mayo so that I had a good excuse to FINALLY make this TACO CAKE! For reals, I had this idea almost a year ago and decided I had to save it for the right time, so I’m really excited to have finally made it (and eaten it) and now I finally get to share it with you all, complete with a bunch of fun candy toppings to look like a taco with all the fixings.
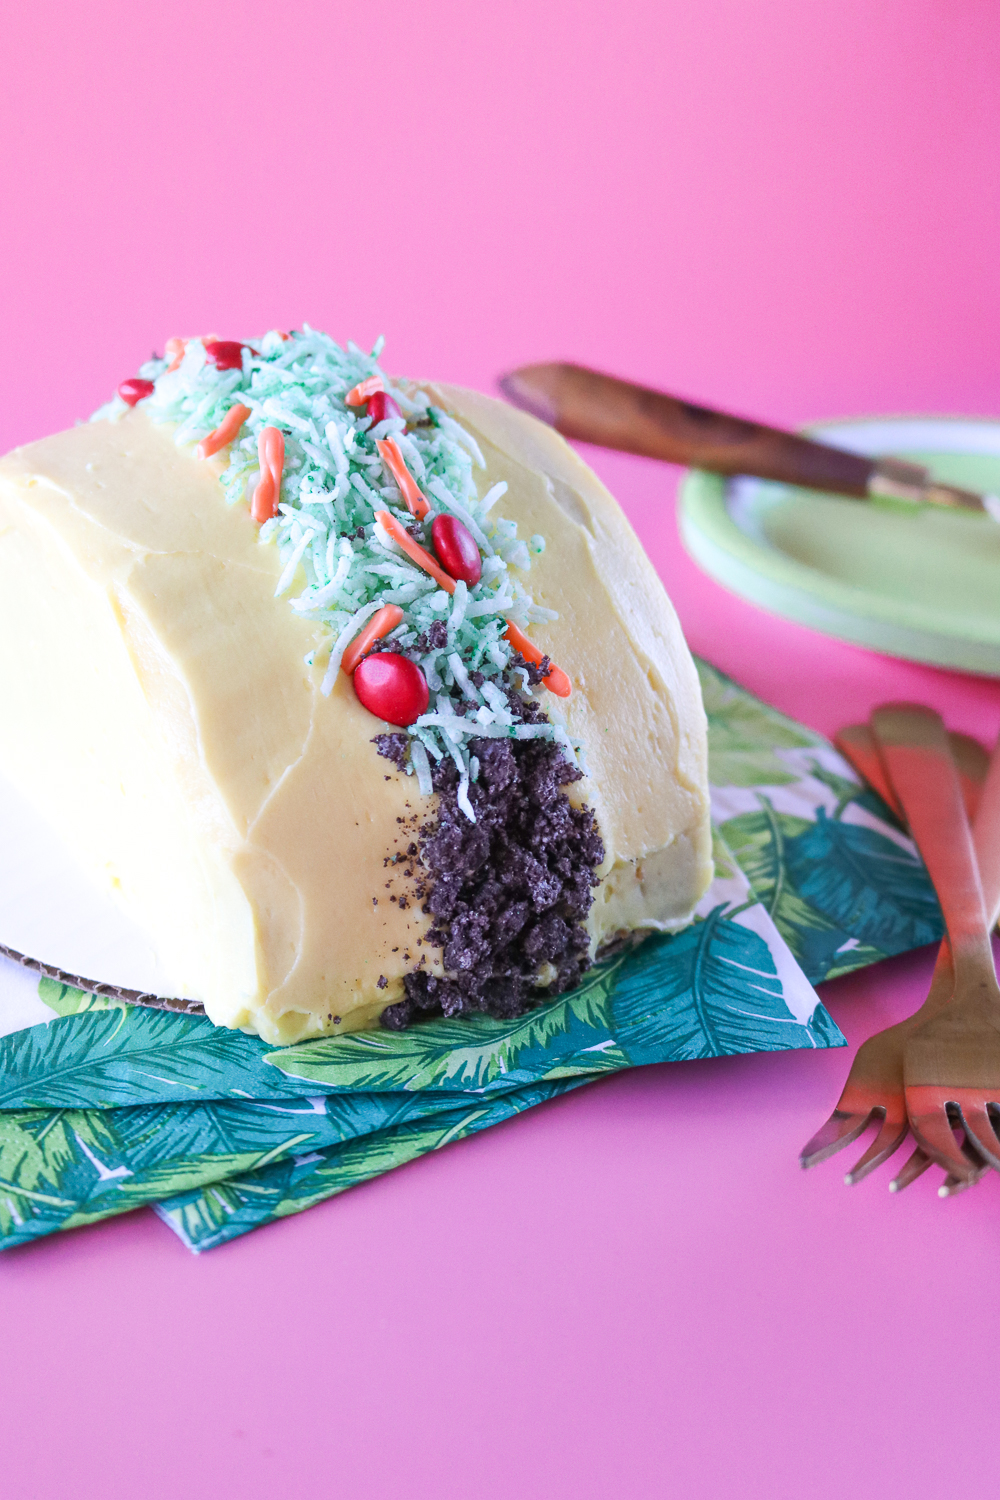
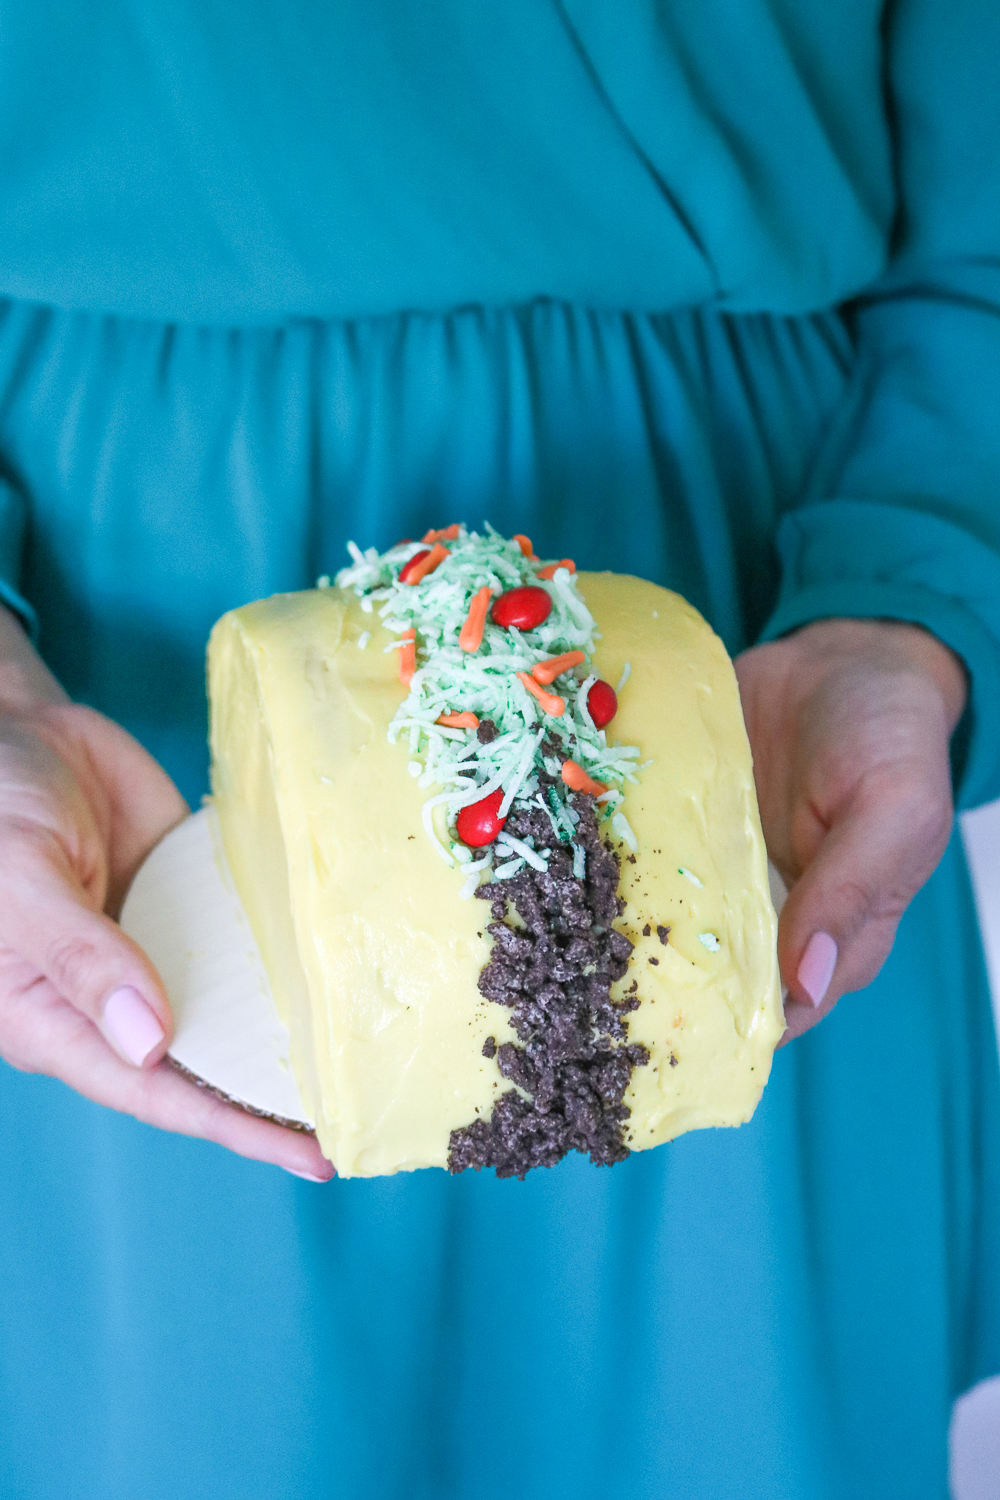
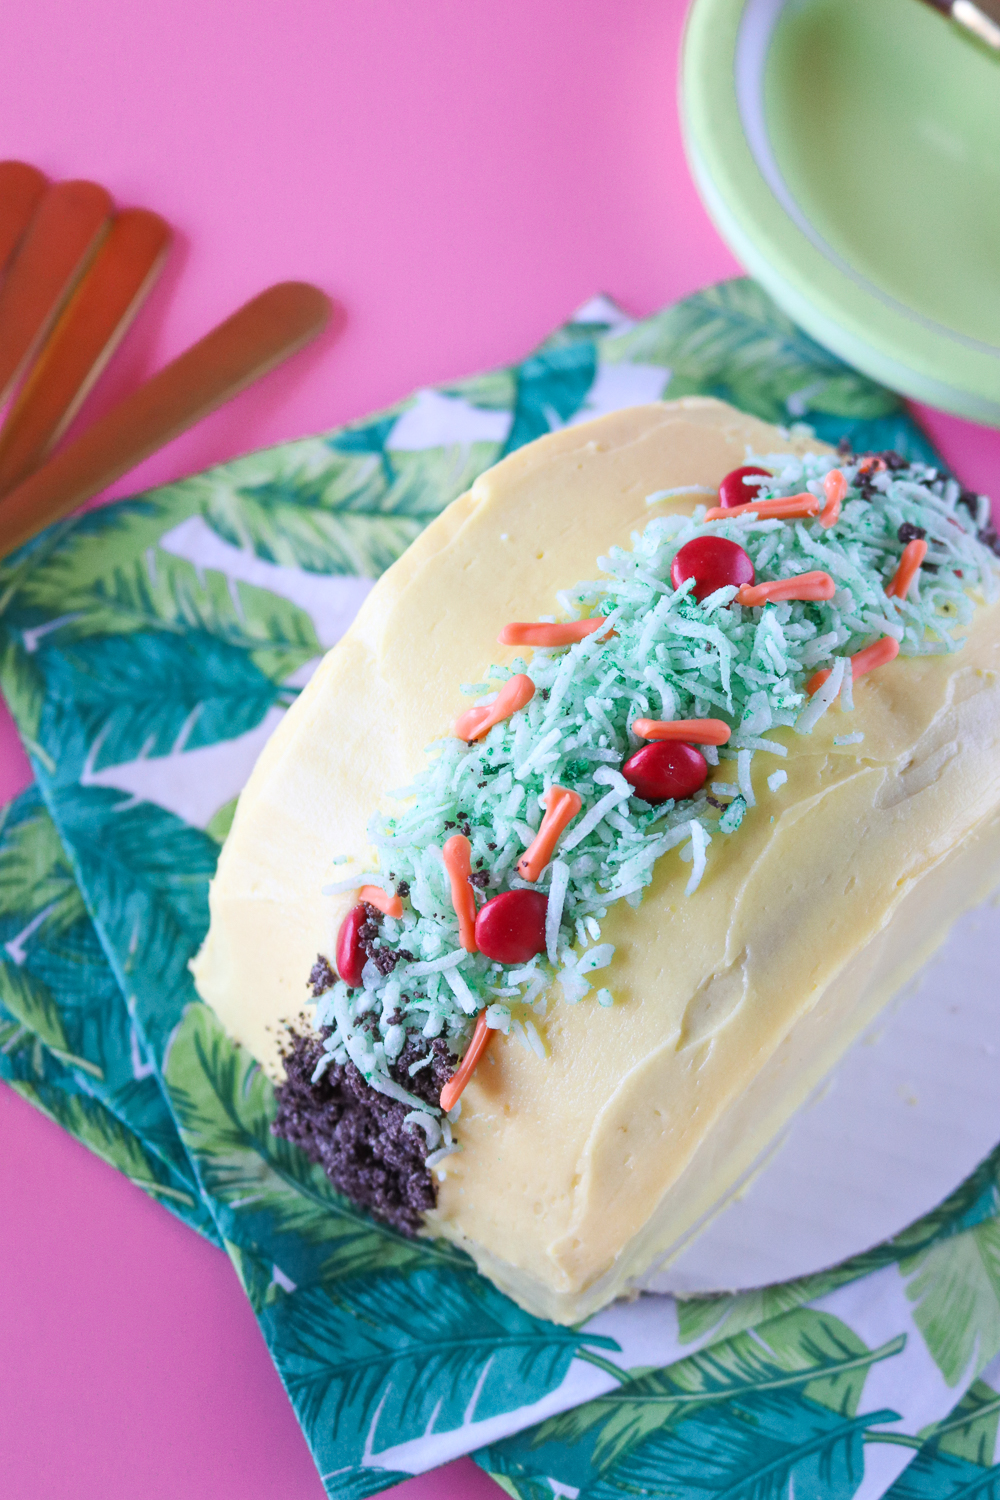
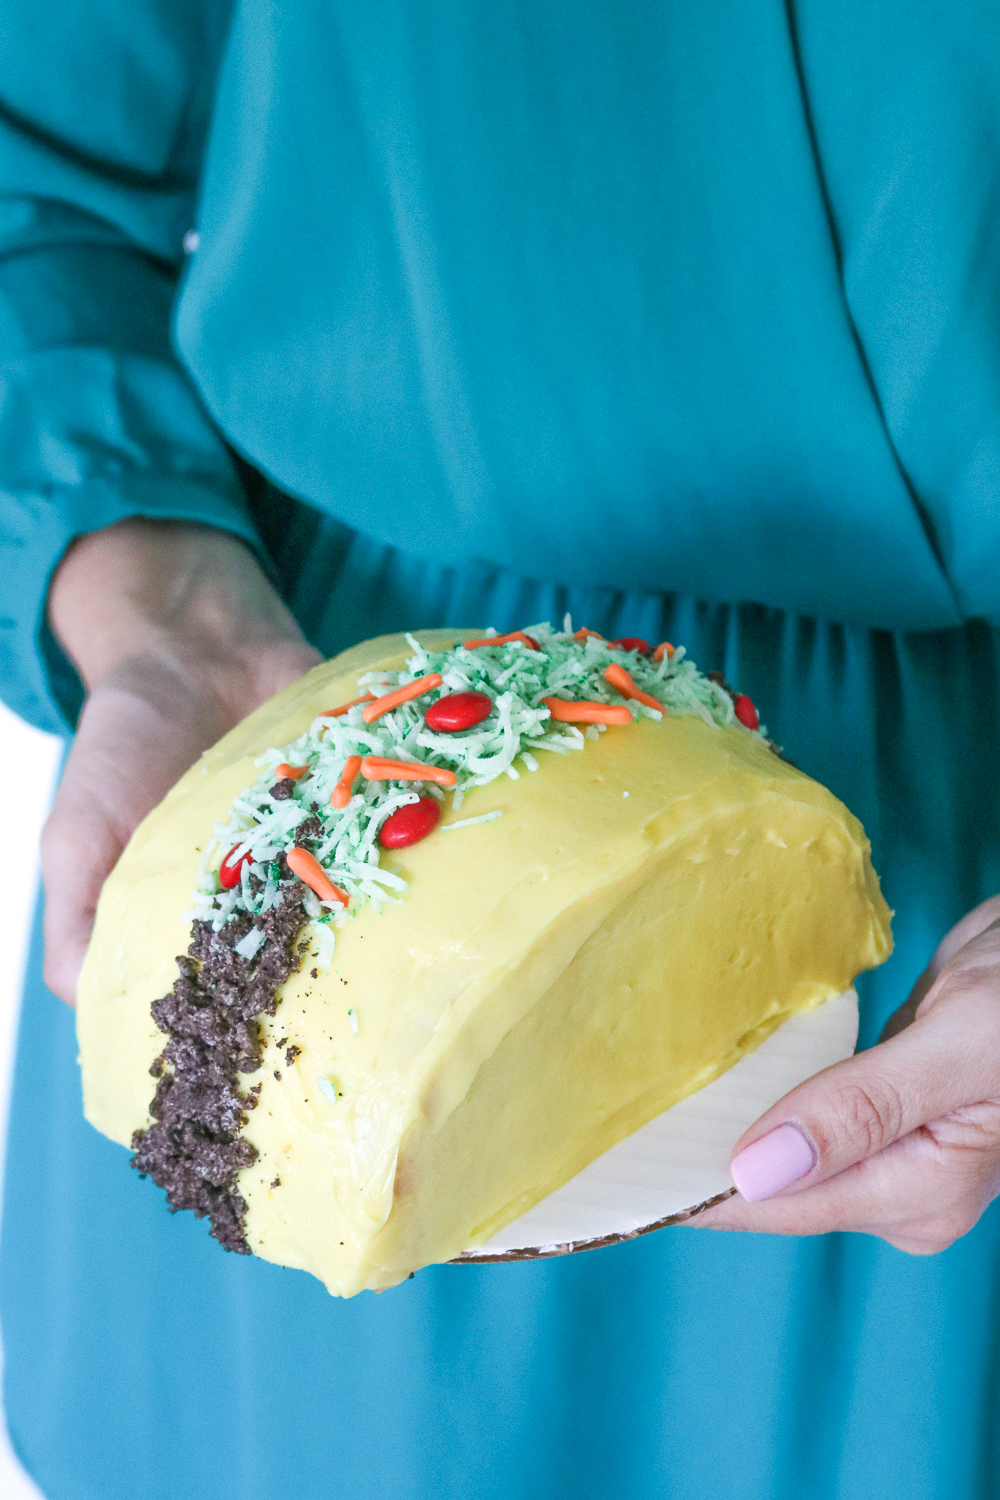
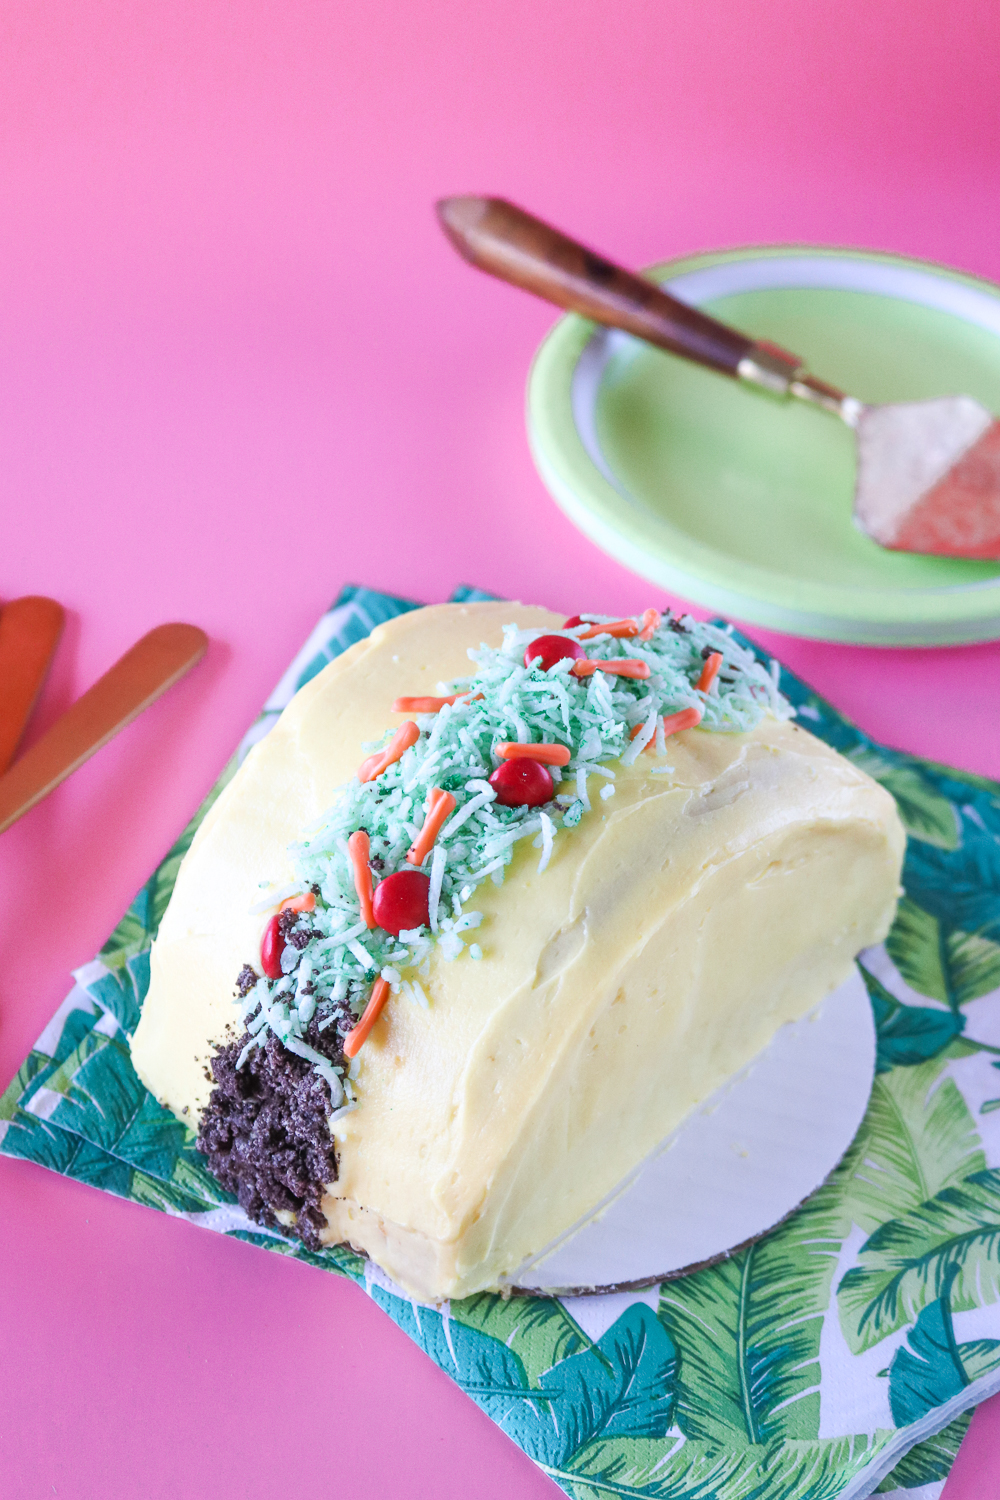 Despite seeming complicated, it’s actually much harder to assemble a layered cake than it is to assemble a taco cake – at least, that’s how I felt since I can never seem to keep my cakes level. To make it look as taco-y as possible, I made “cheese” with orange candy melts, “lettuce” with colored coconut, “beef” with crushed cookies and “tomatoes” with red M&Ms. In addition to the how-to for this taco cake, I’m also sharing my favorite recipe for a classic yellow cake with a classic American buttercream frosting!
Scroll down for the recipe card! ??
You can make this in whatever size you’d like, but I made a 6-inch cake, and it’s best to make sure the layers are very thick for best results. In my case, the layers are about 2 inches thick.
For frosting the outside part of the cake, I used a classic American buttercream recipe dyed light yellow, which you can also find here. OK, now let’s make a taco cake!
- One 6 or 8-inch cake, about 2 inches thick (see my recipe below!)
- One large batch of vanilla frosting (store bought is OK)
- Yellow food coloring
- Green food coloring
- Shredded coconut
- Chocolate cookies or Oreos, crushed
- Red M&Ms
- Orange candy melts
- Pastry bag with small round piping tip
- Angled spatula
- 6 or 8-inch cake board
How to Assemble a Taco Cake:
*First, prepare cake and frosting according to recipes
Step 1: Once baked cakes have cooled completely, use a knife or cake level to level the top of one 6 or 8-inch round layer. Then cut the cake in half so you have two equal sized half-circles.
Step 2: In one bowl, dye the vanilla frosting yellow.
Step 3: On a clean surface, such as a pastry board, place one half of the cake (preferably nicer side down). Generously spread frosting on top and then place the second half of the cake on top with the nicer side facing up, lining up the edges. Place a small amount of frosting in the middle of the cake board and place the bottom (flat side) of the cake down onto the frosting. Move to the fridge for about 30 minutes.
Note, you can certainly use other flavors. Just make sure you can use a yellow frosting on the outside of the cake.
 Step 4: In the meantime, prepare the “toppings.” In a microwave safe bowl, pour about 1/2 cup orange candy melts. Microwave on defrost mode for about 30 seconds, stir and repeat until the candies have completely melted. Then move to a pastry bag fitted with a small round piping tip OR you can use a small plastic Ziplock bag with the corner cut.
Step 5: Lay out a small piece of parchment and use items to weigh it down flat if needed. Pipe many 1-inch lines with the candy melts to create “shredded cheese” and set aside to dry completely. Don’t worry, these don’t need to be perfect!
Step 6: In a small container with a lid, add the shredded coconut and a few drops of green food coloring. Shake until color has completely dyed the coconut green. Set aside.
Step 7: Crush chocolate cookies or Oreos in a plastic bag with the bottom of a cup or with a rolling pin for best results. If you use a food processor, it will reduce the cookies to fine crumbs, and it’s better if they are different sizes. Set aside.
Step 8: When ready to decorate, remove the cake from the fridge. Use an offset spatula to cover the entire cake with a thin layer of yellow frosting (crumb layer). Return to the fridge for another 30 minutes. Then ice the entire cake once again and smooth with a spatula.
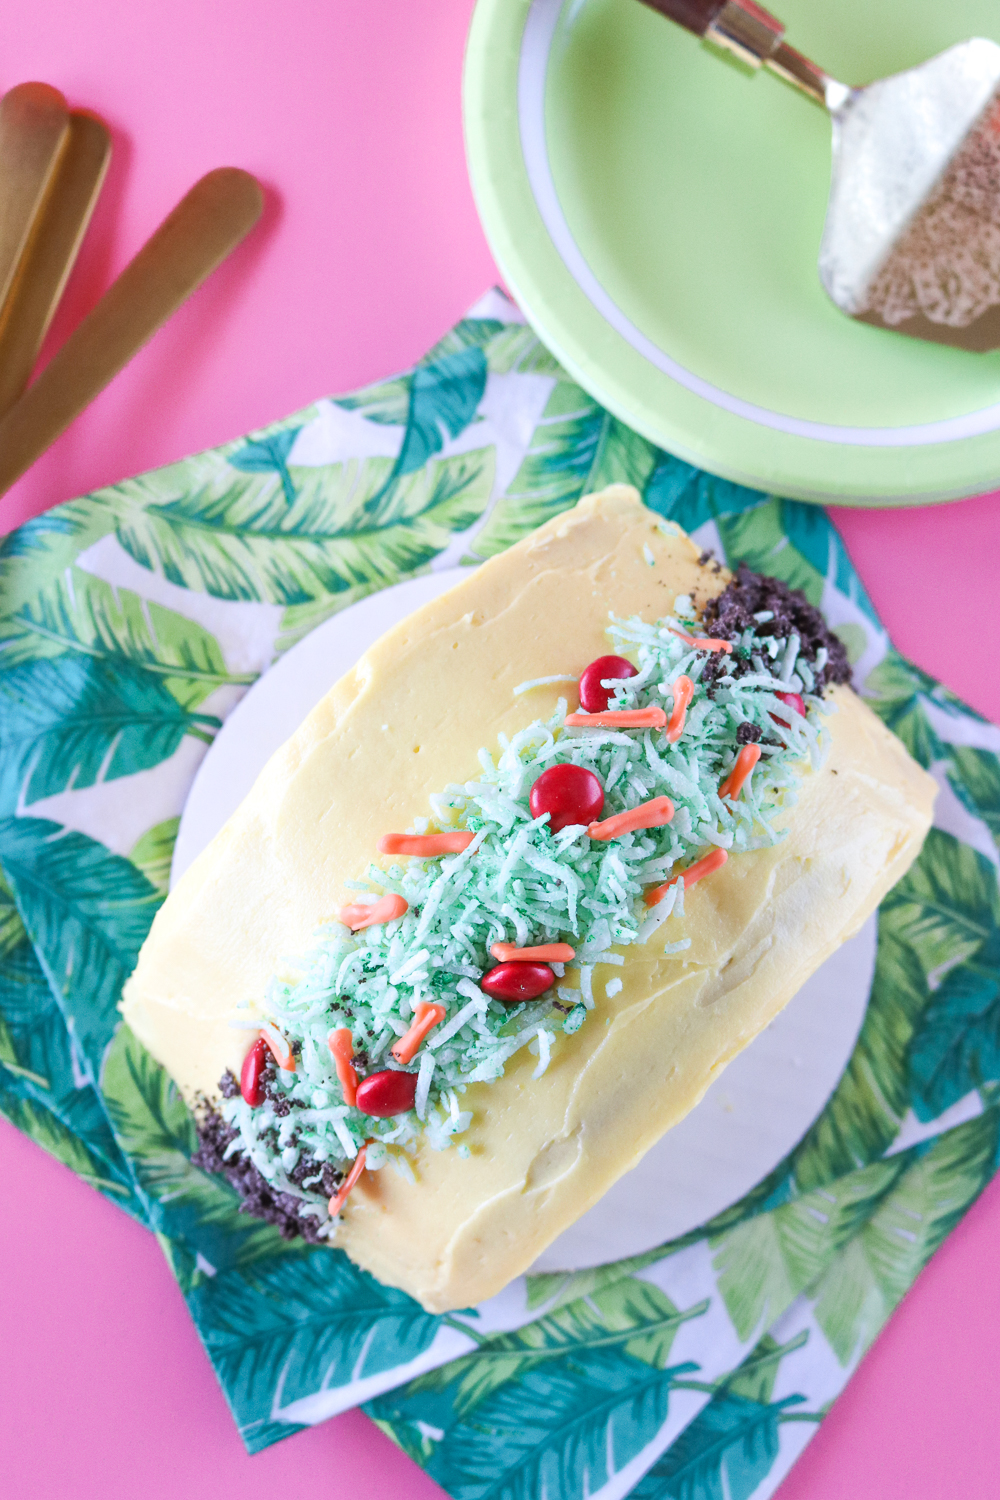
Step 9: Add crushed cookies along the middle seam where the layers meet, mostly adding them to the bottom part of the cake. Then add green coconut “lettuce” and top with “shredded cheese” and red M&M “tomatoes.”
Store in the refrigerator until you’re ready to cut it and eat it! Enjoy for a Cinco de Mayo party or honestly just because, and you’ll love it at least as much as you love tacos! Enjoy!


- 1/2 cup butter, softened
- 3/4 cup granulated sugar
- 1 egg + 1 yolks
- 1 tsp pure vanilla extract
- 1 1/2 cups flour
- 1/2 tbsp baking powder
- 1/4 tsp salt
- 3/4 cup buttermilk
- 1 1/2 cups butter, room temperature
- 3-4 cups powdered sugar
- 2 tsp pure vanilla extract (or other flavorings)
- Preheat the oven to 350 degrees. Spray three 8-inch round pans with cooking spray, add a cut piece of parchment to the bottoms, spray again and set aside
- In one bowl, whisk together the flour, baking powder and salt, and set aside
- In the bowl of your mixer fitted with a paddle attachment, beat the softened butter until creamy
- Add the sugar and beat until smooth (about 2 minutes).
- Add egg and yolk, beating well between each addition. Then add vanilla and mix until combined
- Mix in about 1/3 of the flour mixture and alternate with buttermilk, scraping the bowl as you go, until all ingredients are well-mixed
- Distribute the batter into the prepared cake pans and bake for 22-25 minutes until an inserted toothpick comes out clean
- Allow the pans to cool on a wire rack, and when cool enough to move, remove the cake from the pans to cool completely before assembling/decorating
- Beat the butter with a paddle attachment until smooth and fluffy, about 2 minutes
- Slowly add the powdered sugar in batches, scraping the sides in between
- Mix in the vanilla extract or other flavorings and beat until completely smooth
- This is a small recipe designed specifically for the taco cake tutorial, makes one very thick 6 or 8-inch cake
- For layer cakes, double the recipe and divide into multiple pans

Luisa
I love this so much!!!