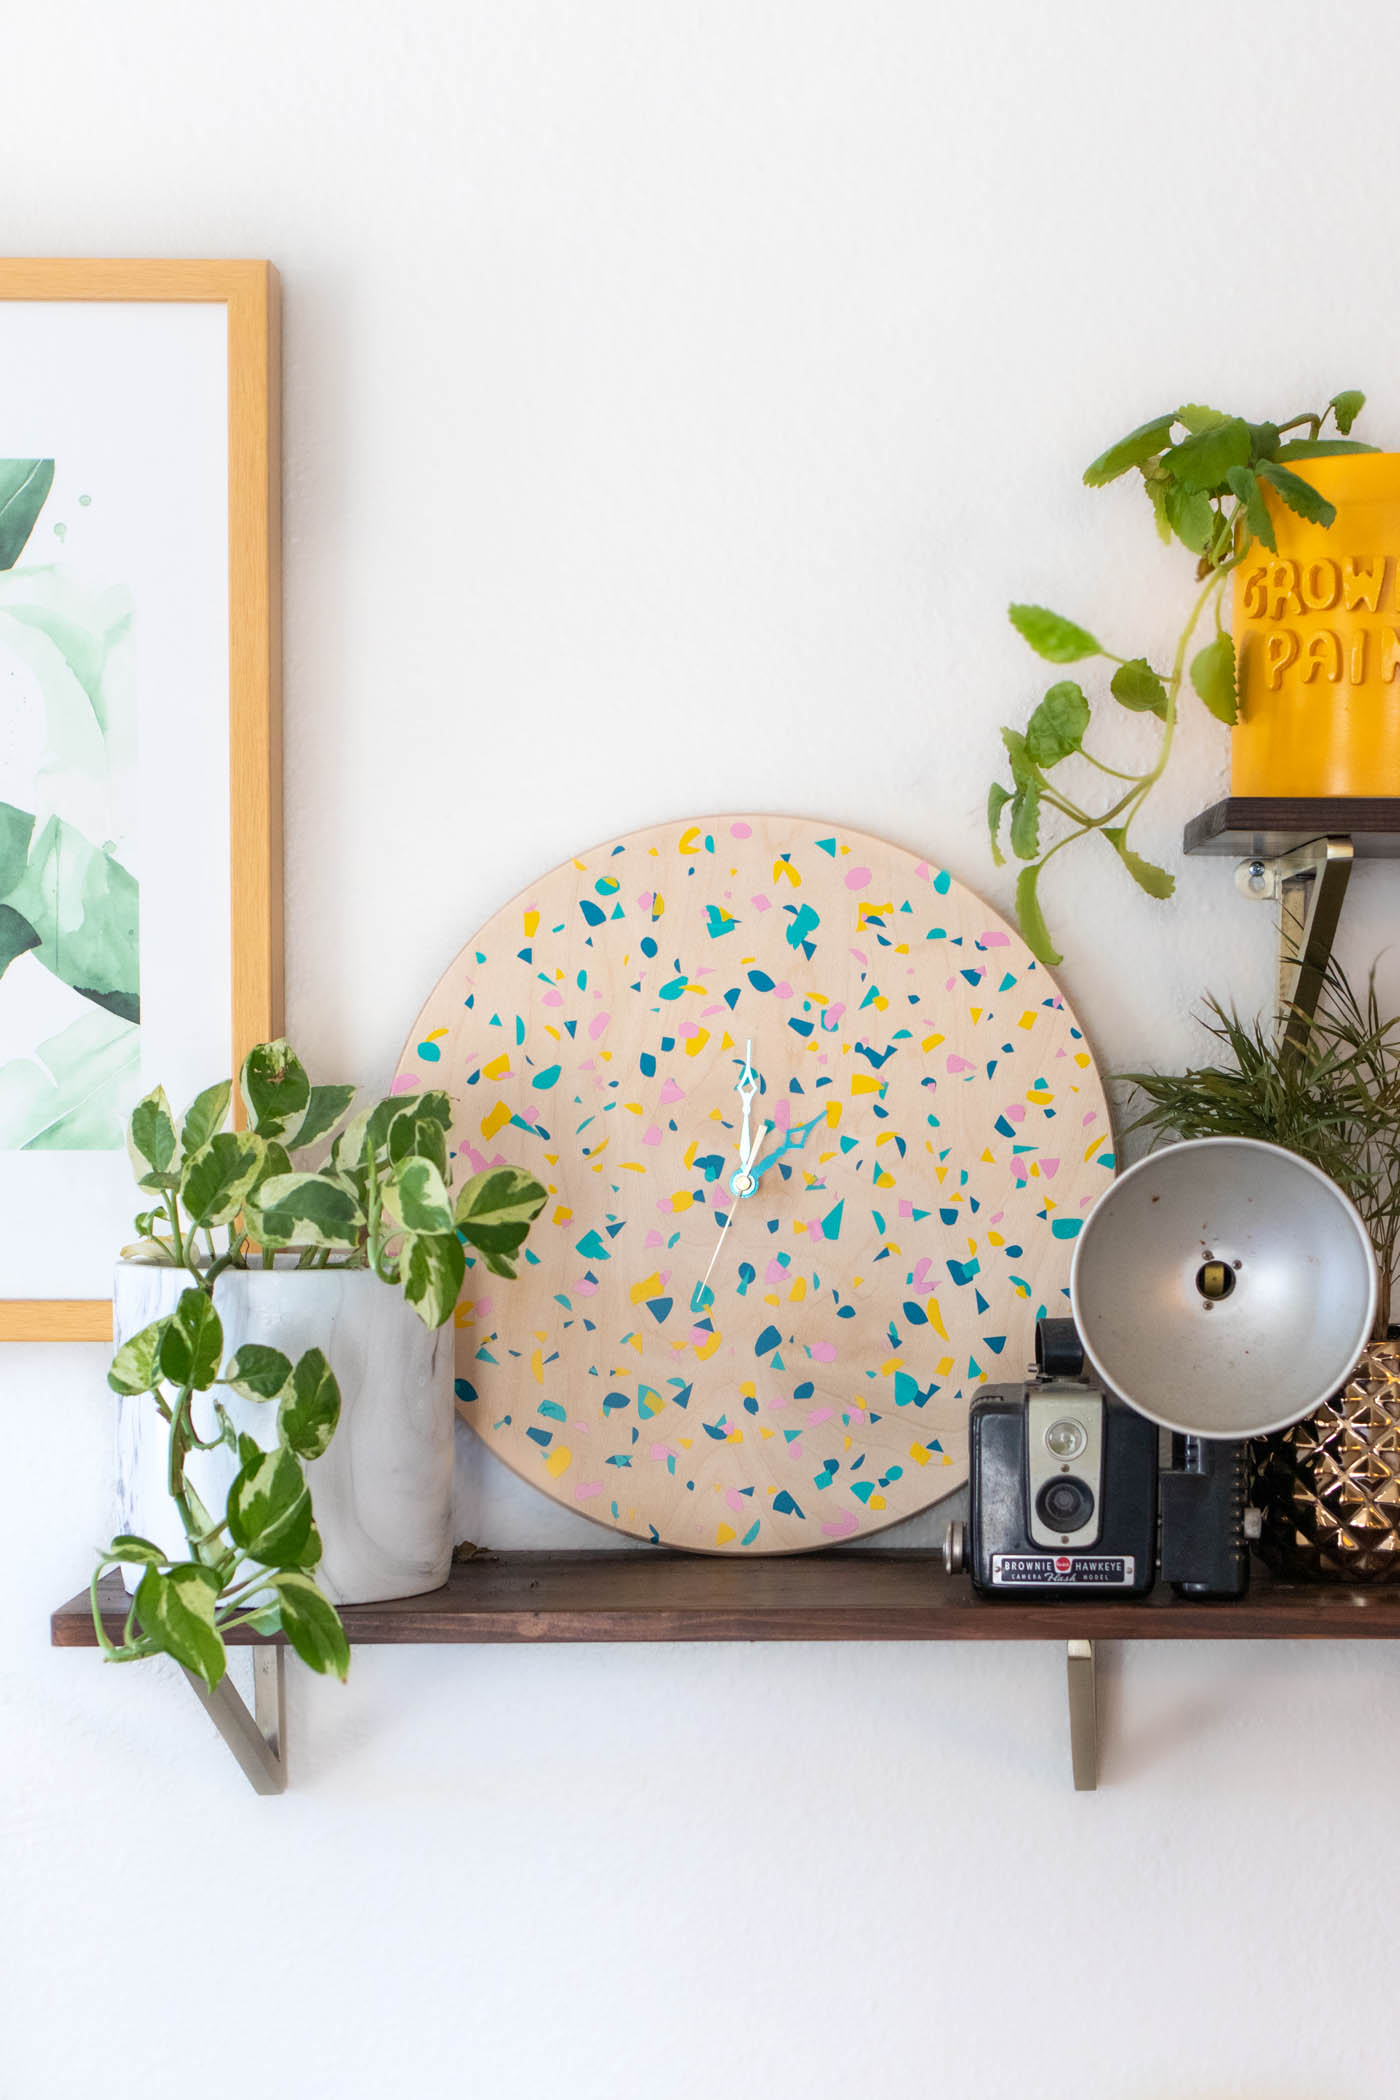
The following post is sponsored by JOANN
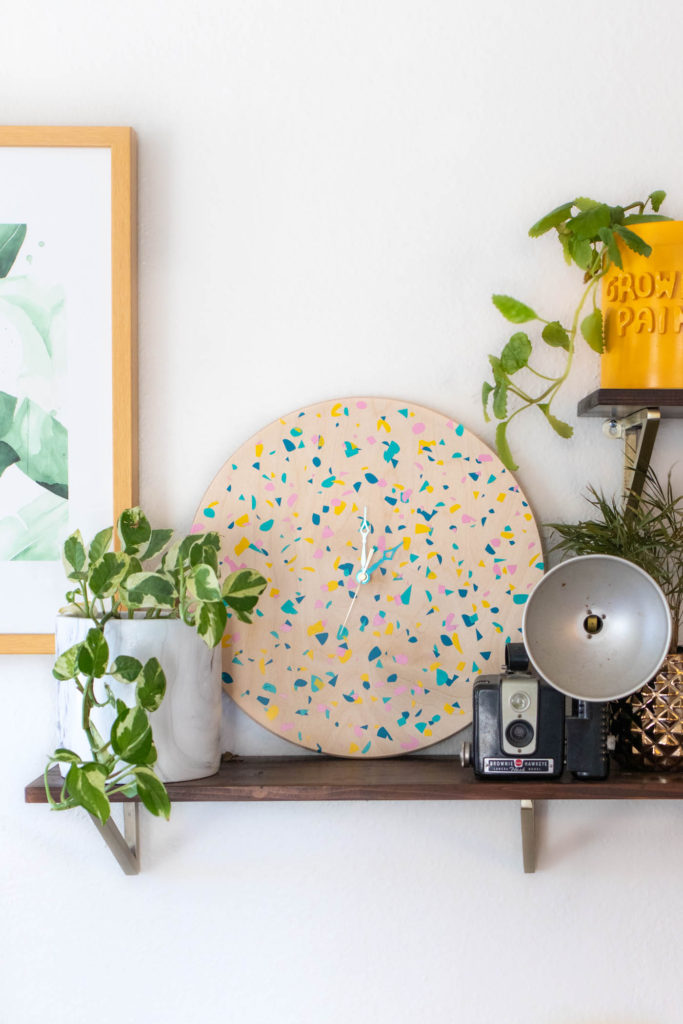
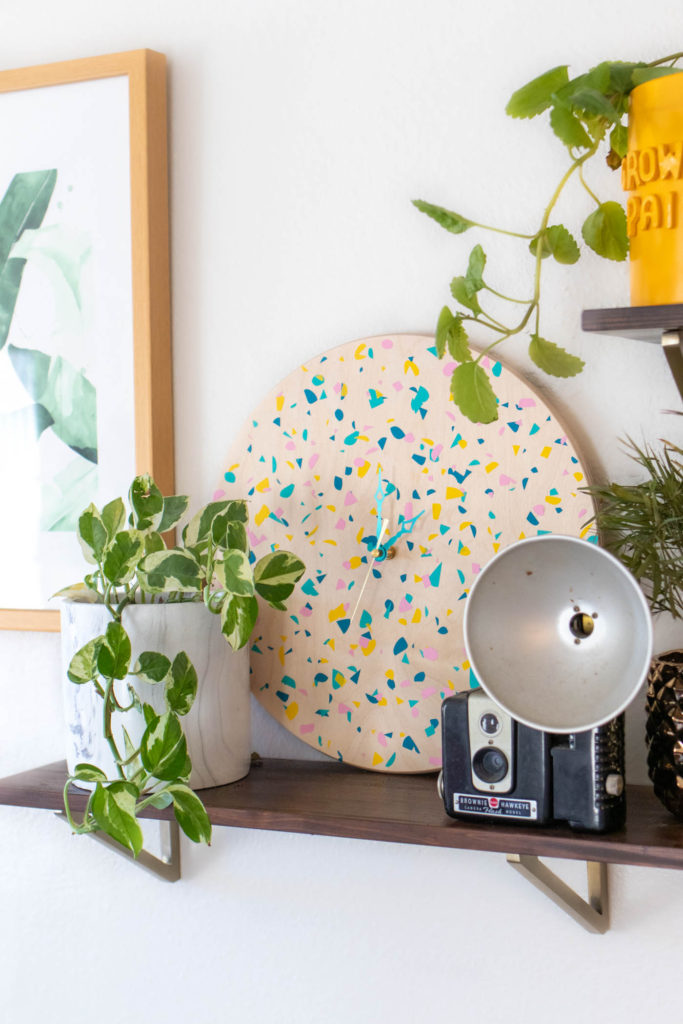
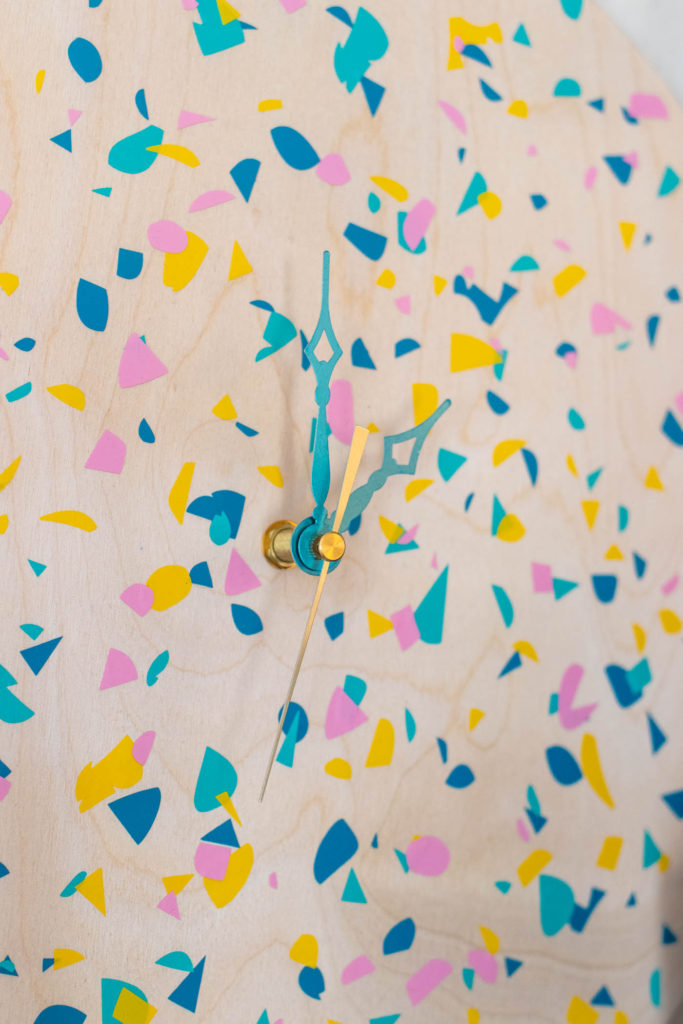
I hope you love the terrazzo trend as much as I do because I discovered a new way to make perfect terrazzo patterns using vinyl! This simple but colorful terrazzo clock is made with layers of colorful vinyl from the new JOANN brand set of vinyl materials! Of the pack of 20 colors, I narrowed down my four favorites that were the best fit for our home decor . Then I used my handy dandy Cricut Explore Air to do most of the work. To make it easy, I have the free terrazzo SVG template linked below for you to use with your Cricut or other cutting machine to make this terrazzo clock in your favorite color combinations!
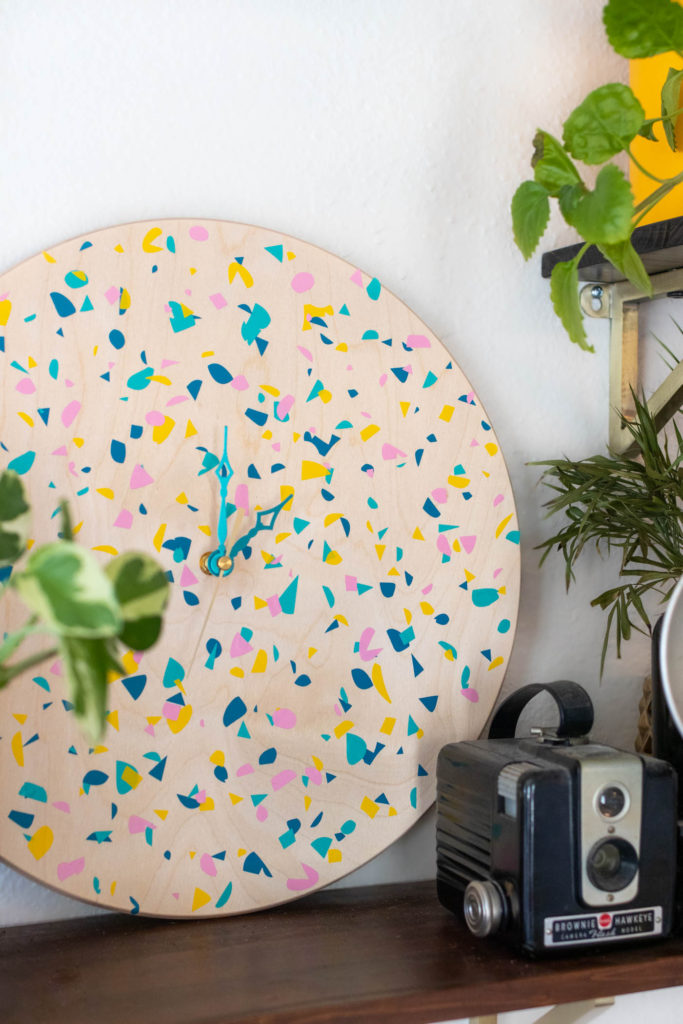
If you stop by your local JOANN store, you’ll see that next to the Cricut materials is a section of JOANN branded vinyl materials. In addition to vinyl rolls, you can find this perfectly sized pack of vinyl in any color you could possibly need! Psst, I also used JOANN branded vinyl to make my DIY Matisse pitcher recently.
What is Terrazzo?
First, do you know what terrazzo IS or have you just seen it a millions times already? Simply put, terrazzo is a composite material made up of chips of materials like marble, glass, quartz, granite, etc. cast in another material, such as a cement base. It forms this beautiful abstract chip pattern that is often used in home decor like flooring or countertops. Although this terrazzo clock is obviously not real terrazzo, you can make beautiful terrazzo patterns with vinyl and paint.
Now, let’s make a new clock!
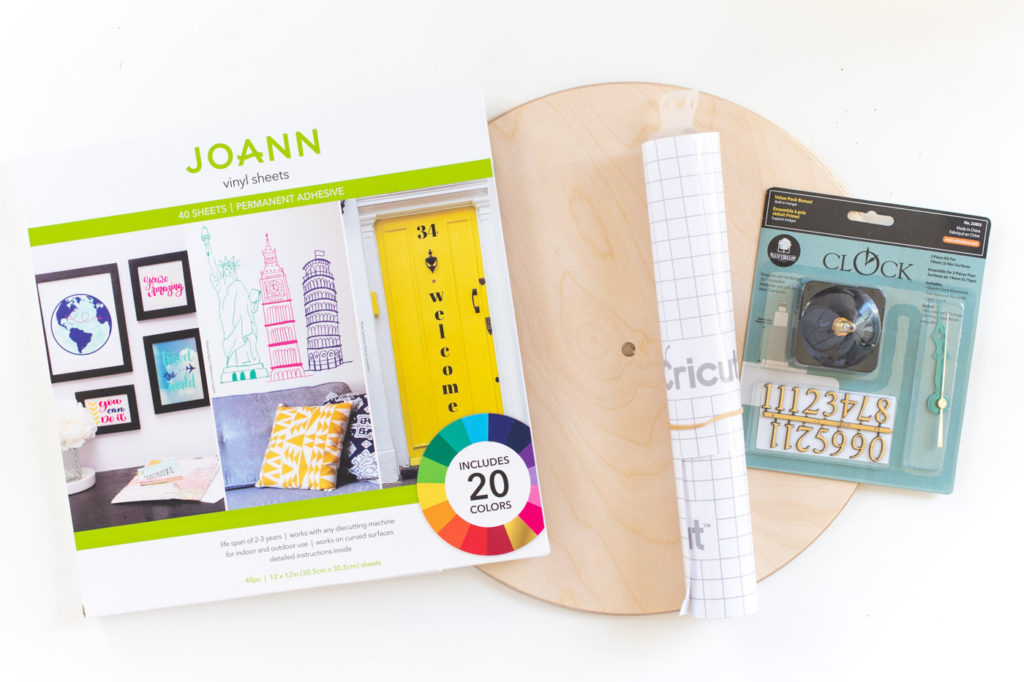
Supplies:
- Free SVG terrazzo template (downloads immediately)
- Wooden clock base, approx 11 inches or smaller
- Clock hands
- JOANN Vinyl Sheets, 4 colors
- Clear transfer tape
- Weeding tool
- Scraper tool
- Standard Grip Mat
- Cricut or comparable cutting machine
Step 1: Download the above terrazzo template. Upload the SVG file to the Cricut Design Center.
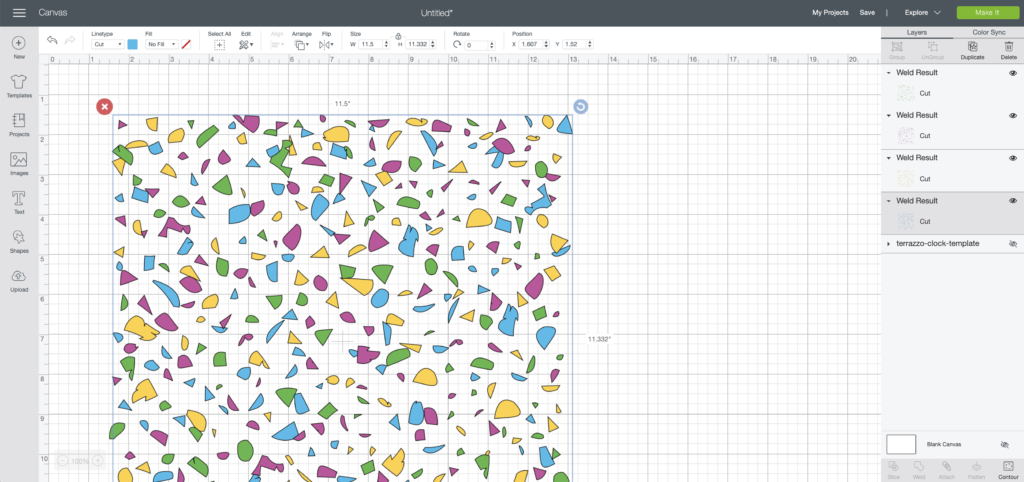
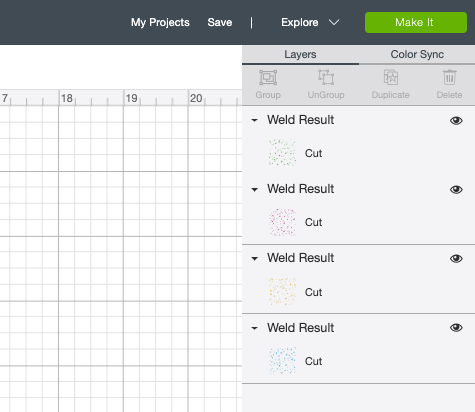
Step 2: In the design center, carefully “Shift” and select all of one color of terrazzo pieces from the right-hand side. Right click and select “Weld” to keep all of the pieces in their positions during cutting.
Step 3: Repeat with all four colors so that you have four separate “Weld Results.” Select all and drag the terrazzo design to approx 11.5 inches wide ( or smaller if your clock base is smaller).
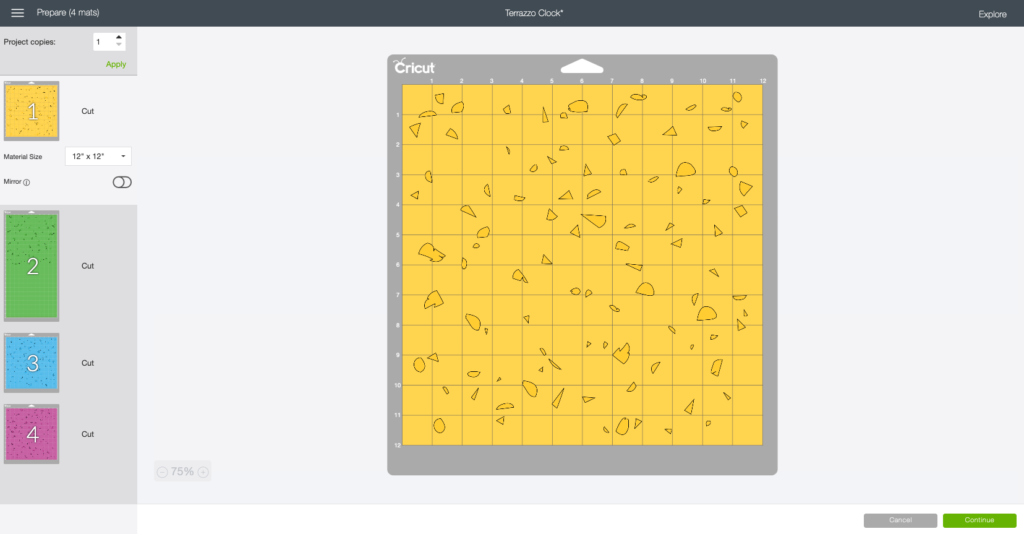
Step 4: Select “Make It” and check that each color fits on your 12-inch mat. Then click “Continue.”
Step 5: Load the mat with your first color of JOANN vinyl and load into the cutting machine. Turn the dial to “Vinyl.” Press “Cut” with a standard fine point blade loaded into the machine.
Step 6: Once cut, carefully peel away the entire sheet of vinyl. Replace with the second color on the mat. Repeat with all four colors.
Step 7: “Weed” the negative space around the terrazzo pattern on each color.
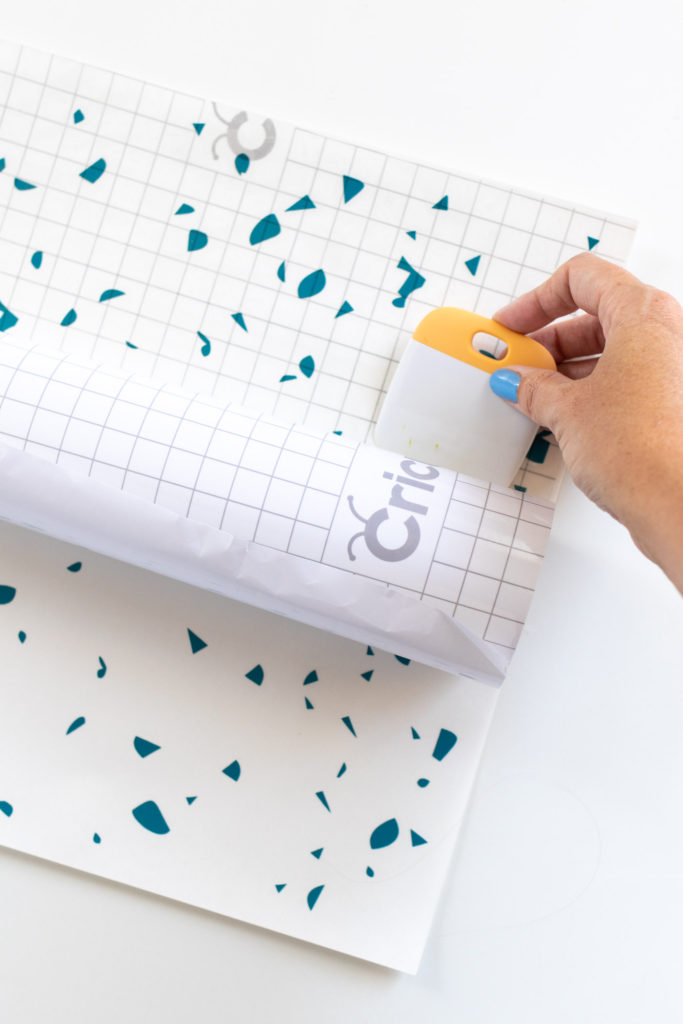
How to Use Transfer Tape
Step 8: Apply clear transfer tape on top of the terrazzo vinyl pattern and press with a scraper tool.
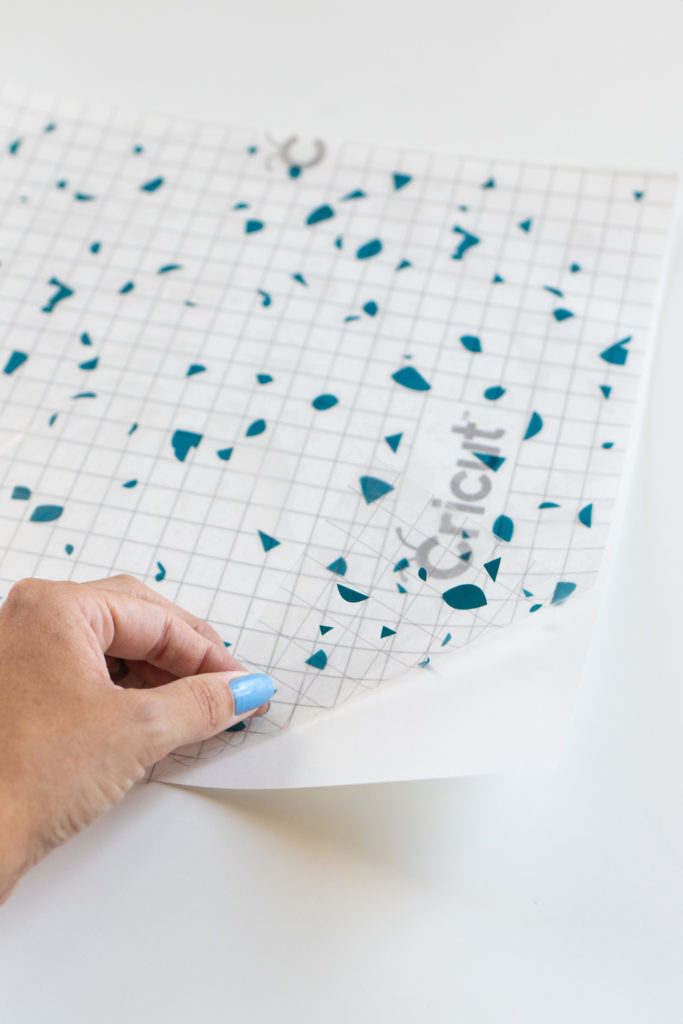
Step 9: Carefully peel away the transfer tape and check that the terrazzo clock pattern comes off WITH it.
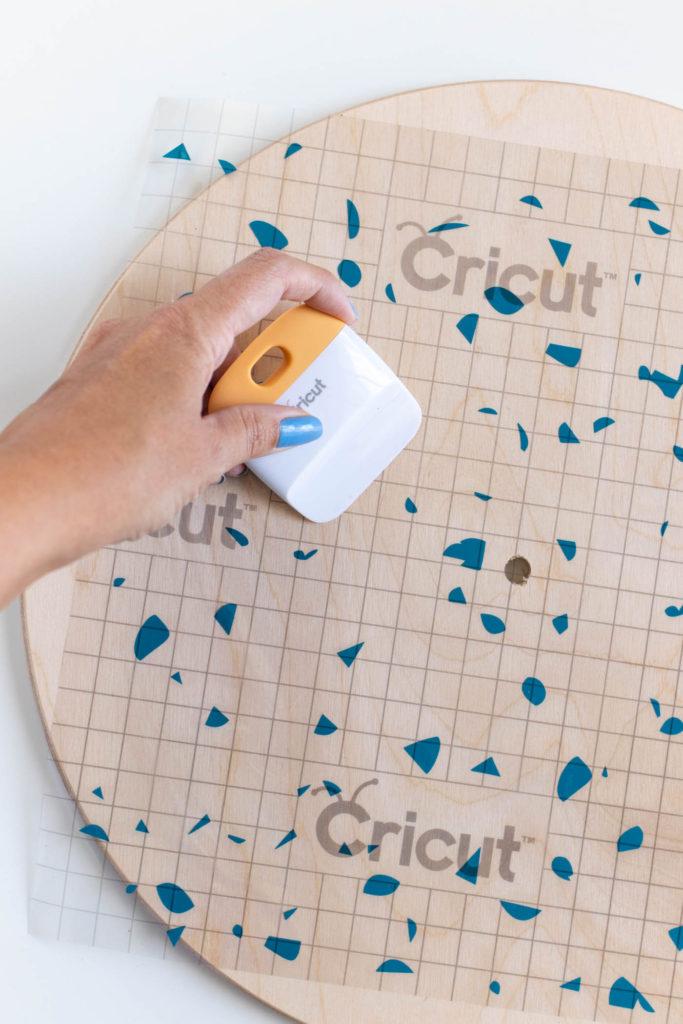
Step 10: Then place the transfer tape down onto the front wooden clock base so that the terrazzo pattern covers it. Press firmly all over with a scraper tool to transfer the terrazzo pattern to the wood, then peel away the empty tape.
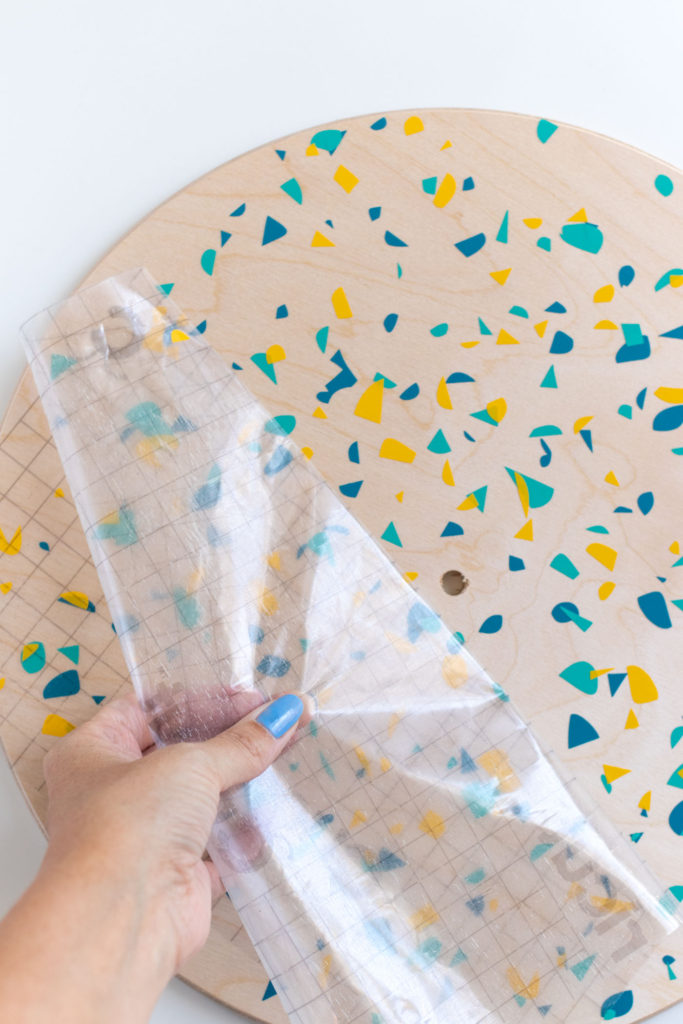
Step 11: Repeat these steps with each color, layering them on top of each other until the clock face is covered with terrazzo vinyl.
Note, you may want to manually move around some pieces if there is too much overlap. In my case, this is helpful for making sure the pattern reached all the way to the edges of the terrazzo clock face.
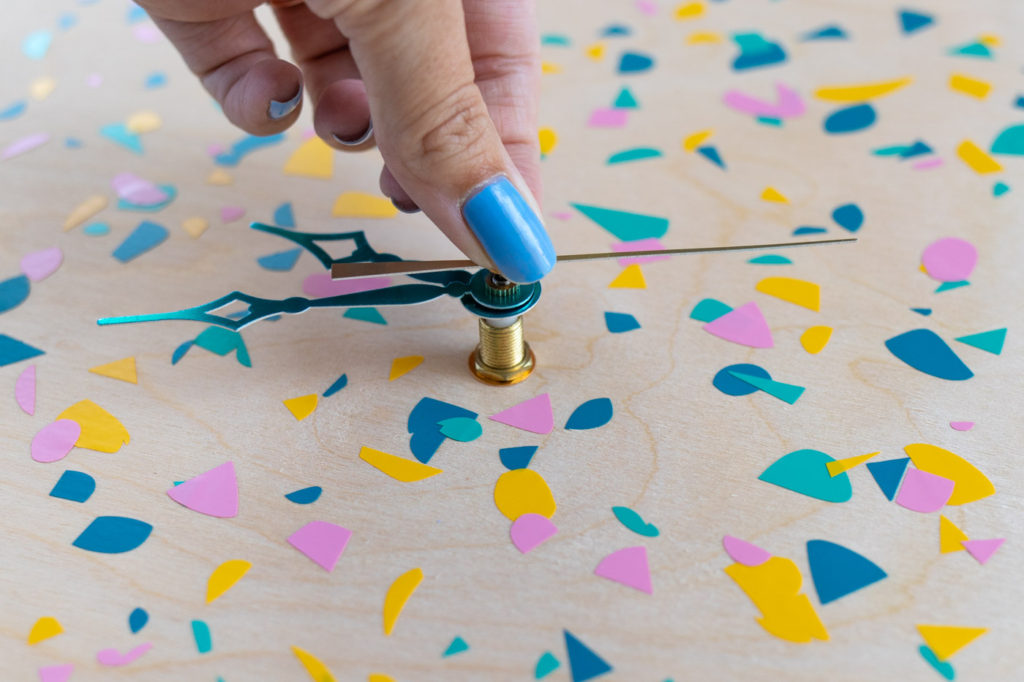
Step 12: Lastly, assemble the clock hands on top.
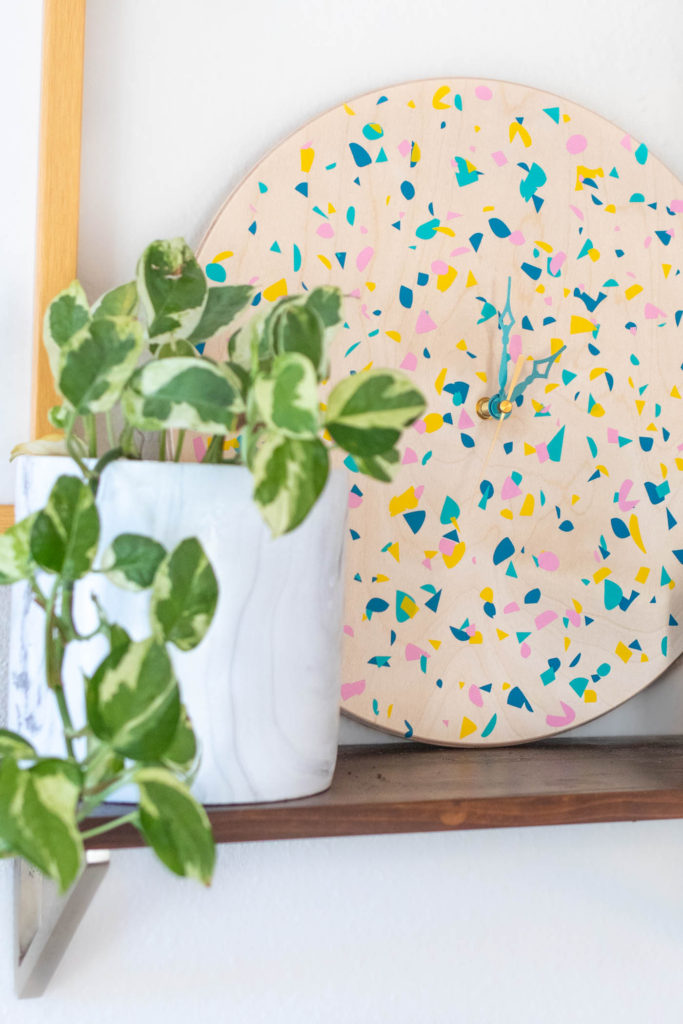
Our apartment decor is FINALLY starting to come together! Fun DIY accents like this terrazzo clock make it feel that much homier. Now, what else should I cover with vinyl?!
Thank you to JOANN for generously sponsoring this post. All opinions are my own. Please note this post may contains affiliate links from which I may collect a small profit should you choose to make a purchase. Thanks for supporting the brands that keep Club Crafted making!
