 In case you haven’t caught on yet, I’m LOVING the holographic trend. It’s possibly my favorite style to come back from the 90s, so today I’m combining it with another fun 90s trend…the scrunchy! These DIY holographic scrunchies are my new favorite accessory! In the words of Kelly from Studio DIY, “they’re neutral.” I’m starting to feel like holographic clothing is a safe neutral now, so I’m loving wearing one of these iridescent scrunchies around my messy bun for a little extra flair. Since I have such thin hair, this is a great way to add style without any actual effort. That’s my favorite kind of hair style!
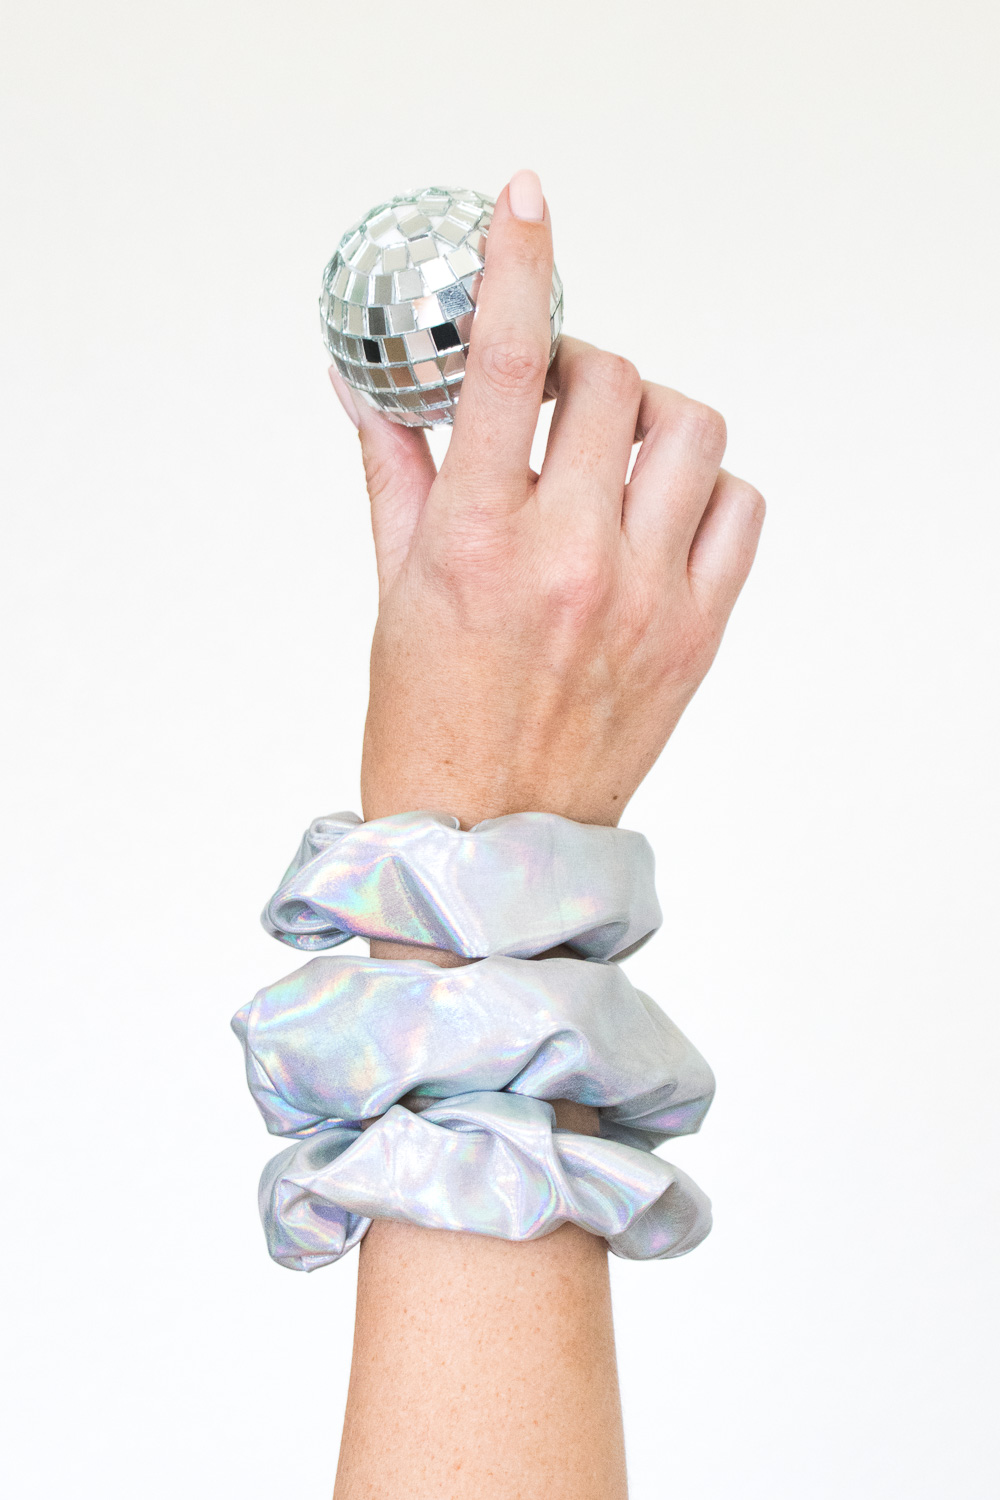

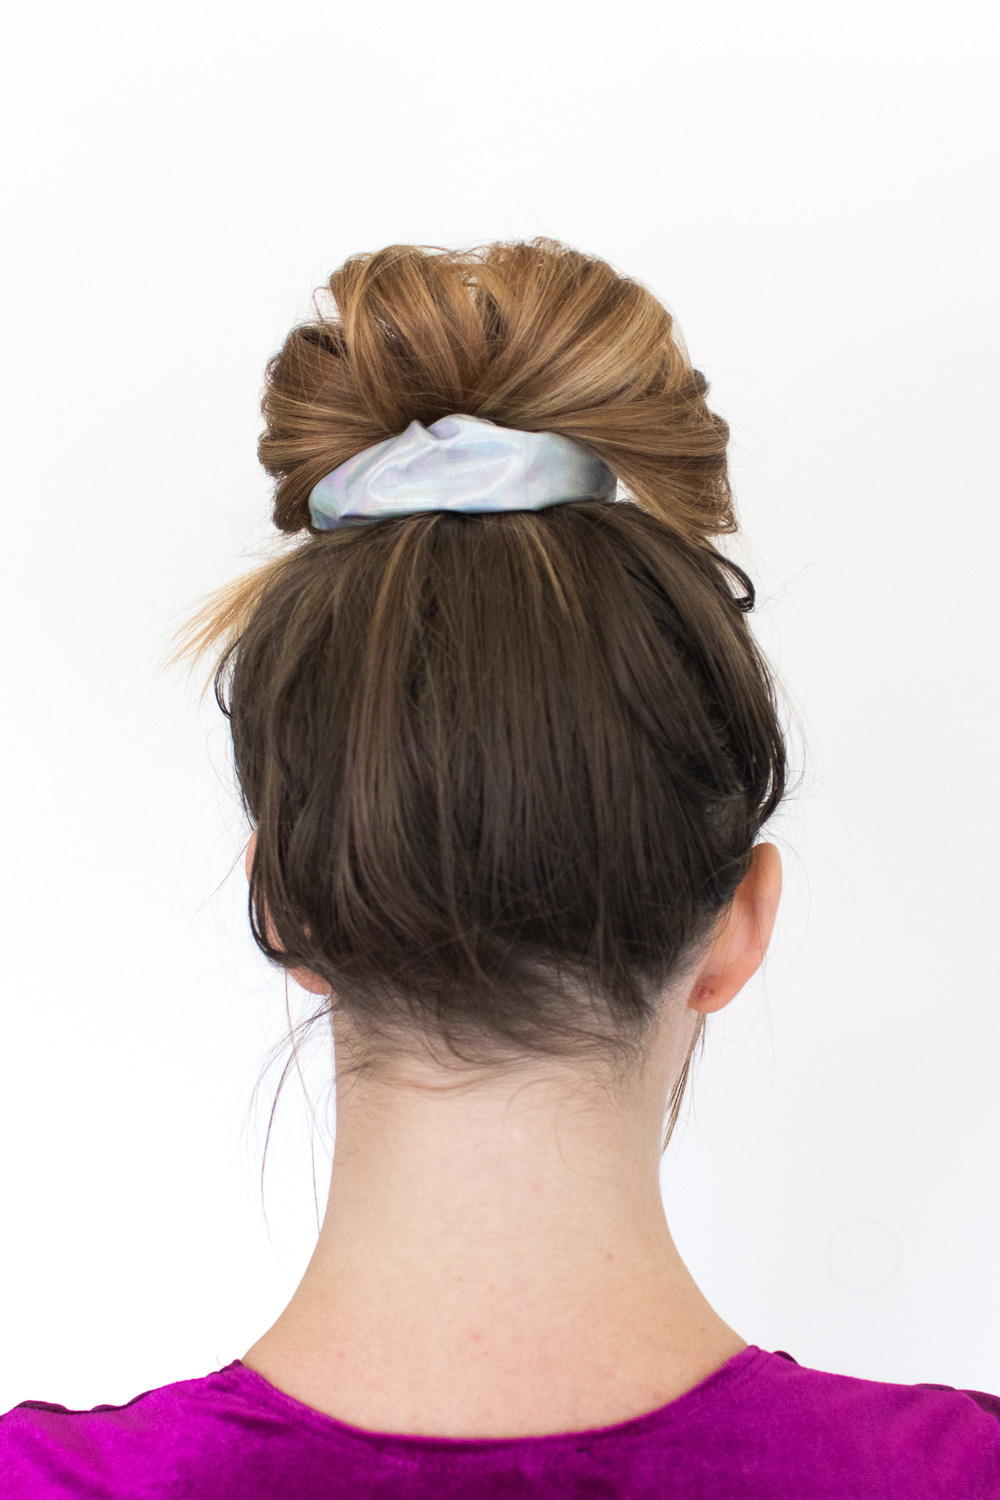 I’m all about the high ponytail too. When I’m home, my hair is probably up in a messy bun or a high ponytail and eventually turns into a side pony. Either way, a holographic scrunchy is a perfect addition! I did have to do some hunting to find a fabric that I liked for this project because most of my searches turned up fabrics that were too sheer, and others required me to purchase massive amounts of fabric when I only needed a little bit.
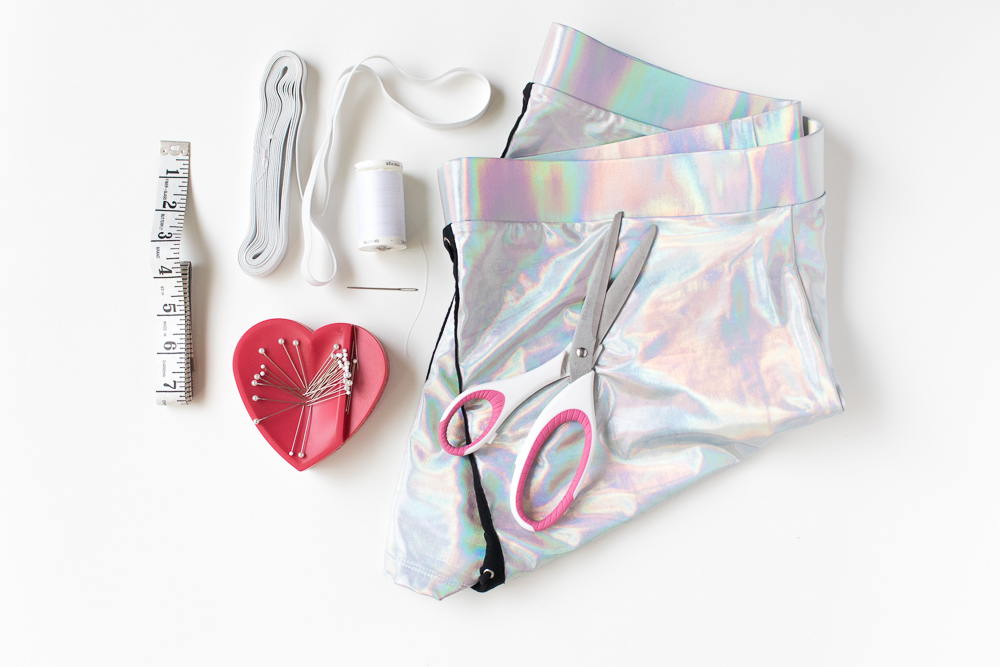
Here’s my tip for finding holographic fabric: look for clothing rather than strictly fabric. I actually bought this pair of holographic shorts in size 3x so that I could use the fabric to make holographic scrunchies. It turned out to be the perfect way to get the amount of fabric I needed, and I couldn’t find any other stand-alone fabric that fit the style I wanted, so be creative and be prepared to cut up a piece of clothing!
Supplies:
- 1/2 yard holographic fabric
- 1/2-inch elastic
- Fabric scissors
- Thread
- Pins
- Measuring tape
- Sewing machine
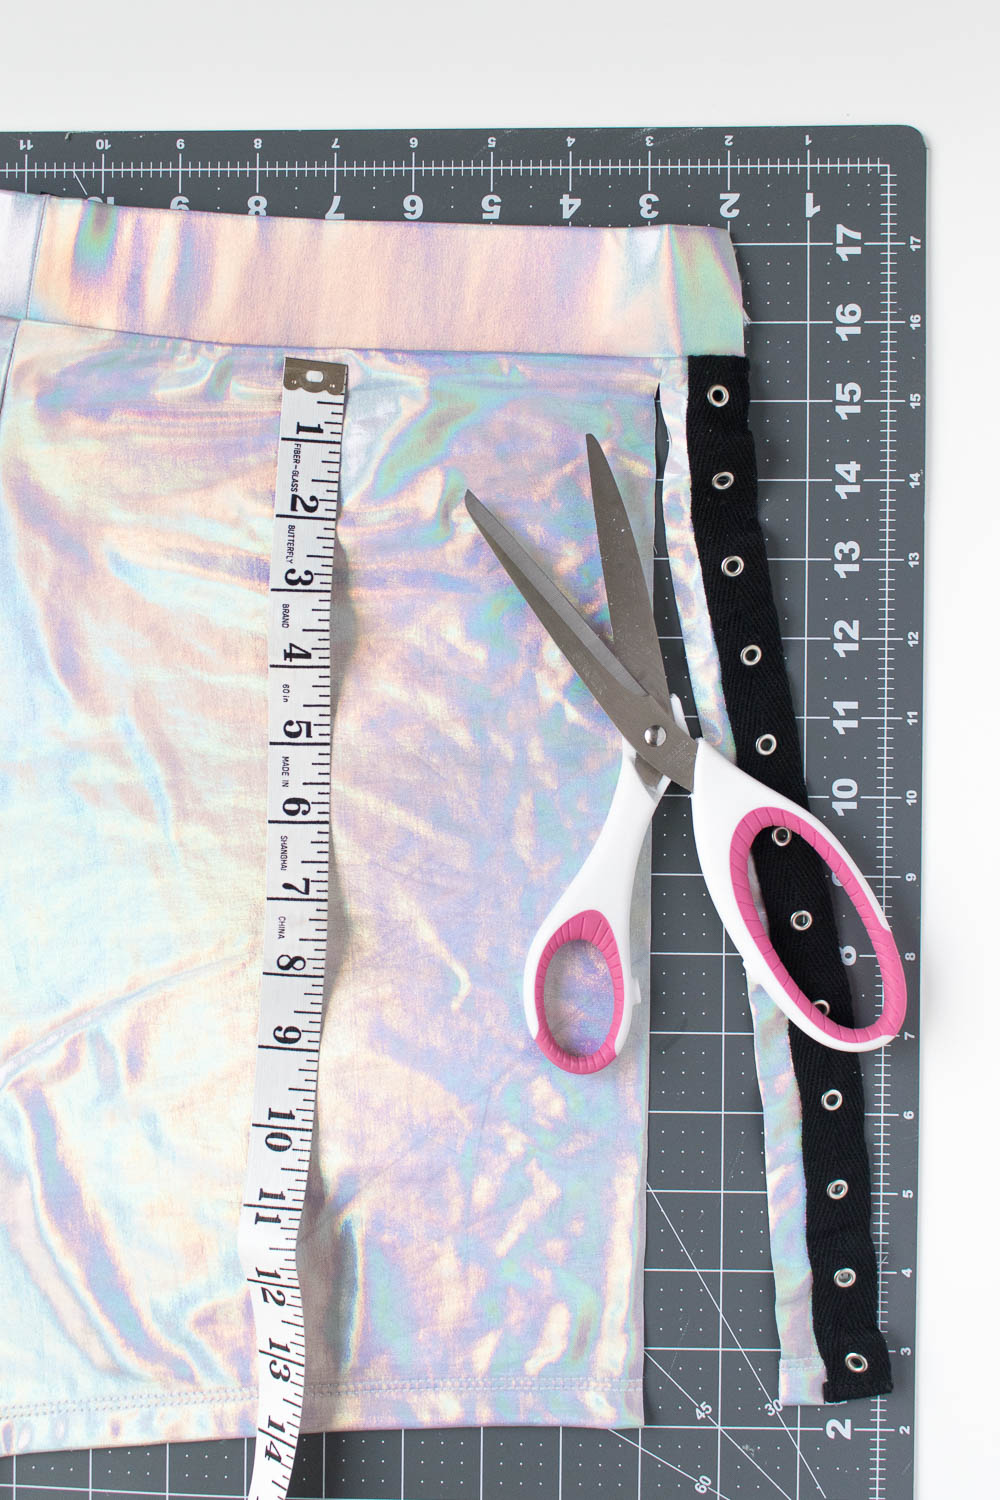 Step 1: Measure and cut a piece of holographic fabric about 4in x 13in.
Note, if you have thicker hair and want a bigger scrunchy, you may want to cut the fabric to 4in x 15in.
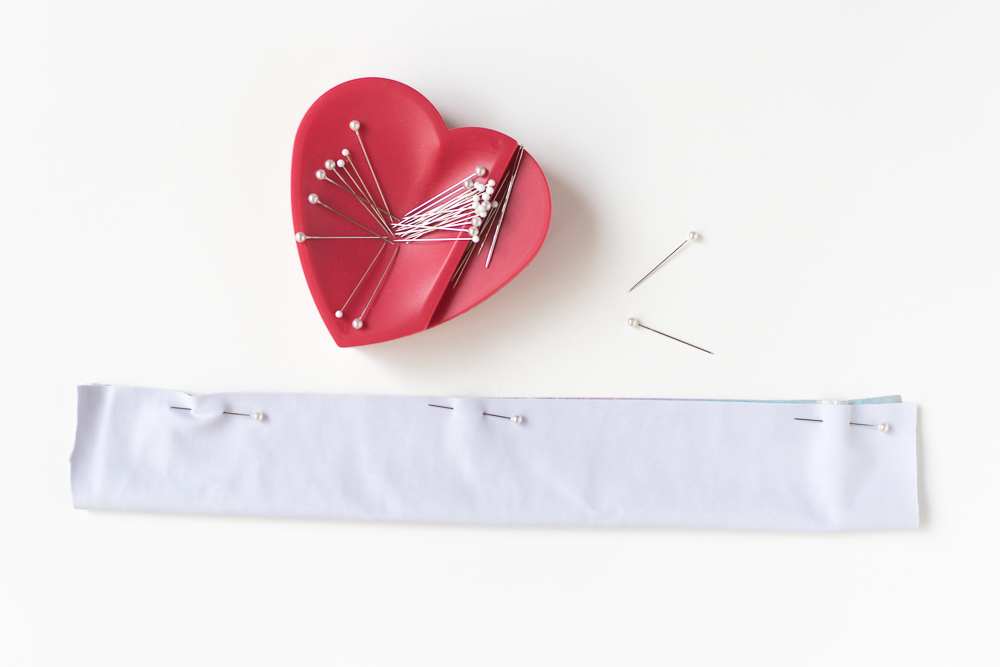 Step 2: Fold in half lengthwise with the right sides together and pin. Sew a 1/4-inch theme along the open edge, back stitching at each end and leaving at least one inch unsewn at each end (see below).
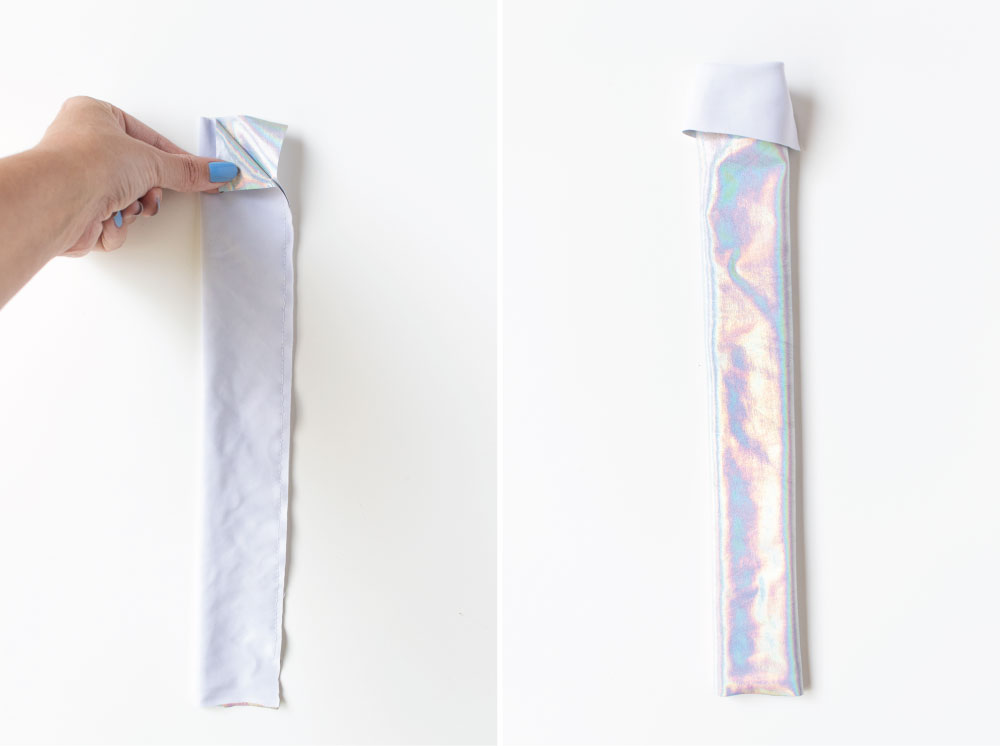 Step 3: Pull the fabric right side out.
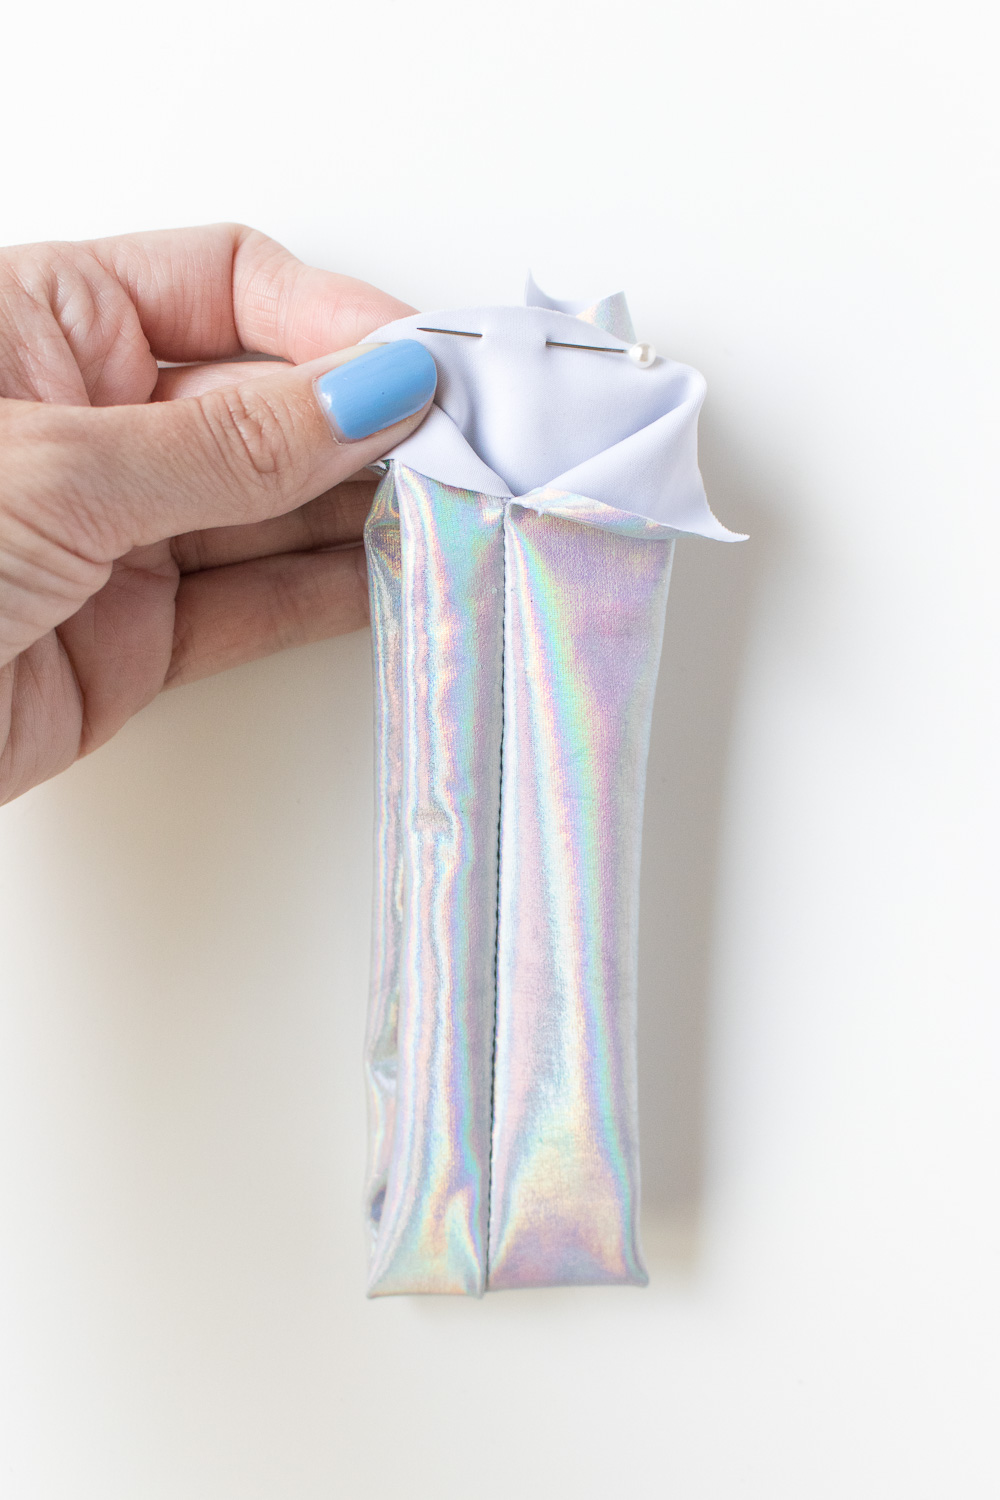 Step 4: Pull the edges together with the seam facing you and pin with the right sides together. Sew all the way along the edges to join them, back stitching at each end.
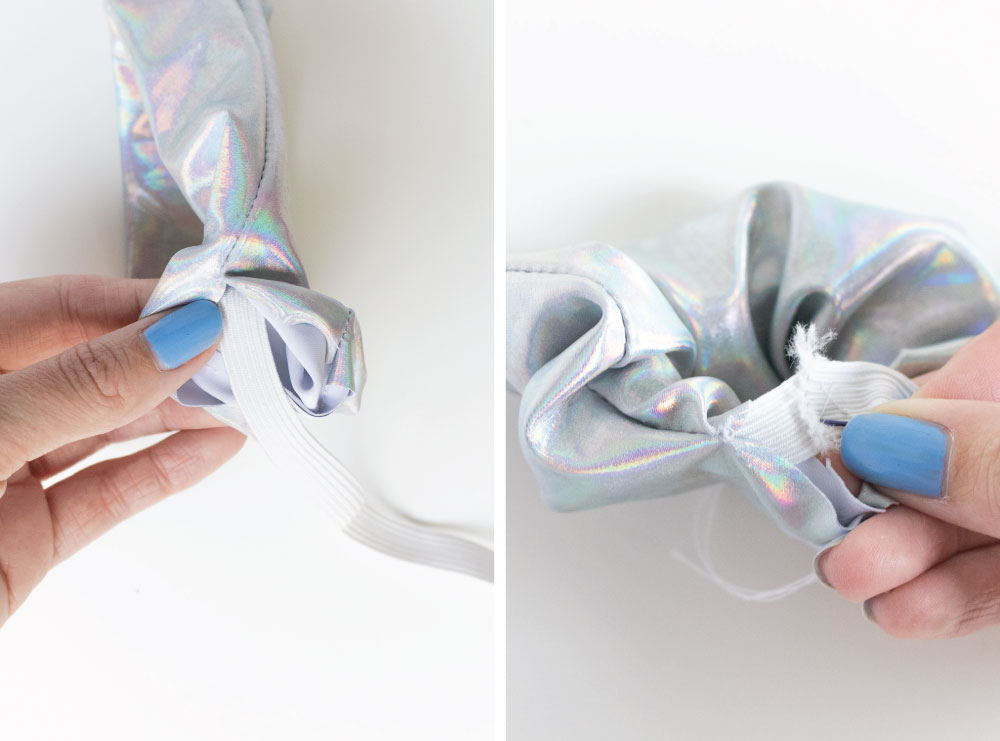 Step 5: Thread a piece of elastic through the opening until it comes out the other side. Cut so that the elastic causes the fabric to bunch around it. Keep in mind you’ll want it to stretch over your hair.
Step 6: Hand stitch the ends together with a piece of thread knotted at the end. Trim excess thread.
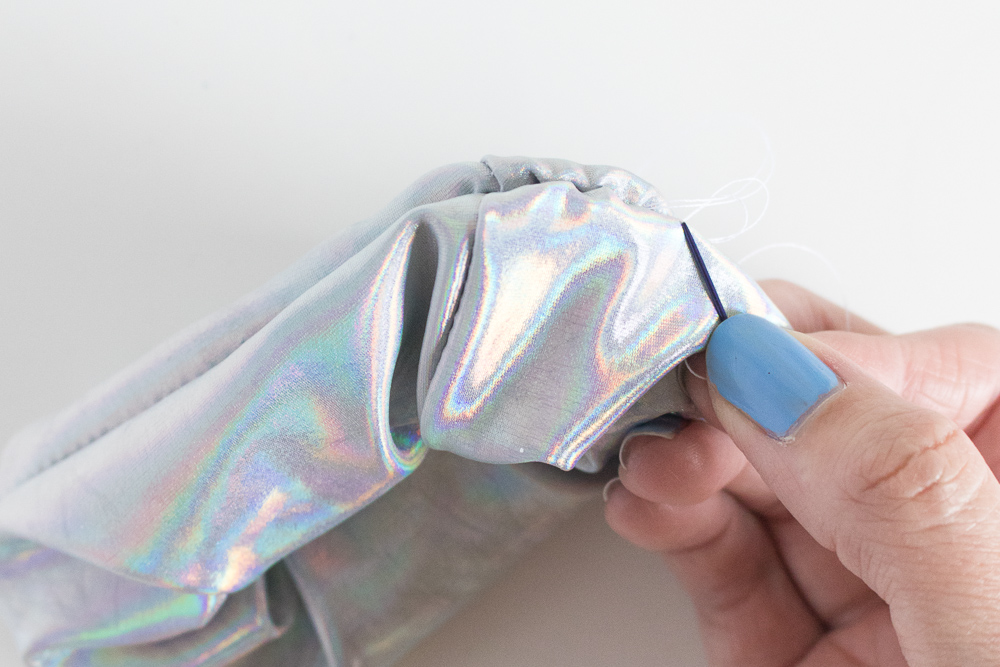 Step 7: Use an invisible stitch to hand sew the opening together and knot it.
Step 8: Lastly, readjust the elastic inside of the loop of fabric so that the seam is on the inside of the holographic scrunchy.

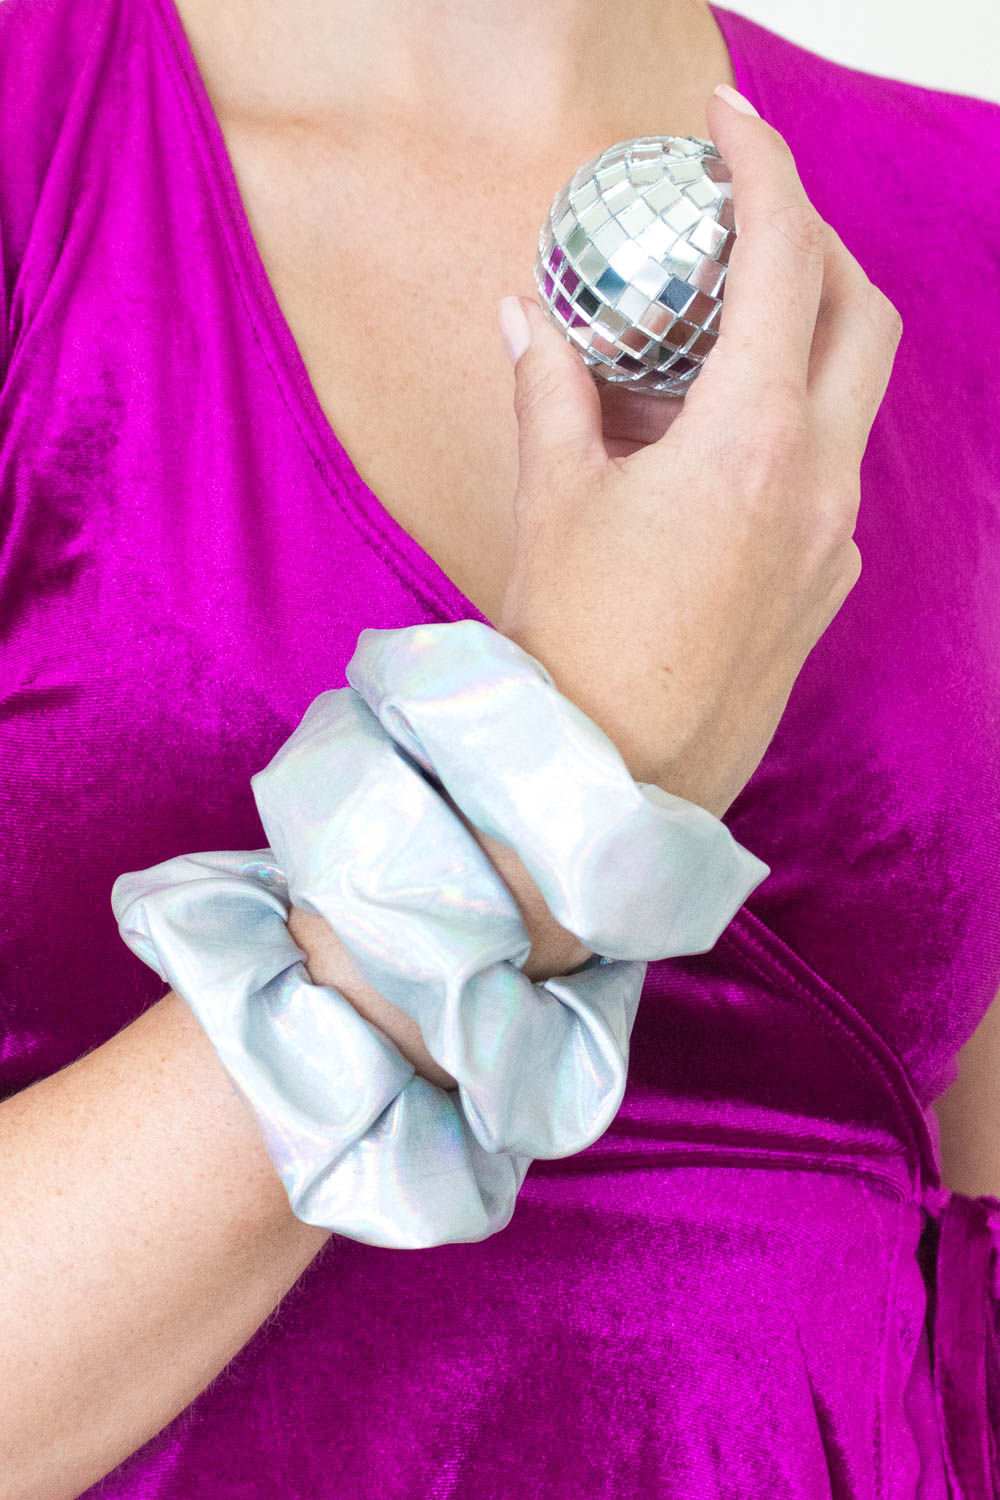 Now it’s ready to wear! Use it to secure a ponytail or wrap around your messy bun for a little extra flair!
Please note this post contains affiliate links from which I may collect a small profit should you choose to make a purchase. I only link to products I personally use or recommend.

