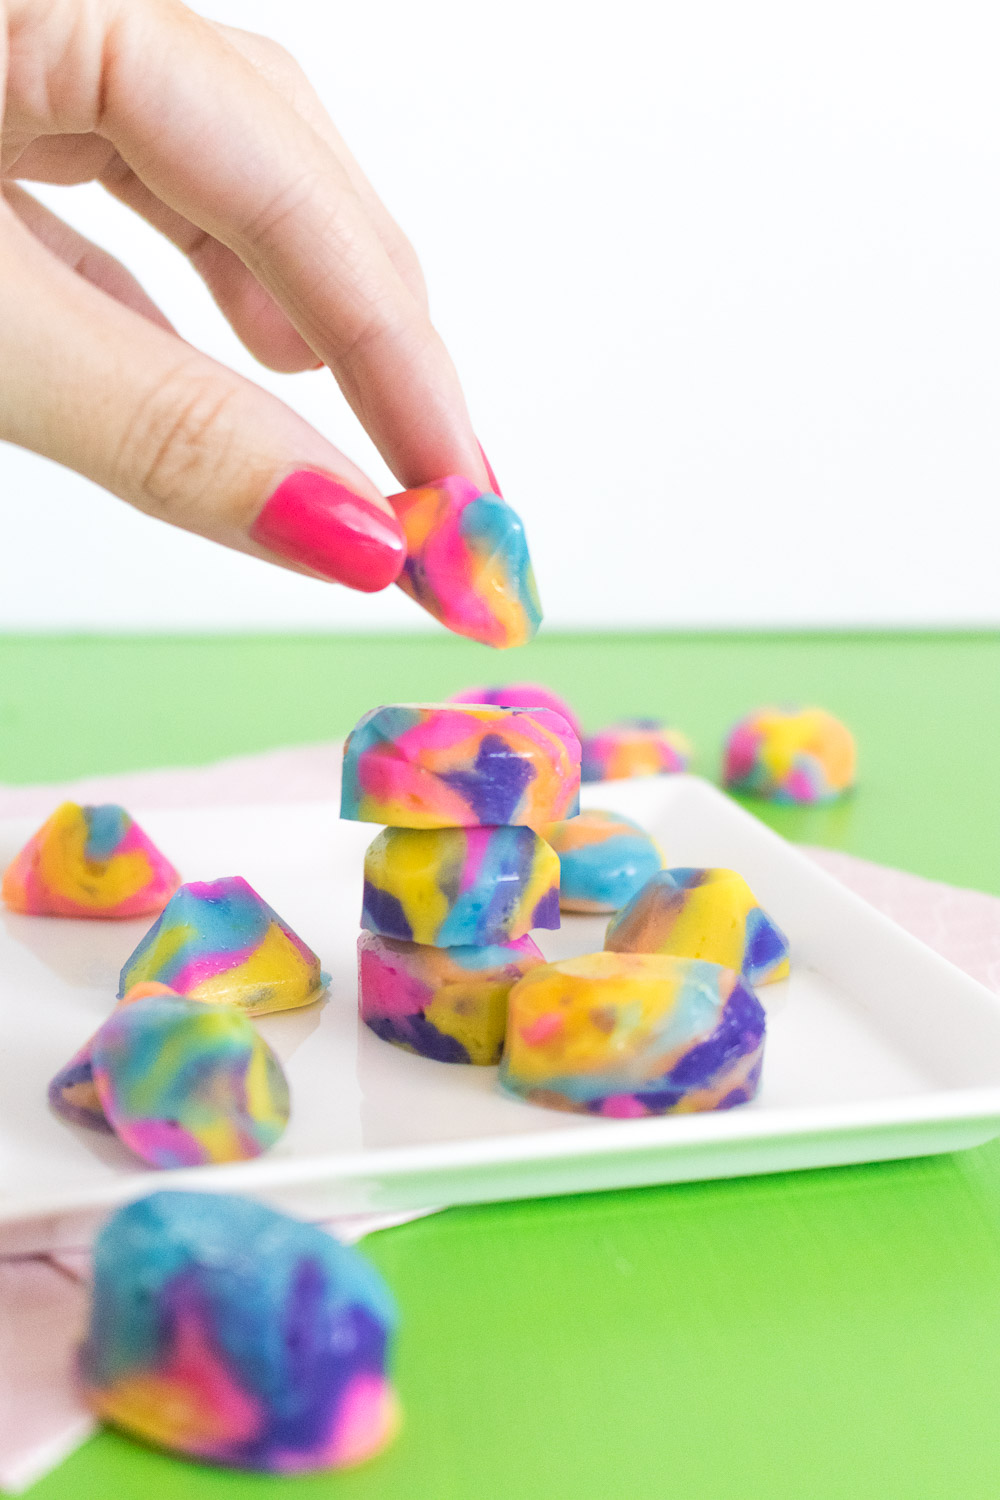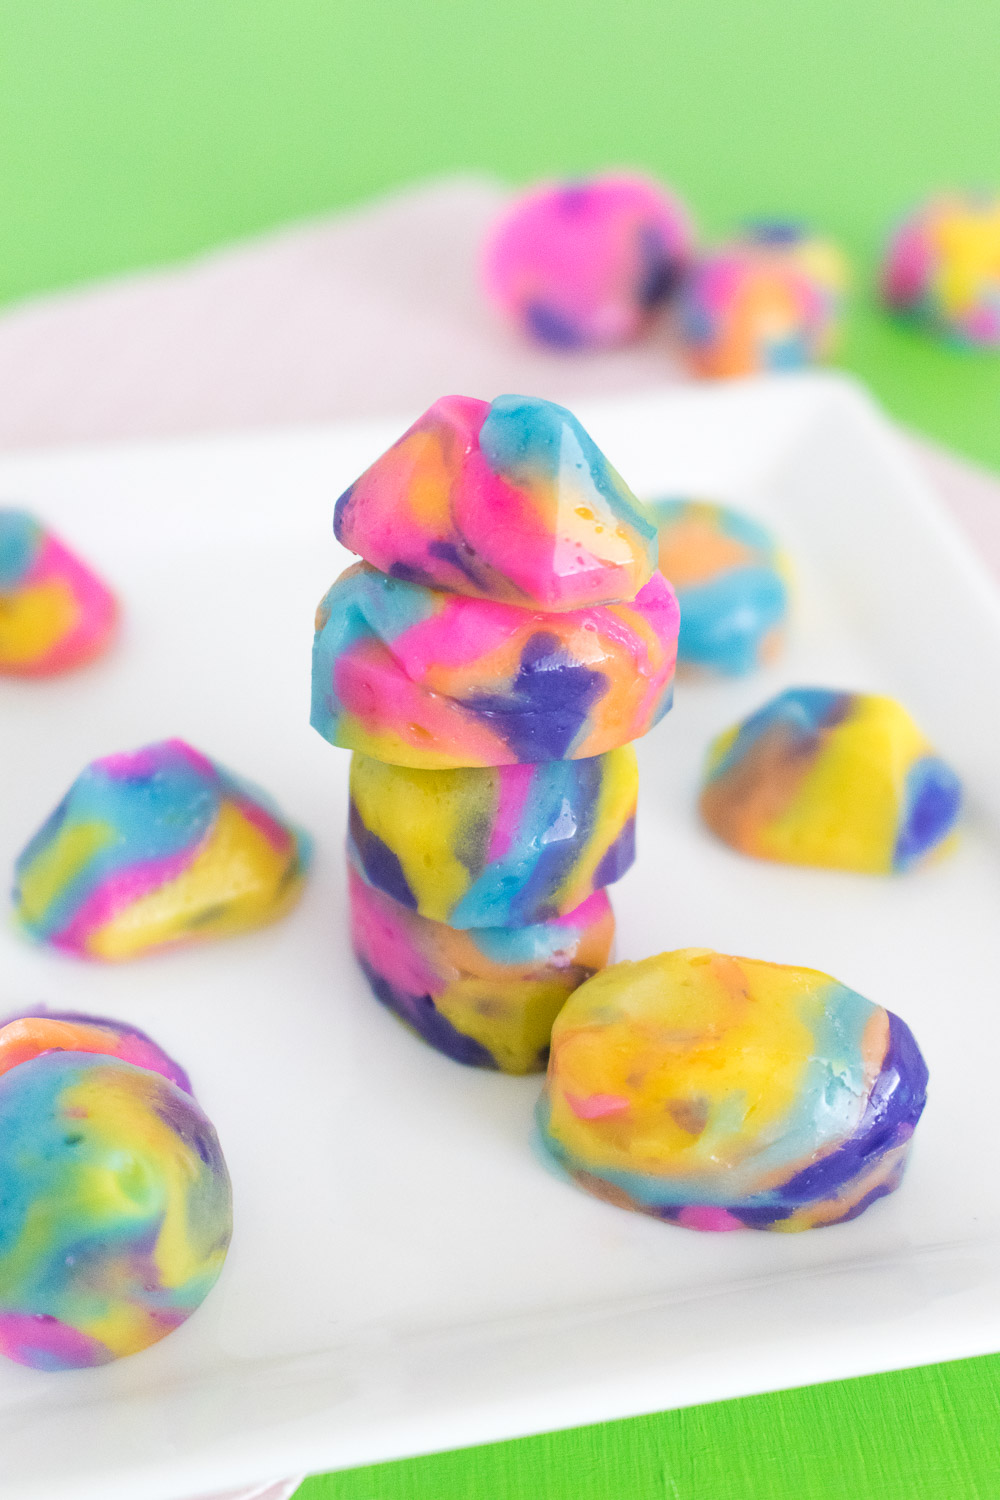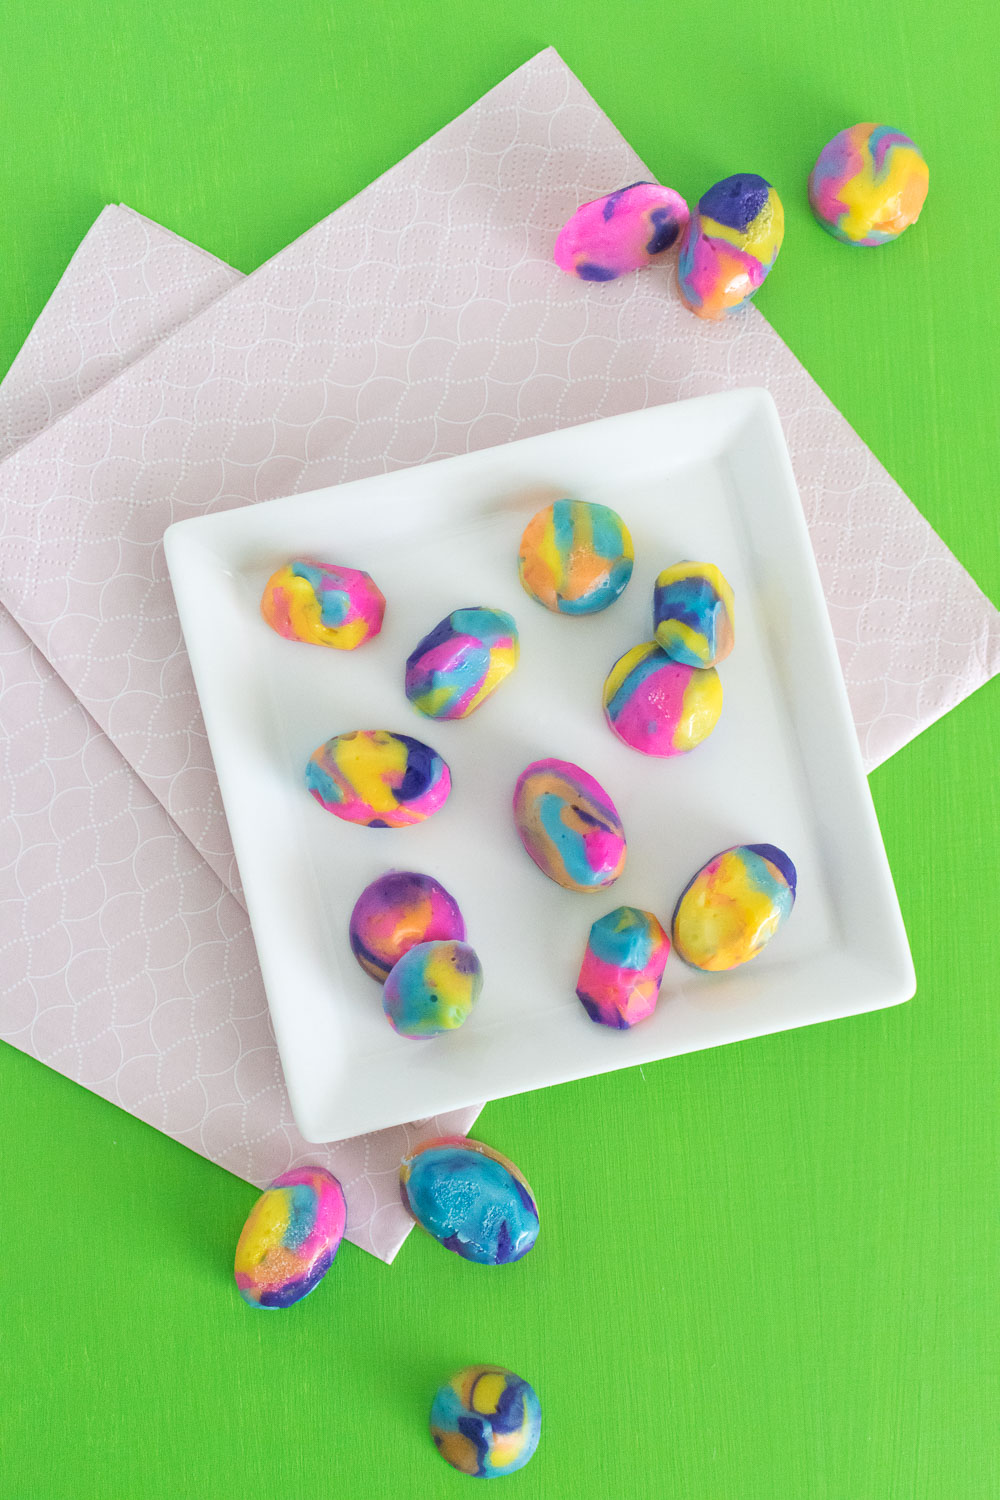
 Who else is excited for November?! I feel like I’ve been waiting for fall to arrive and it finally has, and yes, I’ll be decorating for Christmas very soon. Not only am I incredibly excited to decorate for Christmas but I’m excited for holiday gifting and have already prepared a lot of Christmas gifts. Let’s just say I’m definitely my mother’s daughter, ha! One thing I’ll be gifting a lot of though is candy because I love giving treats as part of my holiday gifts, and I think these colorful tie dye butter mint gems are going to make the list of holiday treats this year because they are melt-in-your-mouth-delicious!
 Are you one of these people who decorates for Christmas really early? I am and Andrew isn’t, so he usually makes me wait until immediately after Thanksgiving to put up our tree. The nice thing about being a blogger though is I have a good excuse to put my tree up early when I need it for projects…can’t wait to work on it next week! I look forward to owning a house big enough for more than one tree. That’s my dream!
In the meantime, I’m getting in the holiday mood with lots of baking and candy making! These tie dye butter mints are as pretty as they are delicious, and they have surprisingly few ingredients.
Scroll down for the full recipe card! ??
The trick to making these mints is allowing them to sit untouched for a long period of time so that they can dry out enough to eat. I know, waiting is hard, but they’ll be worth it. You can use any silicone mold or even mini cookie cutters to make butter mint shapes, but I thought this gem mold would be perfect for showing off all of these pretty colors marbled together like tie dye.
Go on, I bet you can’t eat just one. Happy candy season!


- ¼ cup butter, room temperature
- ⅓ cup light corn syrup
- 3 cups powdered sugar (plus more for kneading)
- 1 - 2 tsp mint extract
- Gel food colors, rainbow colors
- Mix together butter and corn syrup with a whisk or electric paddle attachment
- Add 3 cups powdered sugar and mint extract until desired flavor is reached
- Sprinkle a pastry board or parchment paper with powdered sugar and pull out the dough onto the sugared surface. Knead with your hands, adding more powdered sugar as needed until it reaches a fondant-like consistency
- Separate the dough into 4-5 separate balls and tint each a different color with gel food coloring
- Take tiny pieces from each colored dough and roll them together to create the tie dye look. Press into a small silicone mold so that the dough forms to the mold shape and scrape excess dough from the top so it remains flat. Repeat with all cavities in the mold
- Let mints sit at room temperature for at least two full days before carefully removing from the mold
- You can store these in the fridge instead of at room temperature, but they may harden more than necessary in the fridge and not achieve the same texture

