The following post is sponsored by Tulip
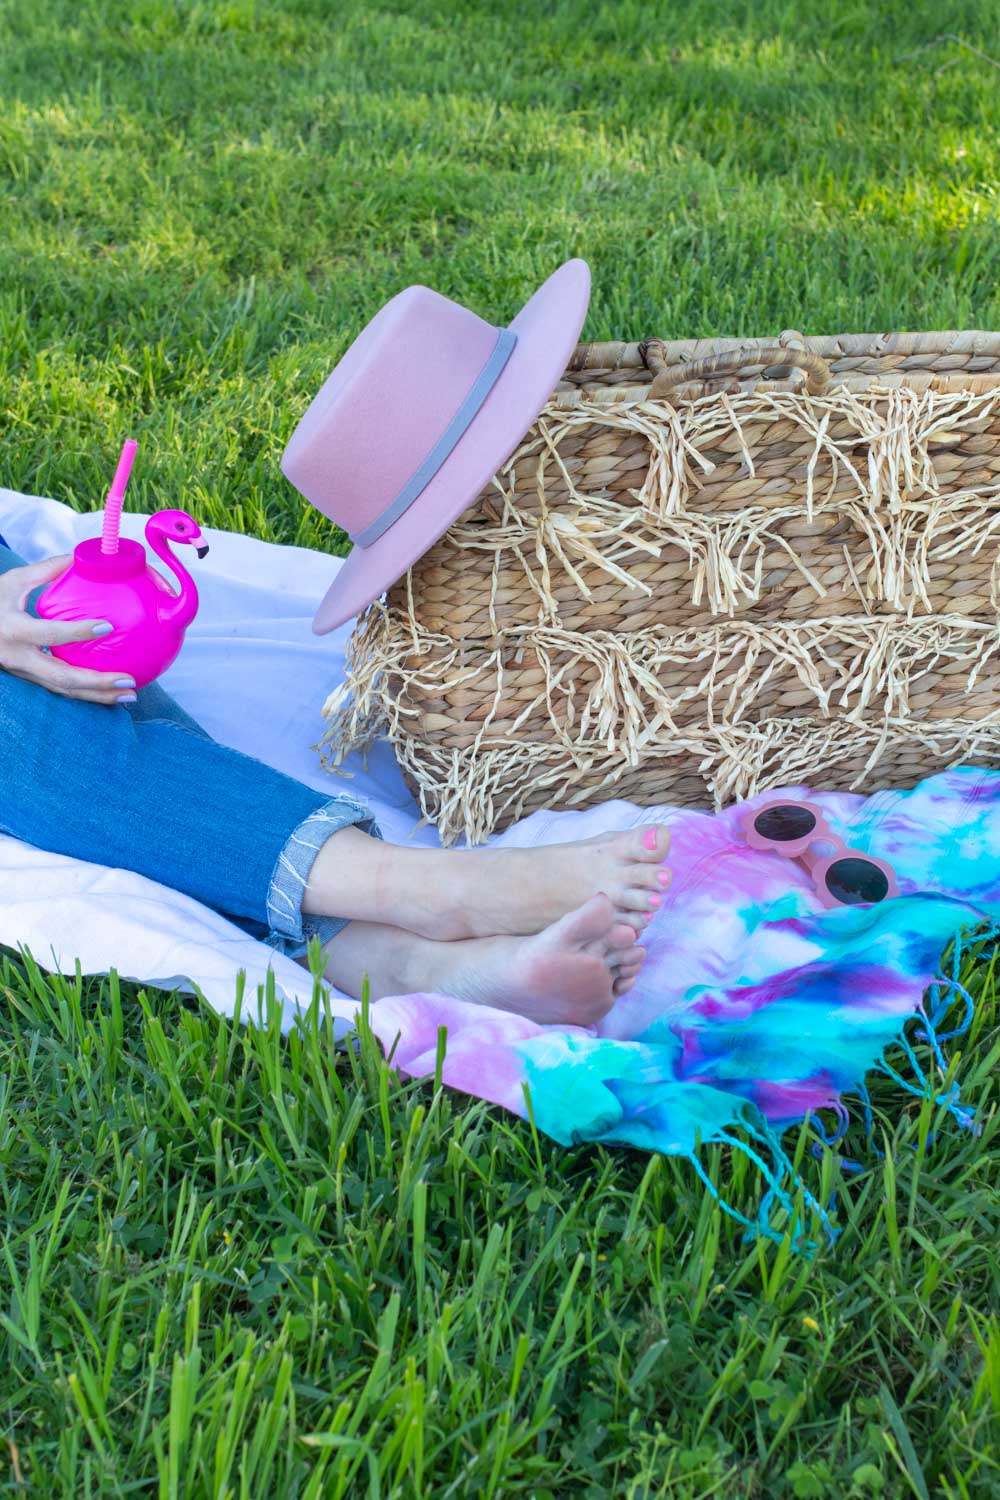
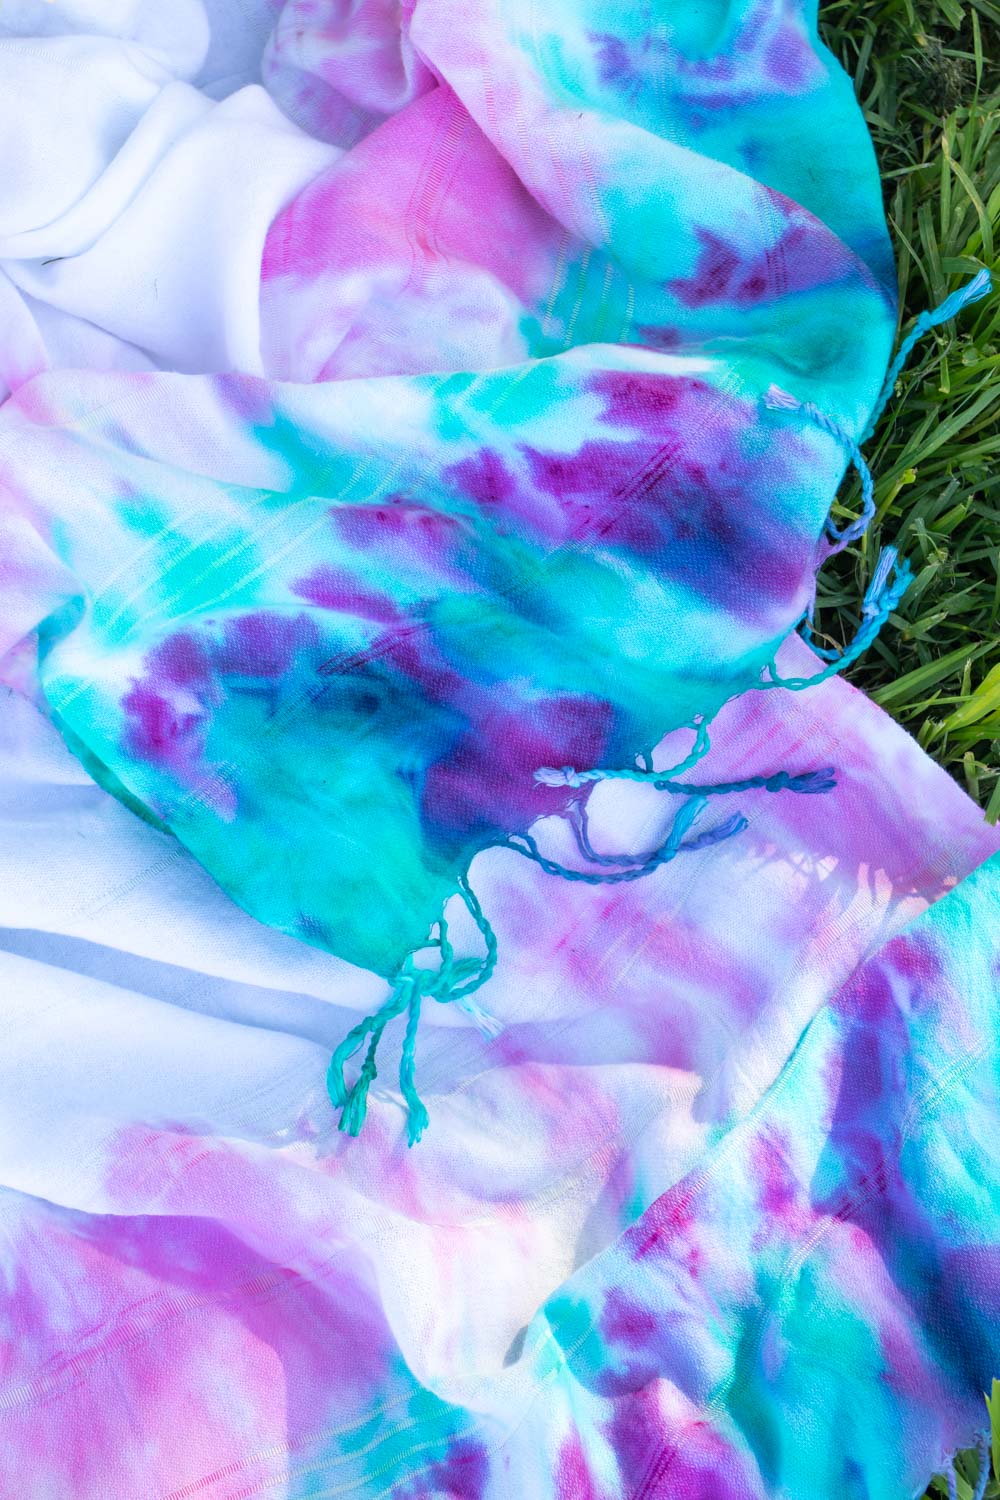
I don’t know about the rest of the world, but here in California, we’re ready for summer! Because summer usually comes early for us, I got a head start on making a tie dye picnic blanket! Using a Turkish towel (great as a blanket or a towel), I created this vibrant pattern with the latest Tulip Two-Minute Tie Dye Kit, Berry Blast. Even though it’s a large piece of fabric, you can use the Two-Minute Tie Dye Kit on just a section of the blanket for quick and easy tie dye! You can go from mix to finished in less than 30 minutes, so I’d call that a win. Here’s how to tie dye a blanket!


PS, check out my watermelon picnic blanket from last year here.
How to Use Two-Minute Tie Dye on a Blanket
Supplies:
- Thin blanket or Turkish towel (natural fibers, such as 100% cotton)
- Tulip Two-Minute Tie Dye Kit (Berry Blast)
- Plastic for covering work surface
Step 1: Either wash the blanket/towel and leave wet OR soak dry material in water. Make sure it is completed saturated through. Then wring out excess water. The material MUST stay damp to avoid scorching in the microwave.
Step 2: Mix the dye! Fill each Tulip dye bottle to the fill line, then secure the lid. Shake vigorously until the dye is completely dissolved. Repeat with all desired colors in the Berry Blast package (I used three).
Step 3: Cover your work surface with plastic. For best results, you may want to complete the tie dye picnic blanket outdoors. Then lay the damp blanket on top of the plastic.
Step 4: Choose your desired tie dye technique. In this case, I folded the blanket into fourths, making sure all of the fringe lined up. Then rubber band different sections across the edge, similar to making a bullseye tie dye design. Add two more rubber bands around the entire blanket, leaving the mid-section plain.
Step 5: Wearing the provided gloves, apply the dye to select areas of the wet fabric. Because it’s folded several times, you may need more dye to saturate, but the fabric is still thin enough to absorb quickly. Leave white space between colors so that do not become “muddy.” Make sure to flip and dye both sides the same way.
Step 6: Immediately place the dyed section of the tie dye picnic blanket inside of the Two-Minute Tie Dye container. It may not fit. Allow the undyed part to slip out the side and close the lid as tightly as you can. Drape the undyed part on top of the container while the dye sets.
Step 7: Close and microwave the container for 2-3 minutes. Then let cool with the lid closed 15 minutes. Open and cool an additional 5 minutes until cool to the touch. (Check package instructions for more information.)
Step 8: Then trim the rubber bands and carefully open the tie dye picnic blanket to reveal the design. Rinse the dyed section under cool water until it runs clear. Finally, wash separately and dry normally.

Who’s ready for a picnic now?! Stay tuned – more fun tie dye ideas coming your way!
Thank you to Tulip for generously sponsoring this post. All opinions are my own. Please note this post contains affiliate links from which I may collect a small profit should you choose to make a purchase. I only link to products I personally use or recommend. Thanks for supporting the brands that keep Club Crafted sharing!

Sarah
What a FUN project. I grew up doing tie-dye in grade school, so it’s amazing seeing how it’s becoming a trend again. Thanks for showing us this quick DIY! 💕🌈🥰 – Sarah, @sarah_thebella
Holly Wade
SarahThanks Sarah! I’m really enjoying that it’s making a comeback too!
Jeannie Wallace
I live in Tennessee, and we sort of skipped Spring this year, and are already having temps in the high 80s. Everyone is ready to do the summer fun now, especially since this lockdown has lasted so long. I’m definitely going to do some blankets/towels this way this year. Love the Tulip brand, so it’ll only be natural to choose it for this project. Thanks for the share and have a great summer.
Holly Wade
Jeannie WallaceHi Jeannie, We’re definitely feeling the same way in SoCal! Send photos if you try out the tie dye – I’d love to see how it turns out!!