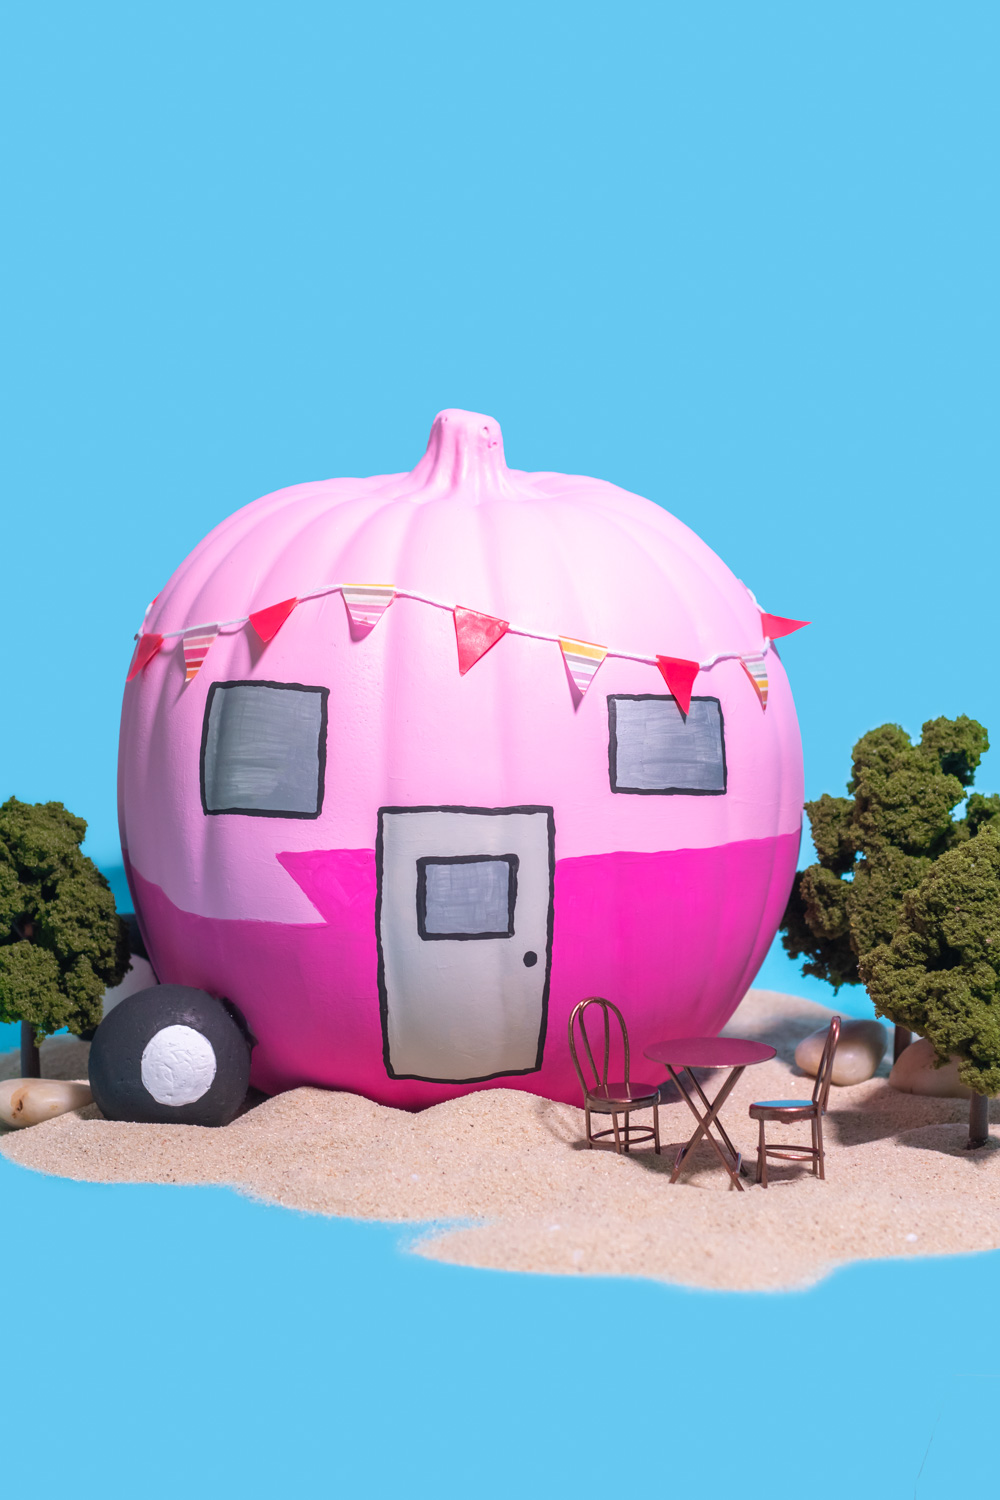
With just a little over one month until Halloween, I’m starting to get into the fall spirit! It’s still VERY hot in SoCal, so it feels like summer even though I’m staring longingly at all my sweaters I hope to wear soon. To kick things off, I made a cute little DIY trailer pumpkin inspired by the vintage trailer I dream of owning one day! My soon-to-be mother-in-law owns a fiberglass trailer that she takes camping, and I just think they’re adorable – plus, I prefer “glamping” to actual camping ha! Using a faux craft pumpkin or a real pumpkin, a little paint, washi tape and foam balls can turn the pumpkin into a magical vintage trailer. Keep reading for the simple pumpkin painting idea!
Psst, if you’re a fan of vintage trailers like I am, you’ll also like this fun retro camper piñata!
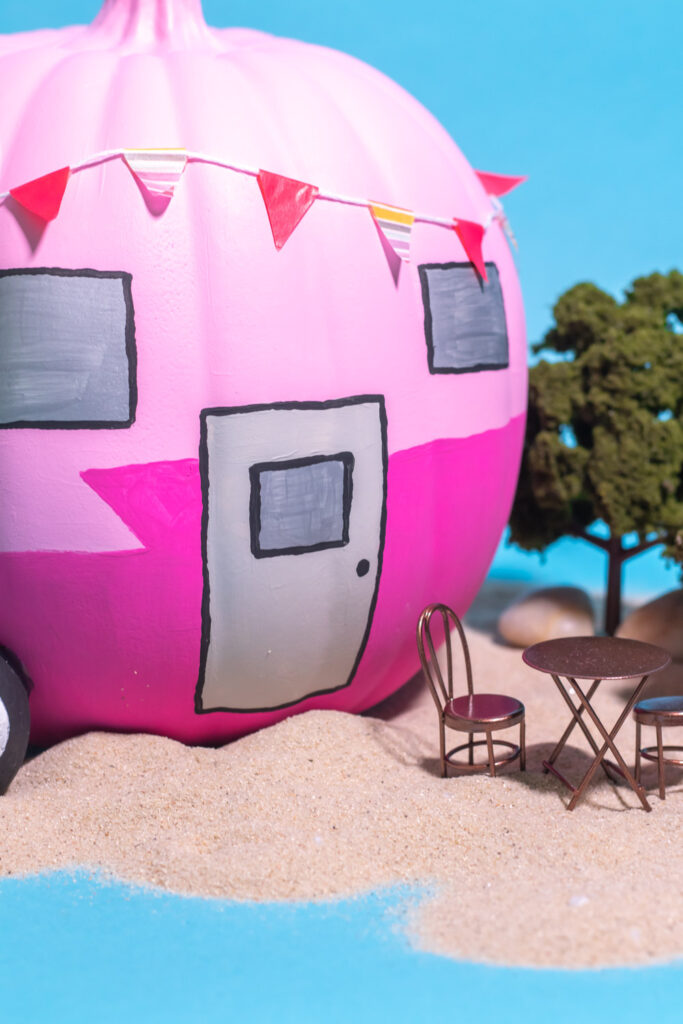
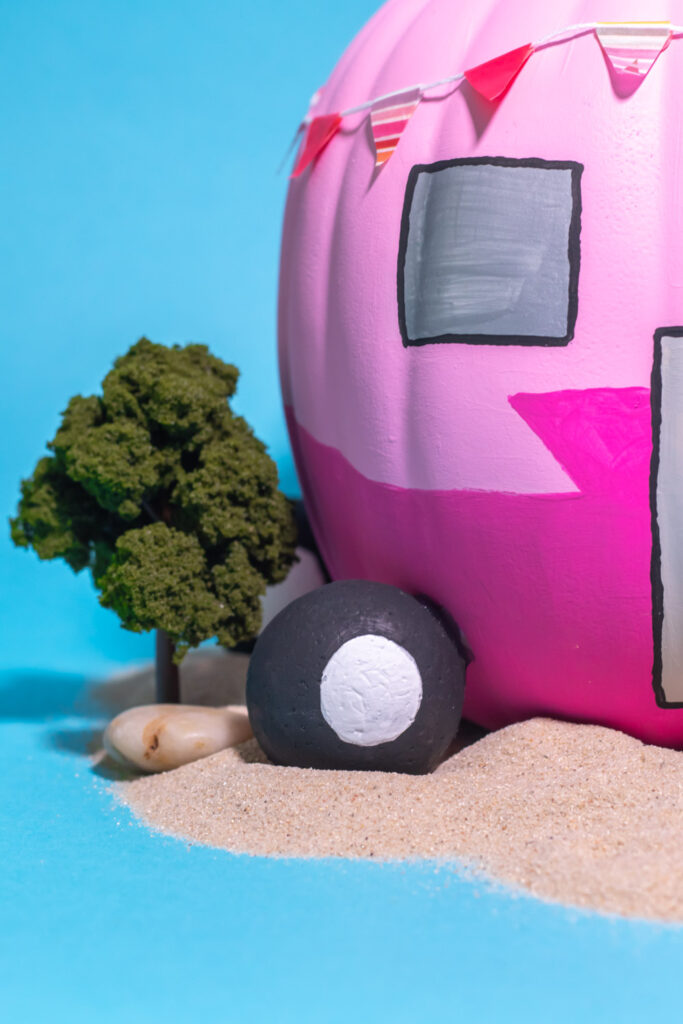
While I love the idea of a pink trailer, I doubt I’ll ever get Andrew to agree if we really owned one. I think one of those vintage red and white ones would be amazing though! It would be a dream to renovate it top-to-bottom and take camping. My prefered version of camping has real, flushing toilets and walls to keep out bugs and bears.
When I finished painting the pumpkin, I took a step back and realized this could also be Cinderella’s pumpkin carriage. Oh well! Call it what you want, but I’m hoping my decoration choices make the pumpkin look more like a vintage trailer. I think I’ll display it beneath our TV for the time being.
Anyway, here’s my pink vintage trailer pumpkin. This one’s for you, Lisa!
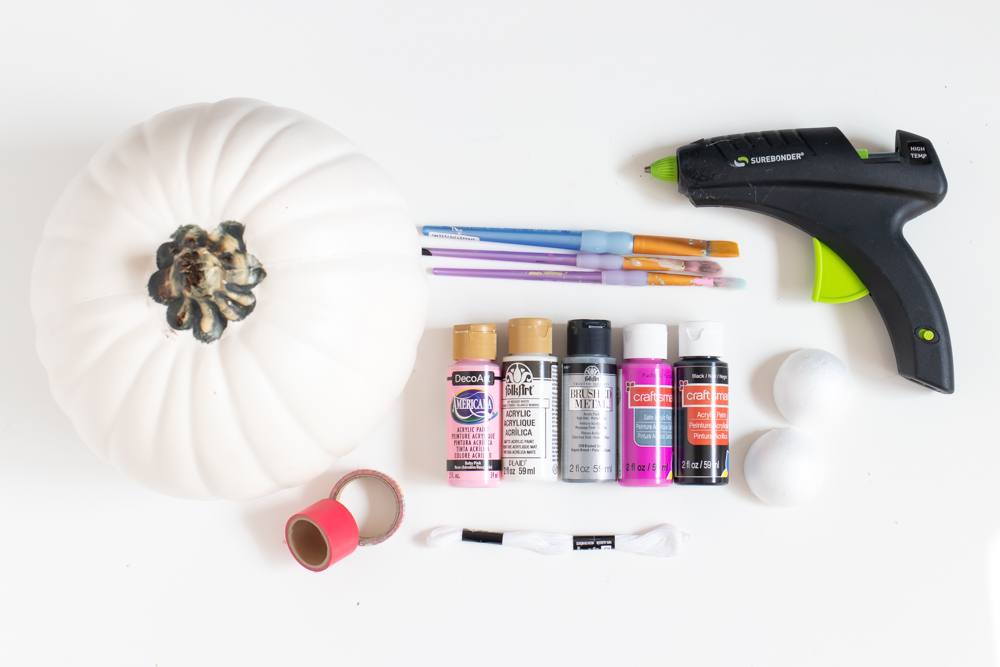
Supplies:
- Craft pumpkin (or real, if prefered)
- Pink paint, two tones (or prefered trailer body colors)
- Silver paint
- Light grey paint
- White paint
- Black paint
- Small styrofoam balls, one cut in half or two whole(optional)
- Washi tape
- Embroidery thread
- Scissors
- Glue gun
Step 1: Use a pen/pencil to create a basic outline of wear your windows and door will go. Outline them so that you don’t cover them with paint.
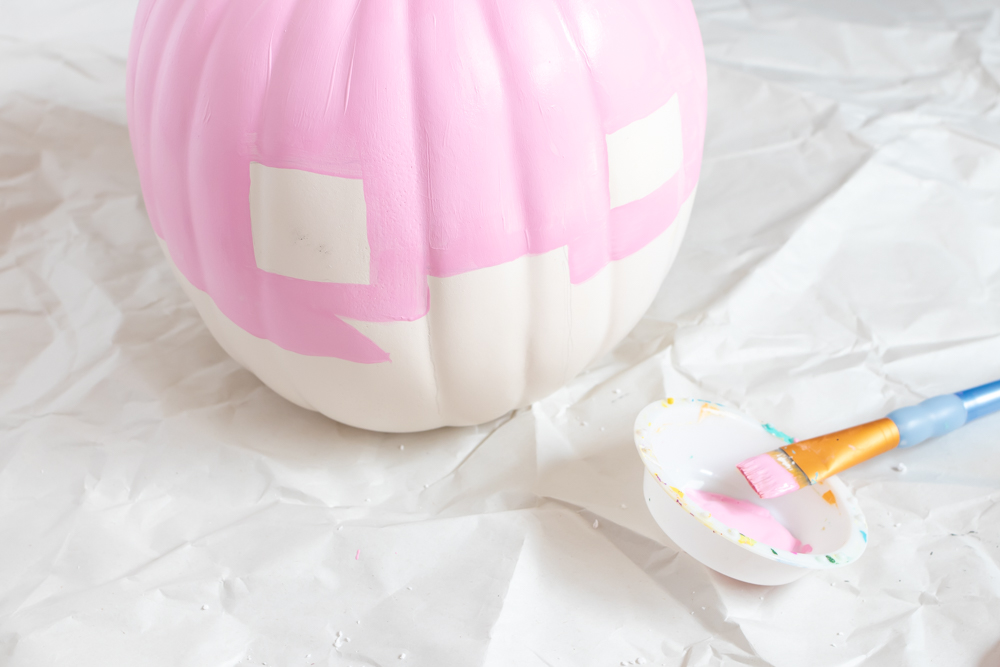
Step 2: First, paint the top half of the pumpkin in your light paint color. At the mid-point, add a simple zigzag. This helps create the “vintage” look I personally love.
Step 3: Then paint the bottom half of the trailer pumpkin with the darker color. Apply multiple coats of each as needed and let dry.
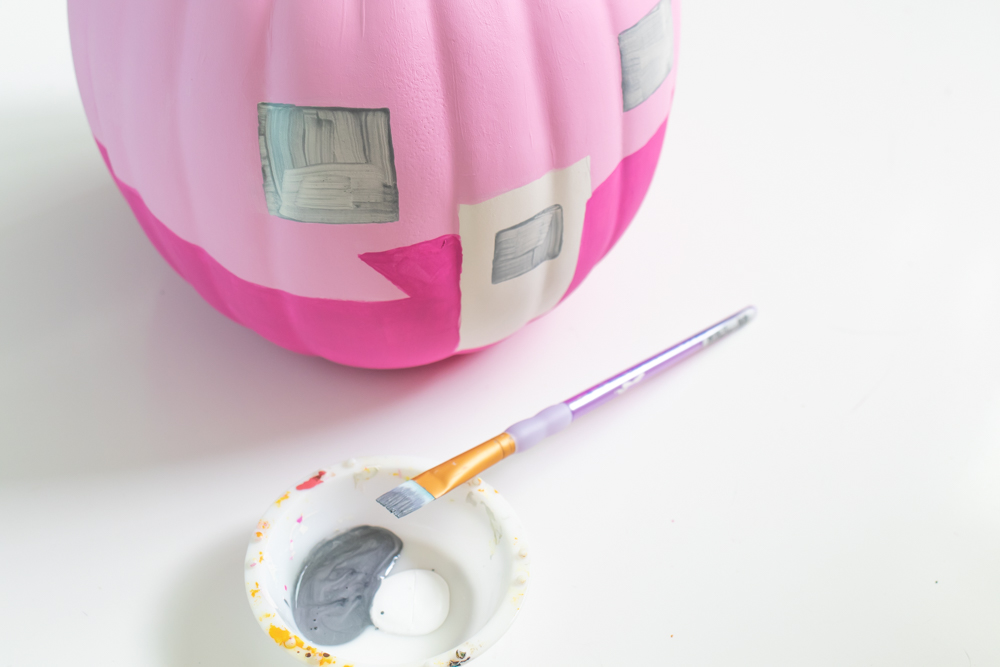
Step 4: Fill in two small windows and a window in your door using the silver paint. Although you can use any color, I like silver because the metallic sheen makes it feel window-like.
Step 5: Then paint the remainder of the door in your desired color, such as light grey. Set aside to dry while you paint other elements.
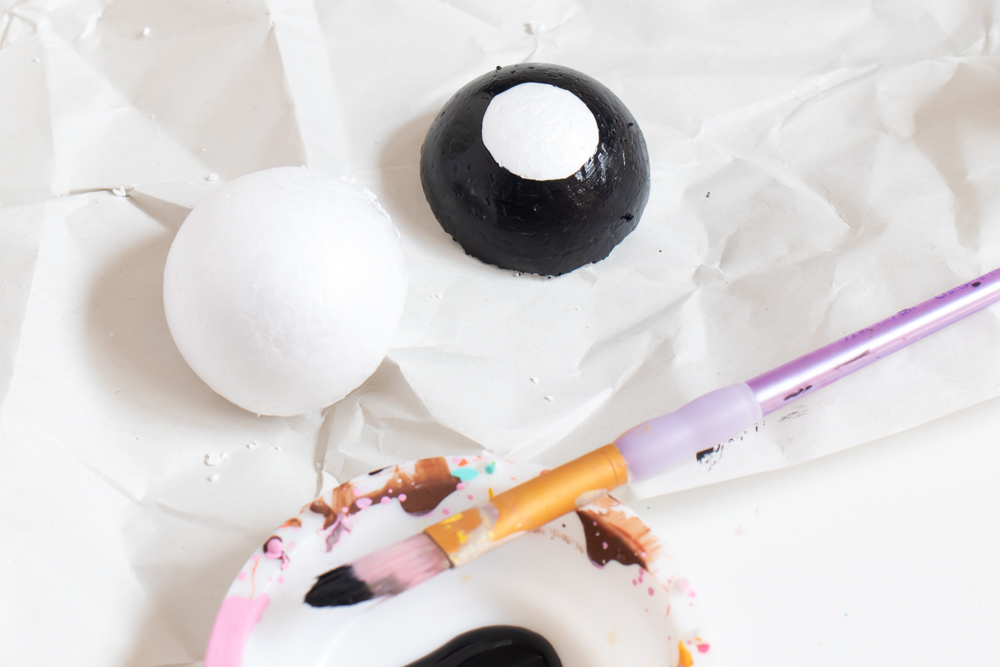
Step 6: If desired, cut one styrofoam ball in half. Otherwise, leave two whole. Paint them black with the exception of a smaller circle in the middle. Leave this section unpainted (or white) to look like wheels.
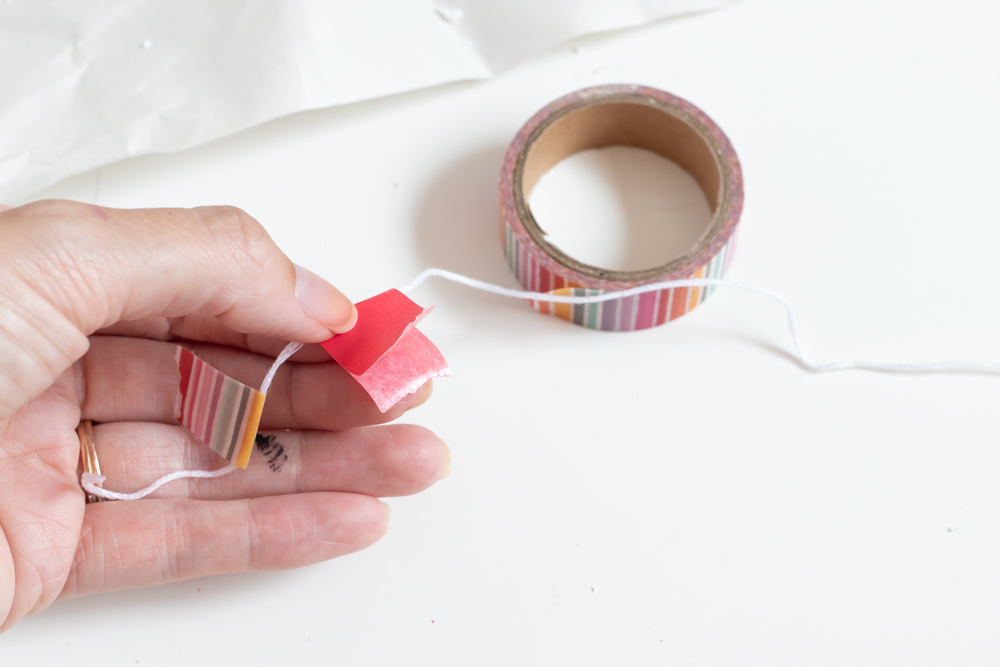
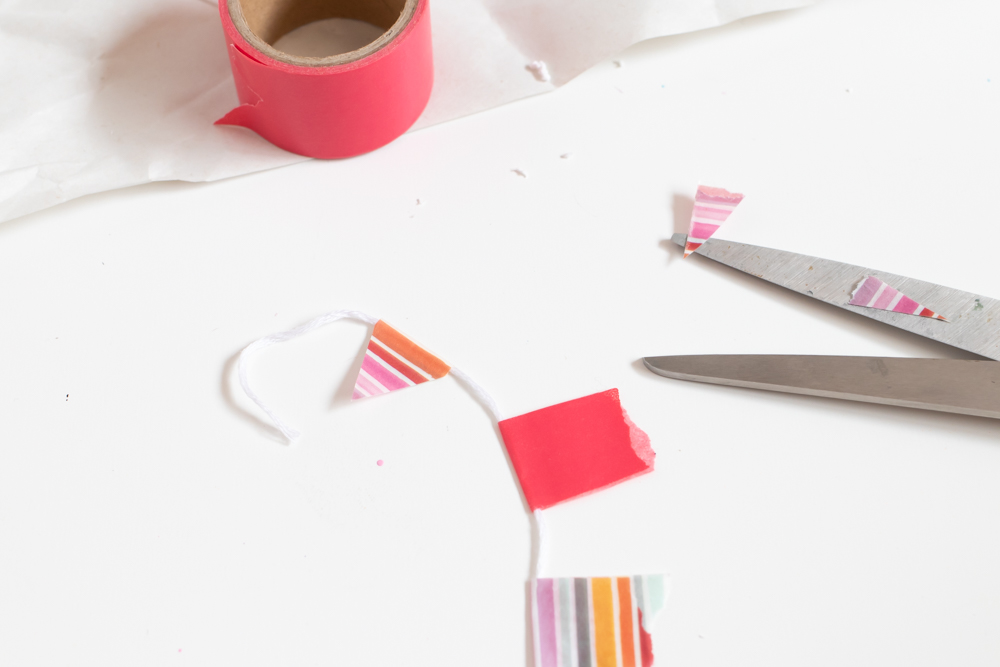
Step 7: Carefully wrap pieces of washi tape around a piece of embroidery thread about 1/2-inch apart. Let them stick together. Then use scissors to trim them into triangular flags. Now you have a bunting banner perfectly sized for the trailer pumpkin!
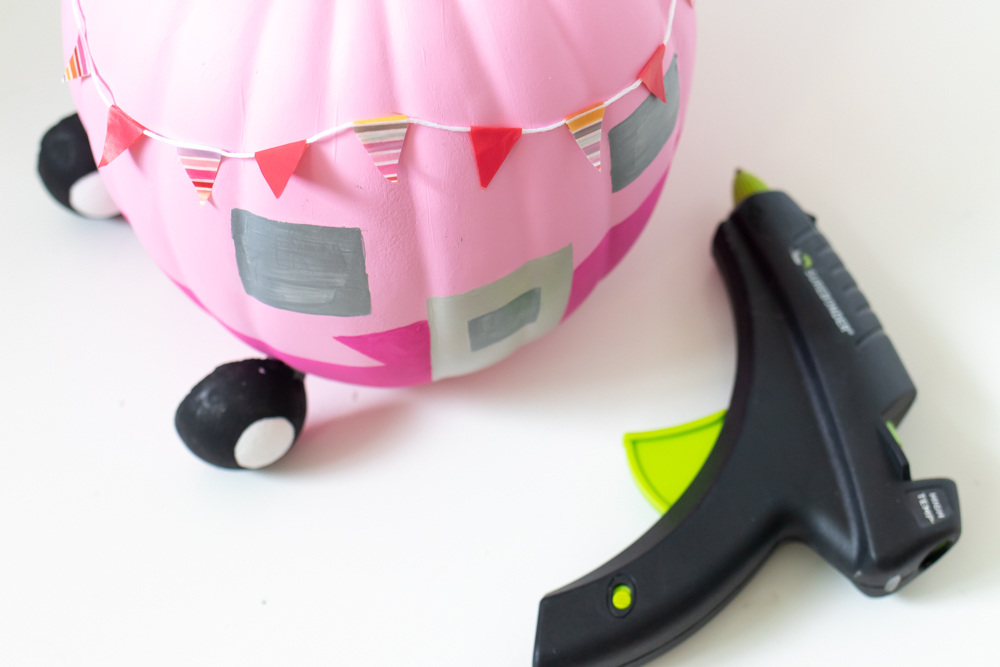
Step 8: Once all the pieces are dry, use a glue gun to adhere the wheels to the bottom-side of the pumpkin. Finally, glue the washi bunting to the pumpkin in a few places, allowing gaps for the garland to hang.
Step 9: If desired, use a small paintbrush to outline the door and windows in black paint to make them pop more. Also, add a small doorknob.
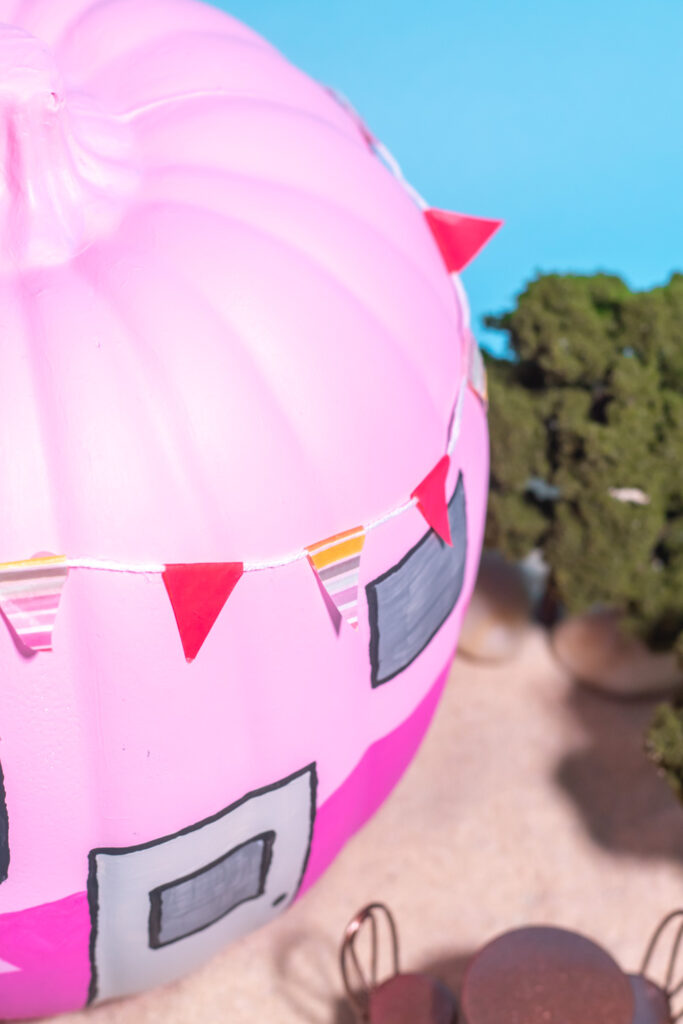
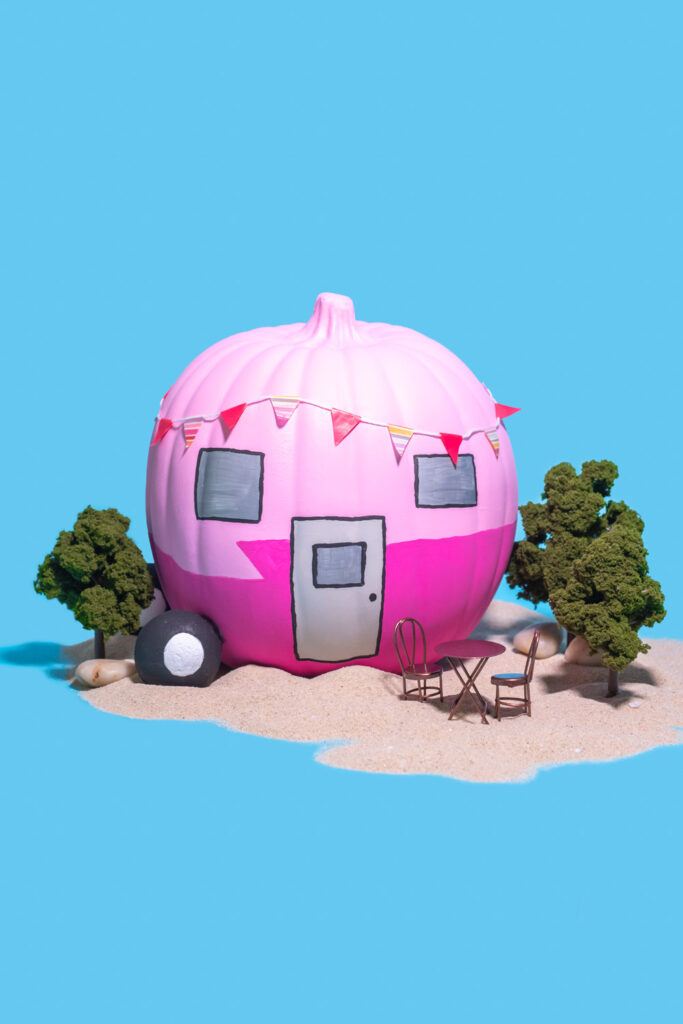
Now your vintage trailer pumpkin is ready to display for the season! If you want more no-carve ideas for decorating pumpkins, I suggest my favorite temporary tattoo pumpkins, gingham pumpkins, or disco ball pumpkin. What are other ways you like to paint pumpkins for the season??
Next up, stay tuned for this year’s round of Halloween costumes!
