
 Today’s project is one I’ve held on to for a while. When it comes to hanging things on our walls, I have a total phobia of commitment. Because Andrew and I are moving in a month, I’m forcing myself not to wait to hang art when we make the move (since I’ve put it off for almost a year in our current apartment, oops). After entering a watercolor phase a few months back, I had the idea to experiment with watercolor photo mats to add to frames and make photos pop, and I finally made it happen!
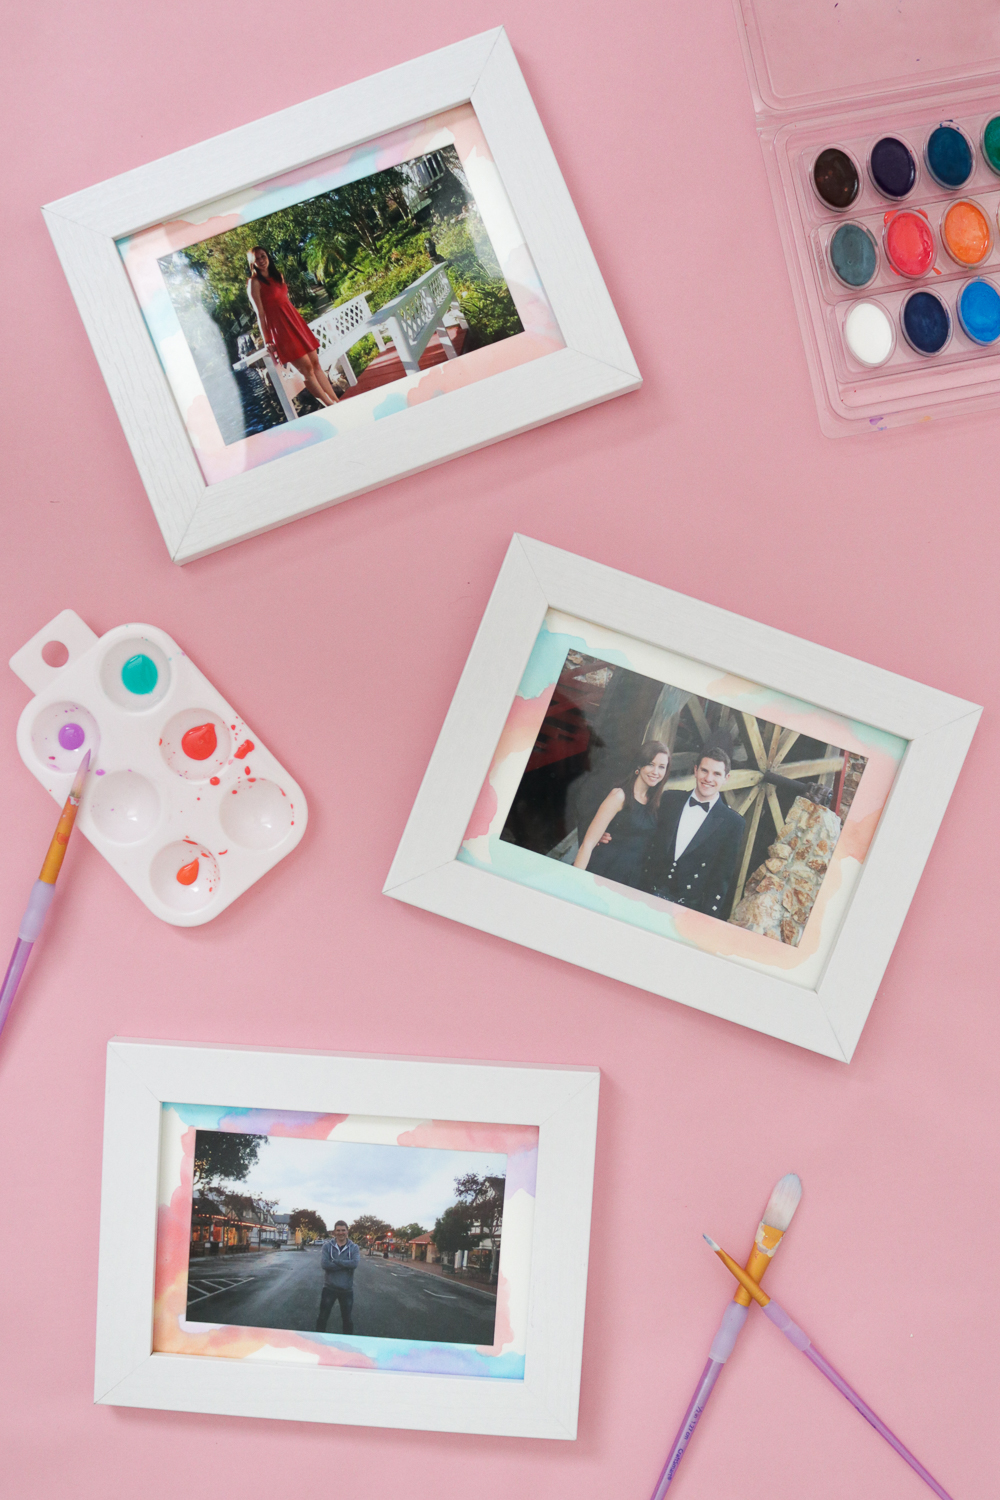
 I like the depth that photo mats add to framed art, but most frames come with a standard white mat that isn’t always what I want and I never cared to hassle with changing it. Instead of living with the white, I decided to use watercolors to brighten up plain photo mats, which looks beautiful with both colorful and black and white photos. You can coordinate the colors or keep it simple, but I really love how bright the colors are and how it made my photos pop.
Supplies:
- White photo mats
- Traditional watercolors
- Medium-sized paintbrush
- Paper towels
Step 1: Mix your watercolors as desired to create the colors you want to use. For a lighter appearance, mix in a small plastic container and dilute with water.
Step 2: Remove mat from the frame and place on a covered surface. Dab the watercolors onto small areas with a paintbrush.
Step 3: Repeat with multiple colors, letting them blend together slightly while still wet. Once satisfied, set aside until dry.
Step 4: Replace the painted mat inside of a frame, add a photo and secure the frame together to display.

 Either hang the art or place on tables or shelves to display! I love the pop of color in each frame, and I just love the watercolor look. Customize it with colors that fit your style.
Although I’m not a whiz with watercolors, it’s fun play around with them, especially when it’s OK to have a sort of blotchy look. Overall, I’m really happy with how these came out!

