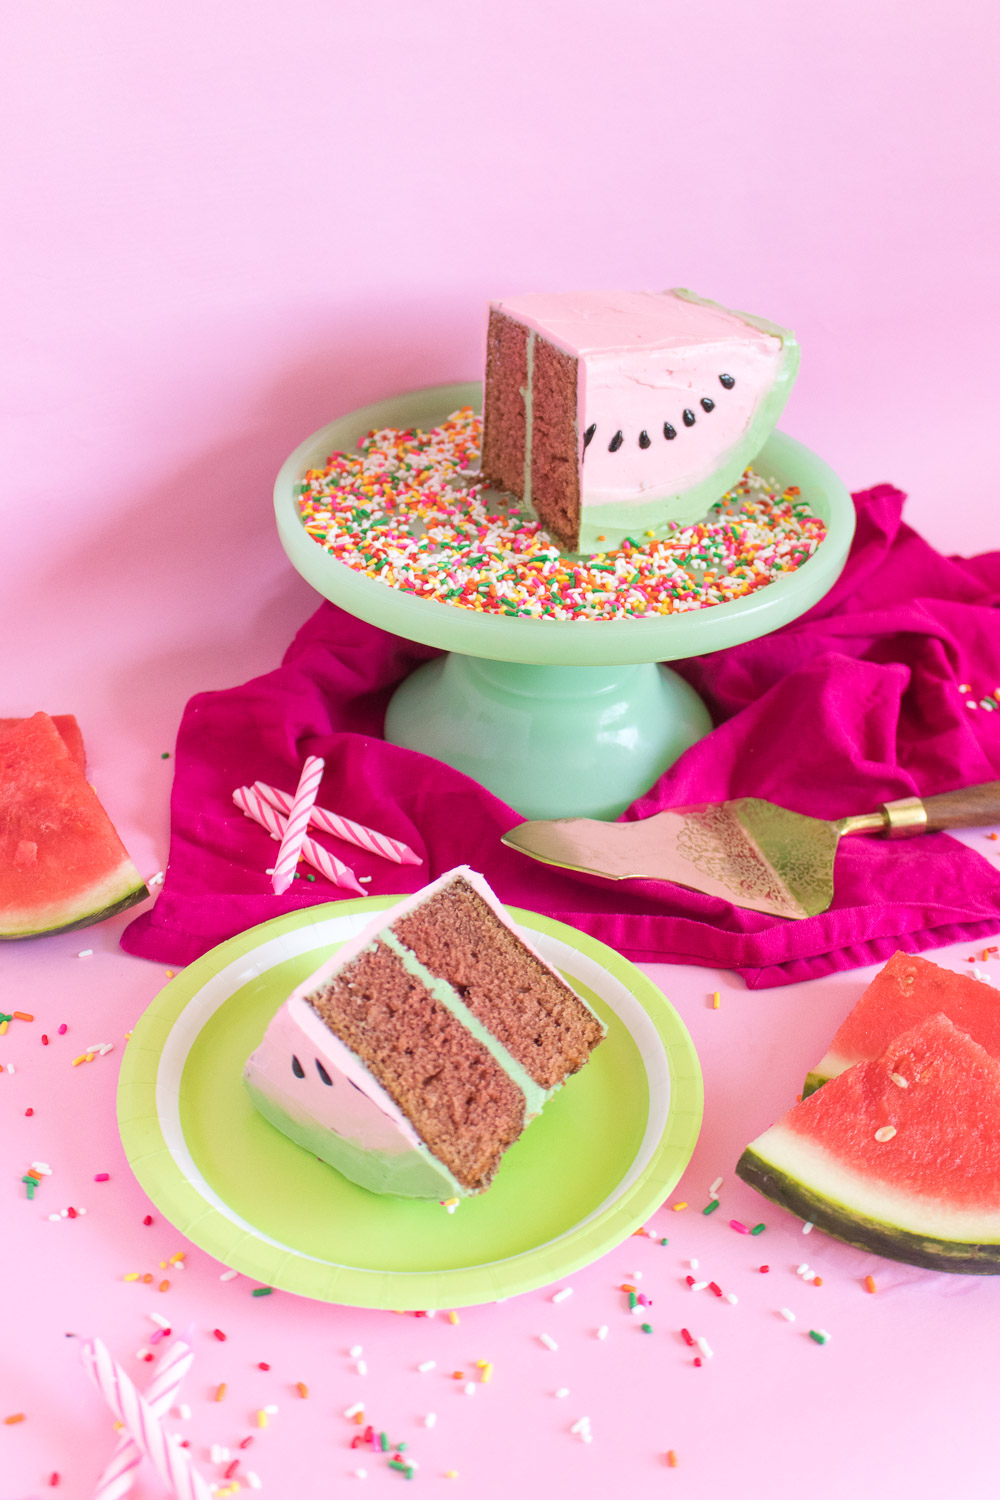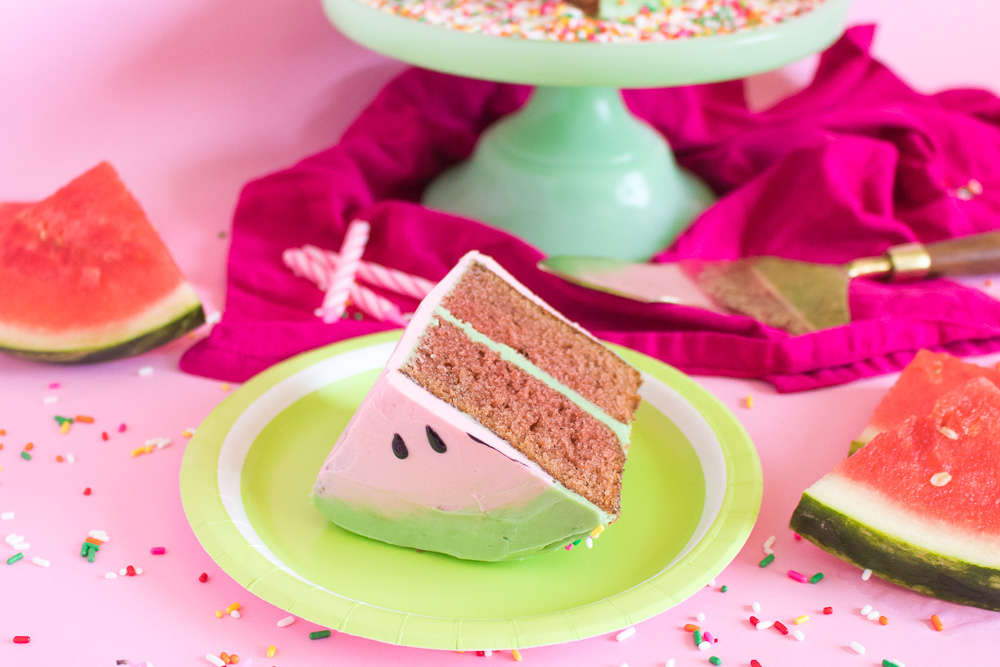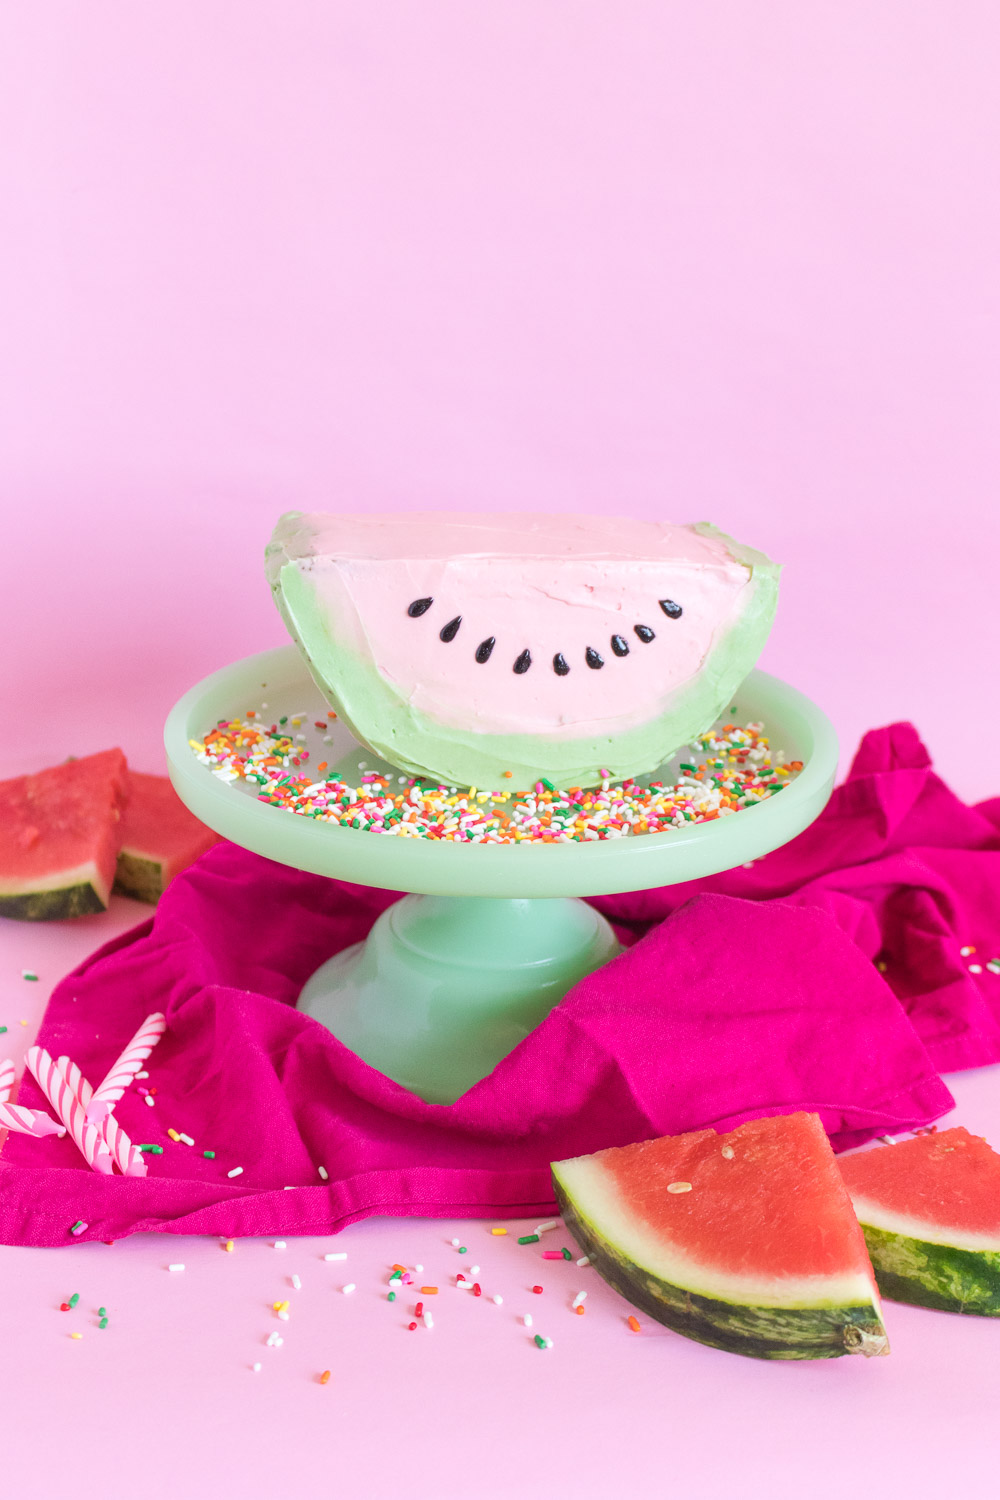
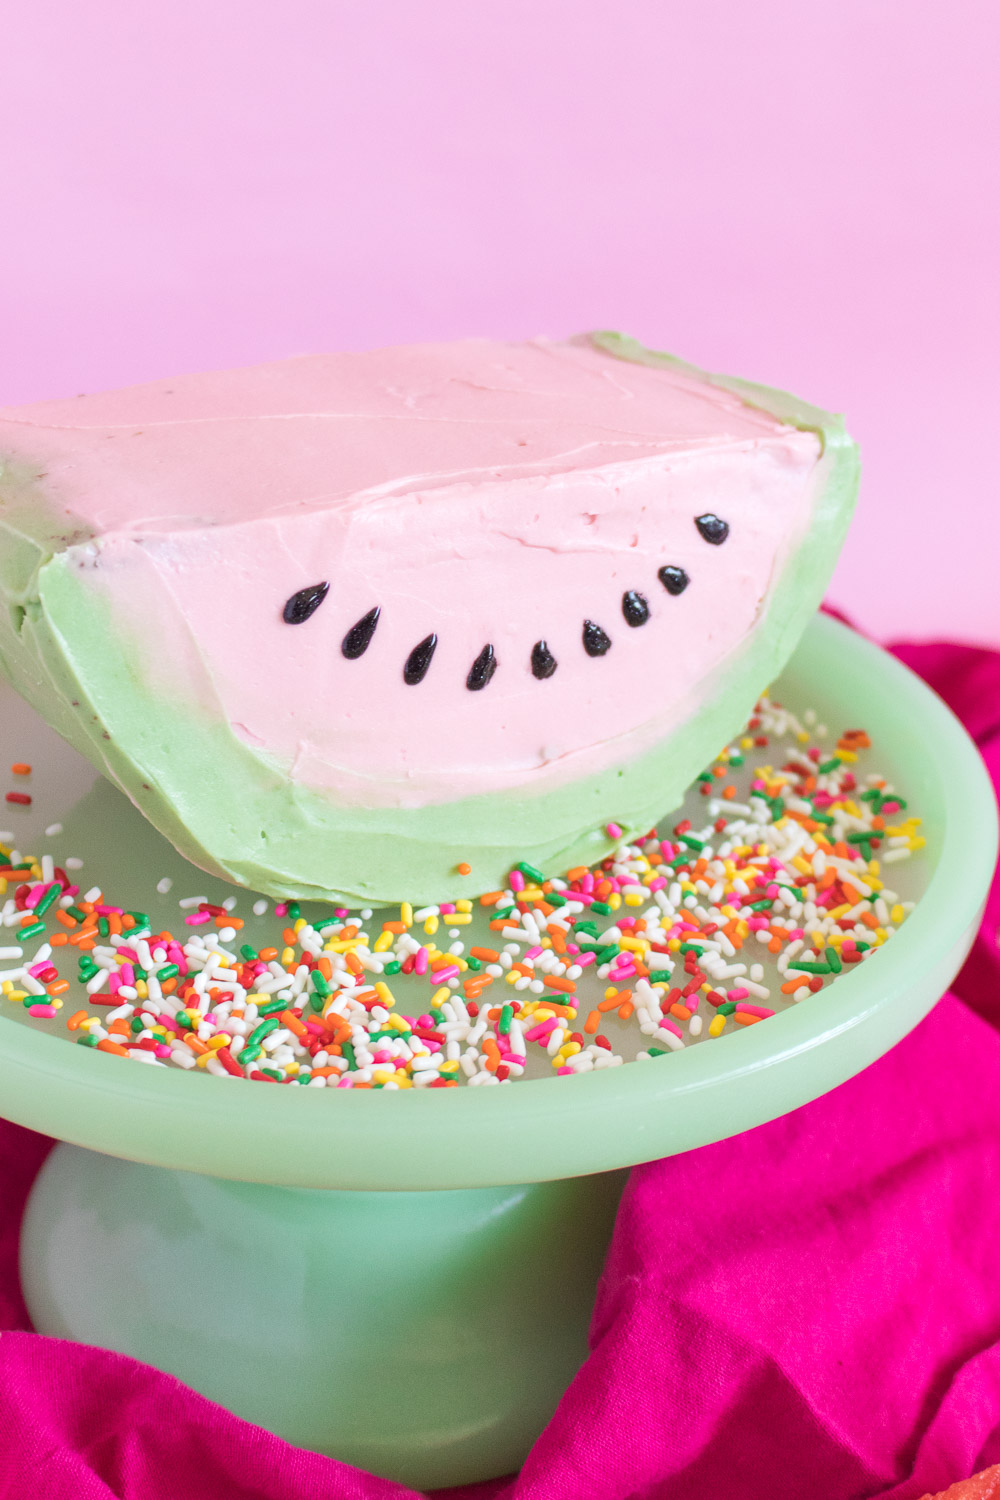
 I’ve been in a cake mood lately (or maybe I’m always in a cake mood). Baking and frosting cakes can be somewhat therapeutic, but I haven’t been baking as much during this summer heat, so I was thrilled when it cooled down just enough to pop a cake in the oven. Seriously, I made SO MUCH cake at one time so that I’d have a lot extra to work with! First up, this simple watermelon cake! I’d seen quite a few watermelon shaped cakes, but they were always on their side rather than that right-side-up, so I gave it a try!
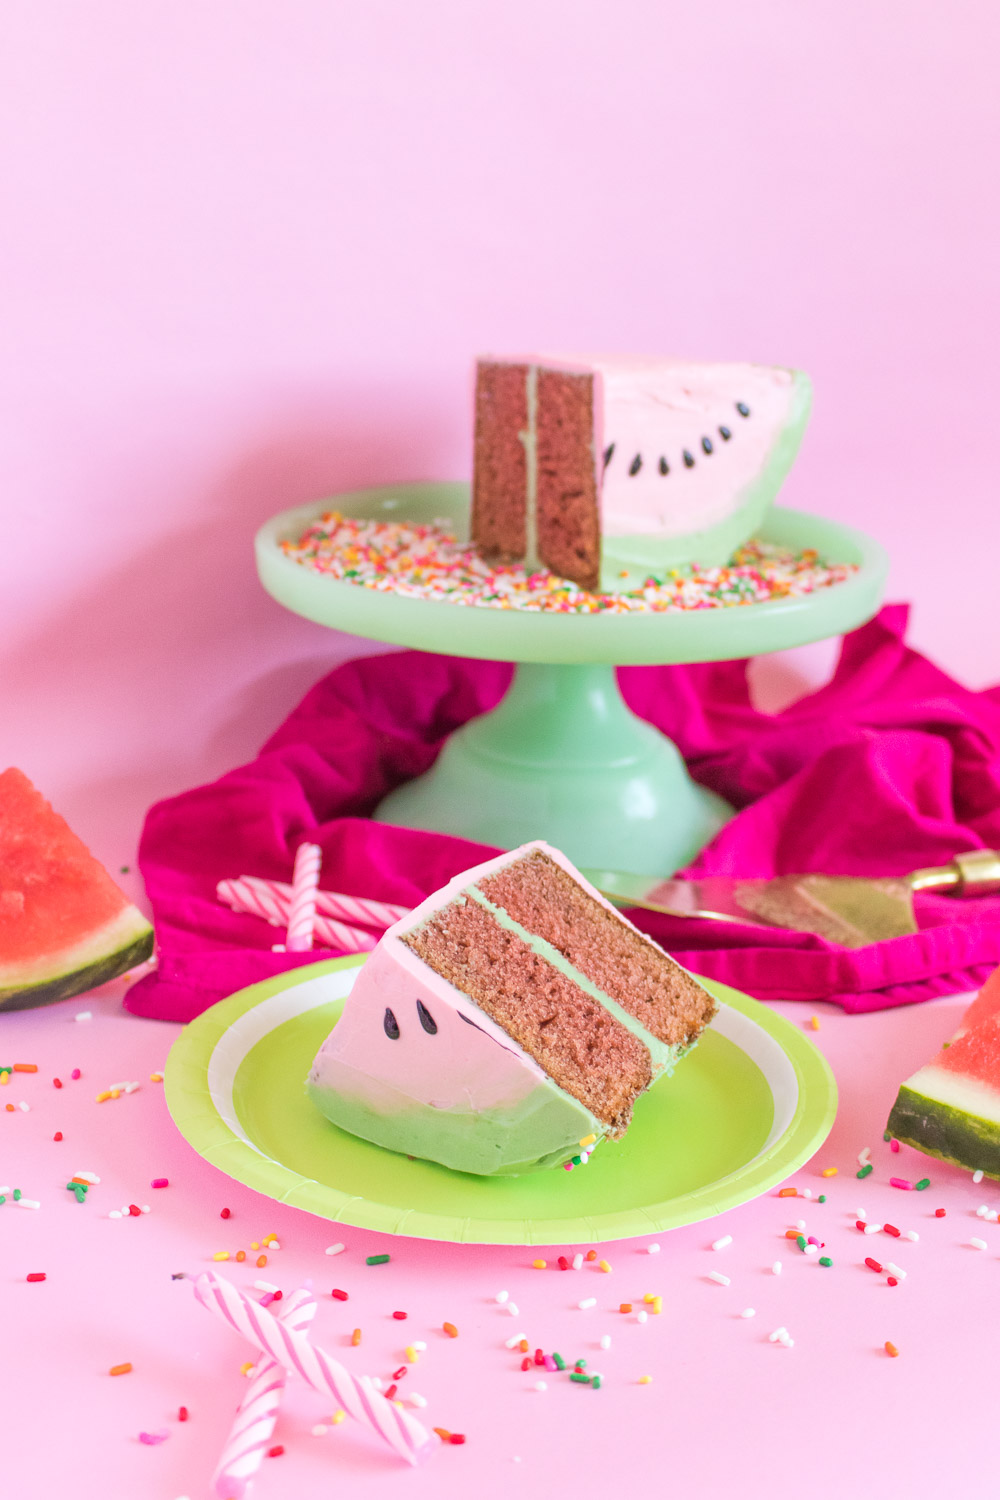
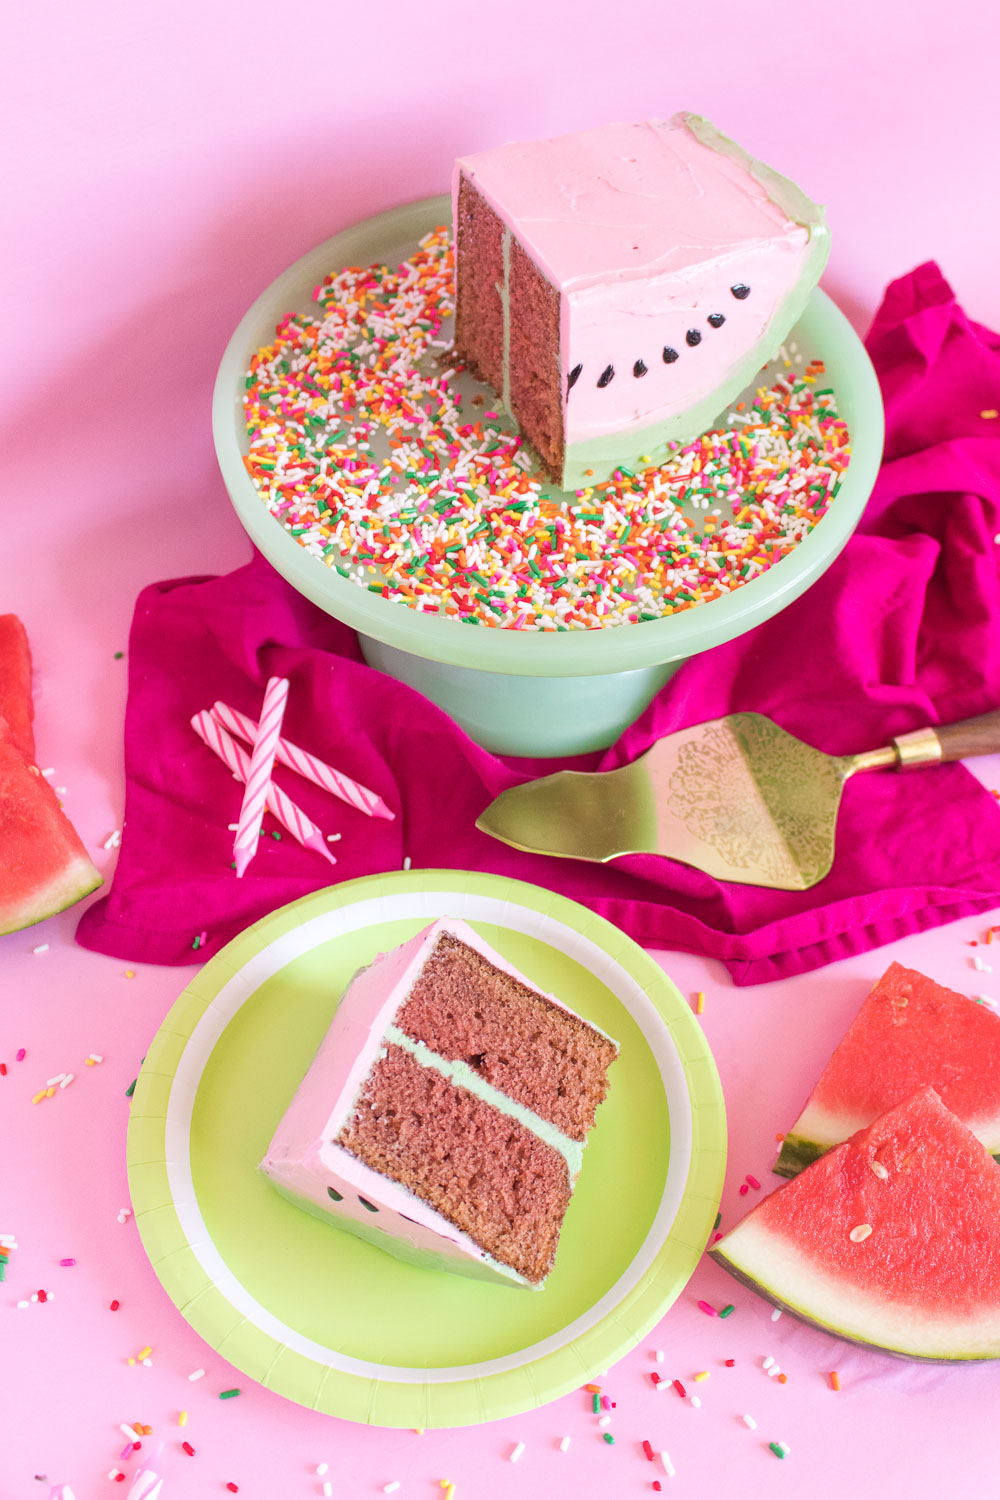 I was worried it’d be too difficult to frost like this or that the cake would topple over too easily, but I was pleasantly surprised to find that it was actually pretty simple.
Scroll down for the full recipe card ??
Sadly, this weekend marks the last of the summer, but I am looking forward to fall. The heat definitely got to me this summer, and I’m looking forward to cooler days. I thought a sweet and simple watermelon cake would be the perfect way to celebrate the end of summer, and the lightly colored red velvet cake seemed like a good fit for the inside of a watermelon. PS, it’s delicious too!
Oh cake, how I missed you!
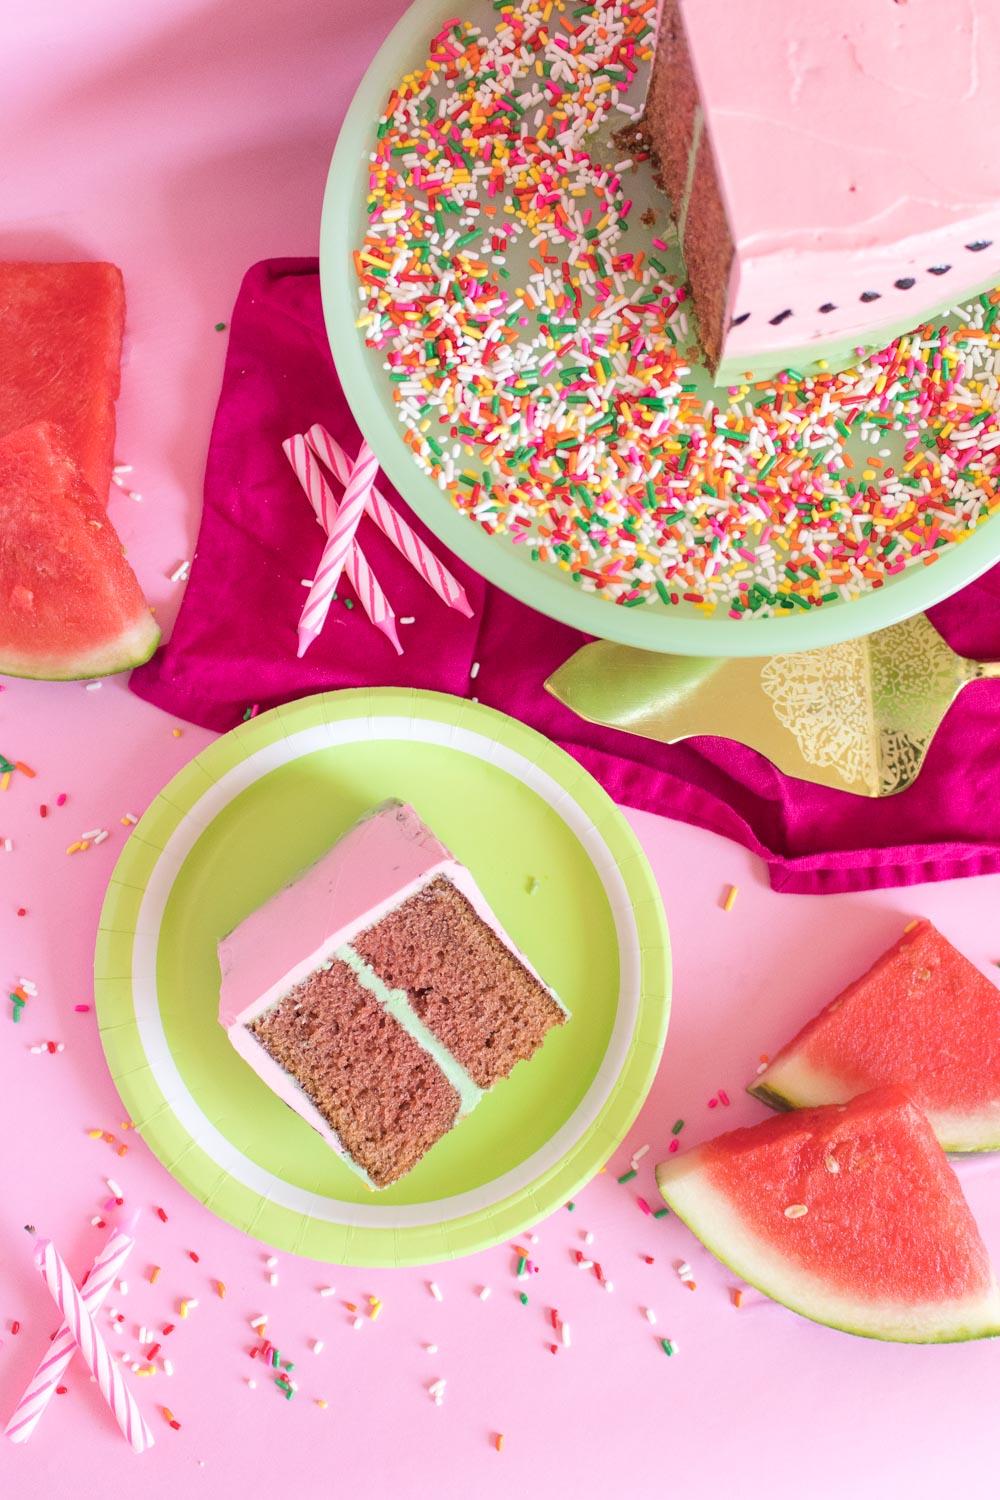
 It had been way too long since I made a red velvet cake, but I decided to mess with the color and lighten up the red food coloring. The fun thing about red velvet cake is you can technically make it any color you want! The flavoring actually comes from the combination of buttermilk and vinegar with a small amount of cocoa powder. The rest is just coloring! For St. Patrick’s Day last year, I made dark green velvet cupcakes, and I’ve also seen beautiful blue velvet cakes.
Have fun with it and try dying the cake any color you’d like! To me, watermelon screams summer, so it seemed like the perfect way to end the month.
Keep scrolling for a the recipe and how to! Happy baking!

- 2 1/2 cups flour
- 1 1/2 cups sugar
- 1 tbsp cocoa
- 1/2 tsp salt
- 1 tsp baking soda
- 2 eggs
- 1 cup oil
- 1 cup buttermilk
- 1 tbsp vinegar
- 2 tsp vanilla
- 1 oz red food coloring
- 2 cups butter, room temperature
- 3-4 cups powdered sugar
- 1 tbsp vanilla extract
- Pink and green food coloring
- Black icing tube
- Preheat the oven to 350 degrees and lightly spray two 6-inch round baking pans with cooking spray. Line bottom with coated parchment if desired and set aside
- In a large bowl, whisk together the dry ingredients (flour, sugar, cocoa powder, salt and baking soda)
- In the bowl of your mixer fitted with a whisk attachment, beat the eggs on low speed until bubbles form
- Add in oil, buttermilk, vinegar and vanilla and mix on low speed until all ingredients are well-combined
- Slowly add the dry ingredients in batches with the mixer on medium speed, scraping the bowl in between until the batter is smooth
- Mix in a lot of food coloring until batter is clearly red and scrape the bowl to ensure color is thoroughly mixed (cake will bake darker than batter)
- Distribute the batter between the prepared pans and bake for about 30 minutes until a toothpick inserted into the center comes out clean
- Allow to cool completely on a wire rack before removing from pan
- Beat the butter with a paddle attachment for about one minute until smooth and fluffy
- Add the powdered sugar in batches, scraping the bowl as needed until frosting is smooth
- Mix in vanilla or other desired flavorings and beat for one minute until frosting is smooth and fluffy
- Remove about 1/3 of the frosting to a separate bowl and dye green with food coloring
- Add pink food coloring to remaining 2/3 of frosting and mix to combine
- Once the cake has cooled, level the top of one layer. Then measure the middle of the layer and cut in half to create two half circles
- Spread the pink frosting onto the top of one half and then place the second half on top and move to the fridge for about 10 minutes to set
- Spread a small amount of frosting onto the middle of a cake board and carefully place the half circle cake over it with the flat side facing up
- Carefully ice a pink crumb layer all over the cake with special attention to the top because it will have the most crumbs due to the cut section. Move to the fridge for 30 minutes
- Remove the cake from the fridge and use an angled spatula to ice all over the curved bottom area of the cake with green frosting. Smooth as best you can and create about a 1 inch border on the sides to create the "rind" of the watermelon
- Ice the remainder of the cake with pink icing. At the area where pink and green meet, blend lightly with a clean spatula so it appears somewhat gradient
- Lastly, use the tube of black icing to draw small teardrop-shapes seeds on both sides of the pink area of the watermelon
- Move to the fridge until ready to cut and serve!
- If you can, try using two varying shades of green to make the rind of the watermelon look more realistic!

