The following post is sponsored by JOANN
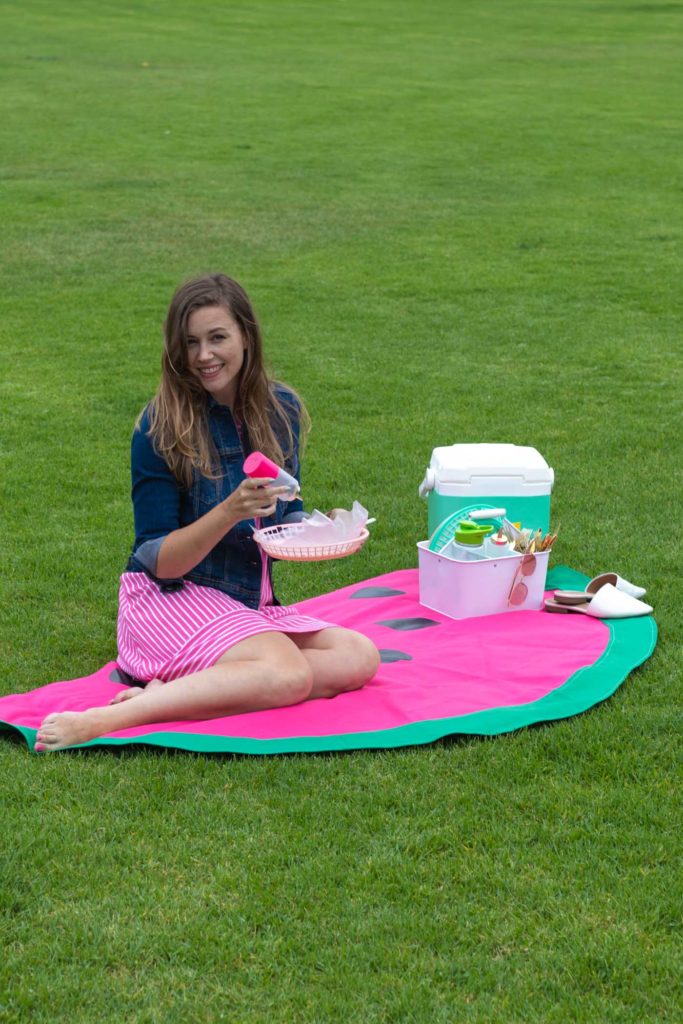
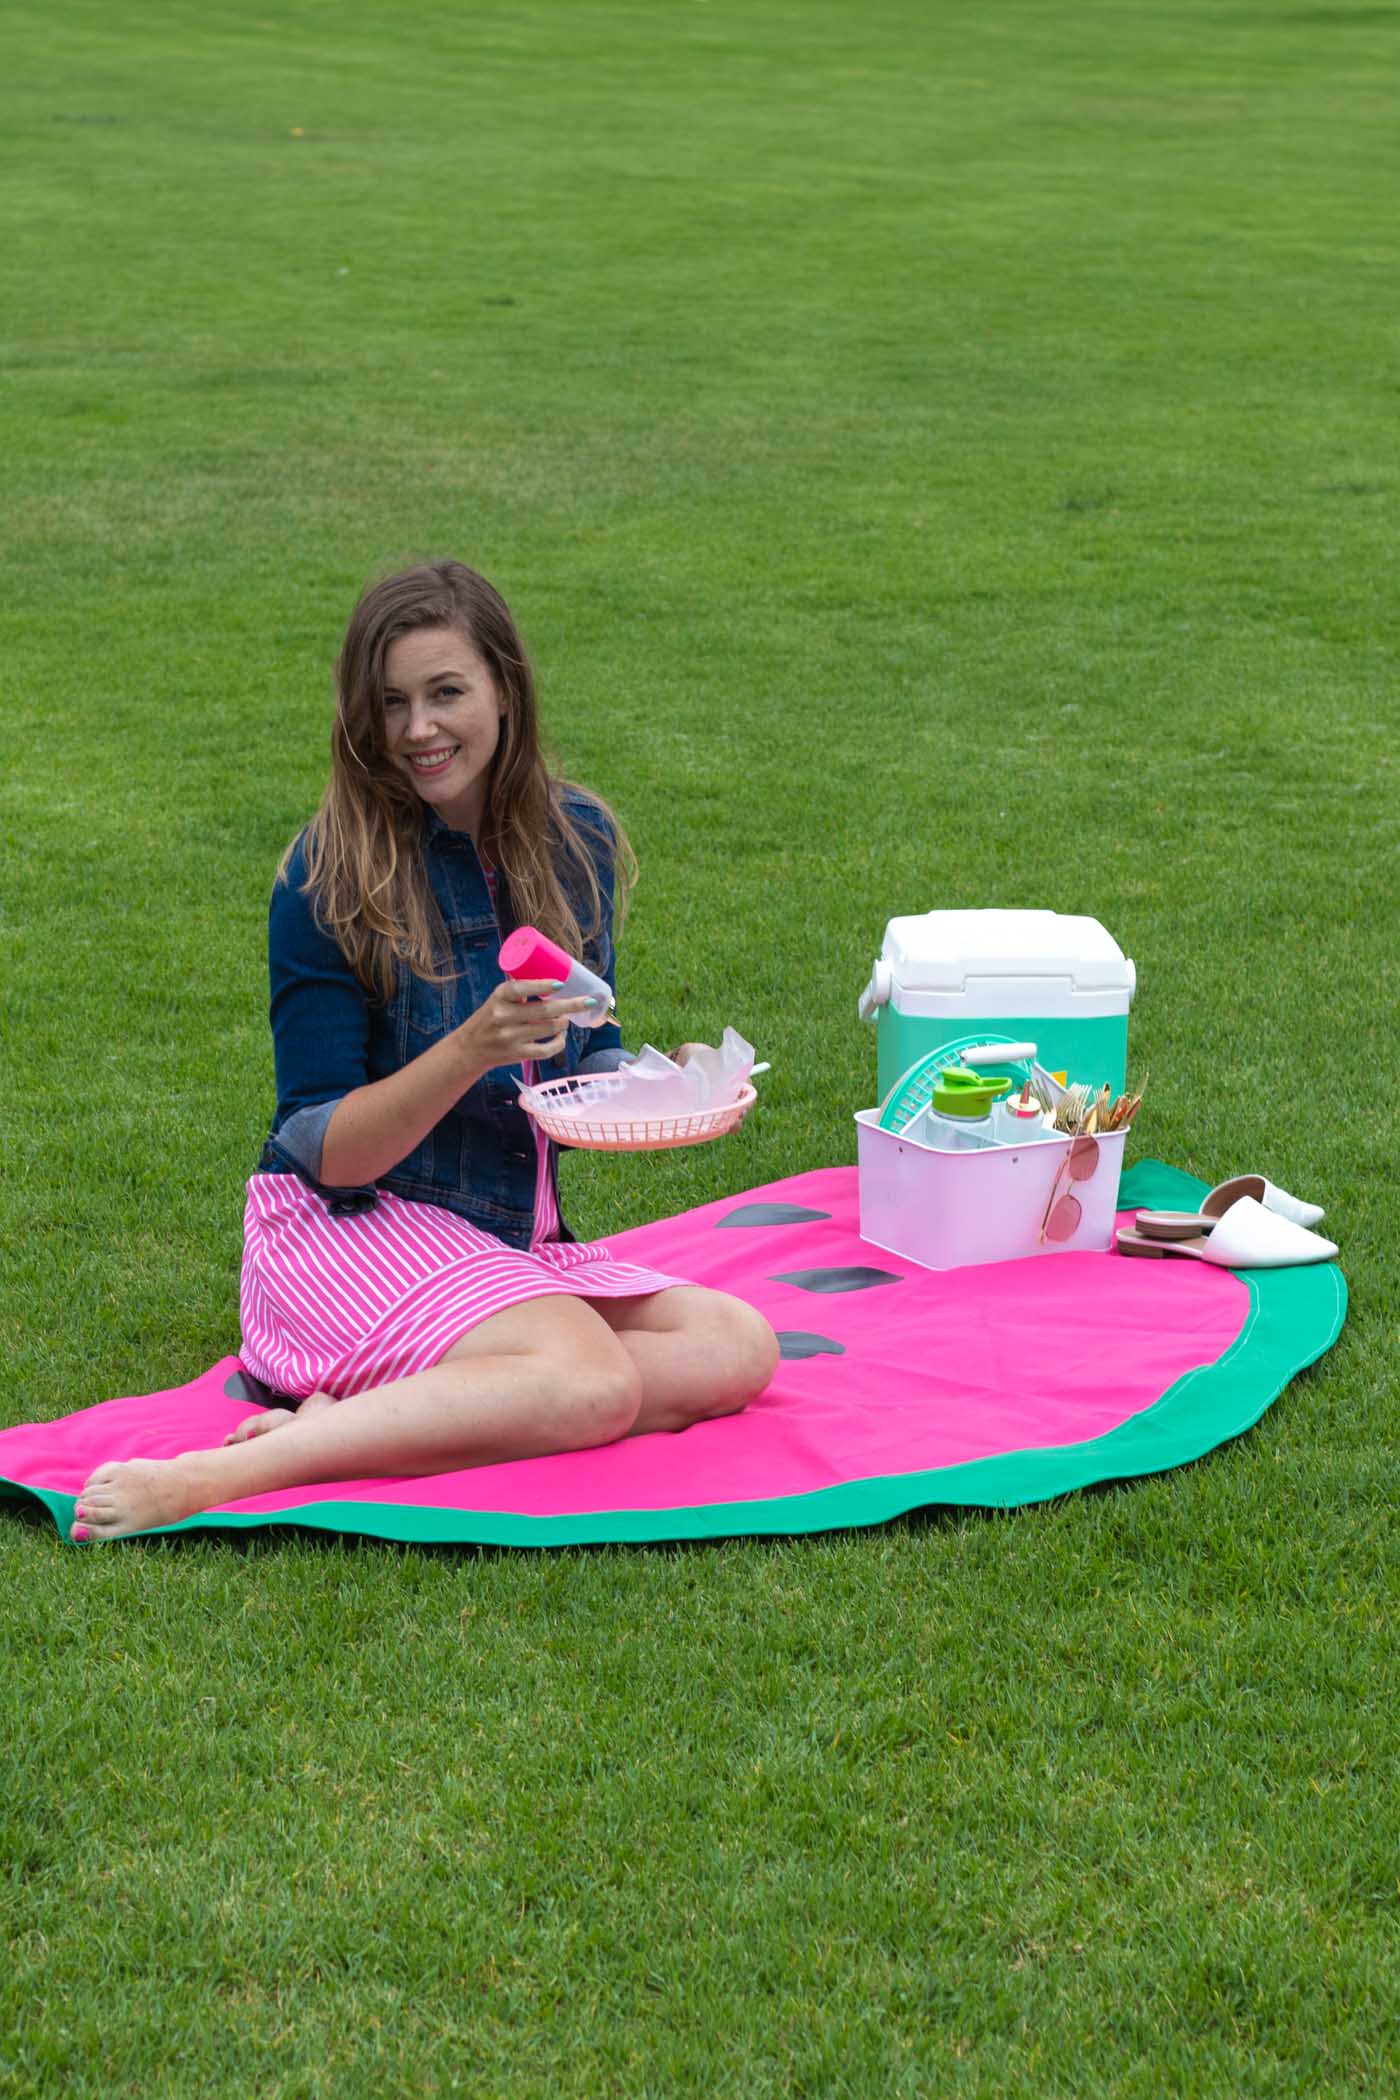
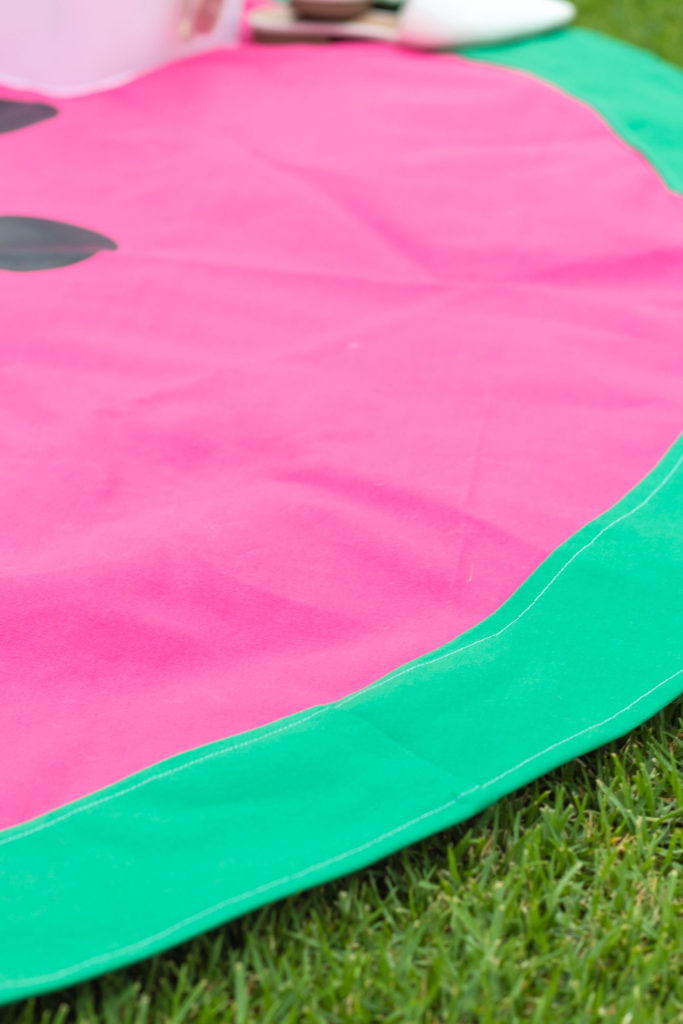
Summer is officially in full swing, and I’m ready for all the classic summer activities, including planning picnics with our new DIY watermelon picnic blanket I made for us! There are a million parks in our area, and we’re not far from the beach, so this extra durable watermelon picnic blanket I sewed with thick duck canvas will be the perfect way to picnic this summer. Thanks to JOANN, everything I needed was all in one place, including a variety of picnic items from their seasonal and party sections to plan a perfect little picnic outing!
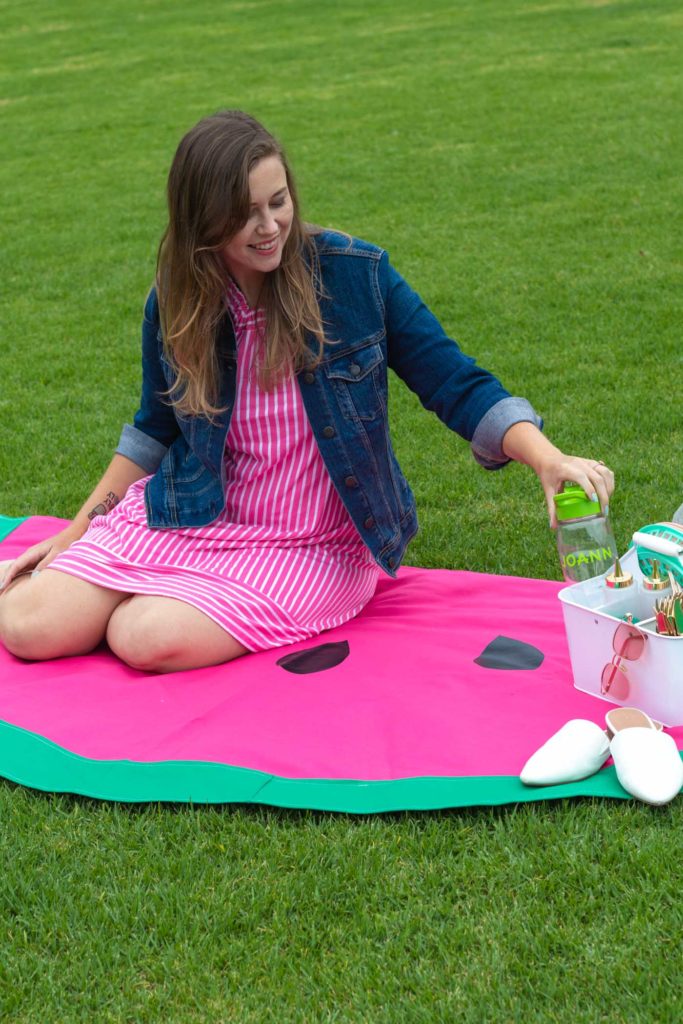
I don’t consider myself an expert with a sewing machine, so if I can sew this picnic blanket, then so you can you! This simple watermelon picnic blanket sewing tutorial is good for beginners, and let’s just say I already made all of the potential mistakes so that YOU don’t have to…thank goodness for seam rippers.
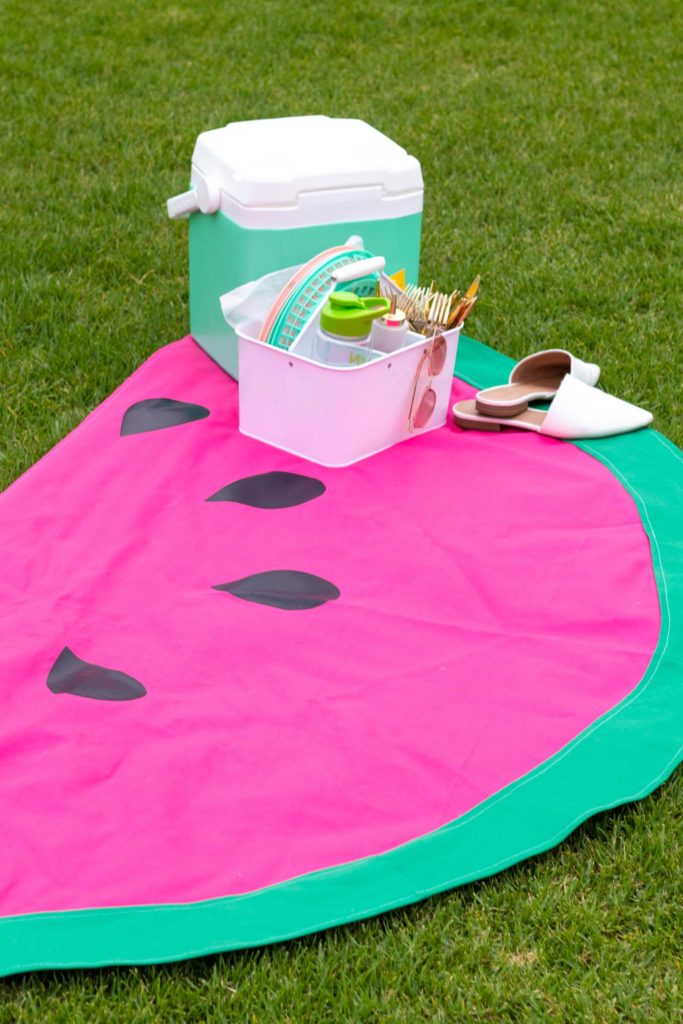
The only trick for making this watermelon picnic blanket properly is to follow my directions below for sewing the two curved sides together. It looks very strange, but it WORKS. I also sewed top stitches all the way around the blanket and where the green “rind” meets the pink “melon” in white thread for a little decoration, but this is optional. Personally though, I like the blanket so much more with the white top stitch, and I feel it all comes together to truly look like a slice of watermelon! It’s the perfect size for a picnic for two.
Time: 1 hour
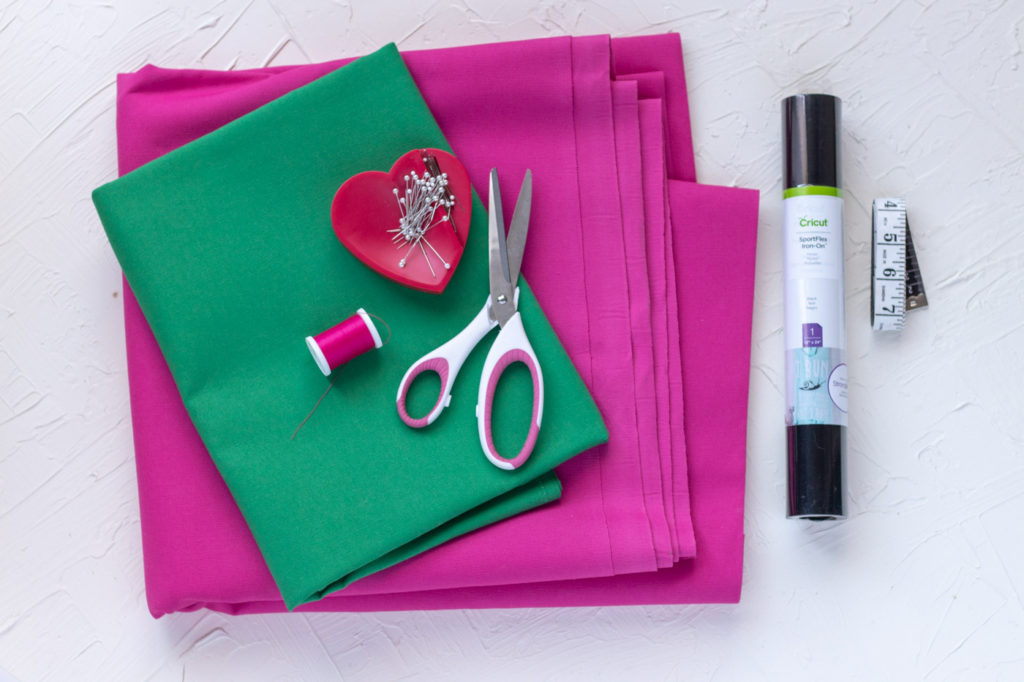
Supplies:
- 1 1/2 yards pink canvas fabric
- 1 yard green canvas fabric
- Fabric scissors
- Matching thread
- White thread (optional)
- Pins
- Measuring tape
- Sewing machine
- Black iron-on vinyl
- Iron
I use a Singer Quantum Stylist 9960 machine and I LOVE it. It’s very beginner friendly and easy to use for a variety of sewing projects. As for the vinyl, I prefer Cricut SportFlex vinyl for these types of projects because it’s not overly stiff and feels extra durable.
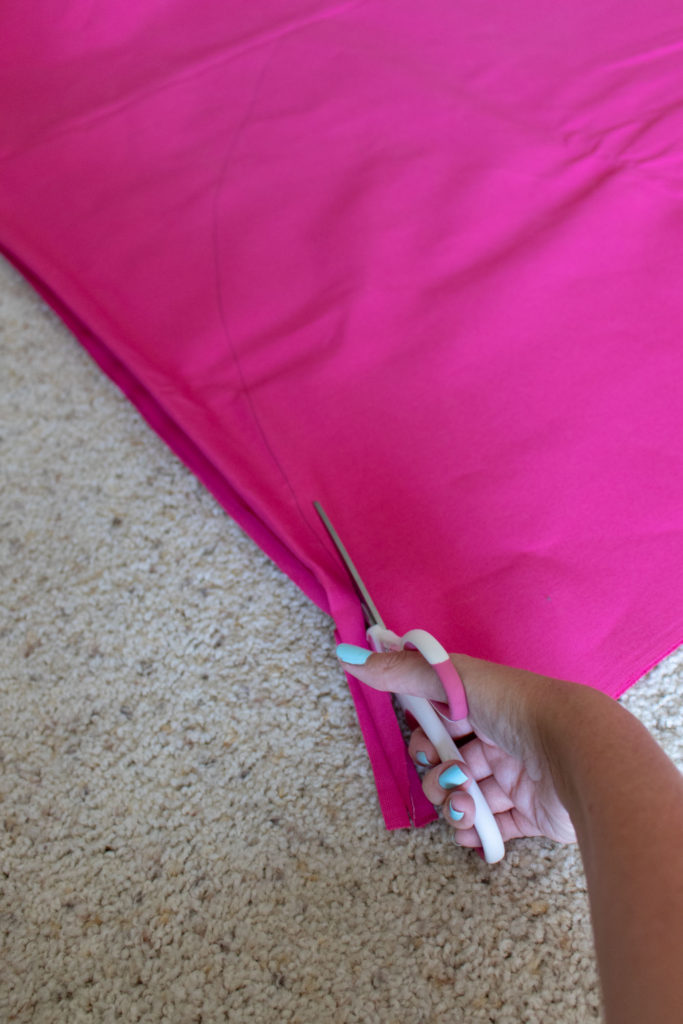
Step 1: Fold the pink canvas fabric in half along the longer side. Use a pen to mark an arc shape across the fabric and cut along it (do not cut the folded side). When opened up, it will be a 4 1/2-foot-long half circle.
Note, I use the pen and string method to make the arc. Tie a piece of string to a pen, then hold the string at the corner of the fabric you do not want to cut. Hold in place and drag the pencil in the arc motion where you do want to cut. It’s very easy!
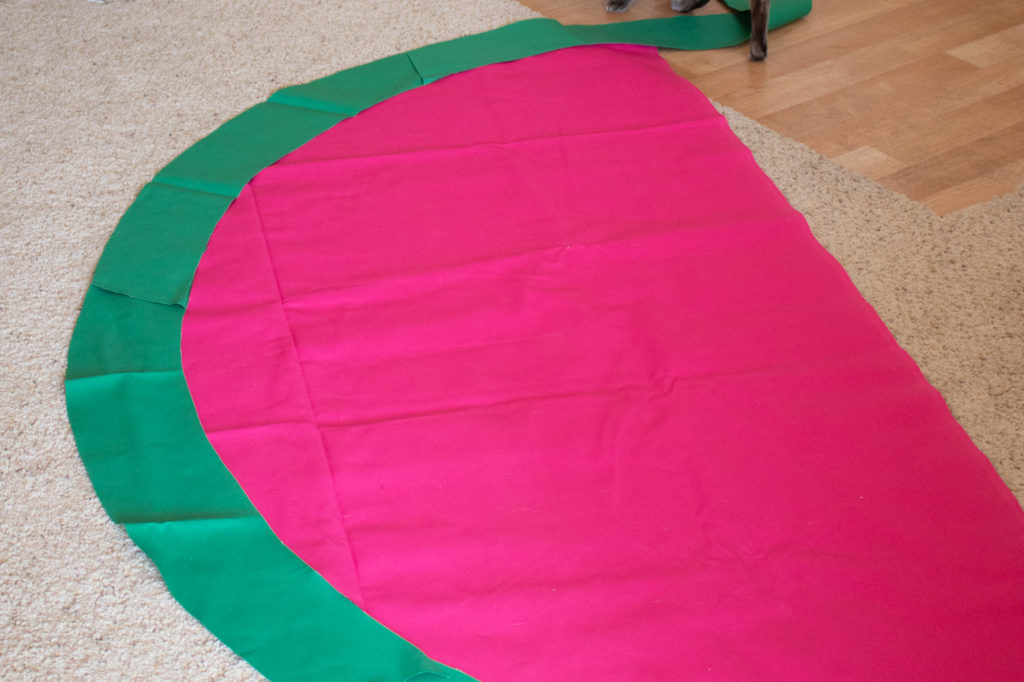
Step 2: Lay down the green fabric, then place the half circle of pink fabric on top. Use the arc as the template to trace a 5-inch arc-shape onto the green fabric and cut until you have enough to cover the rounded side of the fabric, moving the fabric as needed for multiple pieces.
Note, you will need multiple pieces of green “rind.” You will sew them together in the next step.
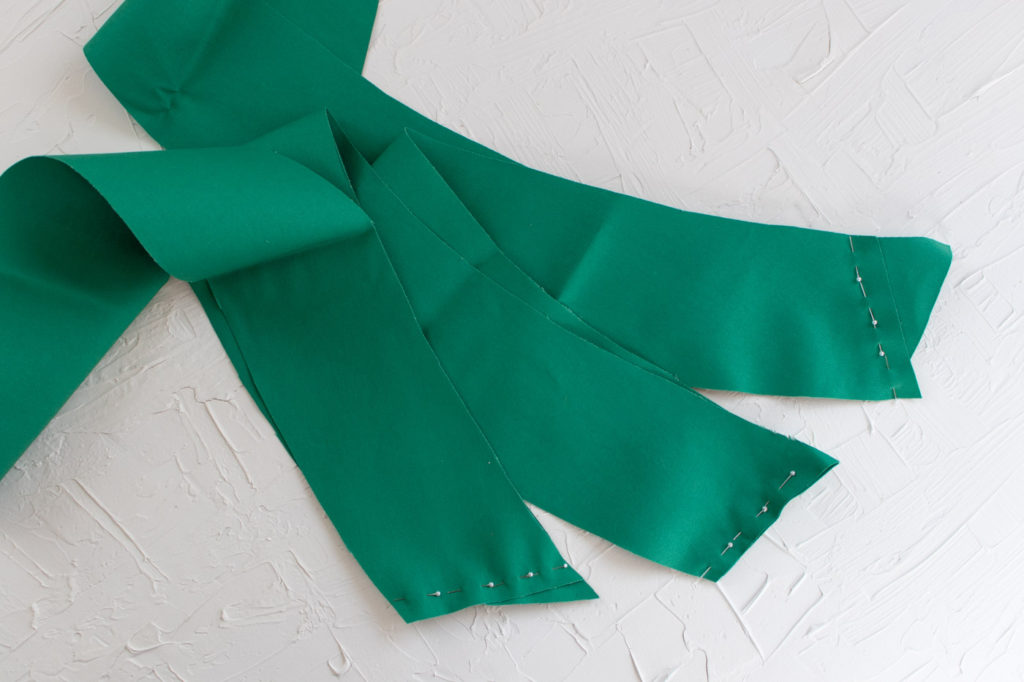
Step 3: Place the right sides of the fabric together, pin and sew the pieces together into one long green arc.
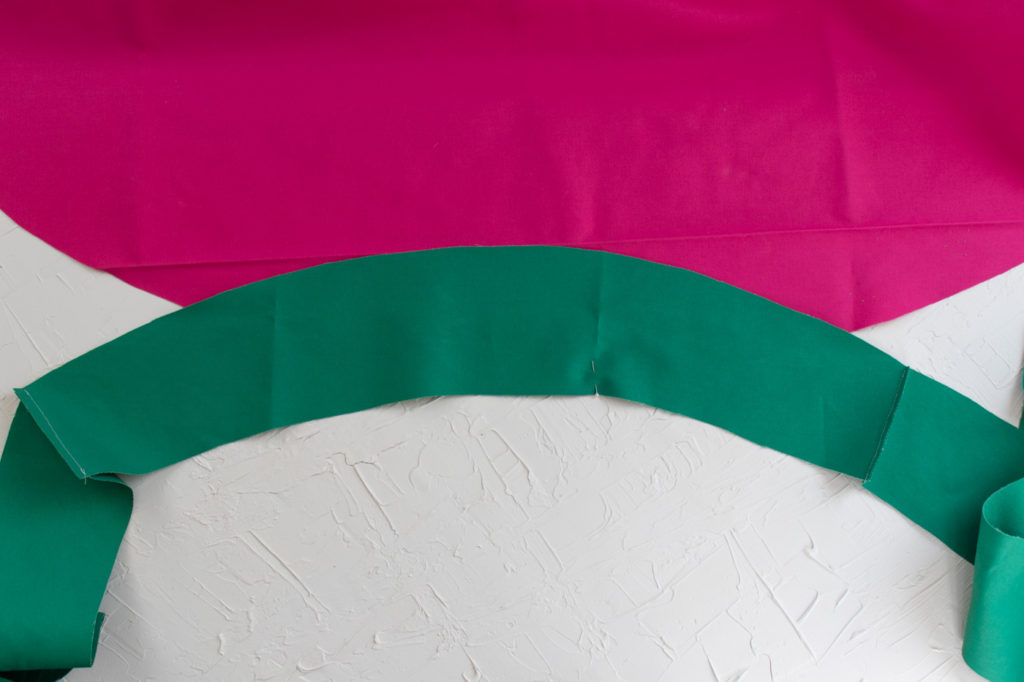
Step 4: Leave the pink half-circle right side up, and place the green piece right side down. Pin the middle of the green piece to the middle of the pink piece, with the circles inverted to each other. Be sure to pin the inner arc of the green as this will be the side you want sewn to the watermelon. It should look like the above photo.
Yes, it looks weird but it’s the only way to get this piece sewn properly, I promise!
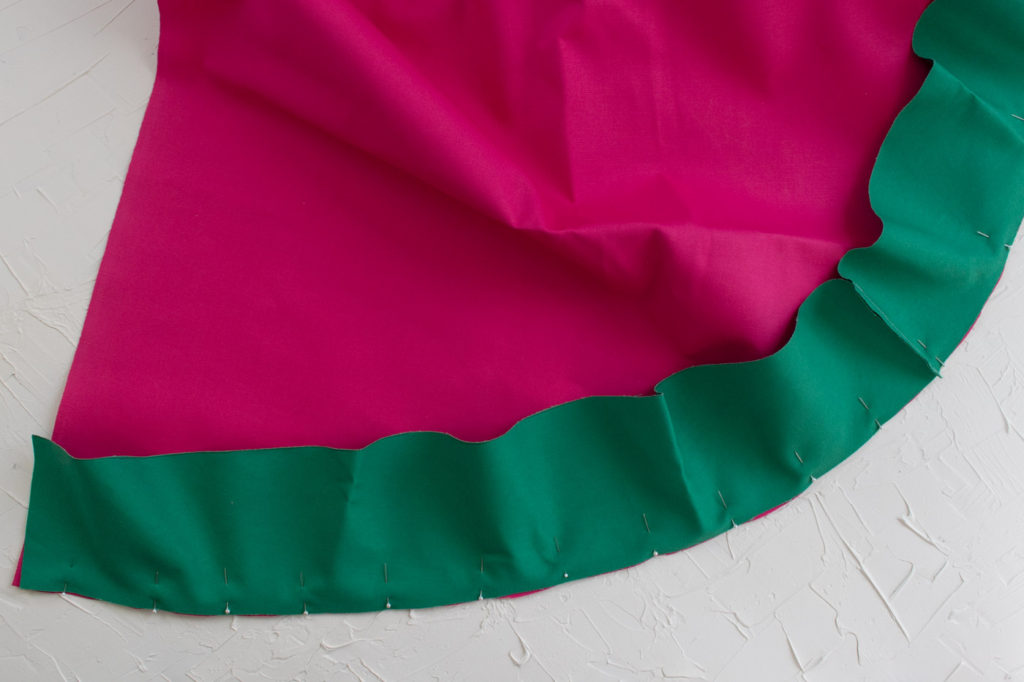
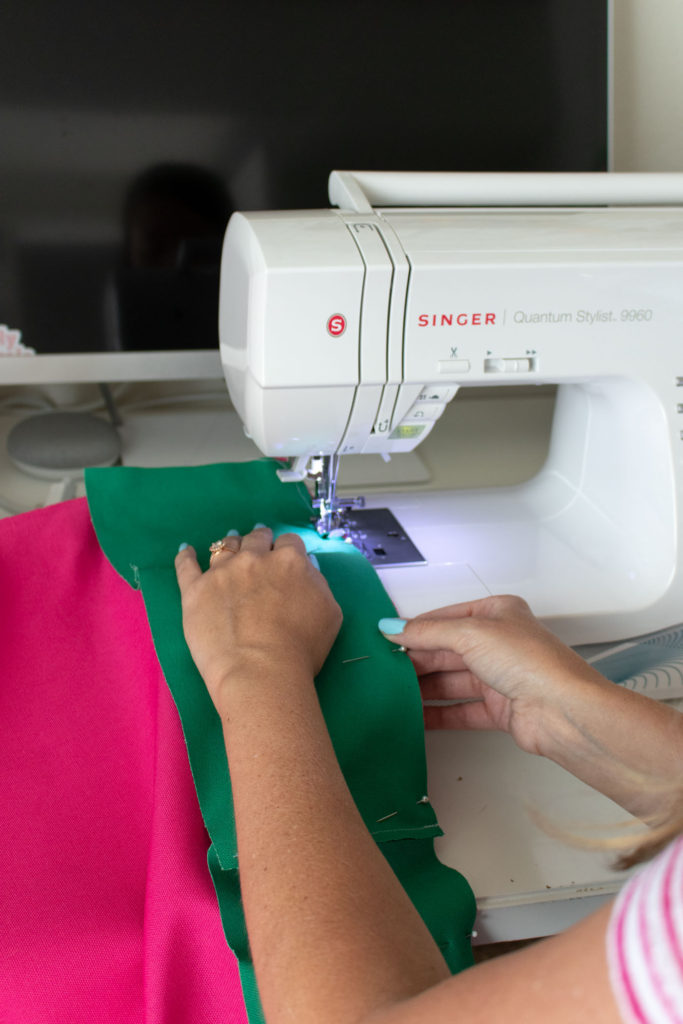
Step 5: Starting at the middle pin the green edge all the way around. You’ll see some bunching of the fabric BUT the side you’re pinning will not be bunched. Sew along this edge, back stitching at each end.
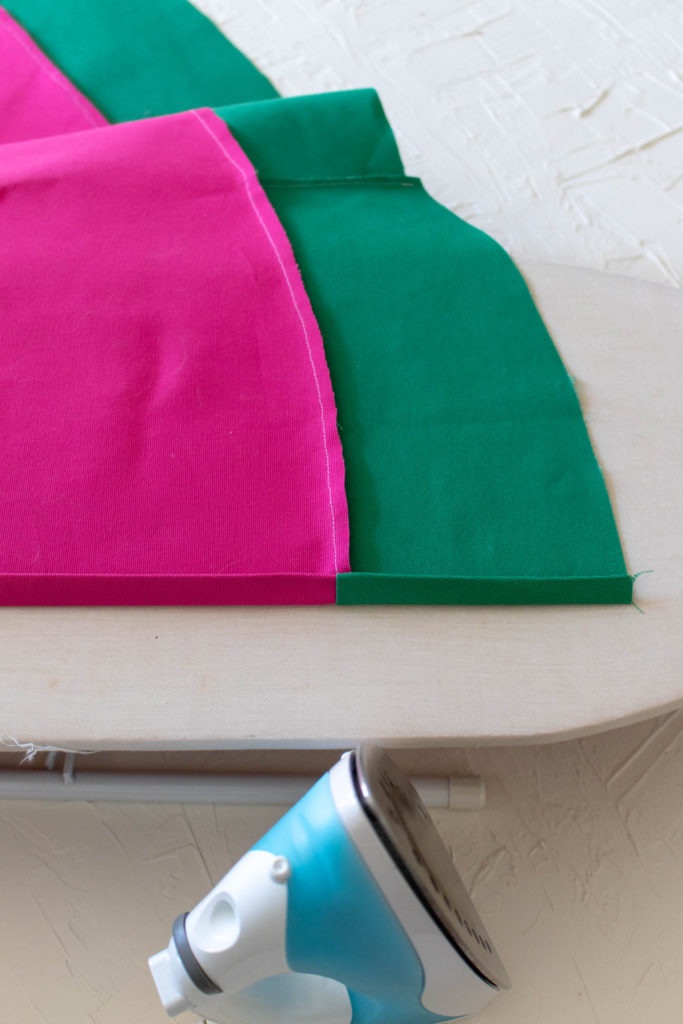
Step 6: Turn the watermelon blanket over. Starting at the straight end, fold over the fabric about 1/4-inch and iron. Then fold a second time, iron and pin in place.
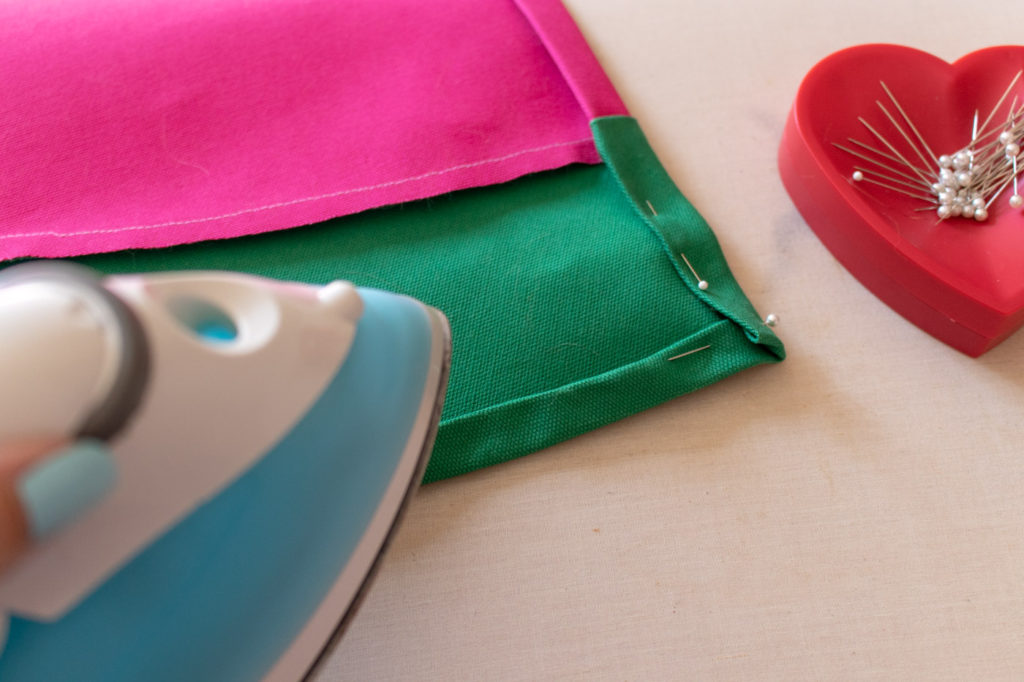
Step 7: Repeat the double fold around the curved side.
Step 8: Sew all the way around the watermelon picnic blanket with the white thread (if using) with approximately a 1/4-inch seam allowance. This will give the blanket a finished appearance.
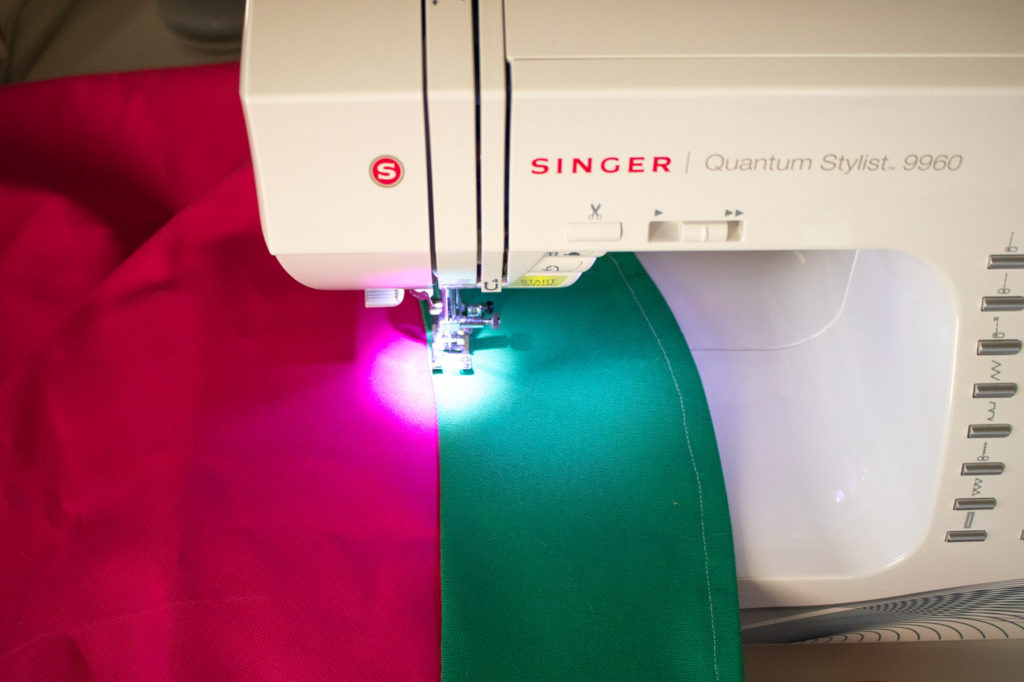
Step 9: If desired, turn the blanket over again and sew a white top stitch about 1/4-inch from the seam where the green meets the pink.
This is optional, but it’s quick and I love the finished look it gives!
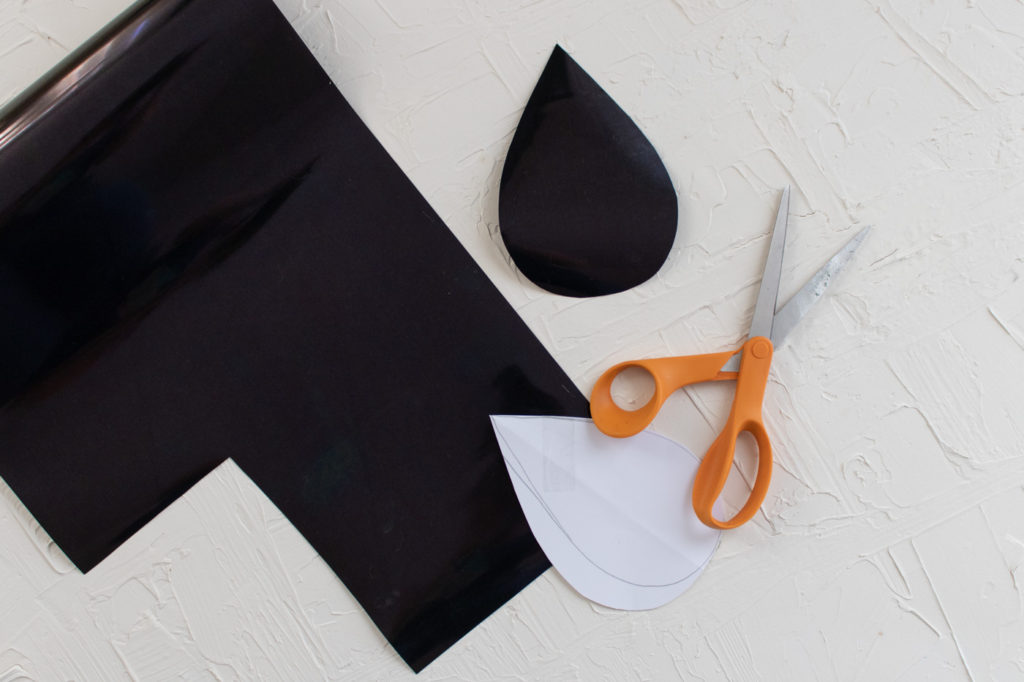
Step 10: Lastly, cut out five large teardrop shapes from the black iron-on vinyl. Use a template if desired to ensure each is the same size and shape. Each one of my teardrops is about 5 inches long.
Step 11: Place the “seeds” where you want them on the right side of the picnic blanket, with the shiny plastic side facing UP. Cover with a dish towel and iron (no steam) until you can easily peel away the plastic, revealing the vinyl on the fabric.
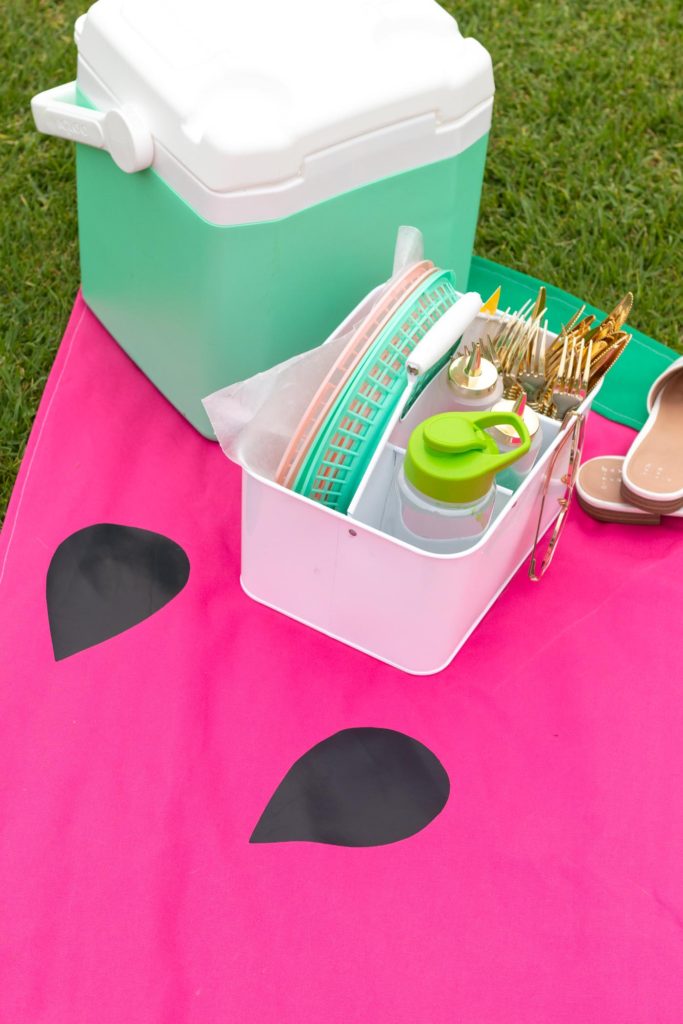
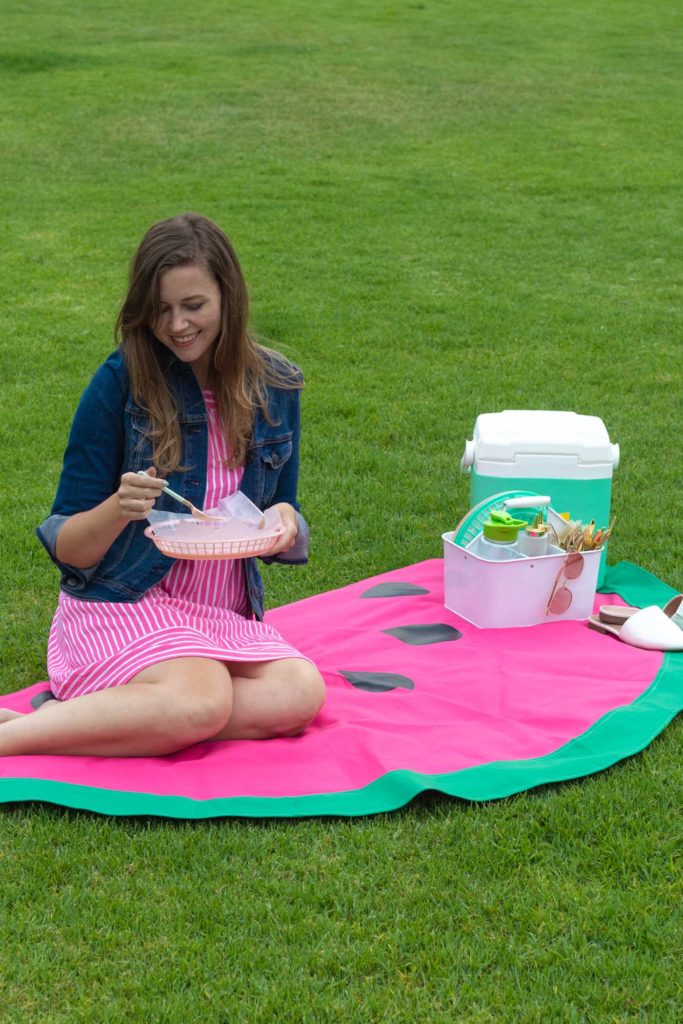
Iron out any remaining creases in your new watermelon picnic blanket, and you’re ready for a day out! It should be easy to wash when it inevitably gets dirty. What’s your favorite food to bring on a picnic?! I planned a picnic for Andrew’s birthday last year and made us a little charcuterie board with wine, and it was my absolute favorite.
PS, love watermelon projects?! Check out my favorite watermelon DIYs for summer!
Thank you to JOANN for generously sponsoring this post. All opinions are my own. Please note that this post contains affiliate links from which I may collect a small profit should you choose to make a purchase. I only link to products I personally use or recommend. Thanks for supporting the brands that keep Club Crafted making!
